The “How-To” on Create A Flower Series: S2-196 Magnolia
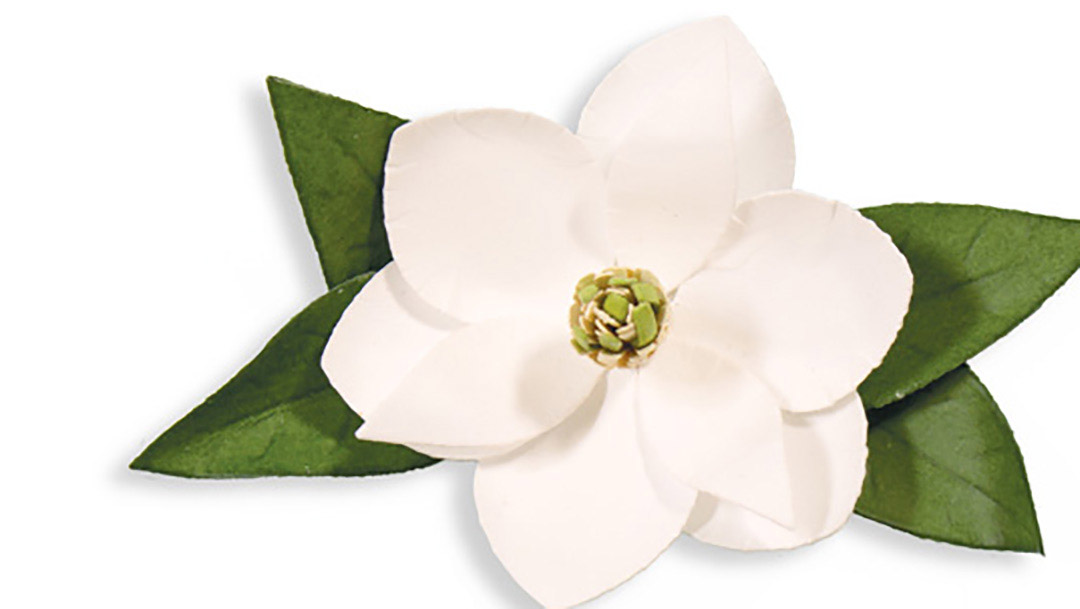
Today we are featuring one of our newest Create A Flower Series, the S2-196 Magnolia set. See below how to re-create one of your own when using this set.
Supplies:
Cardstock White, Green, Yellow
Ink Pastel Pink and Green
Directions:
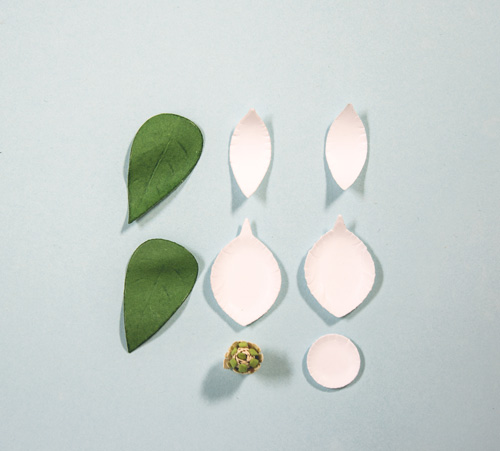
Step 1: Die-cut the following pieces: white cardstock 6 larger petals, 3 smaller petals and 1
circle as the base to build your magnolia. Green cardstock 4 leaves. Cut the fringed center of the magnolia out of lighter yellow and lighter green cardstock. See photo as example of die cut pieces.
Step 2: Ink the magnolia petal and leaves, use larger stylus tip to roll and form the petals and leaves. Use the quilling tip to roll the fringed center of the magnolia, add the green trimmed fringe pieces throughout the center to add a two toned look, secure with liquid glue.
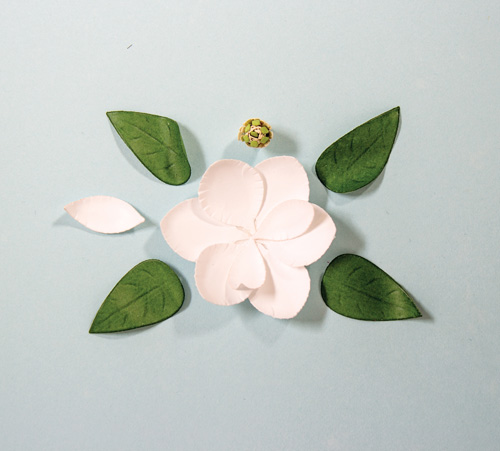
Step 3: Start layering your larger magnolia petals, than your smaller petals, always work in a triangular pattern. See photo as example for layering the petals.
Step 4: Add the center of the magnolia and the leaves using liquid glue.
Do you have any of our Create A Flower sets? We would love to see your creations! Please share the link below in our comments section 🙂


