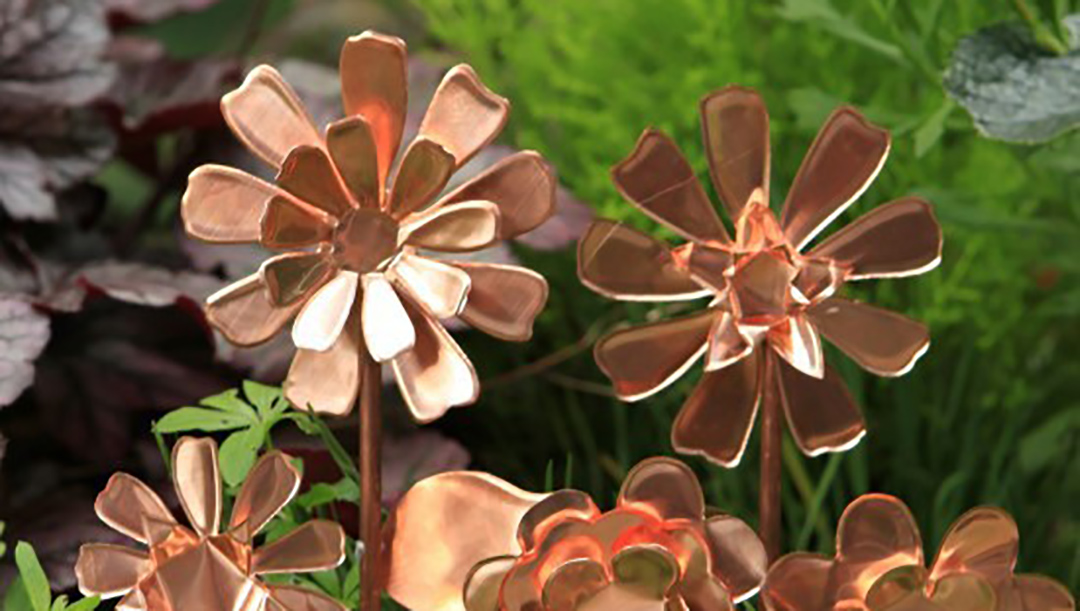
These Copper Garden Art Flowers Will Never Stop Blooming
Right now I’m smitten with copper. The rosy hue is cheerful and elegant. It shines so brightly that it seems to belong in the garden. In the summer when the garden is growing well on its own, I turn to garden art projects for my garden therapy. I like to add ornaments for interest to areas that are not blooming and these copper garden art flowers are just the right thing.
How to Make Copper Garden Art Flowers
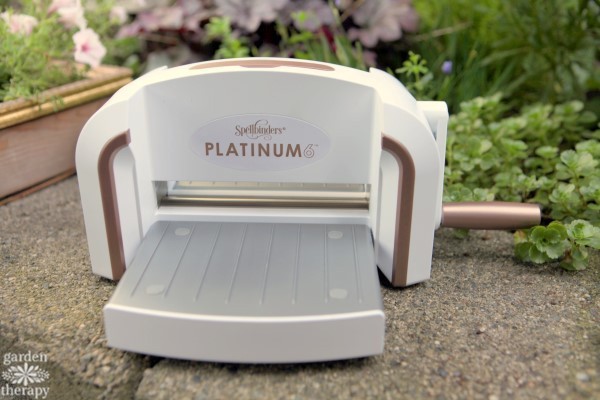
These copper garden art flowers started when I got a delivery from Spellbinders in the mail. I opened a Spellbinders Platinum 6* and had absolutely no idea what to do with it. I haven’t scrapbooked or made paper crafts before and I didn’t know there were die-cutting machines that could make quick work of cutting pretty patterns. I set up the Platinum 6 and created a “steel cut die sandwich” as recommended in the instructions. I cut some paper. Then some felt. Then fabric, wood veneer, and aluminum cans. Almost every material I fed through the machine cut perfectly. The Platinum 6 is very powerful; much more powerful than its elegant looks suggest.
When I cut the aluminum cans into a daisy, I liked the look and ability to mold the metal. But aluminum just doesn’t have the shine that I was hoping for. I set out to hunt for sheets of copper to make garden art flowers. I found 5 mil (36 gauge) copper sold by the sheet that cut like butter and looks brilliant in the garden beds.
Want to make your own? Here is how to do it:
Materials
12” x 12” 5 mil copper sheet
Spellbinders Platinum 6 Die Cutting Machine
Steel Rule Die: Contour Quite Contrary Debi Adams Oopsy Daisy
Steel Rule Die: Contour Tammy Tutterow Floweret Posies
Steel Rule Die: Contour Quite Contrary Debi Adams Positively Peony
36” copper rod
Hand saw
Metal file
Metal adhesive
Make it!
Copper is very expensive, so “measure twice and cut once” to avoid wasting any of this precious metal. Measure the cut pattern on the die, then measure the copper and mark your cuts. Cut the copper to fit the width of the die with little extra to waste.

Make a die cut sandwich with a clear cutting plate, the die facing up, the copper sheet, and a second clear cutting plate. The clear cutting plates are included with the machine; the steel rule dies need to be purchased separately.

Note: don’t worry like I did when you make your first cut and it leaves an impression on the clear cutting plate. I thought I was cracking the plates, but it’s perfectly normal for the steel rule dies to make an impression on the acrylic. After you use the machine a bunch of times, it does end up getting quite marked up.
Feed the sandwich through the Platinum 6 by holding it with one hand and turning the crank with the other. Once the machine “catches” the sandwich, move a hand to the top of the machine and hold firmly while you turn the crank with the other. This is a powerful cutting machine but it is not difficult to use. Mostly, you provide stability to the machine and let it do the hard work.
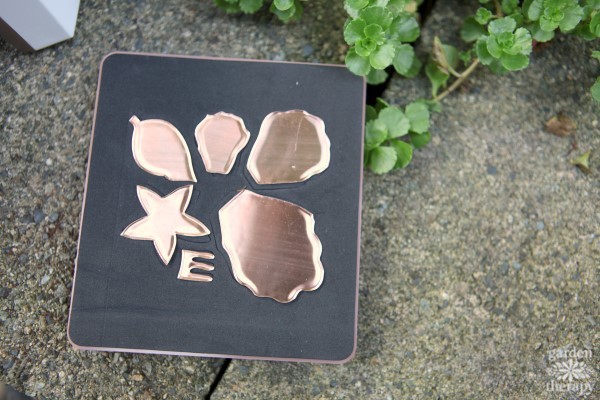
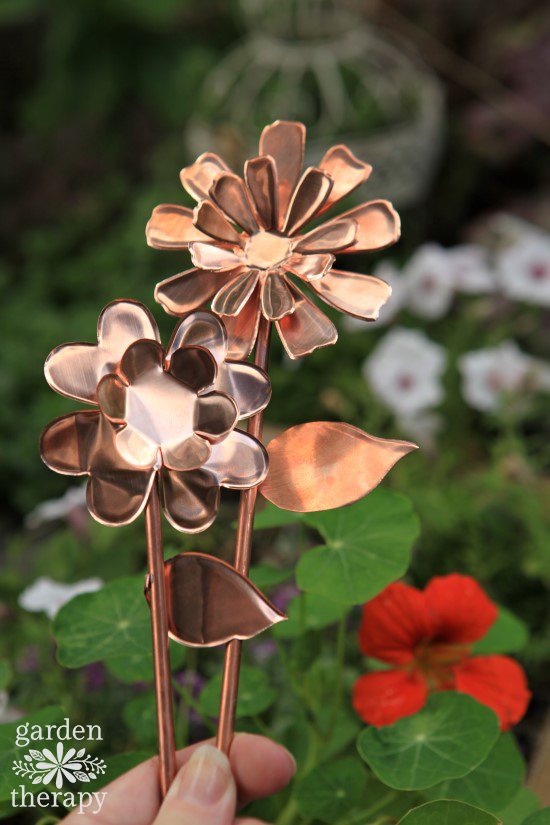
Take apart the sandwich and remove the copper pieces. I used a few different steel rule dies to make the copper garden art flowers collection. Oopsy Daisy was the easiest to work with as you simply attach the smaller copper flower to the larger one and in one cut you also get a leaf. I used Floweret Posies and Positively Peony to get some more varied shapes.
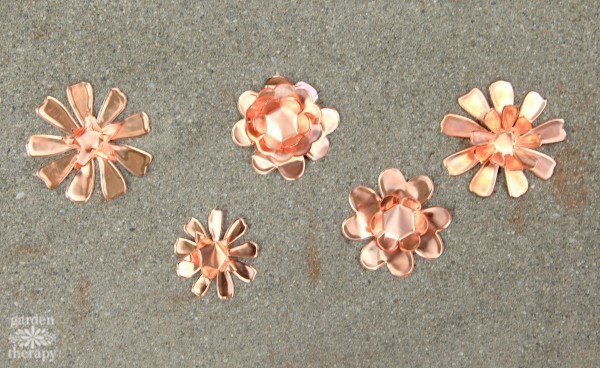
After all of the pieces were cut, I laid the flowers out and molded the shapes until I got a look that I liked. I was able to make these five flowers from one 12×12 sheet of copper.

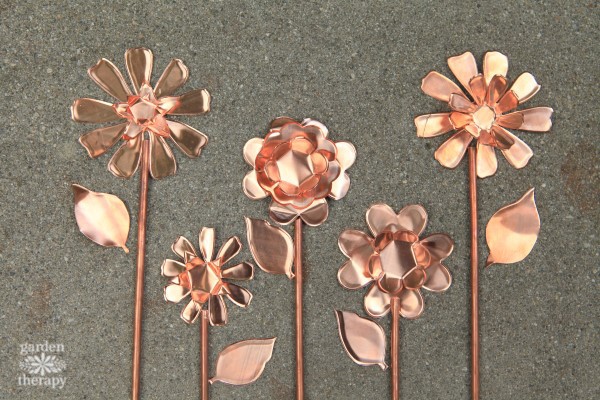
Cut five lengths of copper rod to differing lengths which will act as flower stems. I cut mine fairly short (6” to 10”), but you could get as many feet of copper that you need to make the flowers taller. The easiest way to cut the copper is to use a handsaw. Then, use a metal file to remove any burrs or sharp edges.

I used a metal adhesive for outdoor use to glue the flowers together. This glue requires mixing two substances together and then working within 5 minutes. Use proper safety protection like gloves and a mask when working with chemicals like this.
Lay out the flowers as you plan to glue them in place. Mix the glue and get busy attaching the pieces together. Allow to dry for 24 hours before setting out in the garden.
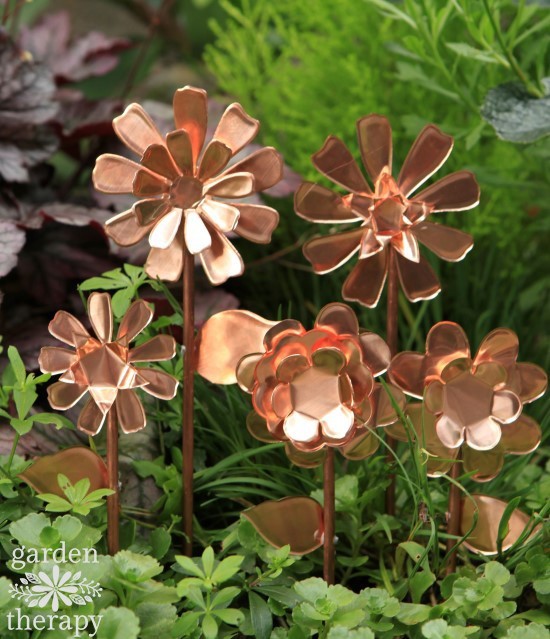
These copper garden art flowers will bloom all year round and I hope that the copper will patina into a lovely green color as they weather outdoors.
– Stephanie Rose, Garden Therapy

Pre-Order your now to reserve your machine and to get this die for FREE!

3 Comments
Laura P
Your copper flowers are beautiful! Thanks to your detailed tutorial I can run out to get supplies and make these today! Thanks SO much for the step-by-step instructions and photos!
Laura P
P.S.
Stephanie, did you buy the copper sheets and pipe at a home improvement store or a craft store? Thanks again for the tutorial!
Barb Macaskill
These are so pretty! Thanks for the tutorial!