How To Tie A Double Bow!
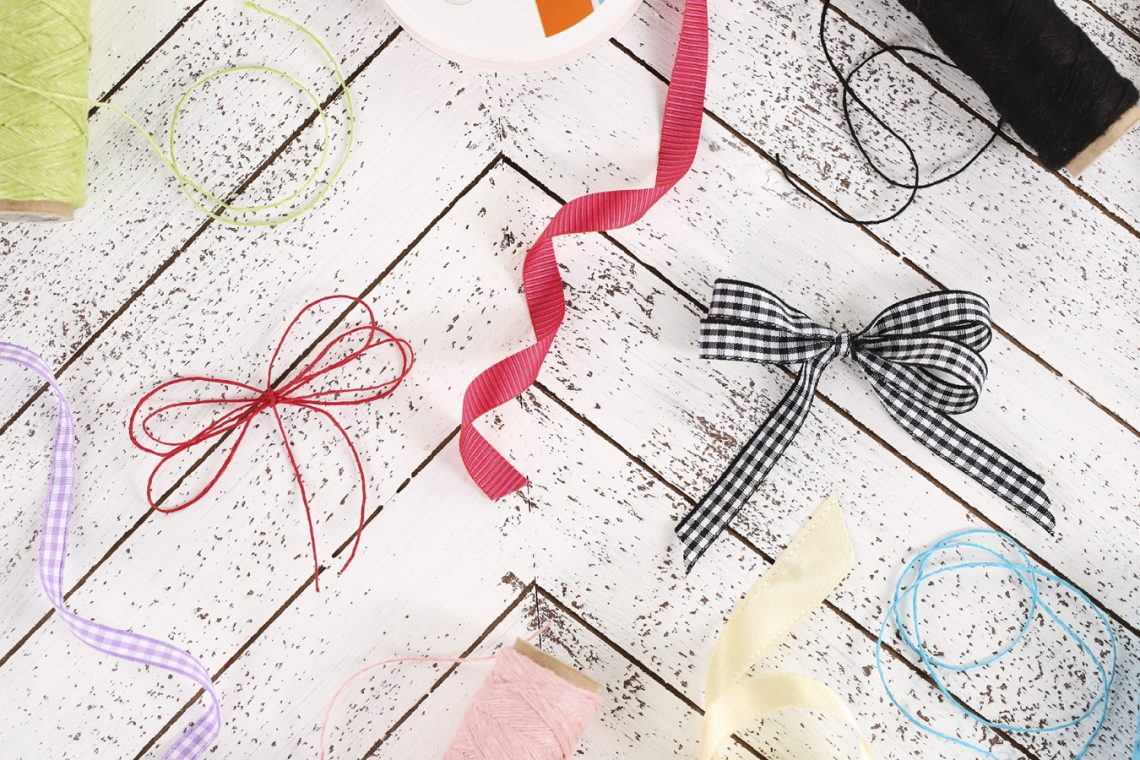
How absolutely gorgeous are those double bows? We think they are so stunning and guess what else? They are SO easy to create. Really! Wrap the ribbon around your fingers a couple of times and you have something beautiful for all of your projects. Let us show you how!
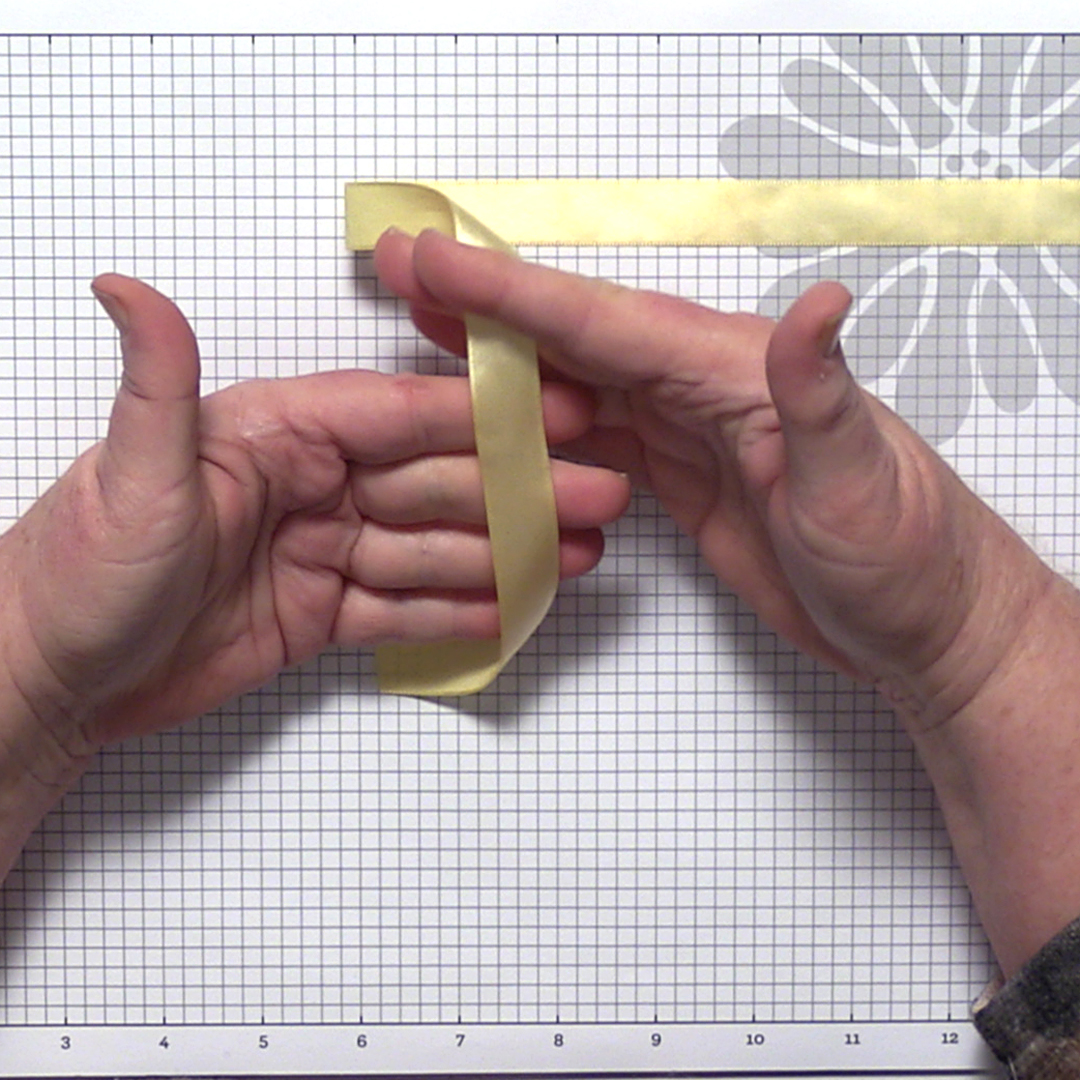
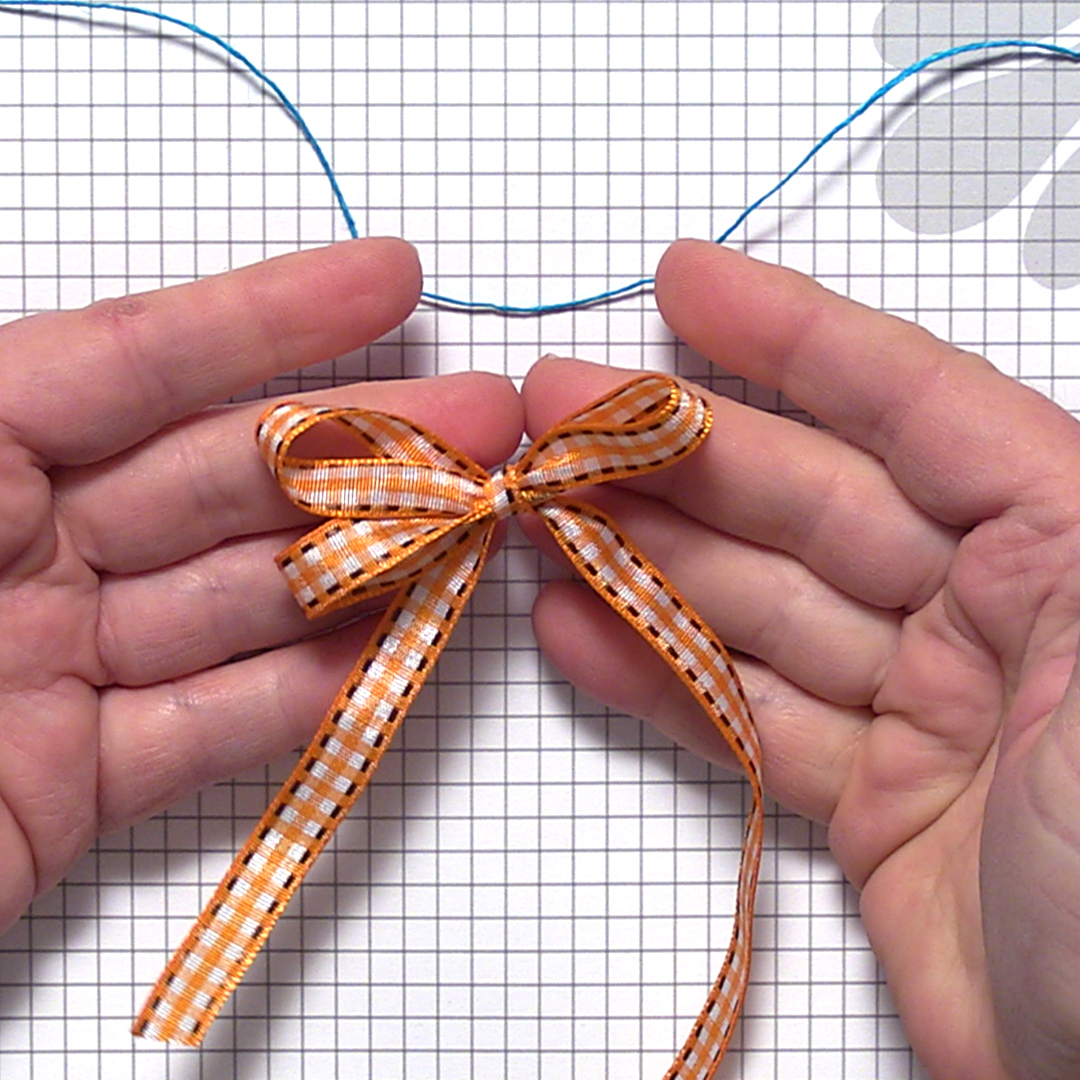
You can use all kinds of ribbon for this — we’re sharing with you three different types. You’ll hold the ribbon over the fingers on your opposite hand (your left hand if you’re right handed, your right if you are left handed).
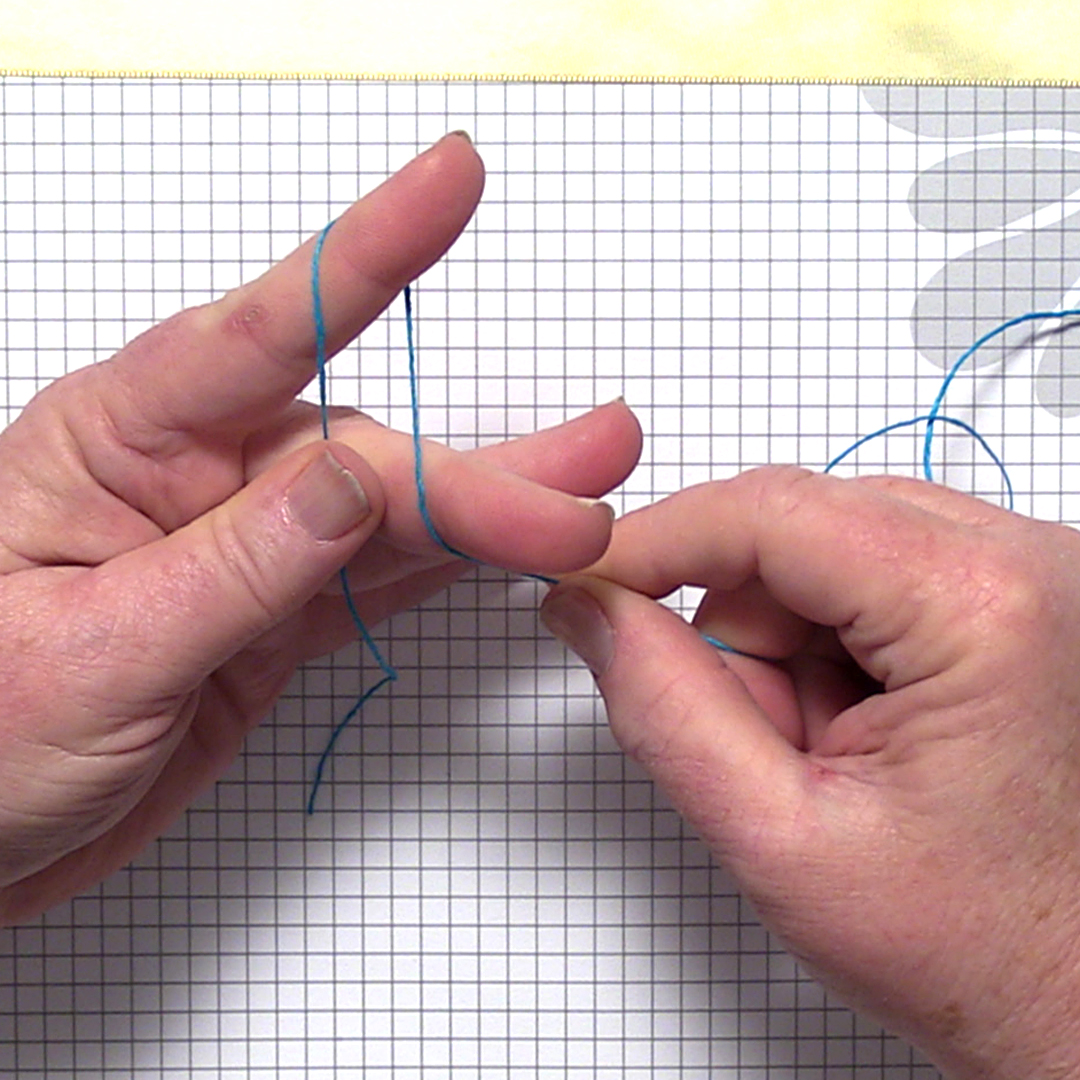
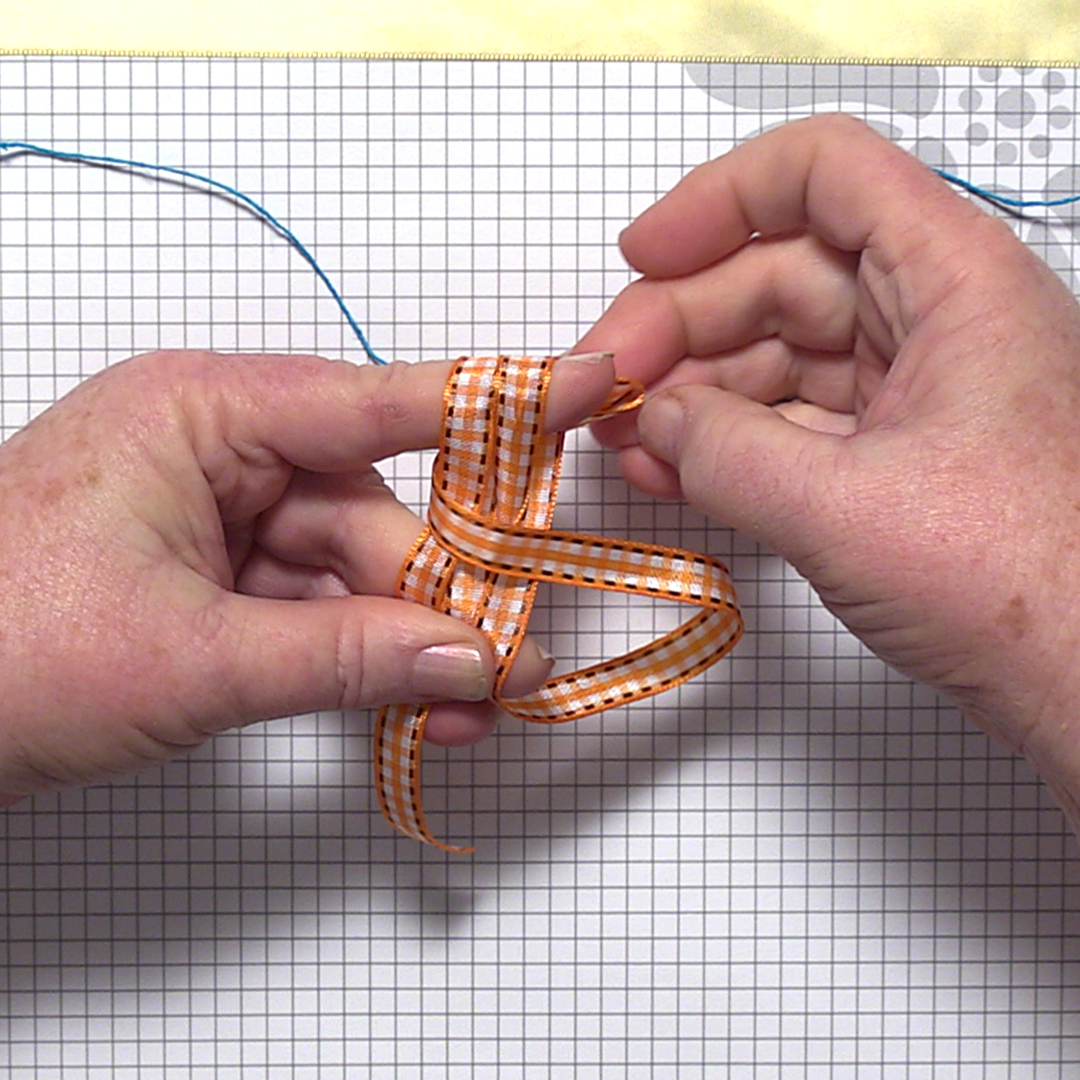
Wrap the ribbon or twine behind the index finger and in front of the middle finger. (Tip: The width apart your fingers are will be the size of the loops in your bow.)
You’ll wrap the ribbon around twice in a figure 8 fashion.
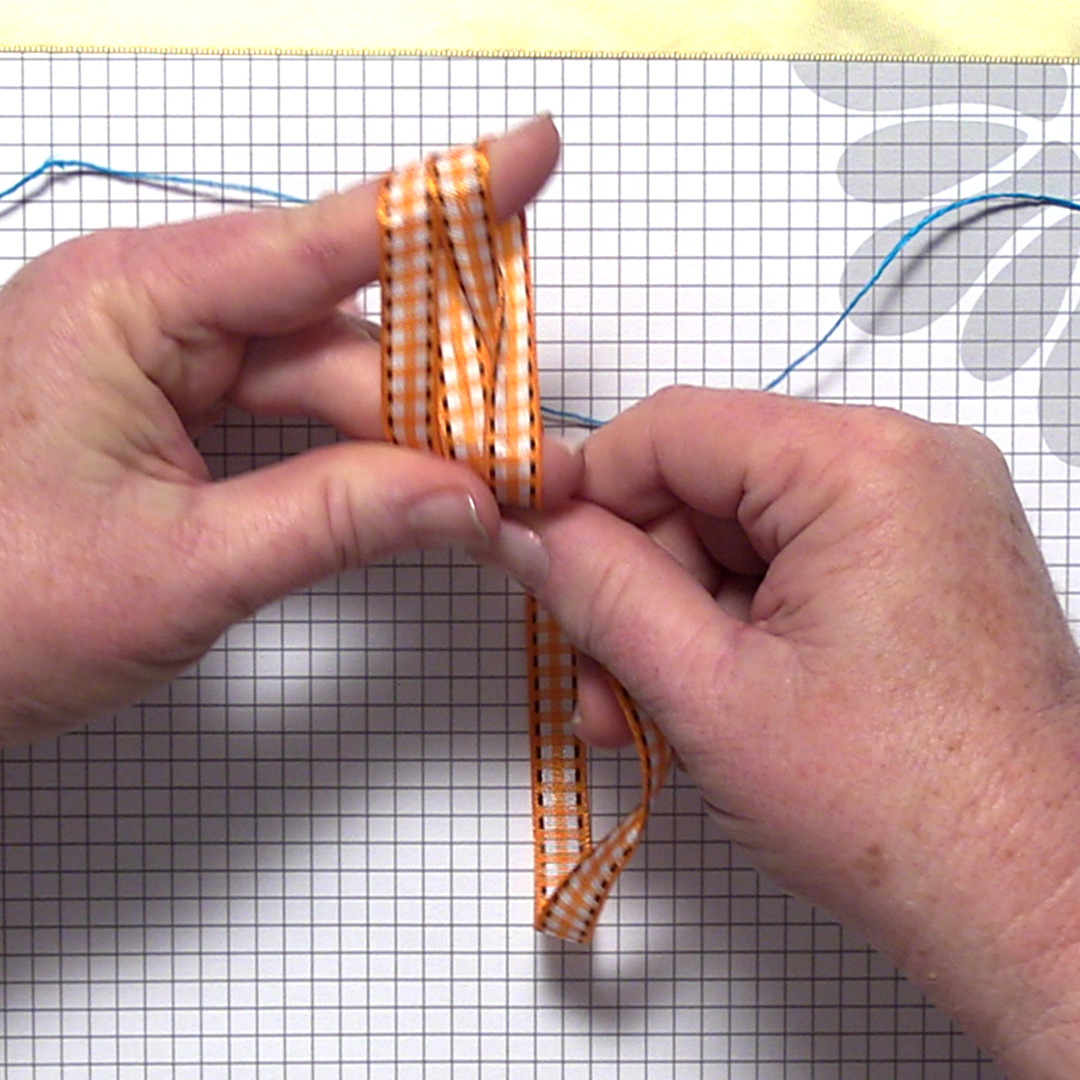
Now, lets tie it up! You’ll take the end of your ribbon and put it over the figure 8 and thread it through the V your index and middle finger creates.
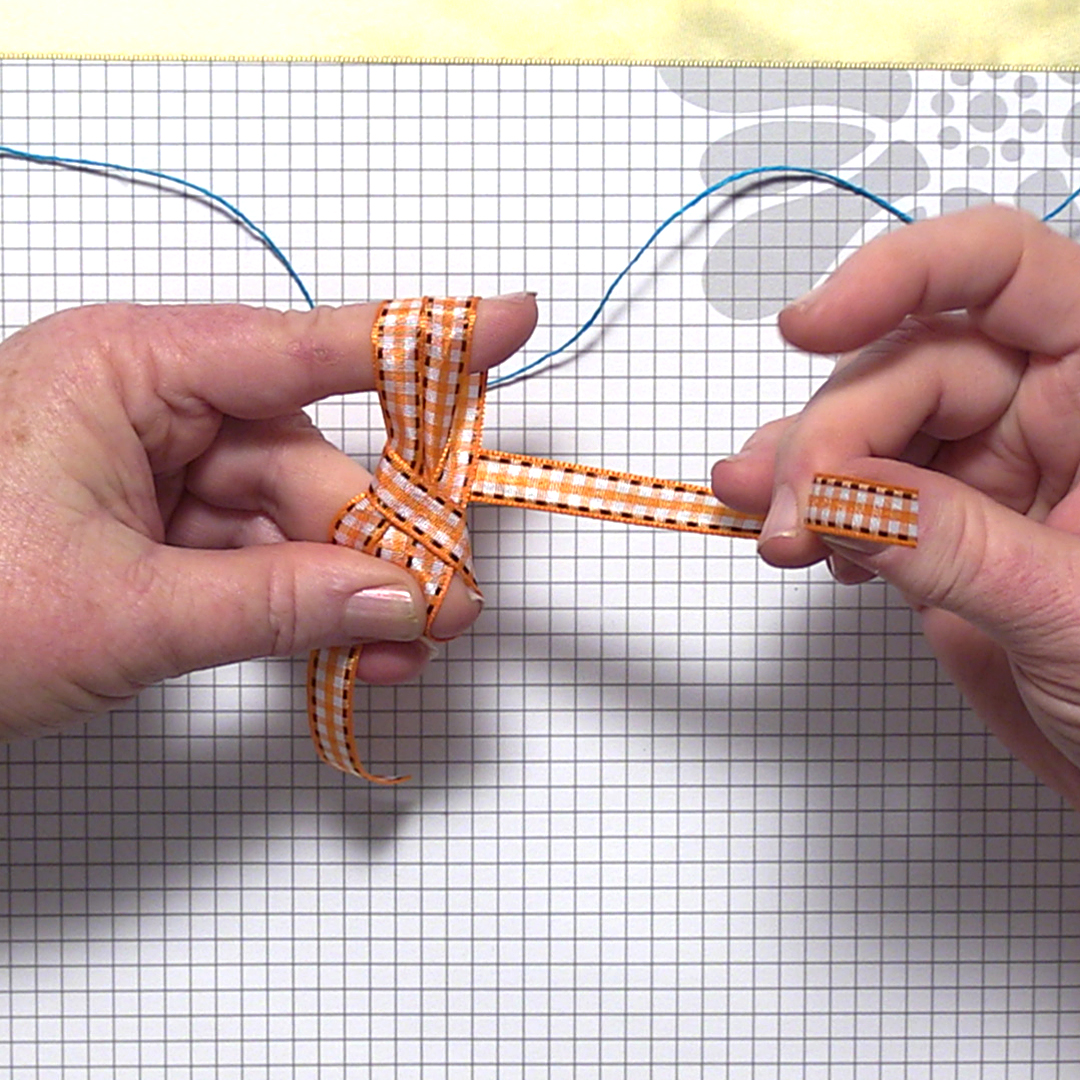
Pull that end all the way underneath – we’re going to use it again!
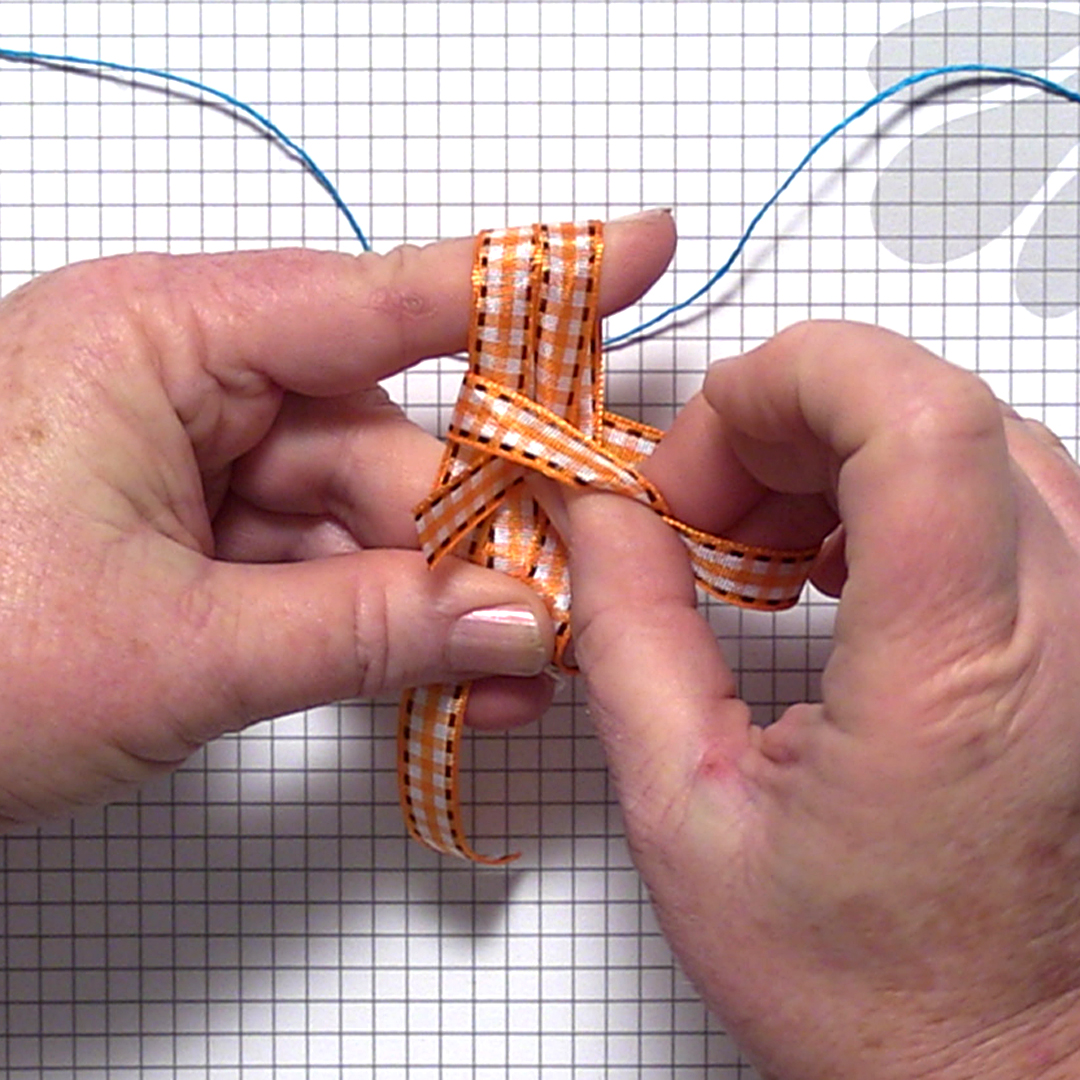
Now, to tie the bow tight! Let’s slide the end of the ribbon underneath the wrapped area on the top. Pull that end tight – this is how we create the bow.
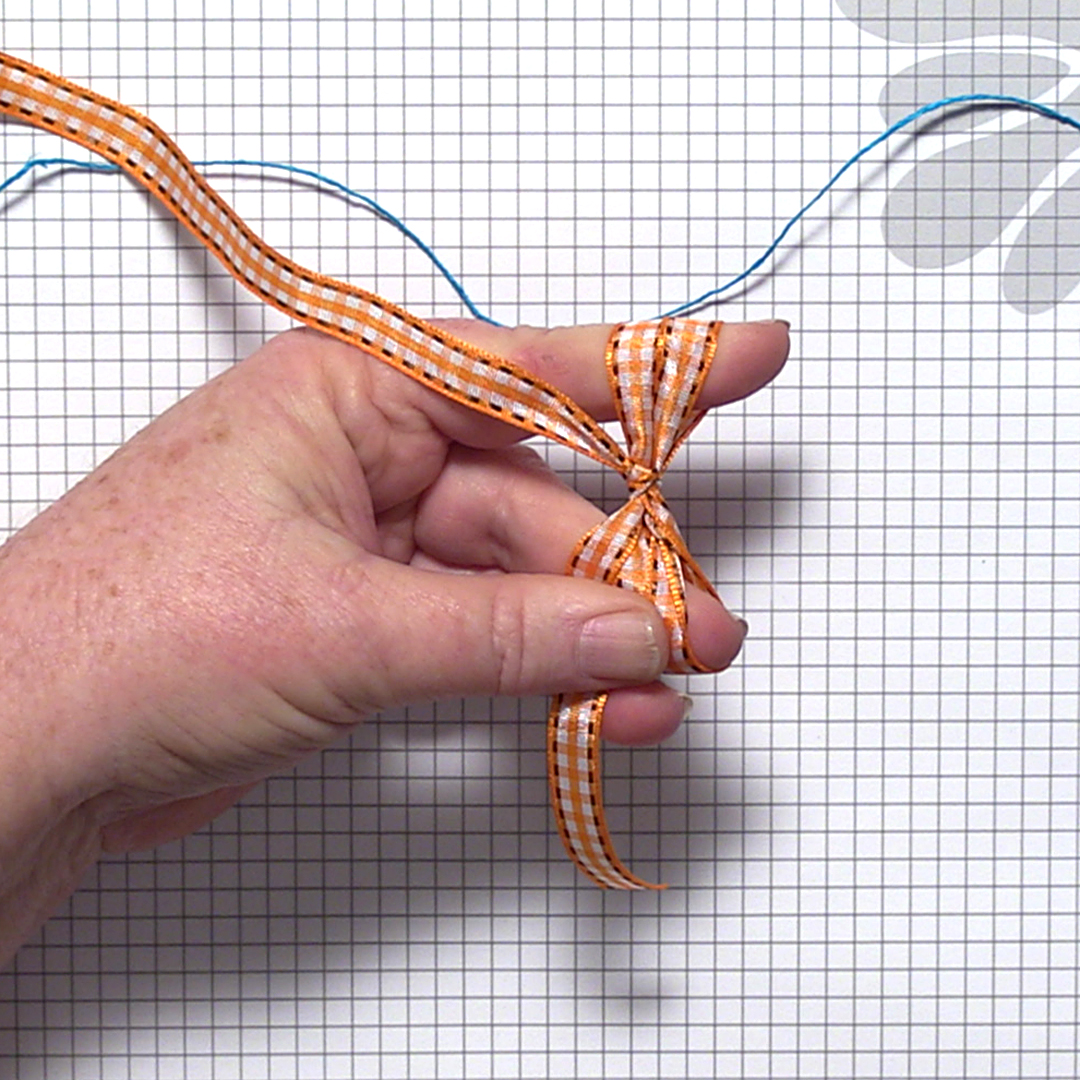
Once it’s tight you can slide the bow right off of your finger tips. Now is when you will work with the ribbon to shape it up, then trim the ends to your desired length.
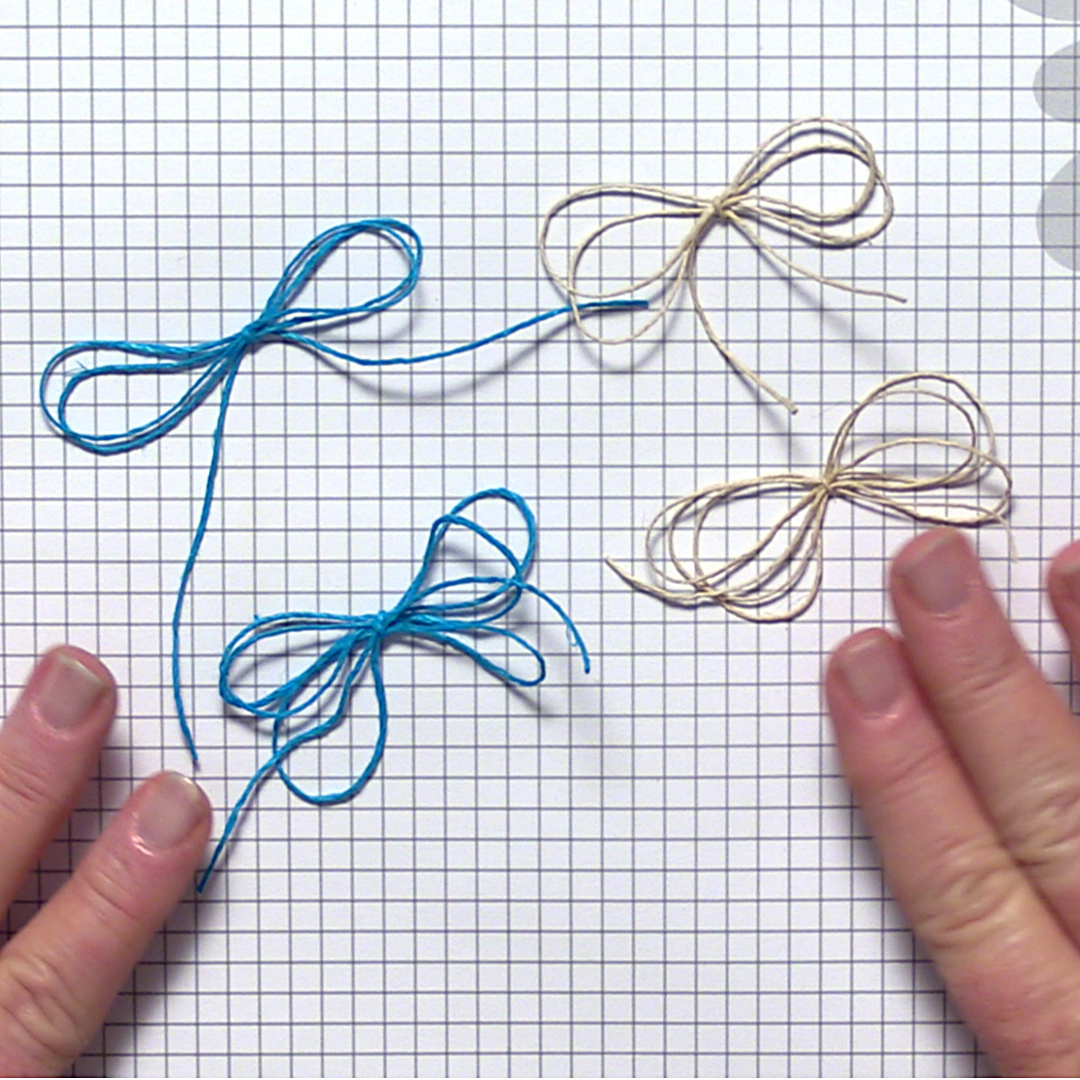
Now, don’t forget! You can use all types of ribbons, twine and thread to create this type of bow.
Would you like us to walk you through each step of creating these beauties? You can watch that right here:
If you loved this, subscribe to the FSJ YouTube channel where we share craft techniques, inspiration and new projects every week!
Looking for beautiful ribbon, twine, and thread in a rainbow of colors? Check out our website for a variety of widths, and materials!
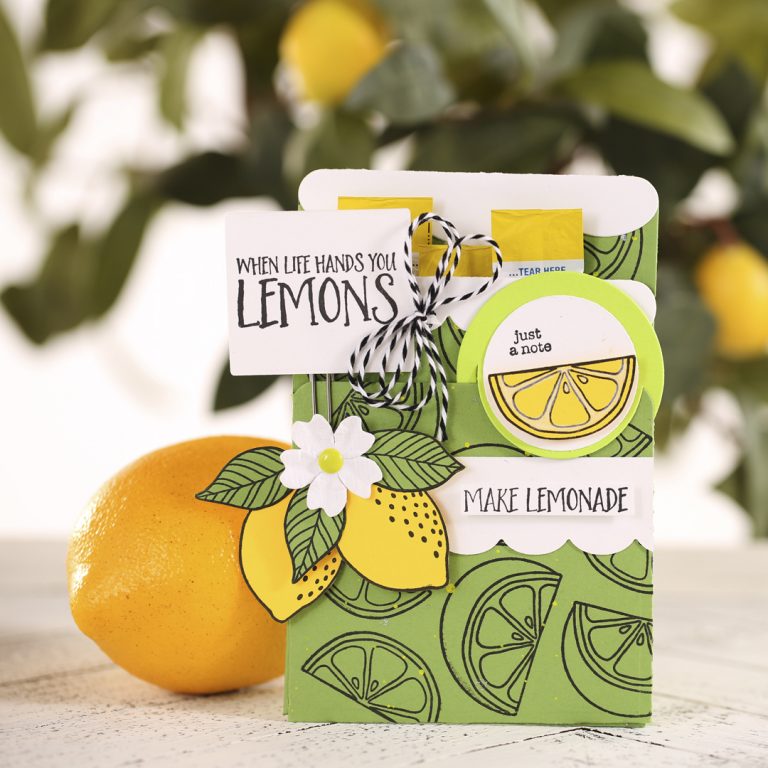
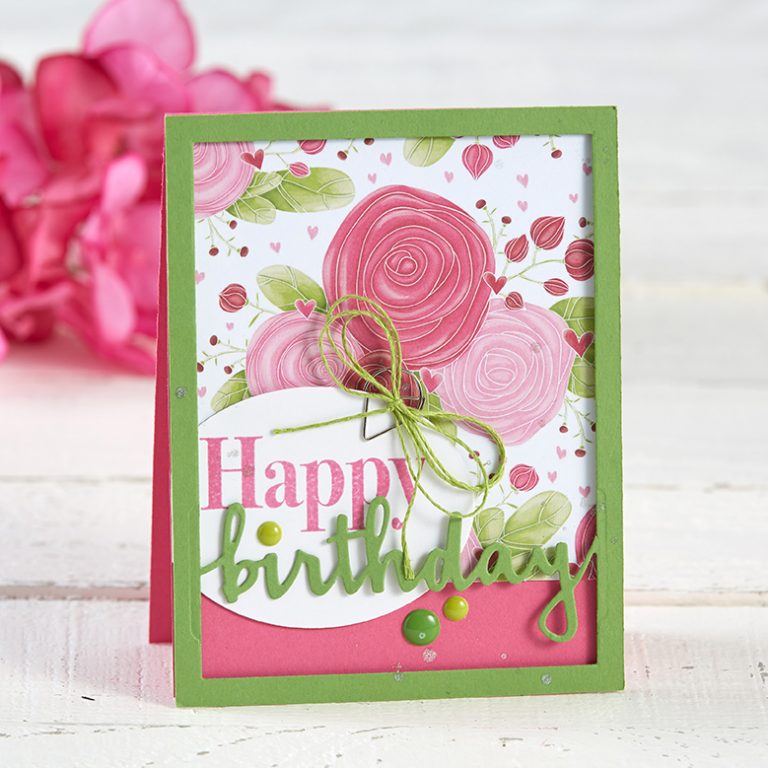
Want to see some projects featuring double bows? Check out these beauties and be inspired to add your own double bows to crafts and cards!

13 Comments
Patricia Dolinsek
Excellent tutorial Lynn! I have never been able to do a bow like that without the bow maker thingy. You have made it look so easy. I am sure I can do it now. Thank you!
Kathy Martin
So easy to dress up a project with the double bow. Thanks for the video!
Judith Gill
This is so stunning!! I love it!!
Karen Schroeder
Thanks Lynn! I’m thrilled you made the video! I know a lot of my customers will be viewing it!
Diana
Great tutorial! I have always had difficulty making the double bow-this helps tremendously,. Thank you!!
Joyce Bergthold
I’ve seen this done several times – but this time it stuck! I showed it at my last Meetup and everyone was successful in making it. These pretty bows can now be apart of our cards.
Becky
Loved your tutorial, thanks for sharing.
Joanne Hoffmann
Just found this on Pinterest…this is awesome and the BEST info that I’ve found on making a double bow…I might be even able to do this! TFS
Amy
Omy!!!! Best tutorial ever thank you! I was so proud of myself lol! In ENGLISH! YAY I DID IT!t
funstampers
Yay! Double bows on ALL the things now! 🙂
Michelle Schroeder
Awesome video! Finally a really really really good detailed explanation of how to tie this bow. Love it. Best I’ve ever seen!
Dee
Thank you! You made it easy to follow!
Debra J Gilbert
I absolutely NEVER leave comments but in this one – I GOTTA!
I suffer severe anxiety and fall apart over literally nothing… I’ve been trying for nearly 6 months to do this & I’ve tried about every tut there is with the only results being me dissolving in a fit of tears and no self worth.
Until yours.
I did it!!
Thank you thank you thank you xx
Debi