Cardmaking Inspiration | Happy Birthday Card with Elena
Hello Spellbinders’ fans! Welcome back to our Cardmaking Inspiration series! We hope you’ve been enjoying these mini posts sharing simple cardmaking ideas and step by step instructions on how to make them!
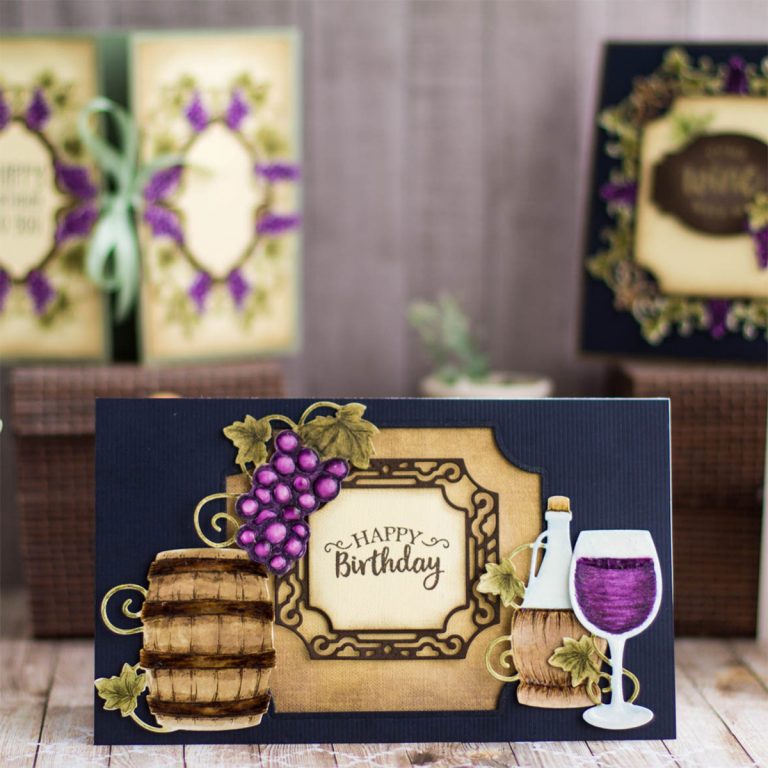
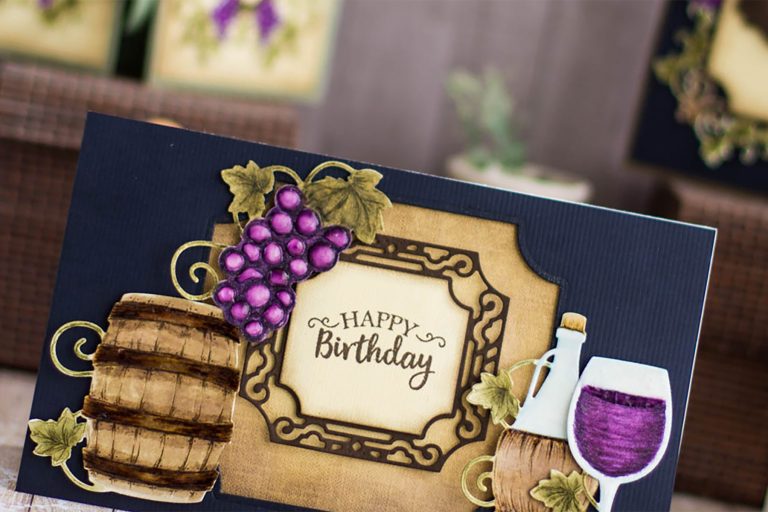
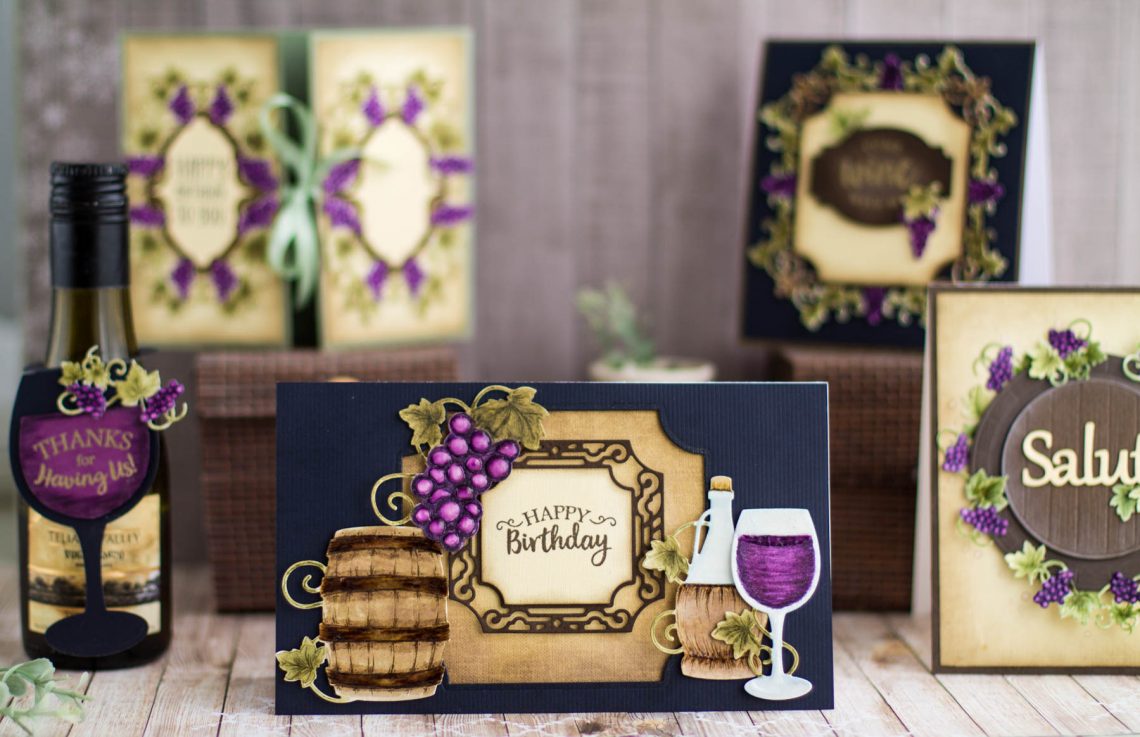
Today we welcome Elena Salo as a guest on our blog sharing a stunning Birthday card featuring stamps and dies from our Wine Country collection.
This project appeared in the Die-Cutting Essentials Magazine, Issue #33.
Step By Step Instructions:
We have a full set of step by step instructions describing how to create this card.
- Create 4 1⁄2 x 7 1⁄2” top folding card base out of white cardstock.
- Cut a piece of yellow cardstock to 4 1⁄2 x 7 1⁄2”, blend dark brown ink to add some interest and adhere onto the card.
- Cut a piece of dark blue cardstock to 4 1⁄2 x 7 1⁄2”, die-cut a window in the center and foam mount panel onto the card base.
- Die-cut a tag out of brown cardstock, foam mount onto the card in the window.
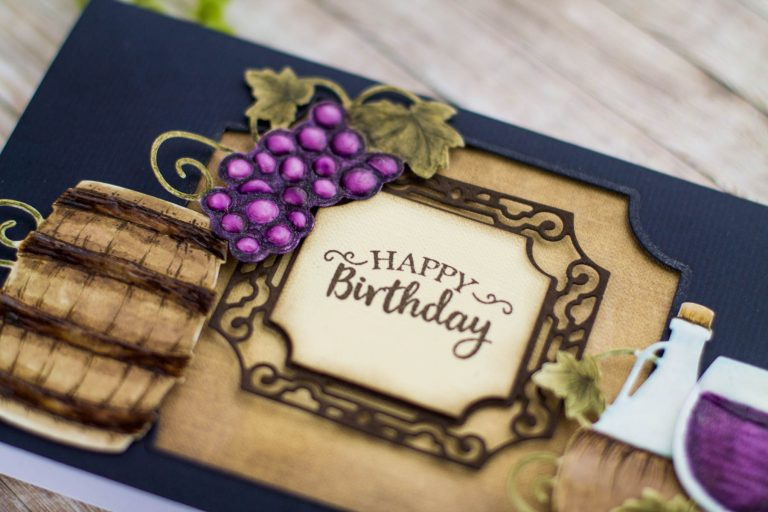
- Die-cut a tag out of yellow cardstock, stamp a sentiment and foam mount onto brown tag.
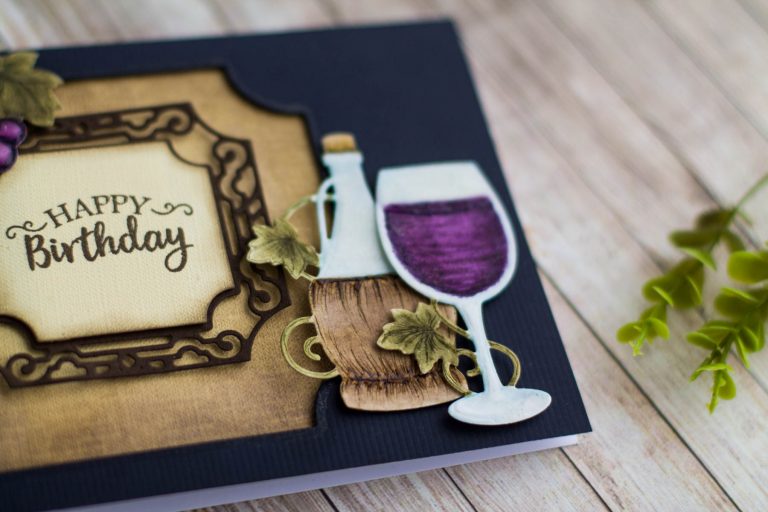
- Die-cut bottle, glass, barrel and grapes out of watercolor cardstock and color.
- Cover some elements with glossy accent and glitter. Cover each grape berry with jewel drops.
- Foam mount die cuts onto the card.
Spellbinders Supplies:
- S4-879 Labels 59
- S4-880 Labels 59 Decorative Accents
- S5-347 Wine Charms
- SDS-134 Wine Glass Bottle Tag
- PE-100 Platinum 6 Die Cutting and Embossing Machine – 6″ Platform
- T-001 Tool ‘N One
OTHER SUPPLIES:
SplendorGel White Cardstock 340 GSM; Artelibris Air Bag Yellow Cardstock 120 GSM; Sirio Dark; Blue Cardstock 290 GSM; Marmelo Chocolate Cardstock 165 GSM; Canson Mix Media Imagine Cardstock 200 GSM; Ranger Distress Walnut Stain Ink Pad; Ranger Distress Markers: Peeled Paint, Forest Moss, Dusty Concord, Seedless Preserves, Tumbled glass; Double-sided Adhesive Tape; Double-sided Foam Adhesive; Ranger Glossy Accent; Tonic Pale Periwinkle Nuvo Jewel Drops; Zig Glitter Clear Brush.
Thank you for joining us today, friends! We hope you like this project and will give this idea a try! If you do, please share your project photos on social media and tag us so we can see!
Have fun die-cutting!

