
Faux Stained-Glass Holiday Cards by Christine Smith as seen in Simply Cards and Papercraft Issue 183
Today we have a special guest – Christine Smith (visit Christine’s Blog and Youtube channel) sharing her Stained-Glass Holiday Cards Masterclass published in the Simply Cards and Papercraft Issue 183 (you can purchase this issue HERE).

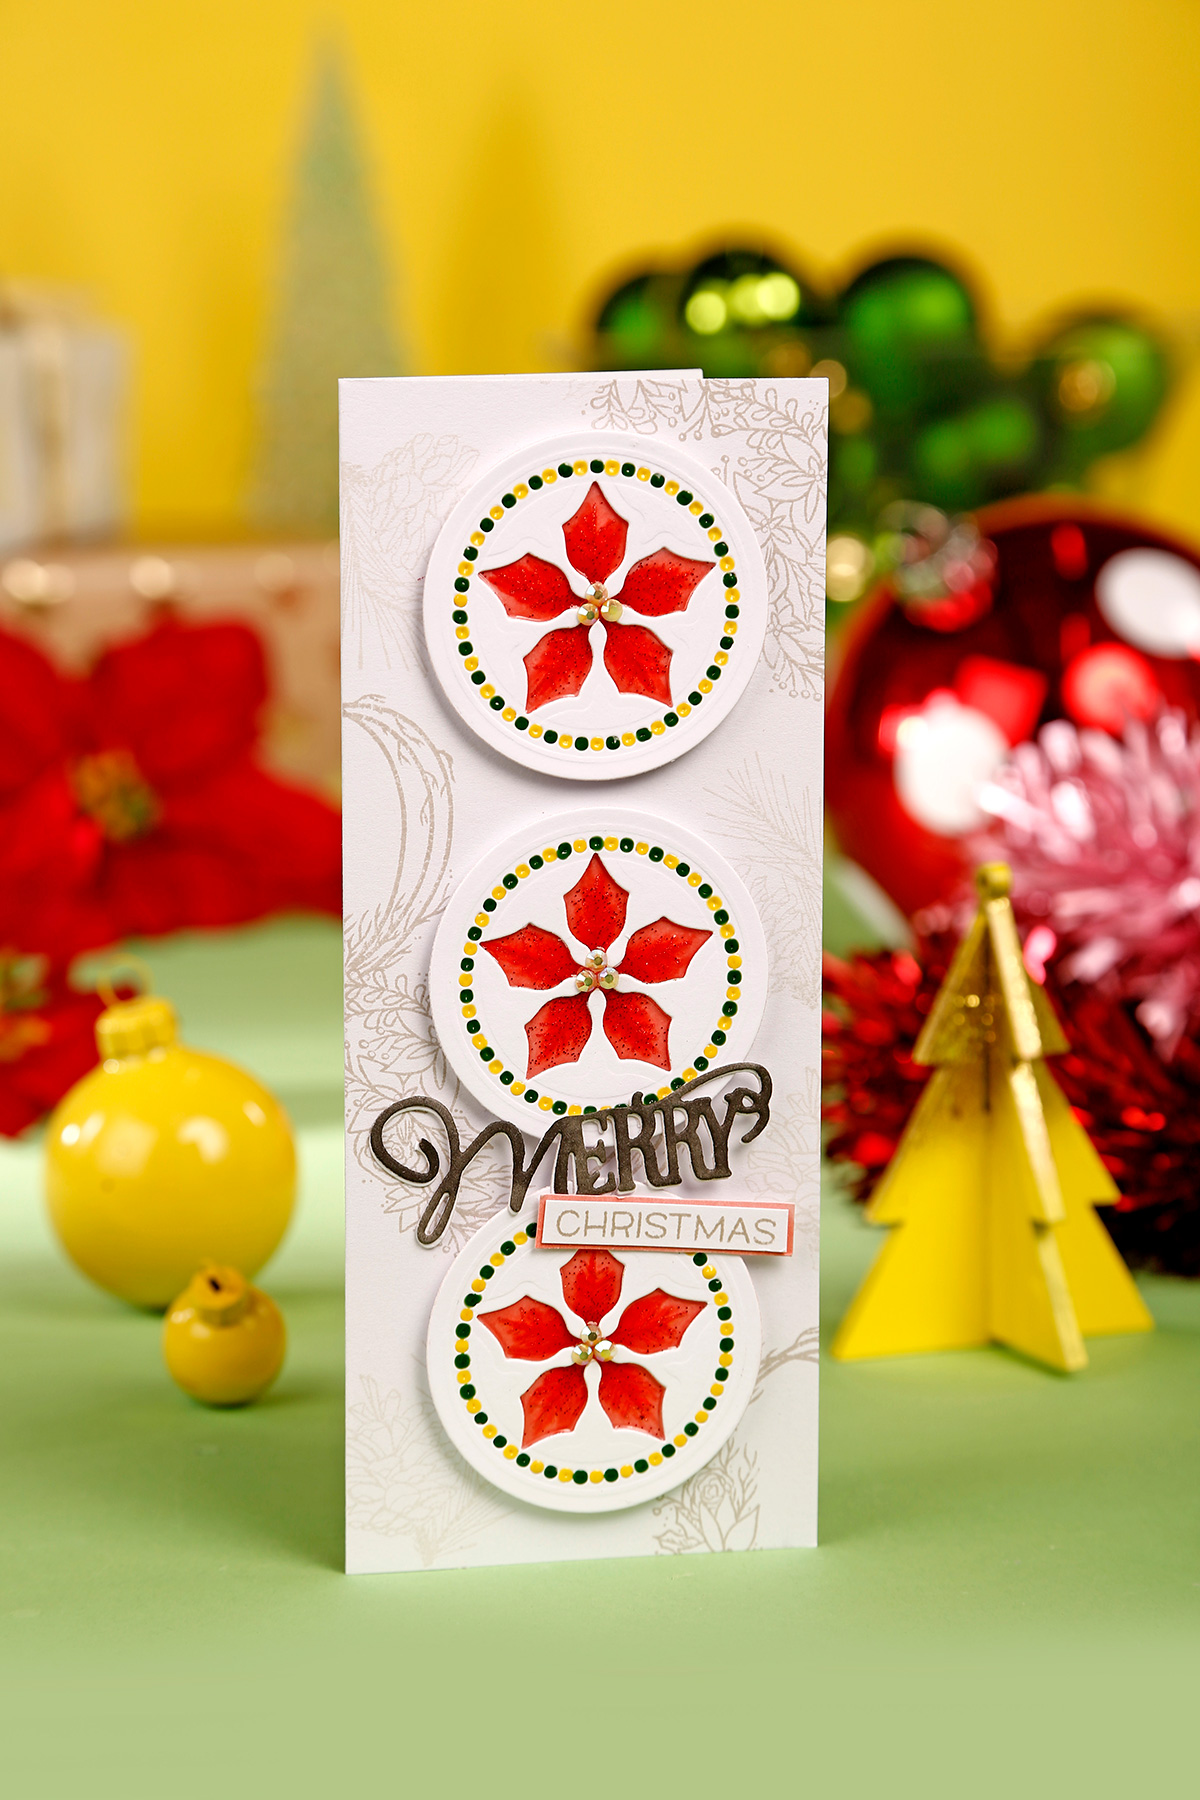
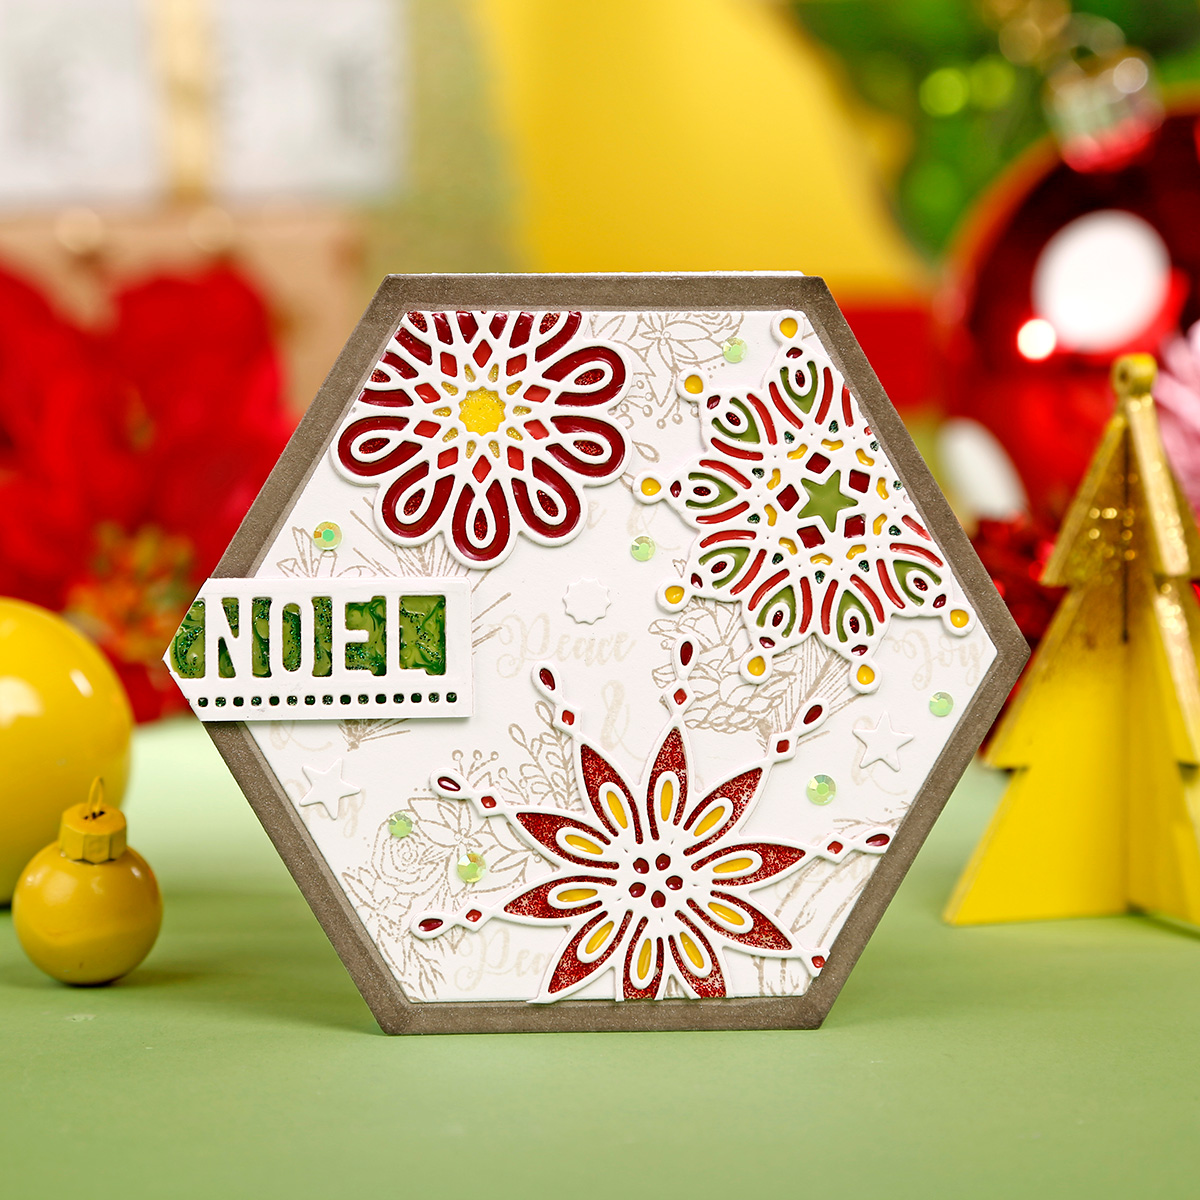
The faux-stained glass look is such an easy technique to master, and it’s so versatile too! Simply cut a couple of the same die-cut, stack them together, add colour (by any means you can think of!) then fill the ‘wells’ created by the stacked dies with Nuvo crystal glaze. Leave this base piece to dry overnight, then simply add another die-cut over the top to give a neat and finished look. For a really deep effect, you can add more layers of die-cuts to create deeper ‘wells’, but you will need to apply the Nuvo Glaze in multiple layers if you choose to do this as it’s recommended to apply multiple thinner coats rather than one thick one. In this masterclass I’ve tried to show a variety of different products you can use to colour the stained-glass portions, from basic Copic colouring to using shimmer powders and Nuvo crystal drops, you can even just sprinkle coloured glitter into the wet Nuvo Crystal Glaze too.
Be sure to follow Simple Cards & Papercraft on Facebook and Instagram.

This technique is a great way to add that wow factor to your projects, either as a small accent, or as the focal element too. In the two step-by-steps I have shown the simple technique for a basic card, using Copics to colour the recessed image and simply fill the area with the glaze, but I’ve also given you an advanced step-by step detailing how to use Nuvo Crystal Drops in the fine details of a smaller very intricate die-cut too. You can keep this technique really basic by adding your colour followed by the glaze, or you can apply ‘colour’ and glaze in multiple layers to give a different look too. For the Falalalalala card, I used multiple layers, adding some fine glitter each time, in this case doing the multiple layers intensified the overall colour of each glittered area.
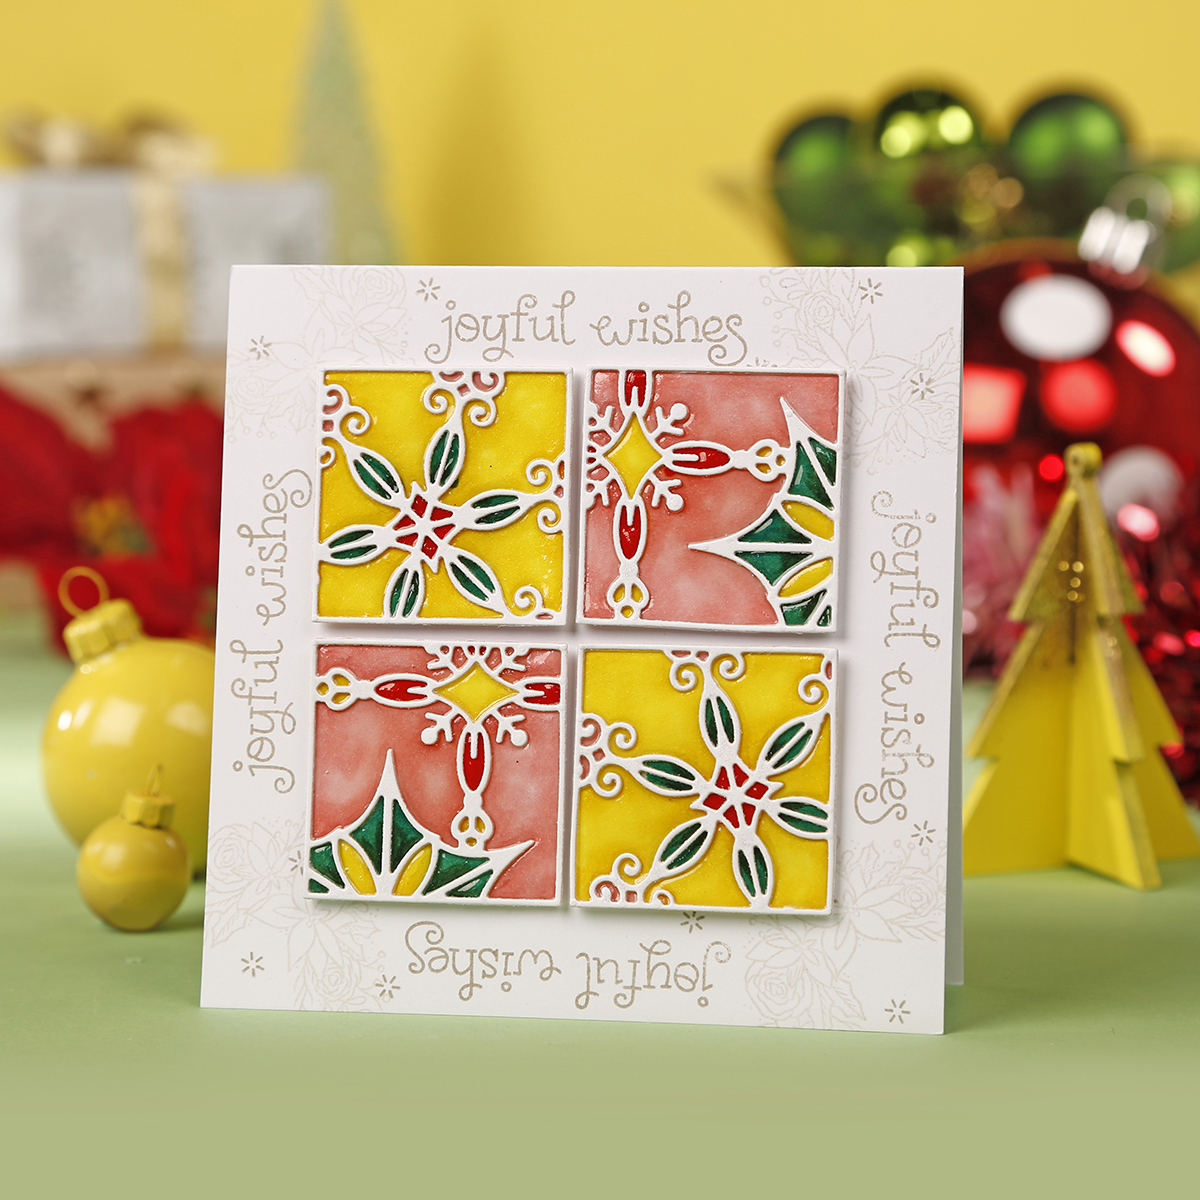
So whether you keep to the original stained-glass look using intricate doily type dies, or you mix it up a bit by adding the Nuvo Crystal Glaze over the top of a coloured more solid die-cut, have fun experimenting and putting your own spin on the basic idea.
Believe Card
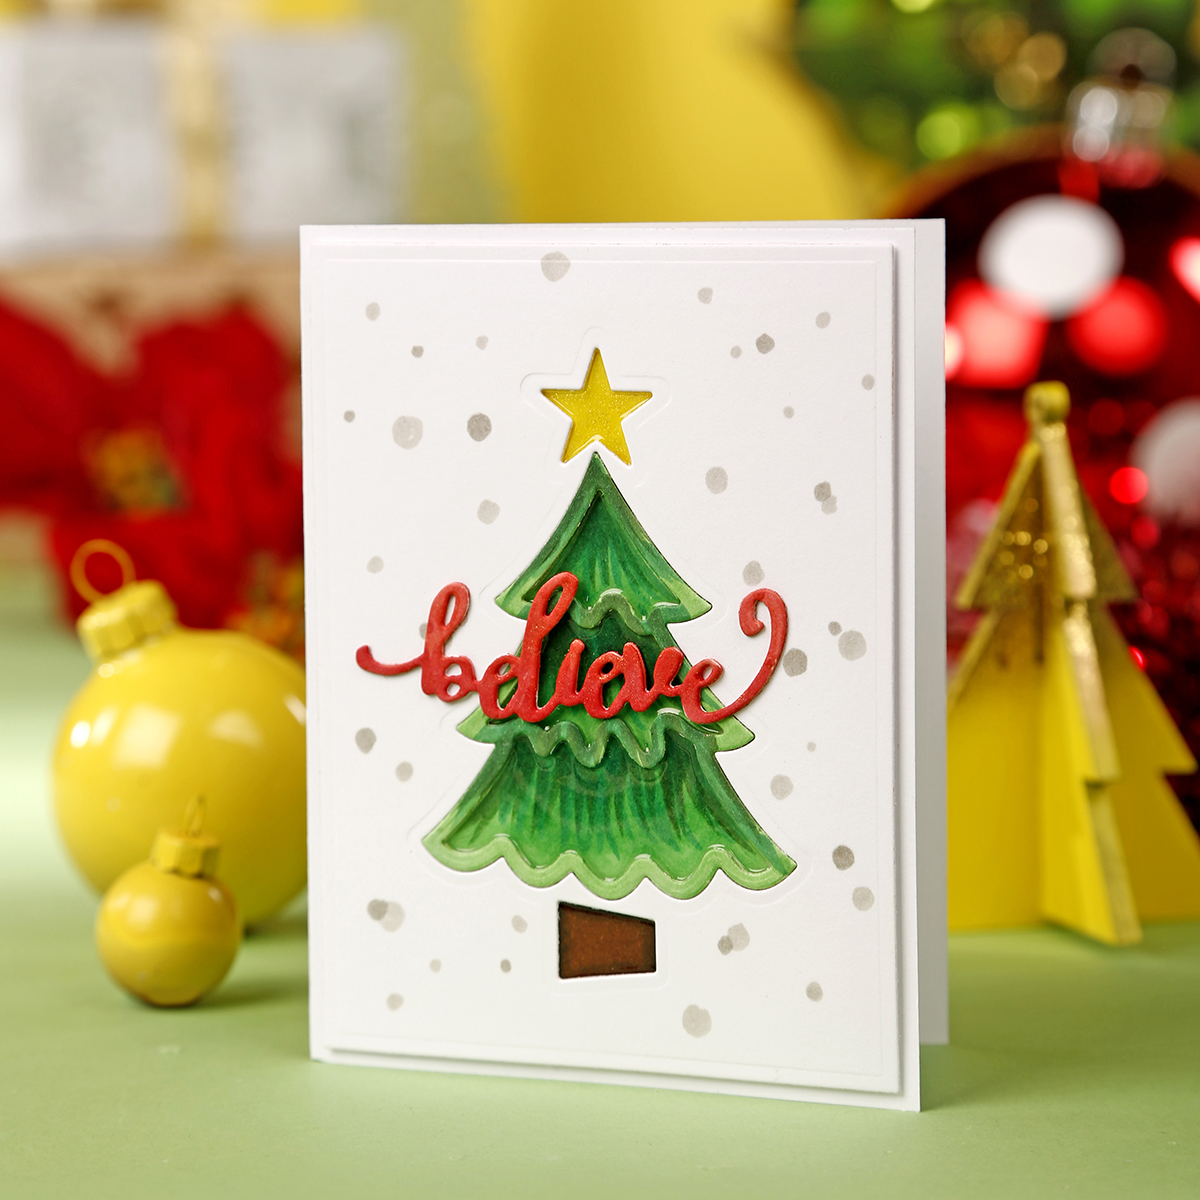
Instructions:
- Die-cut the main Christmas tree die twice from a rectangle of card, making sure to place the die in the same place both times. You’ll also need two of the inner tree die too.
- Stick a piece of scrap card behind the opening in one of the main panels, stick the segmented inner piece inside the tree aperture, then colour the tree, star and trunk with Copics. You’ll need to colour the second outline piece in the same green tones too.
- To add some sparkle, use the Nuvo Aqua Shimmer pens to apply some glitter to the elements you want, then leave this to dry.
- Once dry, flood the sections with Nuvo Crystal glaze, when you’re just using one or two die-cuts to create your ‘well’ you can completely fill it, but if you go deeper than this, you’ll want to let a thinner layer dry, then add another.
- Once dry (make sure it’s on a level surface!), the product will shrink back into the ‘well’ area giving you a nice even glossy finish. Add the second main panel over the top to hide the messy outside edges.
- Then add on the other outline piece to neaten up that part too.
- You’ve now got your finished faux-stained glass look, and you can make this more complex by adding in baubles or other decorations to the tree when you colour it.
- Die-cut a Believe sentiment a few times from some scrap white card and stack them together.
- Use some light warm grey Copics to add some random falling snow in the background, then use some red Copics to colour your sentiment and complete the card.
TOP TIPS
- Use flicking motions when colouring the tree to give it some texture to suggest branches.
- To help you line up the main tree in the exact same place when die-cutting your main panel, you can use a rectangle die to anchor your tree die too.
Spellbinders Supplies:
Other Supplies:
Nuvo Crystal Glaze; White Card; Cosmic Shimmer Glue; Copic Markers; Tonic Studios Aqua Shimmer Pens – Midas Touch and Glitter Gloss.
More Inspiration:
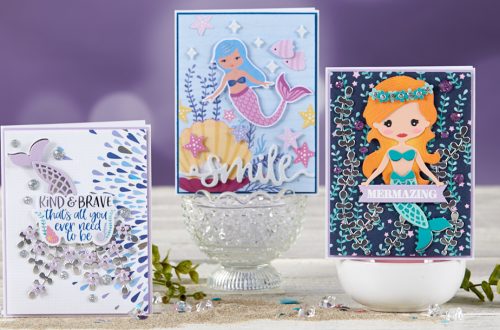
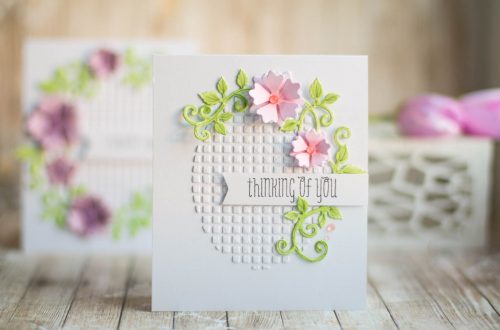
Here are additional projects created using Spellbinders dies and Faux Stained-Glass technique by Christine:

3 Comments
maria f.
Absolutely gorgeous – each one!
Darlene De Sario
So beautiful! Spellbinders dies are always fabulous though! Will definitely be trying the stained glass technique, its gorgeous! Tyfs and inspiring
Martha R
Gorgeous cards!