Cut & Emboss Folders Inspiration | Handmade Cards & Tags with Bibi Cameron
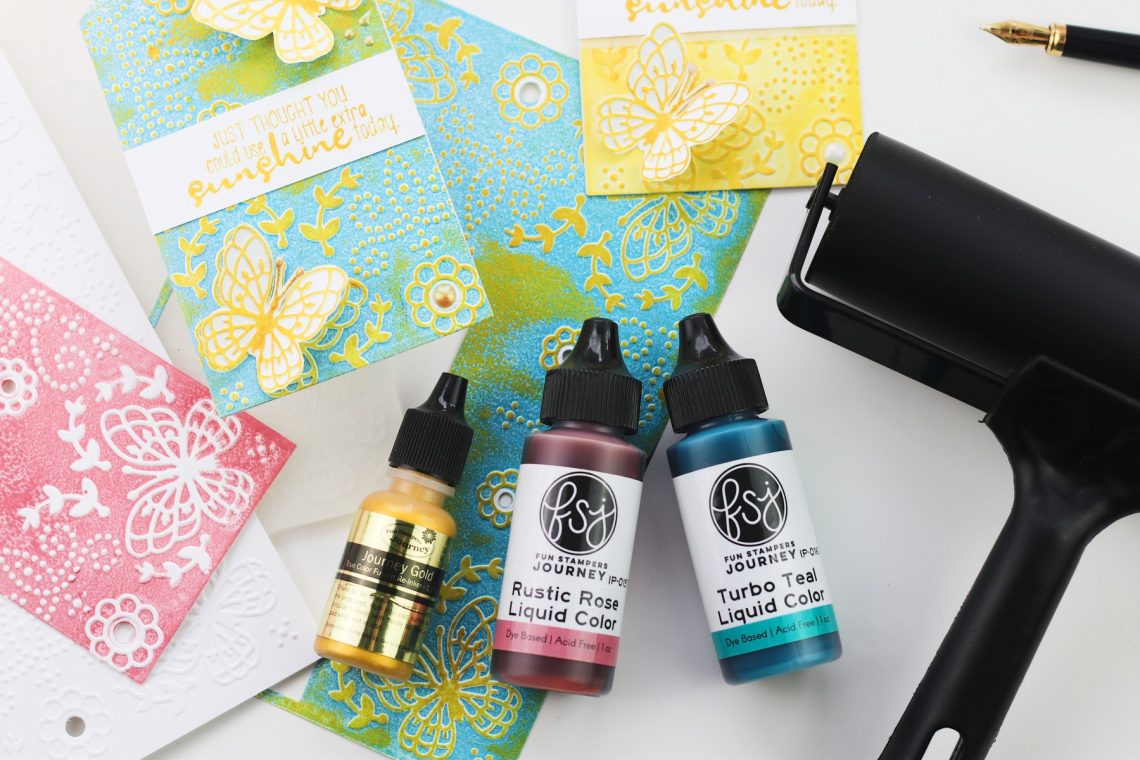
Hello everyone! Bibi Cameron here, I hope you are doing well. Today I’m sharing projects using 3 new Cut Emboss folders. I also had the joy to try Fun Stampers Journey stamps, liquid colors and tools and I decided to use them for my projects today.
I’m totally wowed with Fun Stampers Journey Gold Metallic ink and brayer. The rubber stamps are high quality and what I liked the most is that they made me feel that I still can live without my stamping platform.
Ok, I was experimenting first with all these products and I made several Cut & Embossed brayered backgrounds.
I applied FSJ liquid colors on the Cut & Emboss Folders using the brayer to transfer the ink over white smooth cardstock.
To ink up the brayer, I simply poured some FSJ Liquid Color on a large clear block and rolled the brayer back and forward on it to get full coverage.
Then I use the brayer to ink up the Cut & Emboss folder. I placed the paper on it and I run it through the die cutting machine. Done! I repeat the process again to get better coverage. It is very easy to align the paper on the Cut & Emboss Folder in the same exact spot. You can guide yourself using die cut areas as a guide. The little dies inserted in the folder will keep everything in place as well.
Once I had all the panels ready I also I applied gold metallic ink over the panels made using Flora and Fauna Cut & Emboss Folder so that the embossed lines (raised areas on the paper) in white color became gold… Cool! but I ended up covering parts of the panels with gold ink that I didn’t want to be inked.
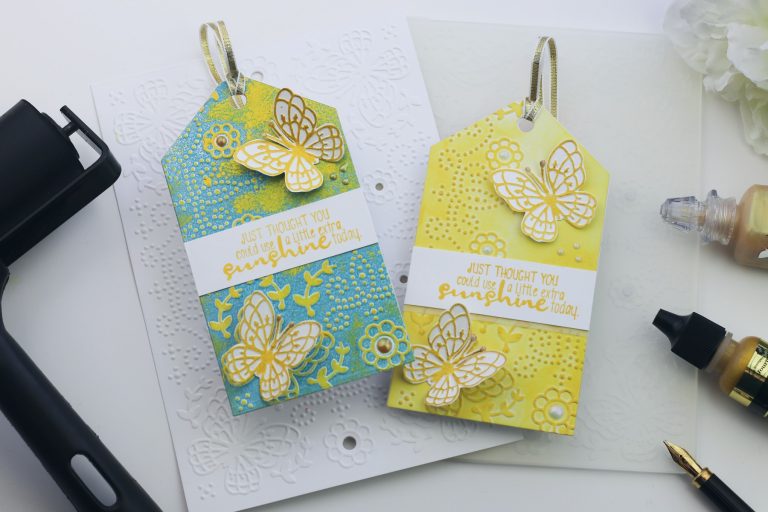
So to save the panels I decided to cut tags out of them. I then used Flora and Fauna Cut and Emboss folder to create a plain white background panel and I used the brayer inked with gold metallic ink to ink the raised areas of the paper. I then fussy cut the butterflies from that panel to be added to the tags as embellishments.
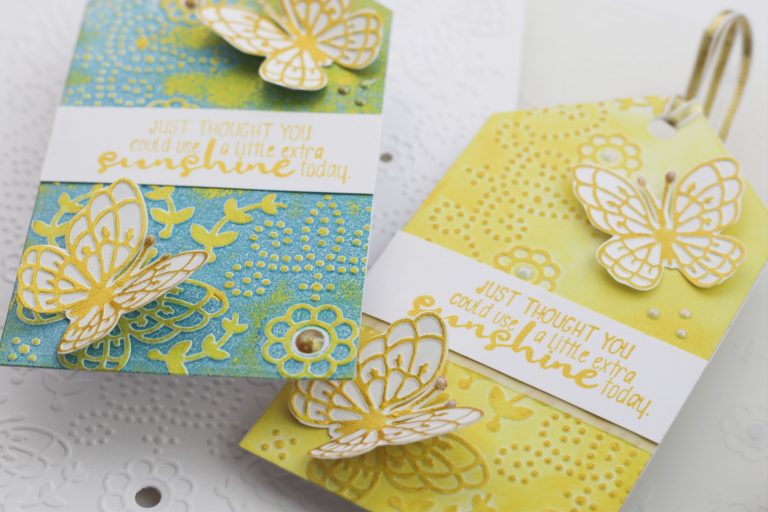
I used FSJ Turbo Teal Liquid Colour and Metallic Gold ink on the blue Tag and only gold metallic ink in the golden tag.
The metallic gold ink tends to look yellow in the pictures but it is stunning shiny rich golden color. I don’t have words to describe it. It is very very pretty.
To create the cards below I followed the same process but this time I didn’t use the brayer to add color to the raised (embossed areas of the paper).
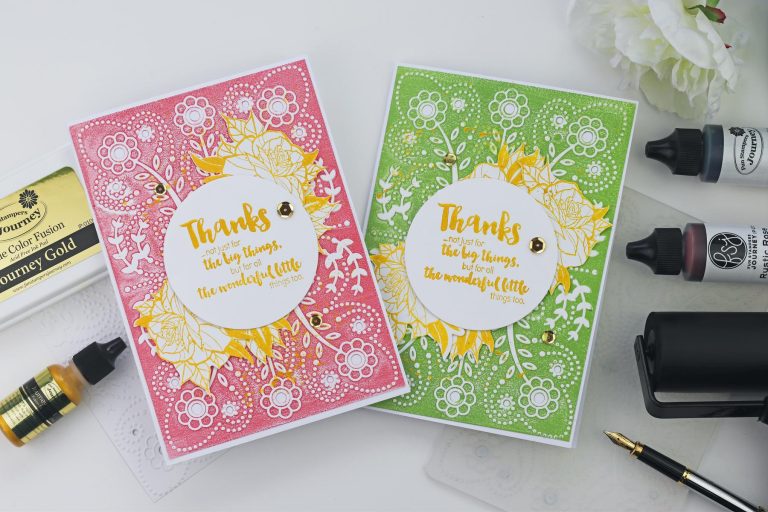
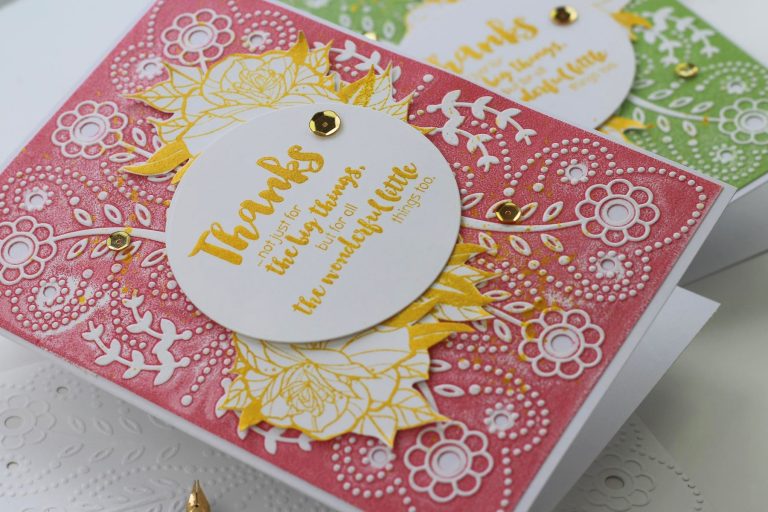
I used Rustic Rose and Fresh Forest liquid colors to ink up Floral Splash Cut and Embossing folder and I splatter Gold metallic ink at the background.
I used FSJ Gold Metallic Ink to stamp the sentiment and the floras to complete these cards. The sentiment are from FSJ Inside and out stamp set. The flowers are from A Rose Any Other Name Stamp Set and Die Set by Spellbinders. I embellished with gold sequins.
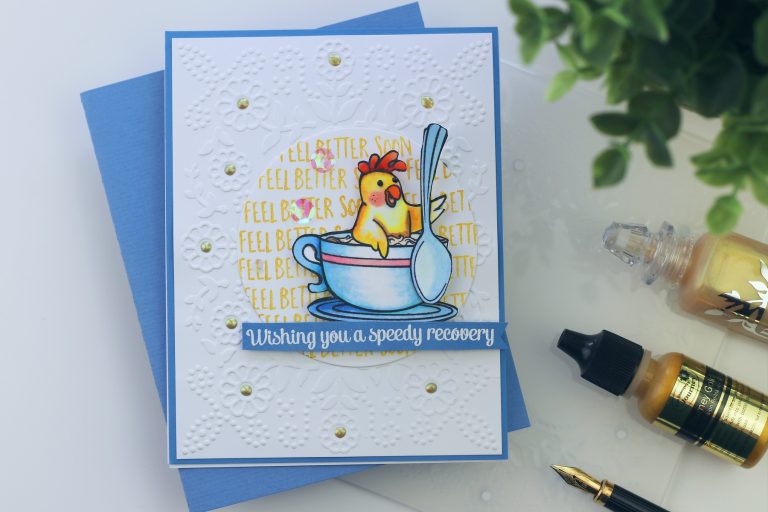
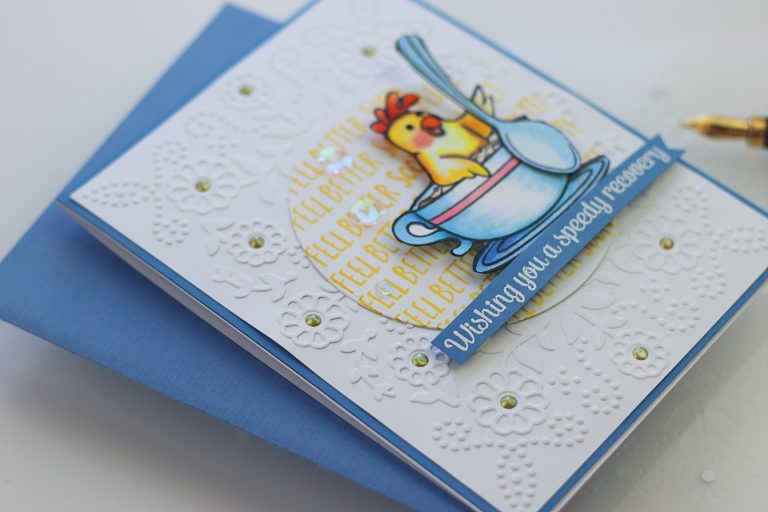
Last but not least, I made a completely different card that features Floral Reflection Cut & Emboss Folder and images from Get well stamp set.
I stamped the images using black ink and I applied colors using alcohol markers. Then I fussy cut the images using scissors. I heat embossed a banner using clear ink and white embossing powder.
I then die cut a circle from white cardstock and I repeatedly stamped the sentiment “Feel better soon” on it, using FSJ Gold Metallic Ink.
This time I just cut and emboss a piece of smooth white cardstock using Floral Reflection Cut & Emboss Folder and I added Nuvo Dream Drops over the little die cut circles in the center of the flowers created by the folder. So this panel actually doesn’t look like a die cut panel but only embossed.
I glued the panel on a piece of FSJ beach ball cardstock and embellish with a couple of clear sequins.
Spellbinders Supplies:
That’s all for today I hope you enjoy these projects. Happy Crafting!

One Comment
BeverlyBL
How fun are your cards! Love how you put the “shadow” under your butterflies. That metallic stuff looks really cool. Thanks for your projects.