Foil Basics Inspiration | Clean & Simple Cards with Jung AhSang
Hello friends! My name is Jung AhSang, and I am so excited to be returning with another guest post on the Spellbinders blog. If you’d like to follow my crafty projects, my blog is jungahsang.wordpress.com. When I saw the products in the new Foil Basics collection by Yana Smakula I immediately knew I had to make a polka dot card; I love polka dots!
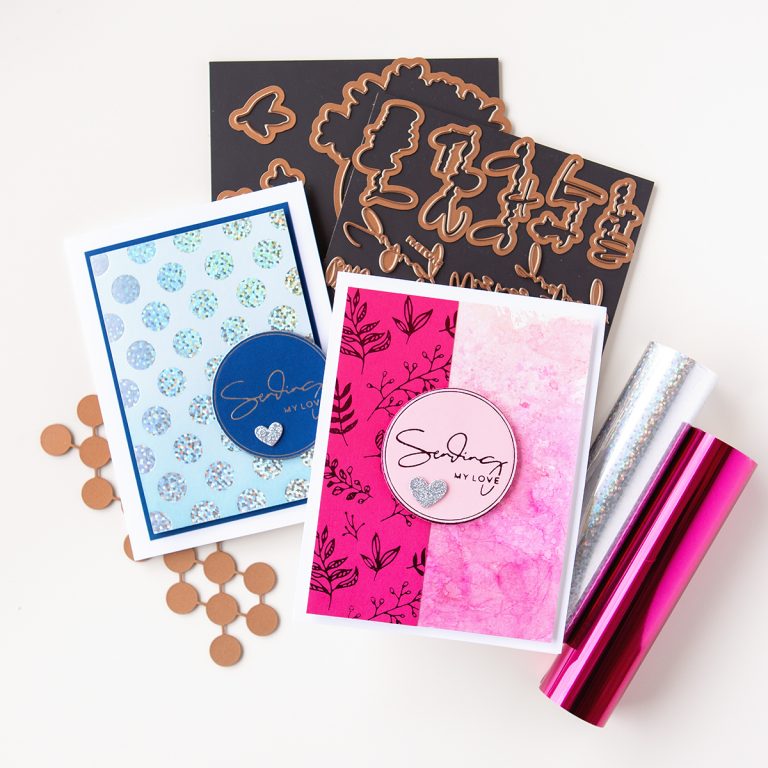
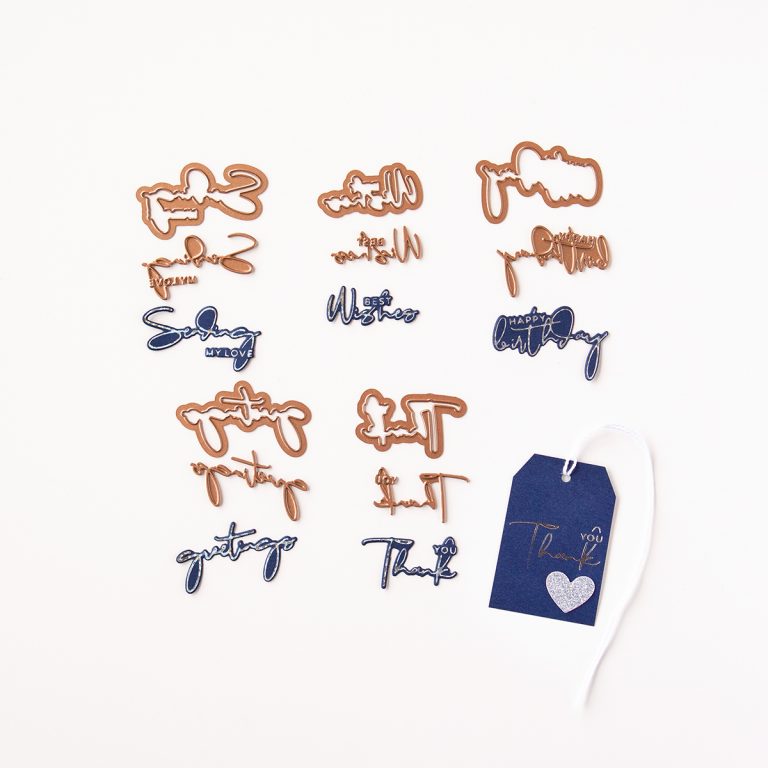
Today, I’m working with all the products from this collection. I am using the Polka Dot Strip, Yana’s Sentiments set, the Foliage Border set, and the Organic Foliage set.
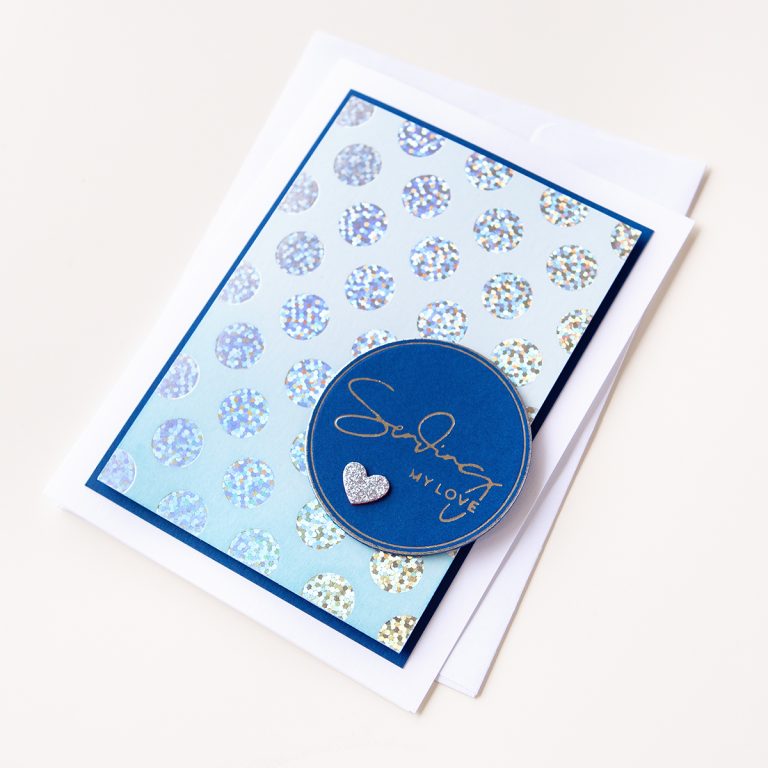
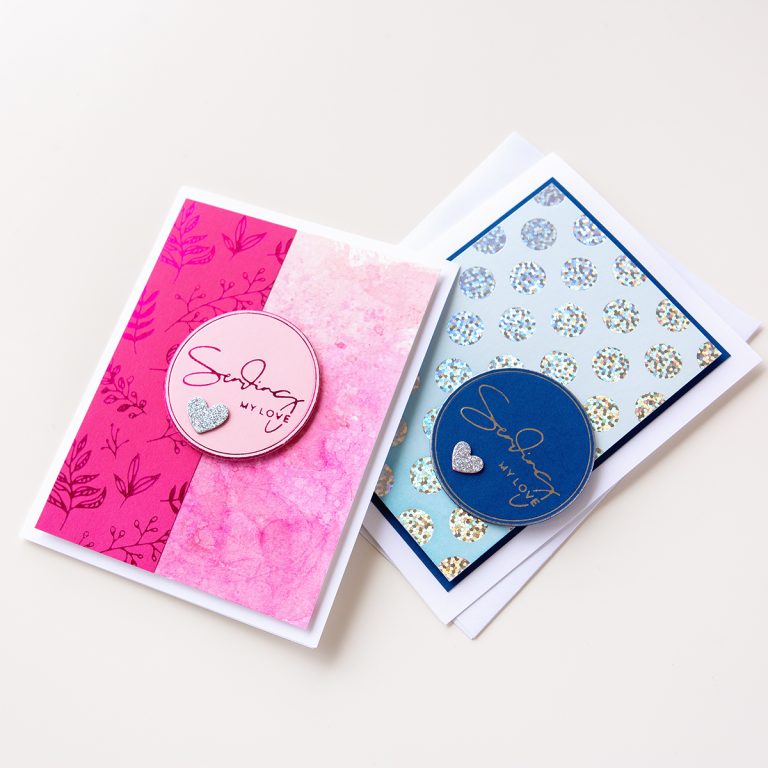
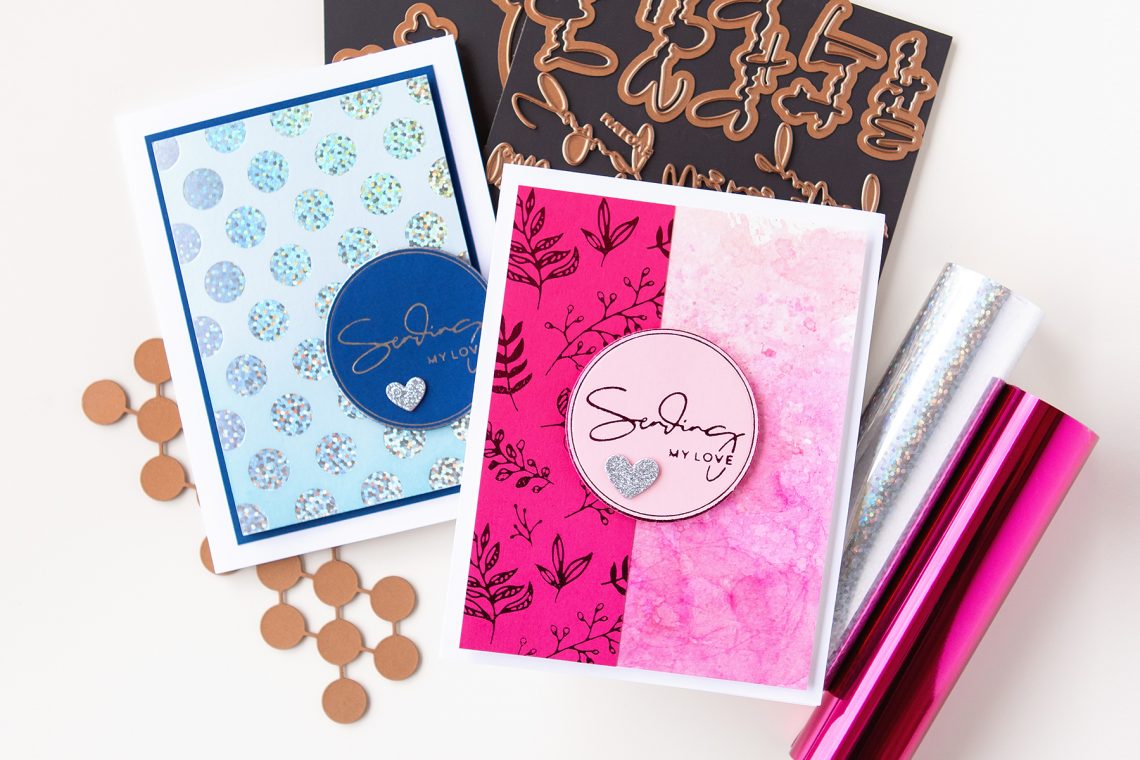
For my first card, I wanted to showcase the polka dot strip. On a piece of light blue cardstock, I used my Glimmer Hot Foil System as well as the Speckled Prism foil to foil the polka dot pattern. I used the polka dot strip foil plate 3 times, lining it up, to create a full page of polkadots. I wanted to add a little more interest to the polka dot background, so I used a distress oxide ink, and ink blended to create a slight blue gradient. Next, I trimmed my polka dot background piece, and adhered it to a piece of navy blue cardstock to frame it out.
On another piece of navy blue cardstock, I hot foiled the “Sending My Love” sentiment from Yana’s sentiment set, and the circle foil plate from the Foliage Border set. Then I used one of my Circle dies to die cut the circle. To put my card together, I used a white A2 sized card base, adhered the polka dot background, and then adhered the circle sentiment piece with foam squares. I added a silver glitter heart that I die cut, using a heart from a previous Spellbinders Large Die of the Month Kit (Festive Wreath Slider Card).
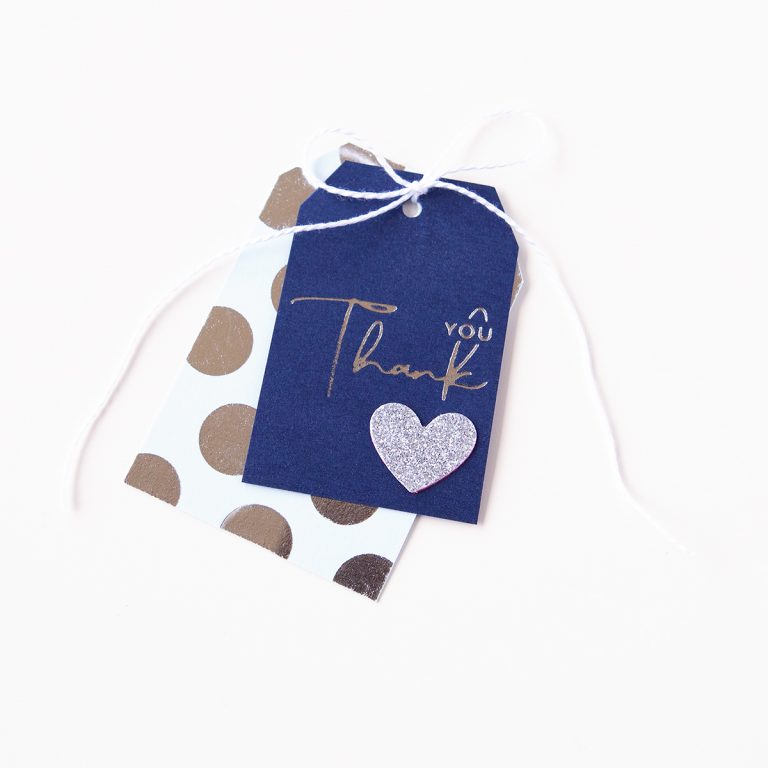
I decided to make a gift tag using similar colors and products as my first card. I used a light blue cardstock and sliver hot foil to foil the polka dot strip. I trimmed it into a tag shape, and punched a hole. I used silver foil, and the “Thank You” sentiment from Yana’s sentiment set on dark blue cardstock. Again, I trimmed it into a tag shape (slightly smaller) and punched a hole. Finally, I glued on a silver glitter die cut heart, and tied the 2 tags together.
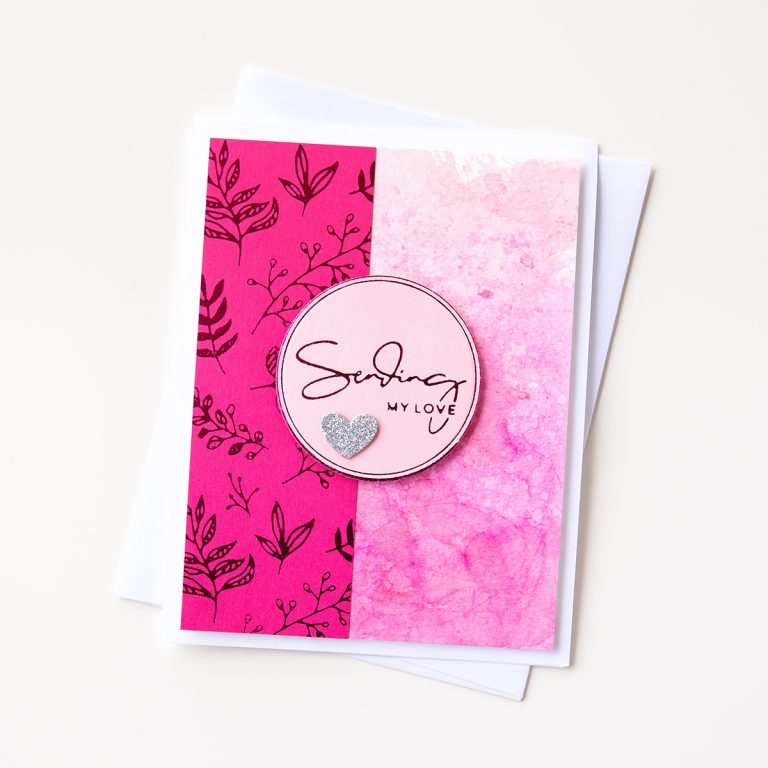
For my next project, I created a more feminine card. I used the same “Sending My Love” sentiment and circle foil plate as the first card, but I decided to use Magenta foil and light pink cardstock. Again, I die cut the circle and then glued on a die cut glitter heart. Next, I set up the foliage plates on my glimmer machine in a vertical strip, keeping in mind the spacing. I foiled the foliage using the same Magenta foil on dark pink cardstock, and I repeated the pattern twice. I trimmed the foiled piece, and set it aside. On a piece of white cardstock, I used a few shades of pink distress inks to add a watercolor background. Once dry, I trimmed and glued it to an A2 sized white cardbase. I glued the foiled foliage strip to the left of the card, and then the circle sentiment on top with foam squares.
I really hope you like how my cards have turned out. I love the clean graphic vibe of these cards, and I think it allows the foiling elements to shine.
Spellbinders Supplies:
Other Supplies
Cardstock, Distress Inks in Spun Sugar, Victorian Velvet, and Picked Raspberry, Distress Oxide ink in Broken China, Foam Squares
I hope I have inspired you to get crafty. Don’t forget to check out this awesome Foiled Basics release on the Spellbinders website. I really love Yana’s sentiment set; there are perfect sentiments for various occasions!
Thank you so much for stopping by, and have a lovely day!

