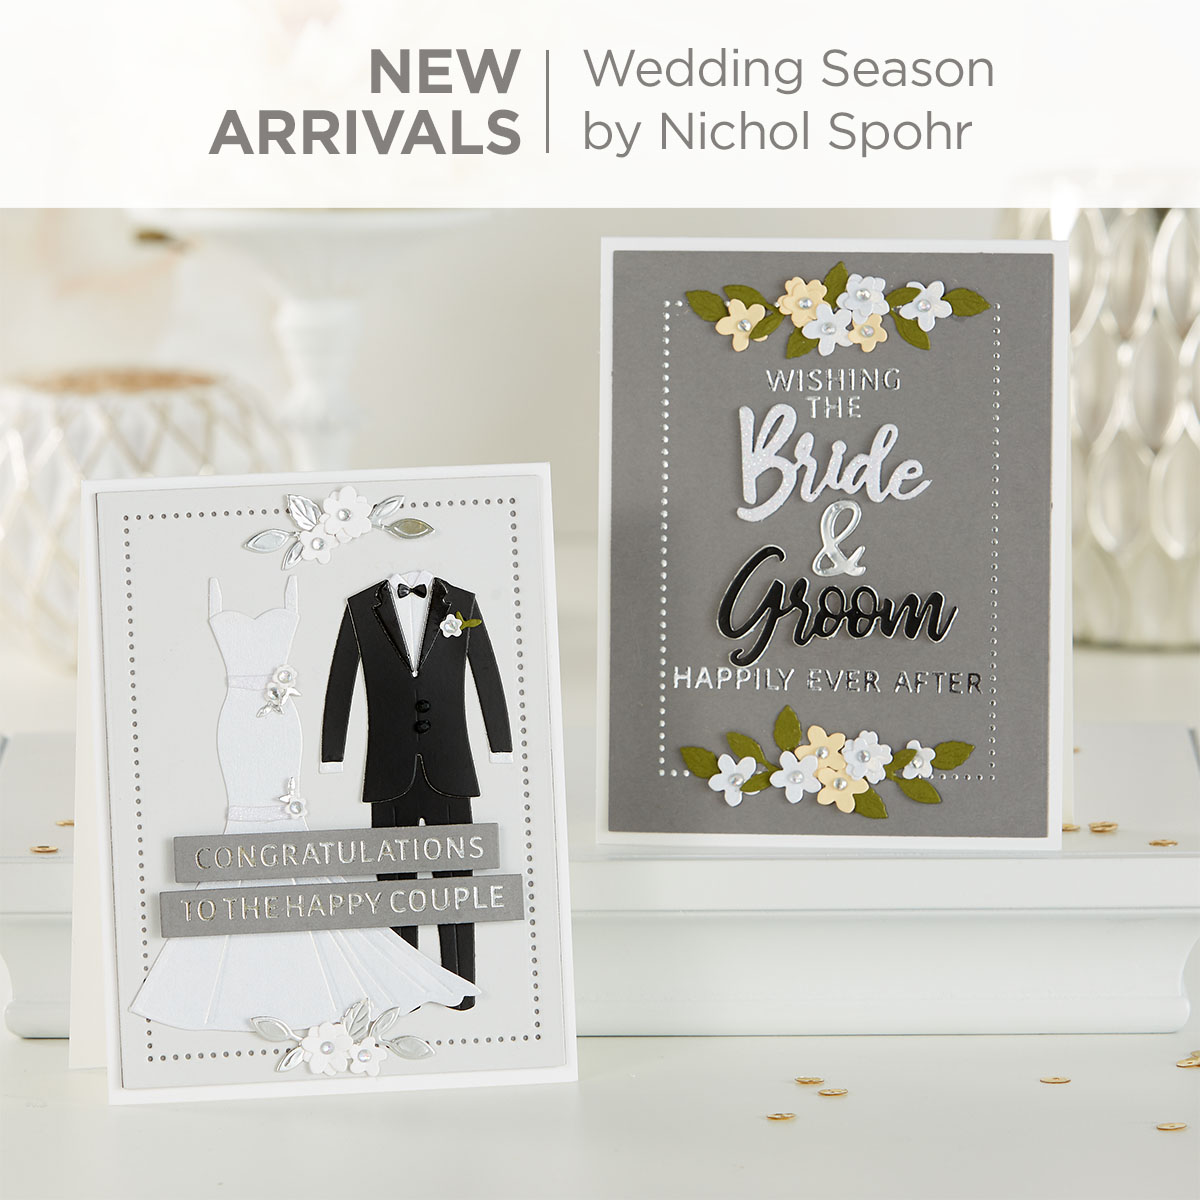
Wedding Season Collection | Wedding Cards with Jennifer Colacicco | Video
The Wedding Season collection by Nichol Spohr is here! Wedding Season by Nichol Spohr reflects a clean and contemporary look to that all-important life event. Mix and match with the other sets in the collection to create a wonderful array of projects for the happy couple!
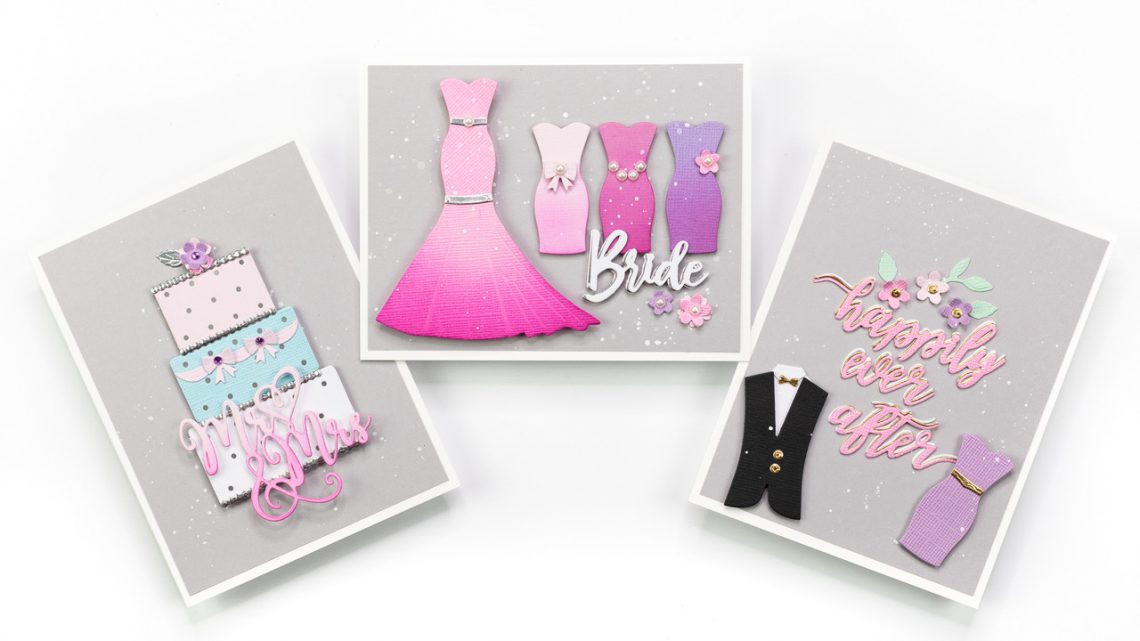
Join designer Jenny Colacicco as she shares 3 beautiful wedding cards created using this collection. Watch video below or on Youtube:
Bride Card

- Die cut four of the upper part of the main dress from Wedding Dress & Tux die set using different colors of cardstock. Blend co-ordinating ink on three of them up from the bottom.
- Die cut the main skirt die and blend ink up from the bottom.
- Adhere to a panel of gray cardstock trimmed to 4” x 5.25” using foam squares. Use a double layer on the main dress. Add accents on dress die cut from FSJ Silver Mirror cardstock.
- Die cut the ‘Bride’ sentiment from Die D-Lites Bride & Groom Sentiment from white and FSJ Silver Mirror cardstock and adhere together slightly offset. Pop up on foam tape onto card panel.
- Add accents to dresses and card using flower dies and bow dies from Mr & Mrs Wedding Cake, and pearl or gem embellishments.
- Finish with acrylic white paint splatters and adhere to a white note card.
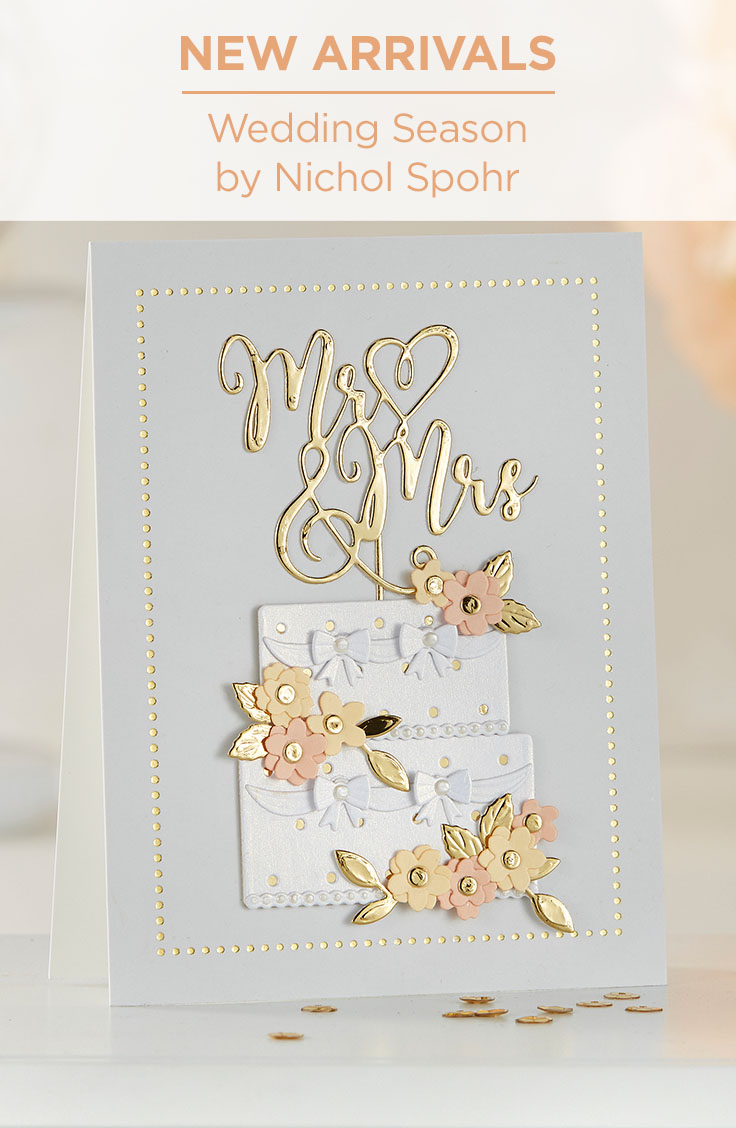
Cake Card
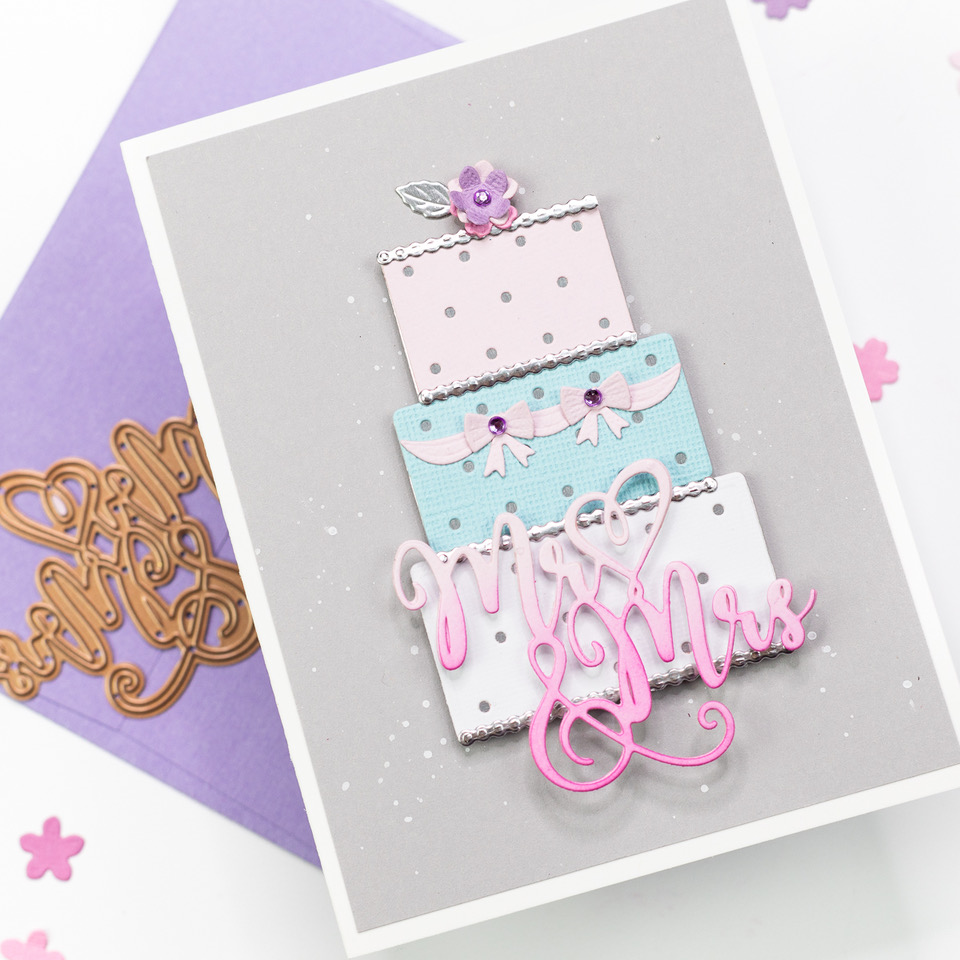
- Die cut the layers of the cake from Mr & Mrs Wedding Cake dies, using three colors of card stock – create the third layer by overlaying the smaller outline layer die over the top of the die cut layer for a second line to shorten the edge.
- Layer cake panels over FSJ Silver Mirror cardstock with liquid glue.
- Trim a panel of gray cardstock to 4” x 5.25” and splatter white acrylic white paint. When dry, adhere to a white note card.
- Pop cake panels onto the gray panel with foam squares. Adhere cake frosting die cut from FSJ Silver Mirror cardstock with liquid adhesive.
- Embellish cake with die cut bows and flowers as before. Bring dimension to the flowers and bows by curling up slightly.
- Die cut the Mr & Mrs Sentiment from three layers of pale pink cardstock and adhere together. Blend ink up from the bottom then add over top of the cake with foam adhesive.
- Embellish with gemstones or pearls.
Happily Ever After Card
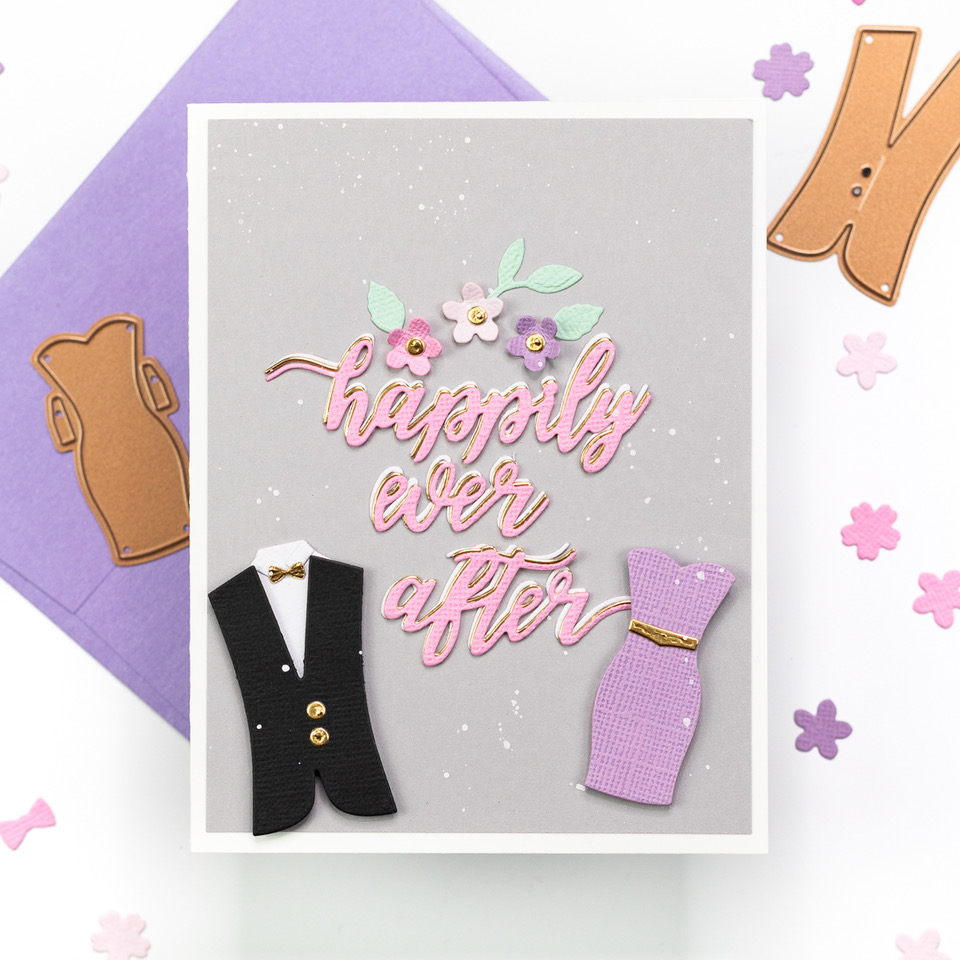
- Die cut the Die D-Lites Happily Ever After sentiment die three times from white, pink and FSJ Gold Mirror cardstock, and adhere together, offsetting slightly each time.
- Trim a panel of gray cardstock to 4 x 5.25” and adhere to a white notecard. Adhere the layered sentiment in the center.
- Die cut the waistcoat from the Wedding Dress & Tux die set from black cardstock, shirt insert and collar+cuffs die from white cardstock. Adhere to the card. Create gold buttons using the flower centers from Mr & Mrs Wedding Cake.
- Die cut the dress from purple cardstock and the waistband from FSJ Gold Mirror cardstock and adhere.
- Embellish with die cut flowers and leaves from the Mr &. Mrs Wedding Cake and add gems or pearls.
- Finish with acrylic white paint splatters.
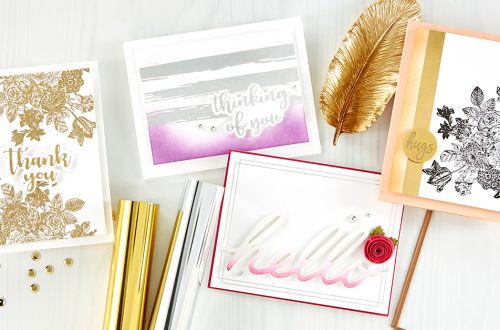
- Fold Whip Cream cardstock in half to create card base, score four lines (one on each side of card front) 1/4” from edge.
- Glimmer foil (3) brushstroke stripes on smaller panel of Whip Cream cardstock using silver foil, keeping stripes closer to upper portion of panel (see photo).
- Glimmer foil “thinking of you” sentiment on smallest panel of Whip Cream cardstock using silver foil, die cut with coordinating die.
- Sponge Lavender Fusion ink on bottom portion of striped panel, keep edges soft.
- Assemble card by adhering inked panel to card front with foam adhesive, then add die cut sentiment to panel with foam adhesive.
- Affix silver dots.
Spellbinders Supplies:

2 Comments
Patrice Hatcher
I ordered this on April 20, and went to check on the status and it states it is no longer available. What is up with the promotion of something you are not fulfilling?
Angela Fishburn
Beautiful!