The Warm Holiday Wishes Project Kit | Cardmaking Inspiration with Michelle Short | Video
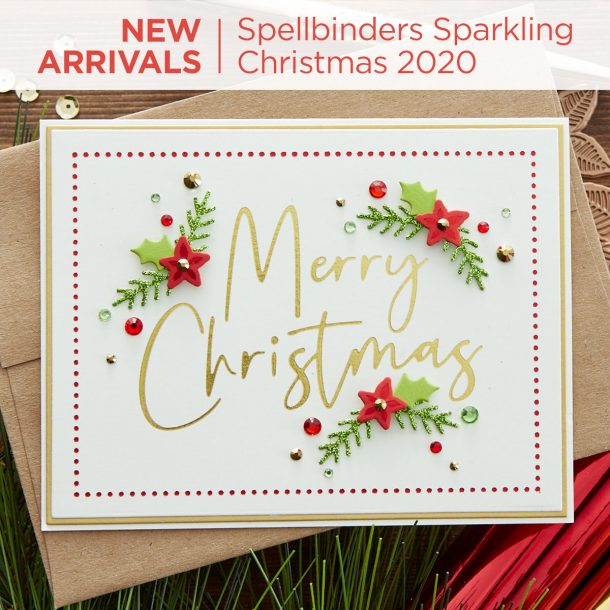
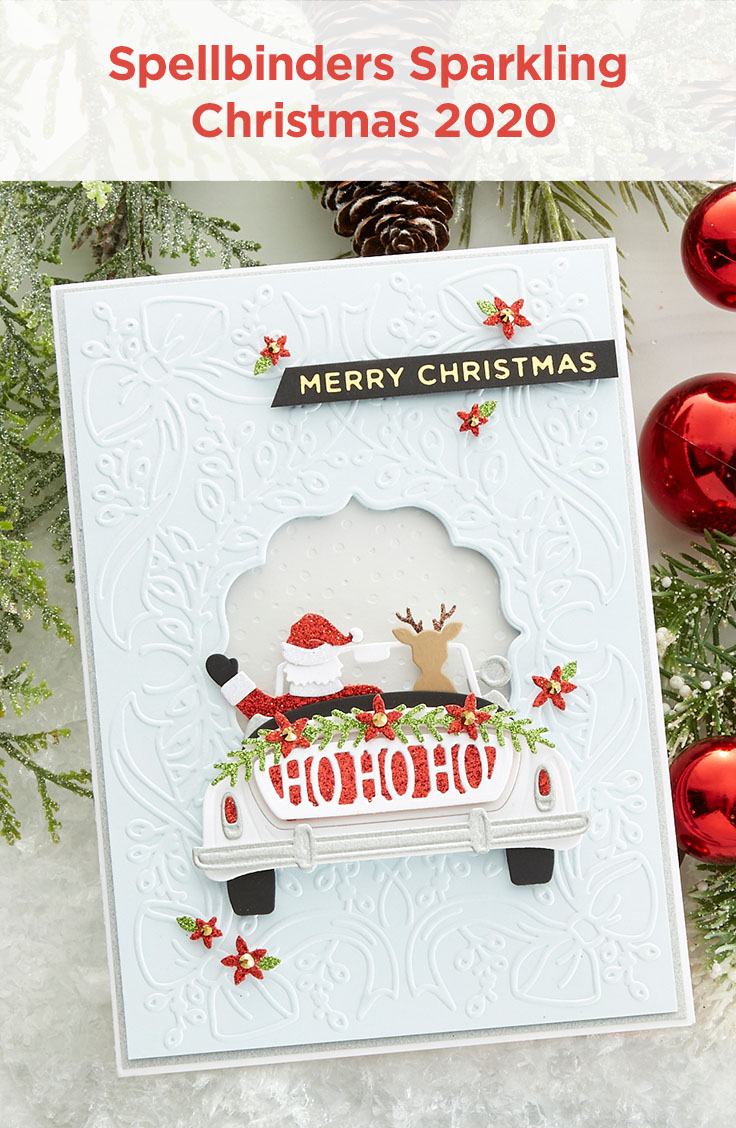
The Sparkling Christmas collection is HERE! The 2020 Spellbinders collection of 10 etched die sets, 13 Glimmer plate sets and a clear stamp set will knock your Christmas Stockings off this year! There’s something for everyone and they’ve been meticulously designed to work together in oh so many ways.
Join designer Michelle Short as she shares 3 beautiful cards created using our Warm Holiday Wishes Project Kit (sold out). This kit was designed as a preview of the new Sparkling Christmas collection. Watch video below or on Youtube:
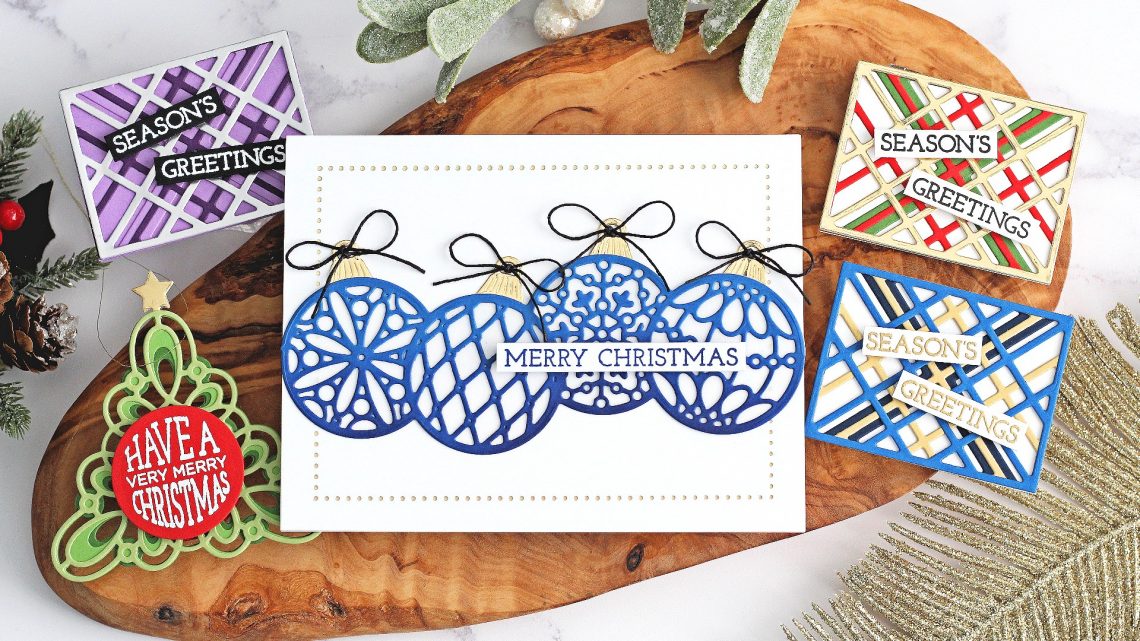
Mini Christmas Cards

- Die cut Kaleidoscope Plaid die from dark green, Candy Apple and Mirror Gold cardstock.
- Cut Whip Cream cardstock to 3 7/8” x 2.5”. Score at 1 7/8” to create a mini card.
- Adhere Kaleidoscope Plaid layers on top using craft glue.
- Stamp sentiment on to Whip Cream cardstock with Black Licorice Ink.
- Cut sentiment into strips.
- Adhere on to mini card using foam squares.
Merry Christmas Ornament Card
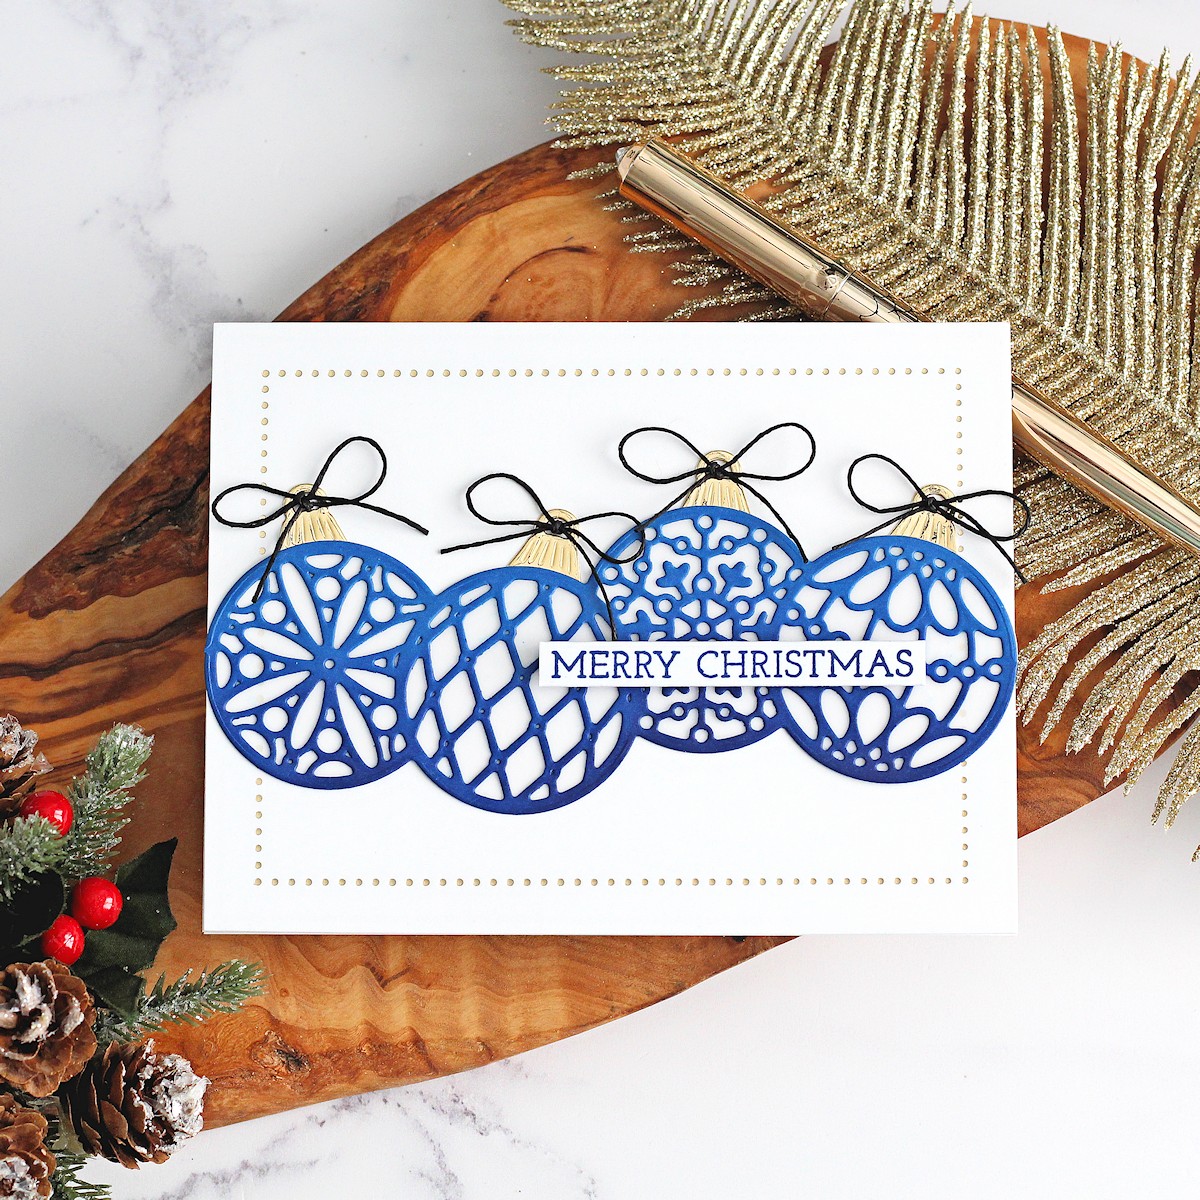
- Die cut Christmas Ornament Border from Huckleberry Fusion cardstock.
- Die cut background layer from Vellum.
- Blend Huckleberry Fusion ink on bottom portion of ornament border.
- Adhere ornament layer on to vellum background piece using craft glue.
- Die cut ornament toppers from Mirror Gold cardstock.
- Glimmer foil Essential Glimmer Rectangle on to Whip Cream cardstock panel using Champagne Foil Roll.
- Adhere panel on to card base using adhesive runner.
- Adhere ornament toppers on to card using craft glue.
- Adhere Christmas Ornament Border on to card using craft glue.
- Stamp sentiment using Huckleberry Fusion Ink on to Whip Cream cardstock and cut into a strip.
- Adhere sentiment using foam squares.
- Assemble bows from Black Licorice thread.
- Adhere bows to card using craft glue.
Christmas Tree Tag / Ornament
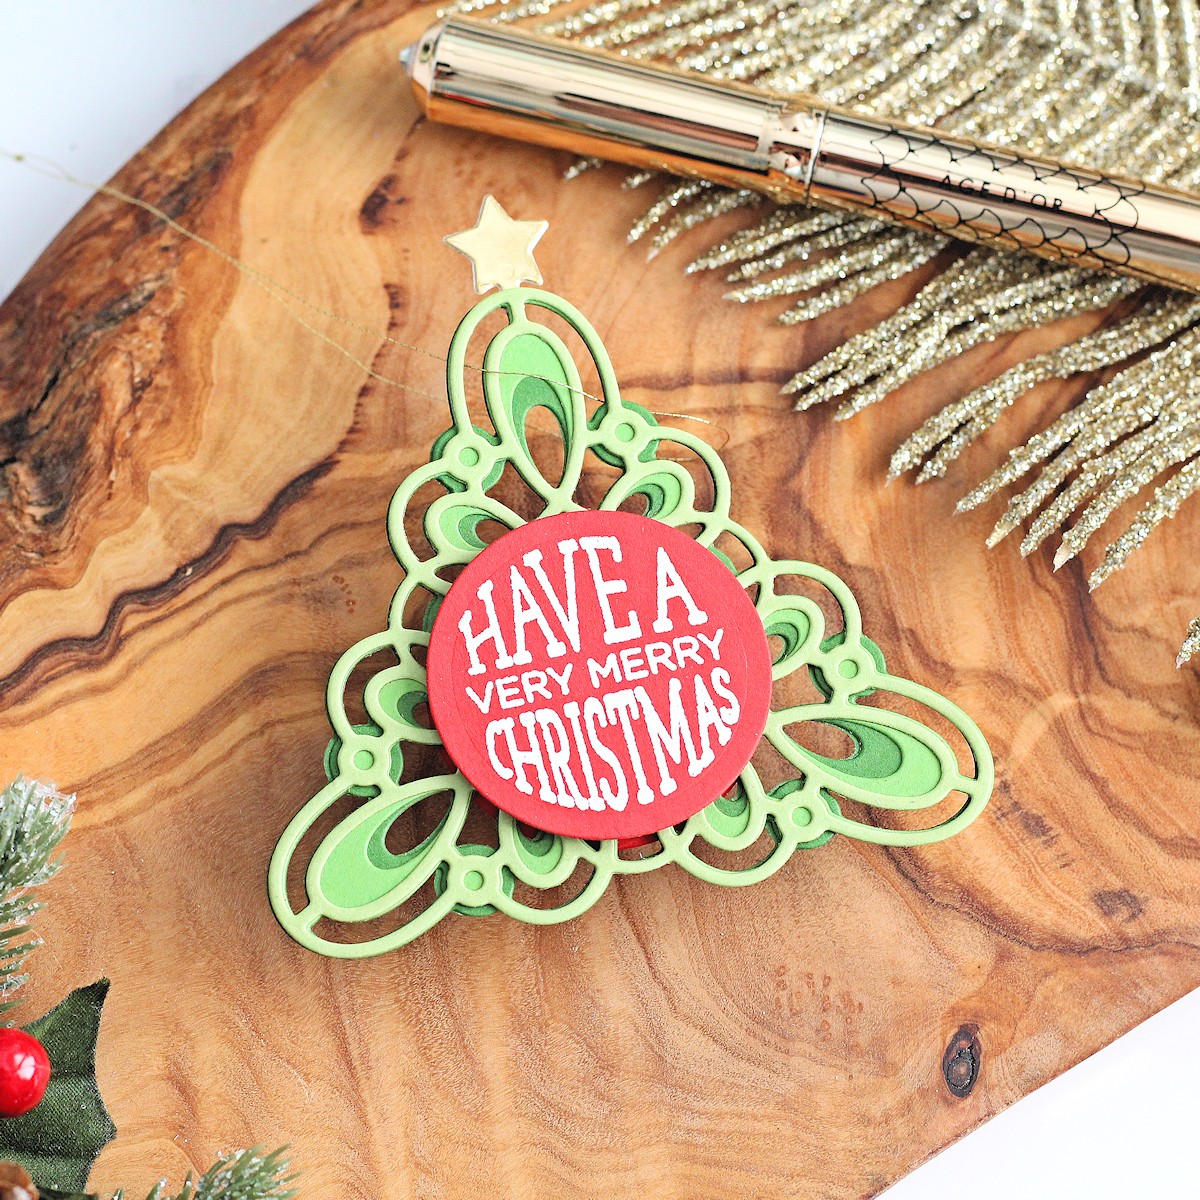
- Die cut Kaleidoscope Christmas Tree from three shades of green cardstock.
- Die cut darkest layer twice.
- Die cut star topper from Mirror Gold cardstock twice.
- Assemble Christmas tree with darkest layer at the bottom, middle shade in the middle and lightest at the top, using craft glue.
- Adhere topper pieces back to back.
- Adhere to the back of the Christmas tree.
- Adhere darkest green layer to the back of the Christmas tree, sandwiching the topper piece in between.
- Stamp sentiment on to Candy Apple cardstock using Clear Pigment Ink. Apply white embossing powder and heat set.
- Cut sentiment into a circle. Cut another circle to use for the back.
- Adhere sentiment on to the Christmas tree using foam squares.
- Adhere second circle to the back using adhesive runner.
- Add gold thread through the top and tie in a knot.
Spellbinders Supplies:
FSJ Buzzworthy Project Kit is Here!
One Collection Three Ways