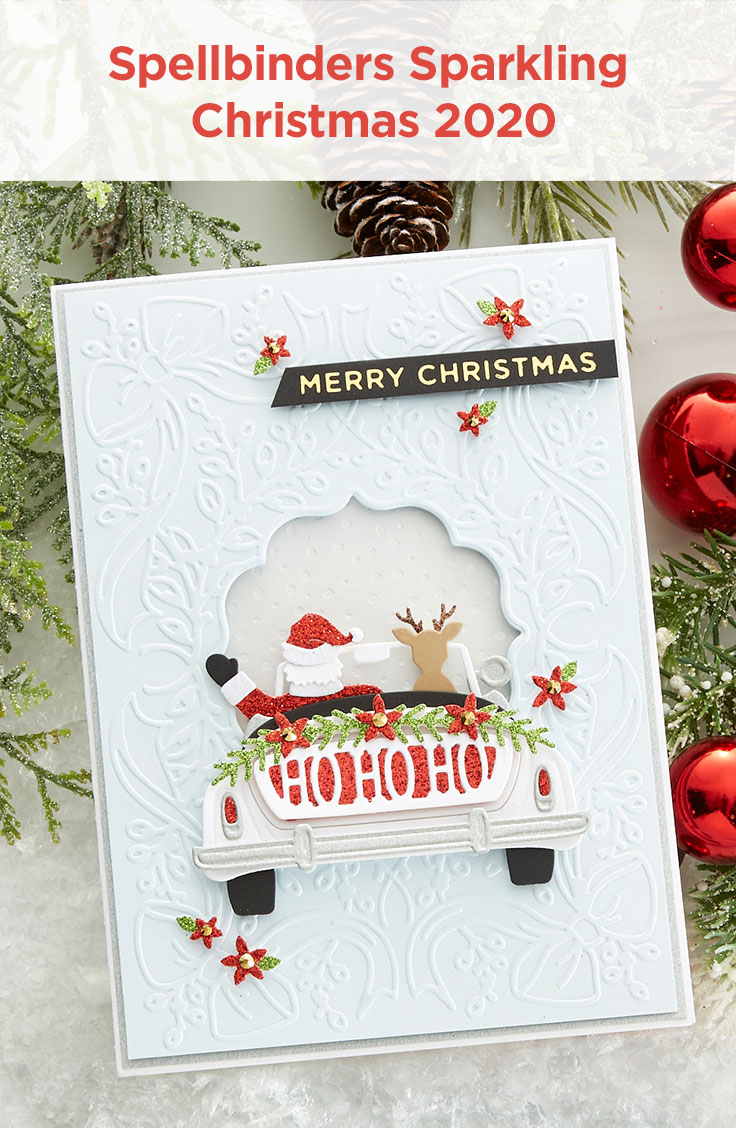
Sparkling Christmas Collection – Inspiration with Yasmin
Hello, Spellbinders and FSJ friends! Yasmin here, today I’m back with another Christmas season project so, I’ll be sharing with you these 2 inspiration projects showcasing the new: Sparkling Christmas Collection.

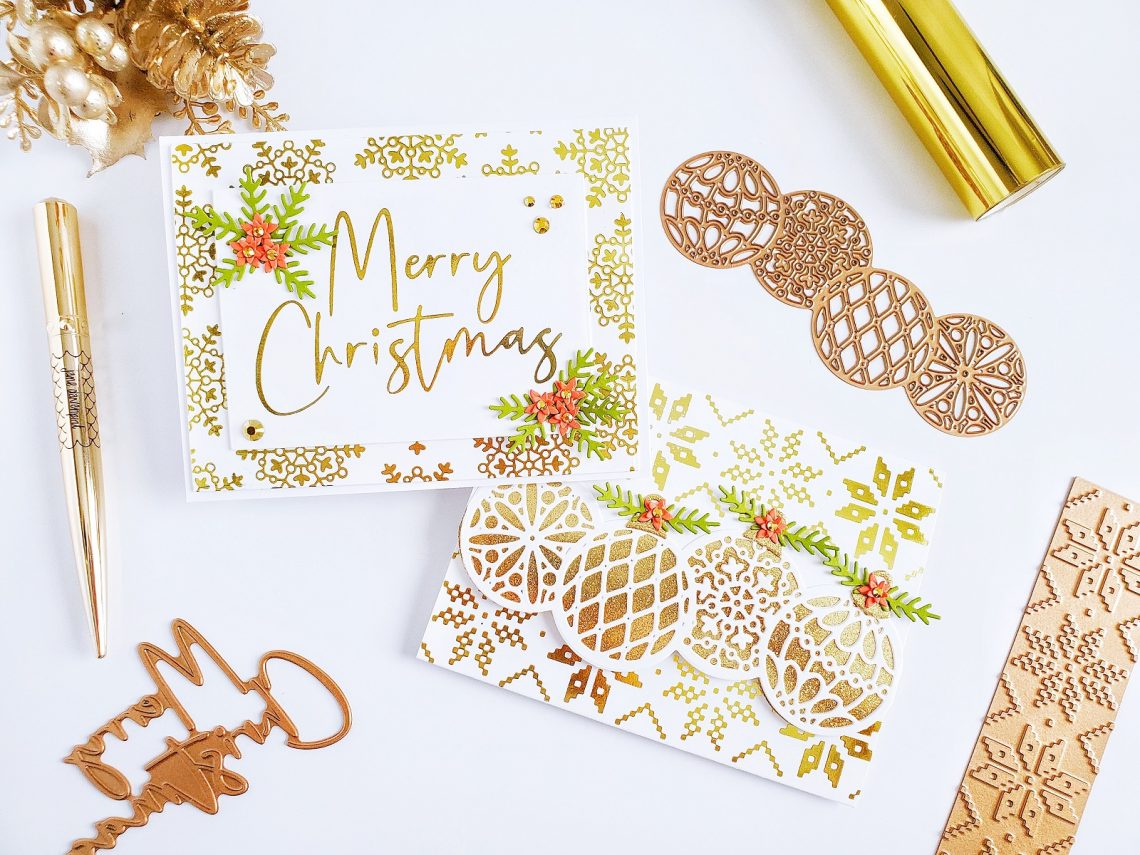
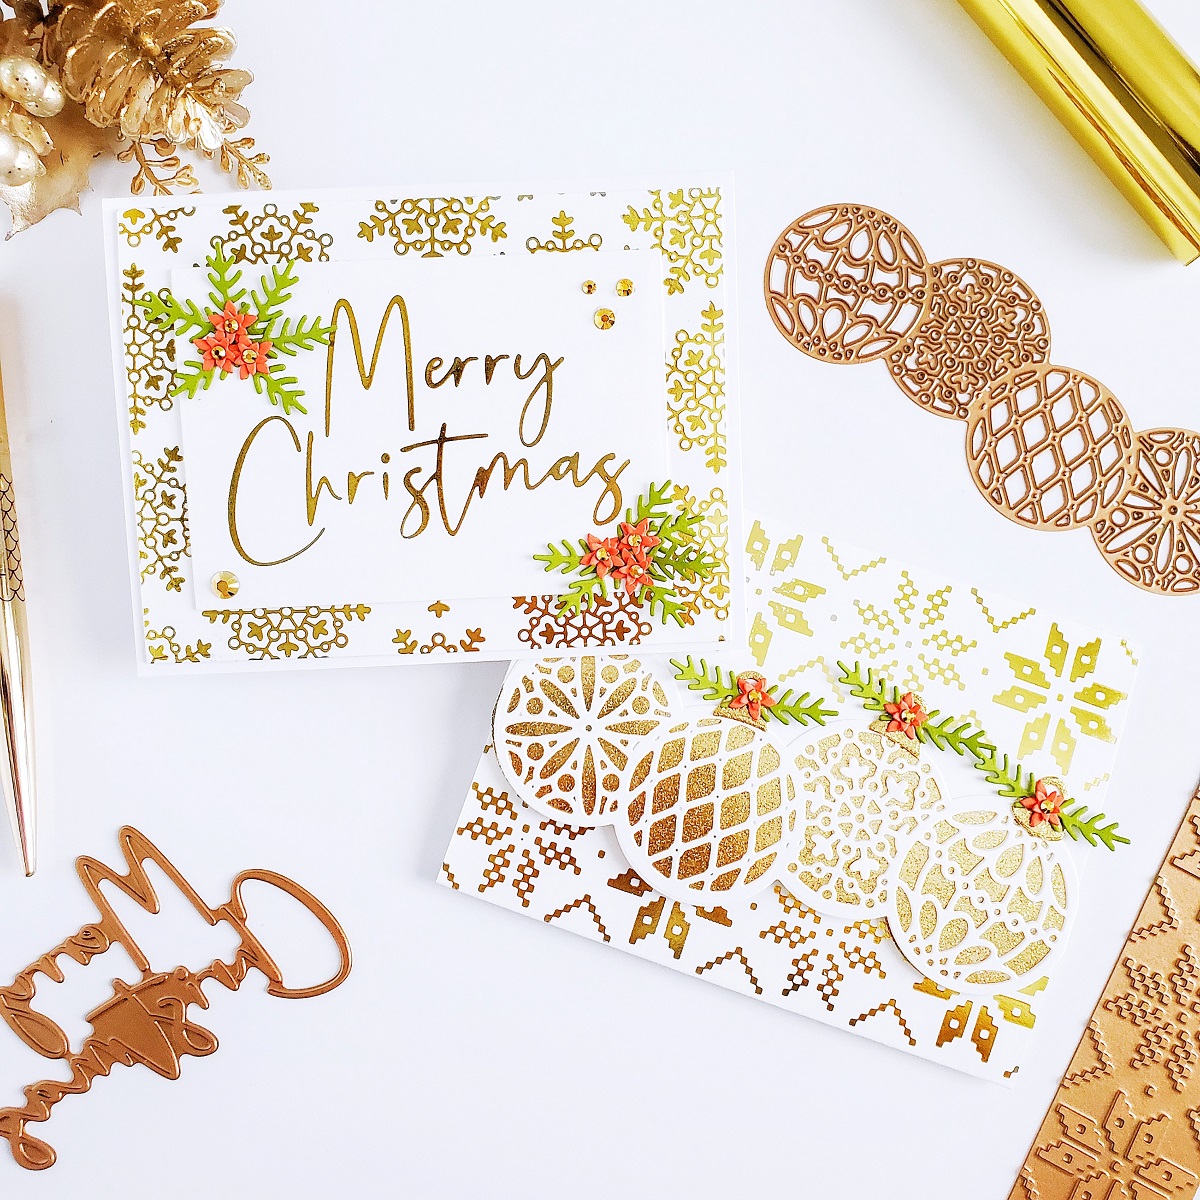
Simple Landscape Christmas Card

To begin with, these projects are assuming that you already know how-to-foil with the glimmer hot foil system but, if for some reason you’re not familiar you can find many tutorials on Spellbinders YouTube Channel so with that said, start by setting the Glimmer Hot Foil System Platform and the Platinum 6 Die Cutting and Embossing Machine on your craft table, and while the platform is heating up;
- Line up over an A2 size white card panel the Snowflake Sparkle Border.
- Cut a piece of Glimmer Hot Foil Roll – Gold, and secure the foil with washi tape or any low-tack tape.
- Once the foil platform is ready to foil, foil the snowflake border and repeat this step up to 5X, to create a snowflake card panel background.
- In a separate piece of white cardstock get the sentiment foil using; Stylish Script Merry Christmas and Glimmer Hot Foil Roll – Gold.

Therefore, after you’re done foiling the card panel and sentiment:
- Trim the edges off from the background panel a bit smaller than the card base, and mount it with craft foam and double-sided tape to an A2 size side folding white card base.
- Then, trim the edges off from the sentiment and mount the backing of it with craft foam and double-sided tape to add even more dimension.
- Embellish the card by creating 2 cluster with die-cutting pieces, for this card I used the sprigs and the little poinsettias including in the Sunday Drive with Santa set.
- Finish the card off, by gluing down gold jewels to complement the shine from the foil.
Tri-Fold Landscape Christmas Card

To create the card base for this example:
- Trim the edges off from an 8X11 white cardstock sheet to H 11,0 X W 5-1/2 inches.
- Then, place the cardstock over the scoring board tool, and score a line at 2-1/2 inches.
- Fold the first scoring line, and from that mark create a second scoring line at 4-1/4 inches.
- Fold the second scoring line, and by then you should have a larger and a smaller fold.
- So, go ahead and line up over the larger edge the inner die and one of the outline die from the Christmas Ornament Border and run them through the die-cut machine to add the details on the larger edge.

At this point the card base is complete and ready to foil so go ahead and,
- Open the card base and line up edge to edge in the first scoring line the largest glimmer foil plate from the Christmas Sweater Border.
- Cut a piece of gold foil and get the first foil done on the first edge of the card.
- Right after when you’re done foiling, you can stop there and have a touch of foil with a clean bottom or vice versa, or you go ahead and repeat the same step on the second edge for a full foil background look.

To add dimension and a solid base to the ornaments;
- Line up one of the outline dies from the set over a 3-5/8 inches gold cardstock panel and run them through the die-cut machine.
- Adhere edge to edge the border panel with the gold side facing up to the card base.
- Then, line up the 3 dies from set over a large piece of white cardstock, and run them 2X through the die-cut machine to create 2 white ornament borders.
- Once you’re done die-cutting the borders stack them both and glue them down over the card base.
- Finish the card off by adhering the tops of the ornaments and embellishments, you can use metallic thread to create tied bows or the sprigs and flowers included in the Sunday Drive with Santa set just like I did for this example.

Because the card was quite busy from the outside, I decided to leave it as is without adding a sentiment so, instead I foiled the same Stylish Script Merry Christmas that I used in the previous example inside the card. (you can see that in the image above) Besides that, I also embellished the inside by adhering greenery and the cute little poinsettias.
Spellbinders Supplies:
With that being said, I hope that you’ve enjoyed learning about how, I’ve created these 2 projects featuring the new: Sparkling Christmas Collection. If you get inspired be sure to tag us in your social media using the hashtags #Spellbinders #NeverStopMaking and #GlimmerHotFoilSystem when sharing your creations so, we can see what you are creating with these beautiful sets.
Thanks for stopping by we hope to see you soon but most of all, we hope you and your family to stay healthy and safe.
With love,
The Country Road Card Ideas With Brenda Noelke

Elegant 3D Vignettes Inspiration | Happy Birthday Card with Hussena