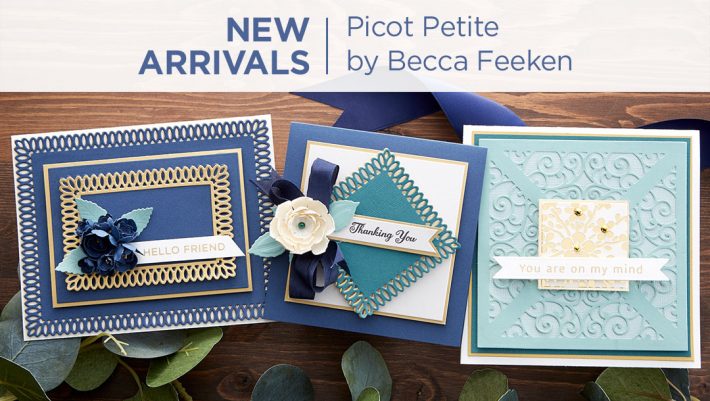
Becca’s Picot Petite Collection Inspiration with Yasmin Diaz
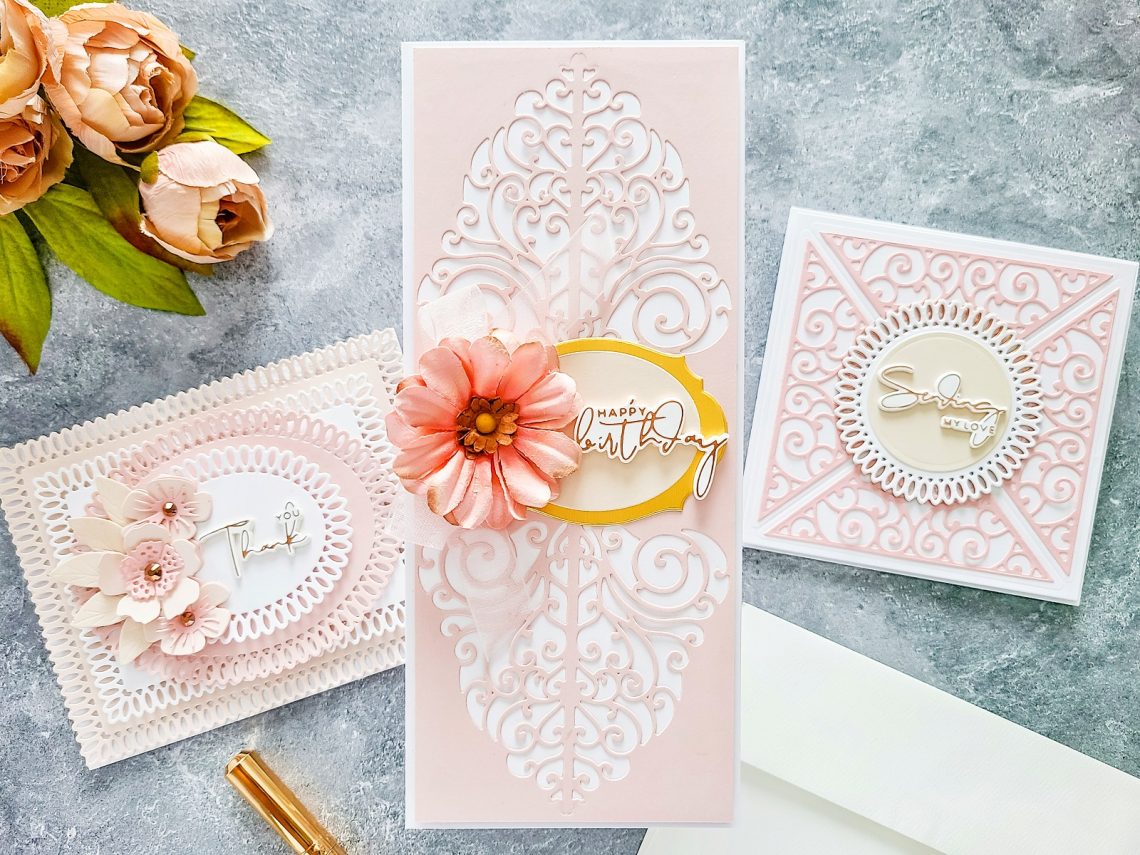
Hello, Spellbinders and FSJ friends! Yasmin here sharing with you a beautiful trio of Vintage & Elegant cards showcasing the stunning Picot Petite Collection by Becca Feeken. So, without further ado let’s jump right into the step by step on how to make them.
Slimline Happy Birthday Card

To begin with, I’d like to start by sharing with you how to make a Slimline card so, to do that;
- Cut a large piece of heavyweight white cardstock to H 9.0’’ X W 3-5/8’’ inches.
- Score a line in the middle point using a scoring board tool and then fold it in half.
- Reinforce the fold using any bone-folder of your preference and set the card base aside.

Then, after you’re done making the card base it’s time to create the detailed card panel so, to do that,
- Line up on one end of a H 9.0’’ X W 3-5/8’’ inches card panel side by side the decorative insert dies from the Bed of Lace Etched Dies from Picot Petite by Becca Feeken set.
- Once the dies are line up over the card panel, run them through your die-cut machine.
- Next, after you’re done die-cutting the first detailed lace, remove the dies and line them up on the other end of the card panel, and run them once again though the die-cut machine.
- Then, after you’re done adding the detailed lace on both ends of the card panel trim down 1/8 of an inch from each side of the card panel and go ahead and glue it down with liquid glue directly to the card base or you can take a step further by gluing it down first to a white card panel and then mounting it with craft foam tape to the card base for a very dimensional look just like I did for this example.

Thus, after the card base is complete it’s time to add embellishments so, to do that;
- Line up over gold cardstock the label die included in the set and run them, through the die-cut machine.
- Line up over a piece of color cardstock of your choice the outer oval die included in the set and run them through the die-cut machine.
- Then, once you’re done die-cutting both pieces stacked them both and adhered them down in the center of the detailed laced cuts (as shown in the image above)
- Add a sentiment and finish the card off by gluing down with hot glue a tied bow and a pre-made paper flower to add a Becca Feeken touch.
NOTE: The sentiment used on this card and the next 2 are from Yana’s Sentiments Glimmer Hot Foil Plate & Die Set and the glimmer foil color is Glimmer Hot Foil Roll – Rose Gold.
A6 Landscape Thank You Card

The second example is a very dimensional landscape form card so to do this card,
- Create your own A6 card base by trimming a white cardstock piece to H 9-1/8’’ X 5-7/8’’ inches.
- Then, same as the previous example fold it in half and reinforce the fold for a crisp folding look.
- Once the card base is done, set it aside and start the die-cutting for the layering pieces.

For the die-cut layering pieces pick any color cardstock combination or simply create them in white for a white on white look. So, with that said let’s get started;
- Line up over a piece of color cardstock the largest die from Picot Petite Rectangles Etched Dies by Becca Feeken.
- Once both are lineup, run them through the die-cut machine.
- Then, mount the first die-cutting rectangle with craft foam tape to the card base.
- After, you’ve mounted the first layer repeat the same step by die-cutting 3 more layers using different color cardstock and by combining the dies using other dies from this beautiful collection like for example Picot Petite Ovals Etched Dies by Becca Feeken for an extra dimensional look.

Thus after you’re done die-cutting each layer it’s time for the assembling so to that;
- Mount each layer with craft foam tape to add dimension.
- Once each layer is mounted over the card base, adhere down a sentiment and to finish the card off, embellish it by gluing down pre-made paper flowers and leaves or by creating your own using dies. And, last but not least, glue down with liquid glue a few jewels for an extra touch of sparkle.
NOTE: Flowers and Leaves were made using June’s Small Die of the Month.
Square Sending Love Card

The third example was the quicker yet with the same elegant vibe so, let’s get started.
- Line up over a white card panel the largest outer rim die from Filigree Quartet Etched Dies by Becca Feeken.
- Once both are lineup, run them through the die-cut machine.
- Then, after you’re done die-cutting the square shape and the quadrants have been dry embossed mount the card panel to a 4-5/8’’ X 4-5/8’’ inches square white card base.

Therefore, after the card base is completed;
- Line up the quadrant rim and quadrant insert dies from the set over a color cardstock of your choice and run them 4X through the die-cut machine to create 4 sides for the square card.
- Next, after you’re done die-cutting all 4 pieces, glue them down with liquid glue following the score or dry emboss lines on each side of the card panel.

Lastly, to finish the assembling for this card off,
- Lineup the smaller circle die from the Picot Petite Circles Etched Dies by Becca Feeken over a rose gold color cardstock and run them through the die-cut machine.
- Lineup the same die over a white cardstock and create a second detailed circle by running it though the die-cut machine.
- Once both die-cutting circles are done, stacked them together a bit offset to let the rose gold shadow see through the white circle and then, adhere them down in the center of the card panel.
- Lined up the smaller inner circle die over any color cardstock of your choice and run them through the die-cut machine.
Last but not least, glue the small circle with liquid glue over the detailed circle and mount a sentiment to complete the card.

With that being said, I hope that you’ve enjoyed learning about how-to-make these 3 Vintage and Elegant projects featuring the newest Picot Petite Collection by Becca Feeken. If you get inspired be sure to tag us in your social medias using the hashtags #Spellbinders #NeverStopMaking as well as #amazingpapergrace when sharing your creations so, we can see what you are creating with these beautiful sets.
Thanks for stopping by we hope to see you soon but most of all, we hope you and your family stay healthy and safe.
With love,
Yasmin.
Spellbinders Supplies:

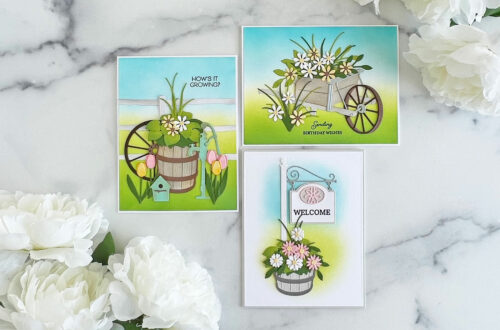
The Country Road Card Ideas With Brenda Noelke
FSJ Kindness Matters | Colorful Cards with Marie Heiderscheit | Video