Stamp Camp Collection by Jane Davenport – Clean & Simple Character Cards with Annie Williams
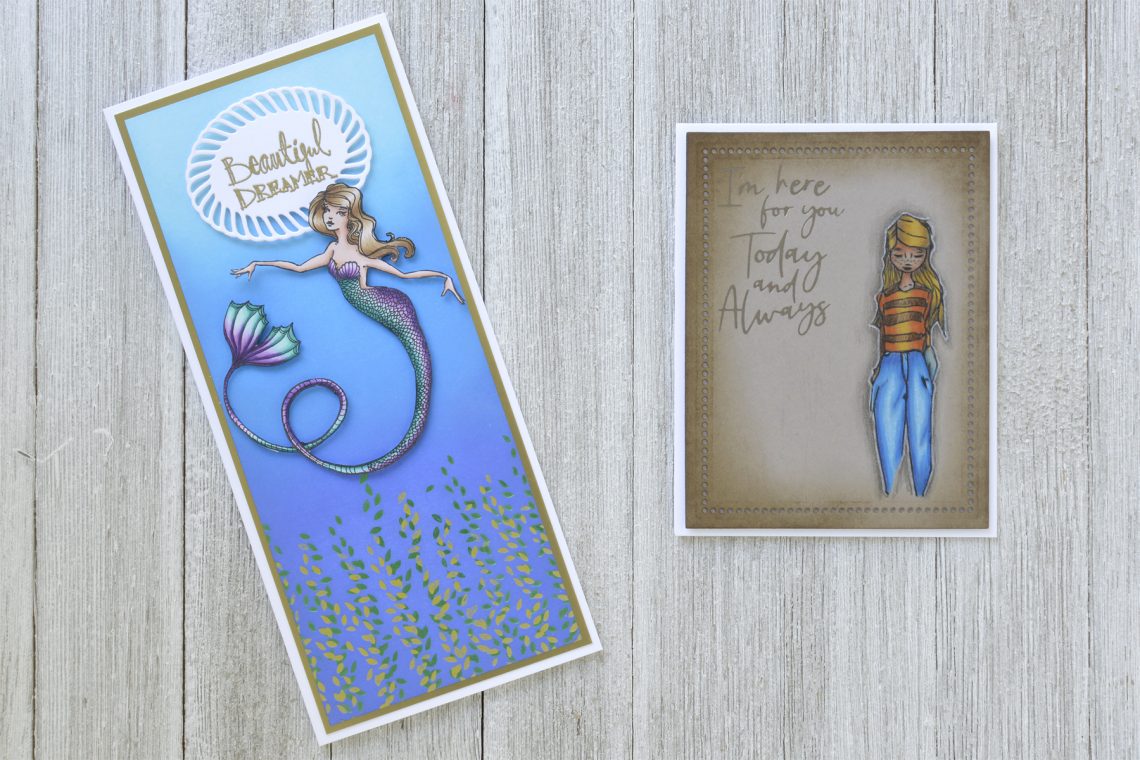
Hi there, this is Annie Williams and I’m so excited to have the opportunity to share a couple of projects using the new Stamp Camp Collection by Jane Davenport. Many of the striking images in this collection are reminiscent of fashion sketches and this inspired me to create two clean and simple cards that focus on the strong characters that Jane so beautifully illustrated.
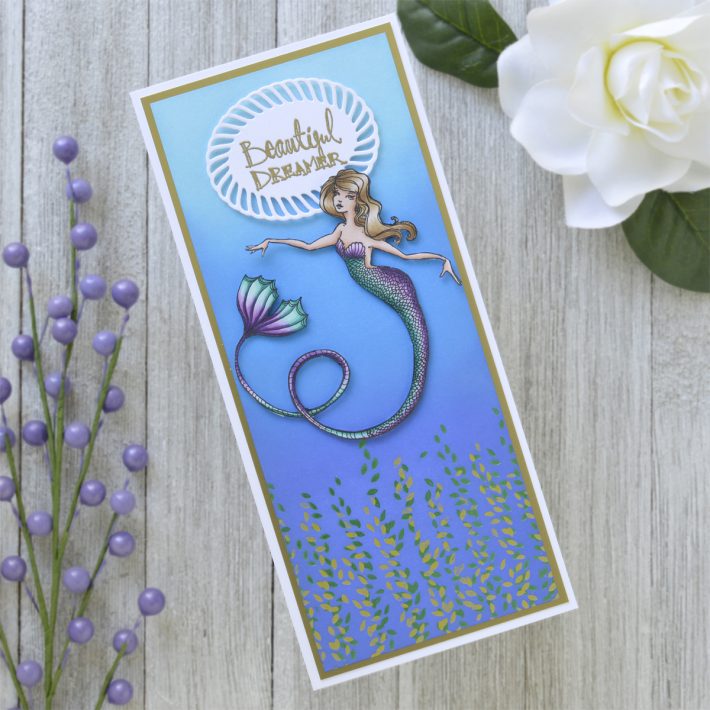
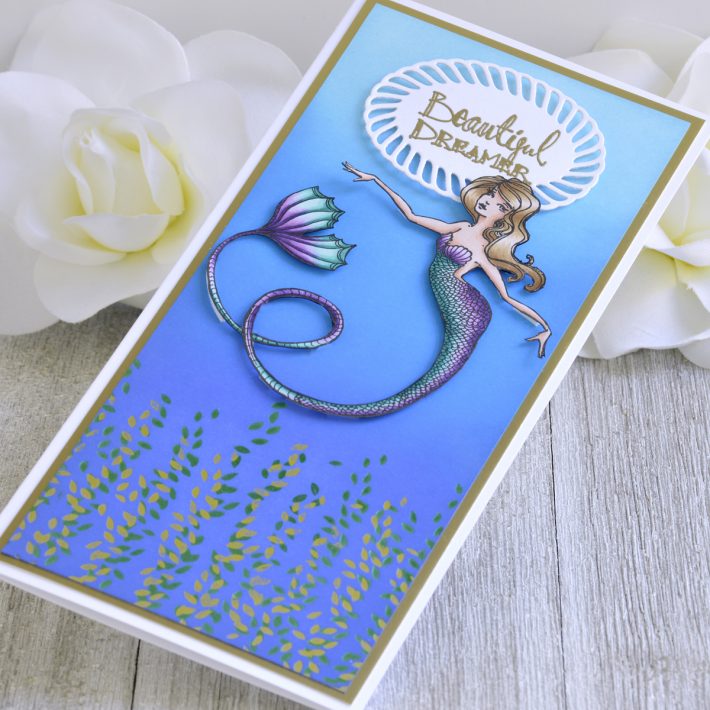
I couldn’t wait to color the delicate mermaid image from the Glorious Mermaid stamp set and thought she deserved a deep sea to swim around in. This clean and simple slimline card gives her plenty of space to roam, while keeping the focus on her.
- Cut a piece of white cardstock to 8.5” x 3.5”. Apply Green Hot Foil to the bottom of the panel using the Leaves Inlay plate from the Framed Details Glimmer Hot Foil Plate Set and the Glimmer Hot Foil Machine. Shifting the Leaves Inlay plate lower and to the right this time, apply Citrine Hot Foil over top of the previous design to create a multi-color seaweed bed.
- Blend Blueprint Sketch, Salty Ocean, and Tumbled Glass Distress Oxide Inks from the bottom of the panel to the top using a foam blending tool. Gently wipe any excess ink off of the foiling with a soft cloth.
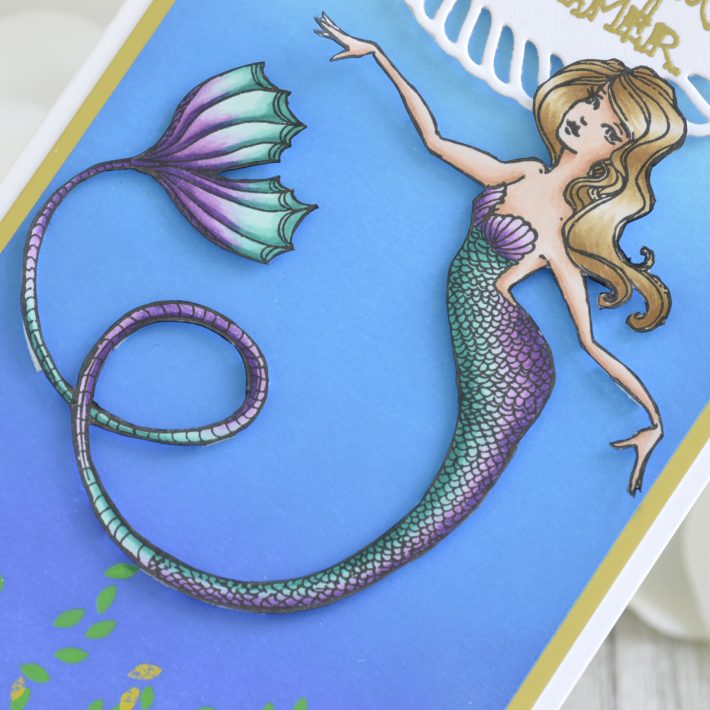
- Stamp the mermaid image from the Glorious Mermaid stamp set onto white cardstock with black alcohol-friendly ink. Color it with Copic markers.
- Fussy-cut the image out with scissors. Color the cut edges with a black brush-tip marker for a finished look.
- Mat the background panel with a piece of gold matte foil cardstock before adhering it to a side-folding white card base measuring 9” x 4” with tape runner.
- Stamp the sentiment from the Beautiful Dreamer stamp set onto white cardstock with Versamark Ink, cover in gold embossing powder, and melt with a heat tool. Cut the sentiment out using the Small Oval Pattern and Outer Rim dies from the Elegant Twist Ovals die set.
- Adhere the sentiment and mermaid to the front of the card using foam adhesive.
Spellbinders Supplies:
Other Supplies
White cardstock, gold matte foil cardstock, Distress Oxide Inks, foam blending tools, Versamark Ink, gold embossing powder, heat tool, Gina K Designs Obsidian Amalgam Ink, Copic Markers, scissors, foam adhesive, tape runner, liquid glue
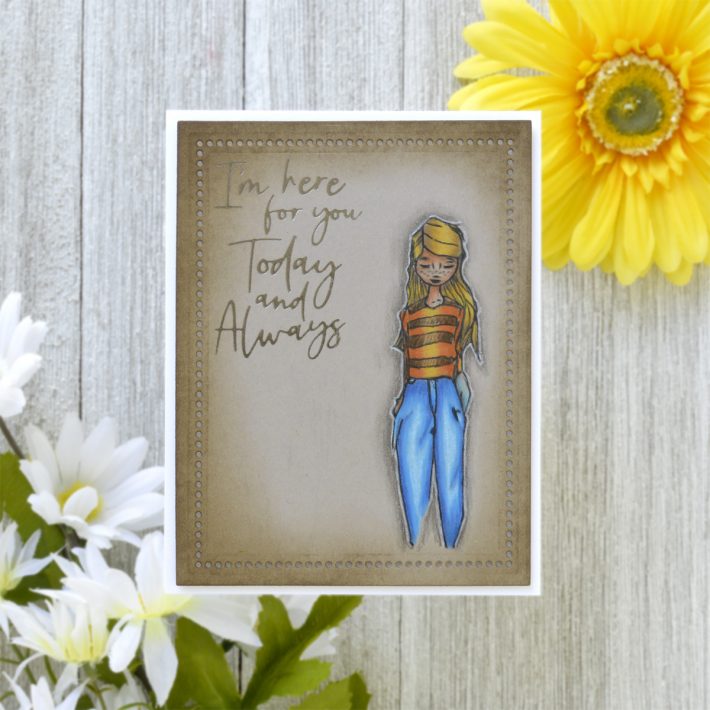
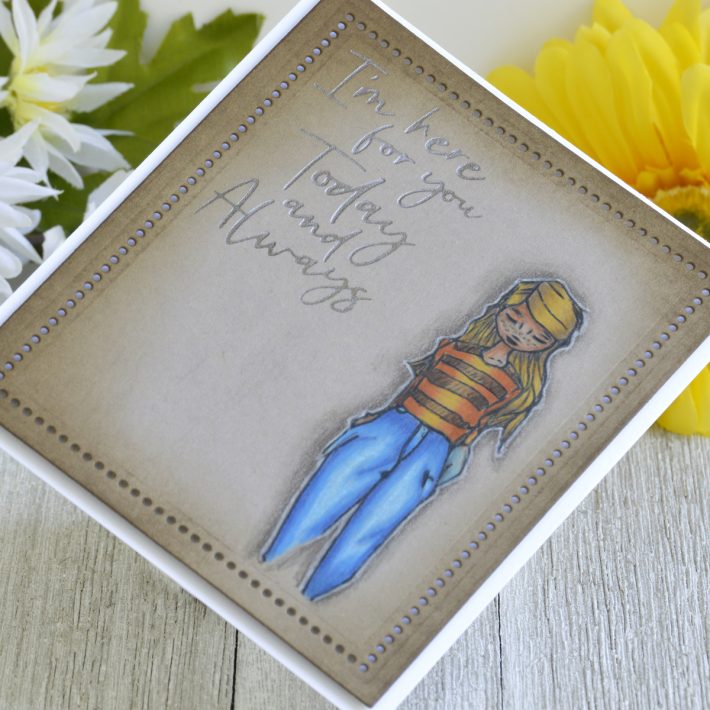
Even though this gorgeous girl from the Fluent Fantastic stamp set seemed demure to me at first, the longer I looked at the image, the stronger she became. I wanted to create a moody card, and decided to color her in almost a comic book style with bold sketchy outlines and deep shadows to really draw the eye to this strong character.
- Stamp the girl from the Fluent Fantastic stamp set onto kraft cardstock using black ink.
- Color the image in with colored pencils, aiming for sharp contrast with your color choices. Once the coloring is finished, go over the original image lines with a black pencil, creating thick bold lines.
- Add deep shadows around the figure with dark grey pencils, blending out to nothing. To really make the image pop off the page (like a superhero!), I added a thin, but bright halo around the figure using a white pencil.
- Apply Pewter Hot Foil to the kraft cardstock panel using the For You Glimmer Hot Foil Plate Set and the Glimmer Hot Foil Machine.
- Die cut the panel using the Rectangle Shape Extra Large Pattern and Die dies from the Essential Rectangles die set.
- Apply Walnut Stain Distress Ink around the edges of the panel with a blending tool.
- Adhere to a side-folding A2-sized white card base with foam adhesive.
Spellbinders Supplies:
Other supplies
Kraft cardstock, white cardstock, Prismacolor pencils, Gina K Designs Obsidian Amalgam Ink, Walnut Stain Distress Ink, foam adhesive, liquid glue, tape runner
I hope you enjoyed these clean and simple character cards and thanks so much for stopping by today. You can find more inspiration over at my blog AnnieBWills.com.

