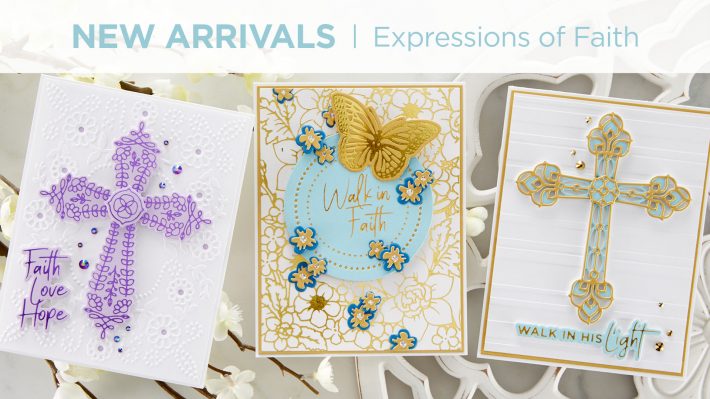
Expressions of Faith Collection – Easy Holiday Cards with Annie Williams
Hi there, this is Annie Williams and I’m so excited to have the opportunity to share a couple of projects using the new Faith Collection from Spellbinders.
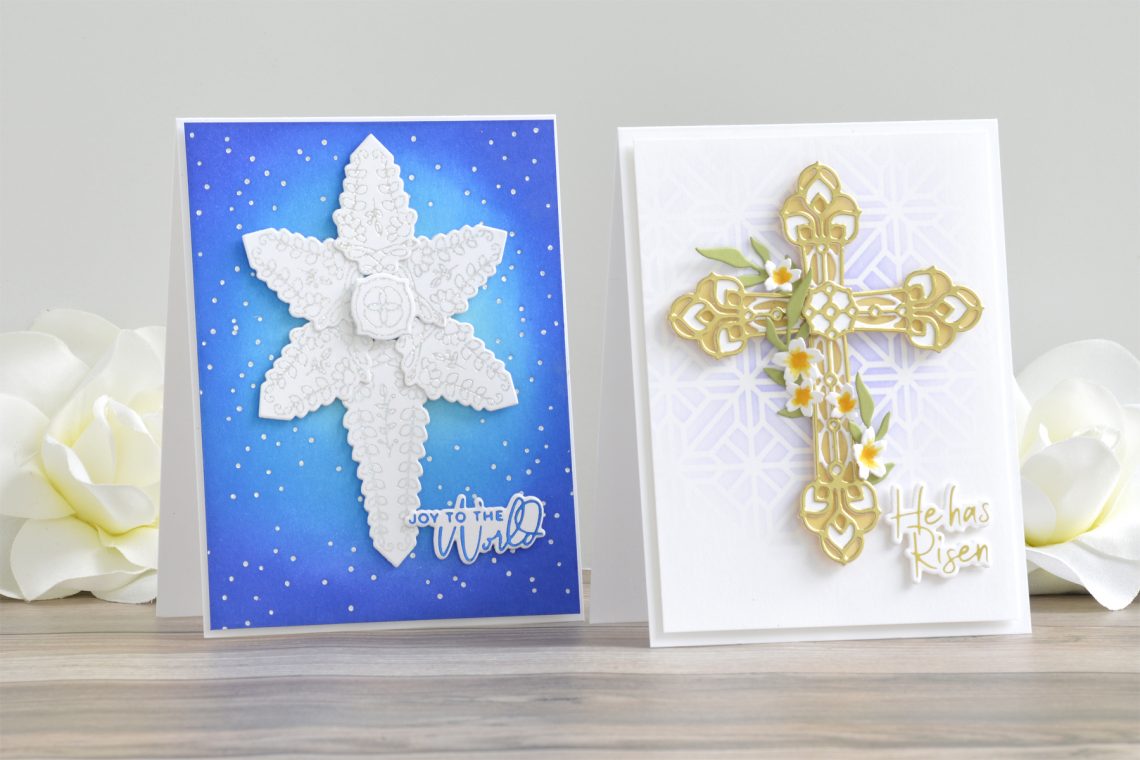
The intricate cross designs in this collection are stunning when assembled, so I paired them with simple backgrounds and just a few embellishments to really let them shine in these two holiday cards.
I thought the gorgeous details on the Kaleidoscope Cross would look beautiful in layers of gold and white. Once assembled, I draped a swag of lilies around it for a simple and elegant Easter card.
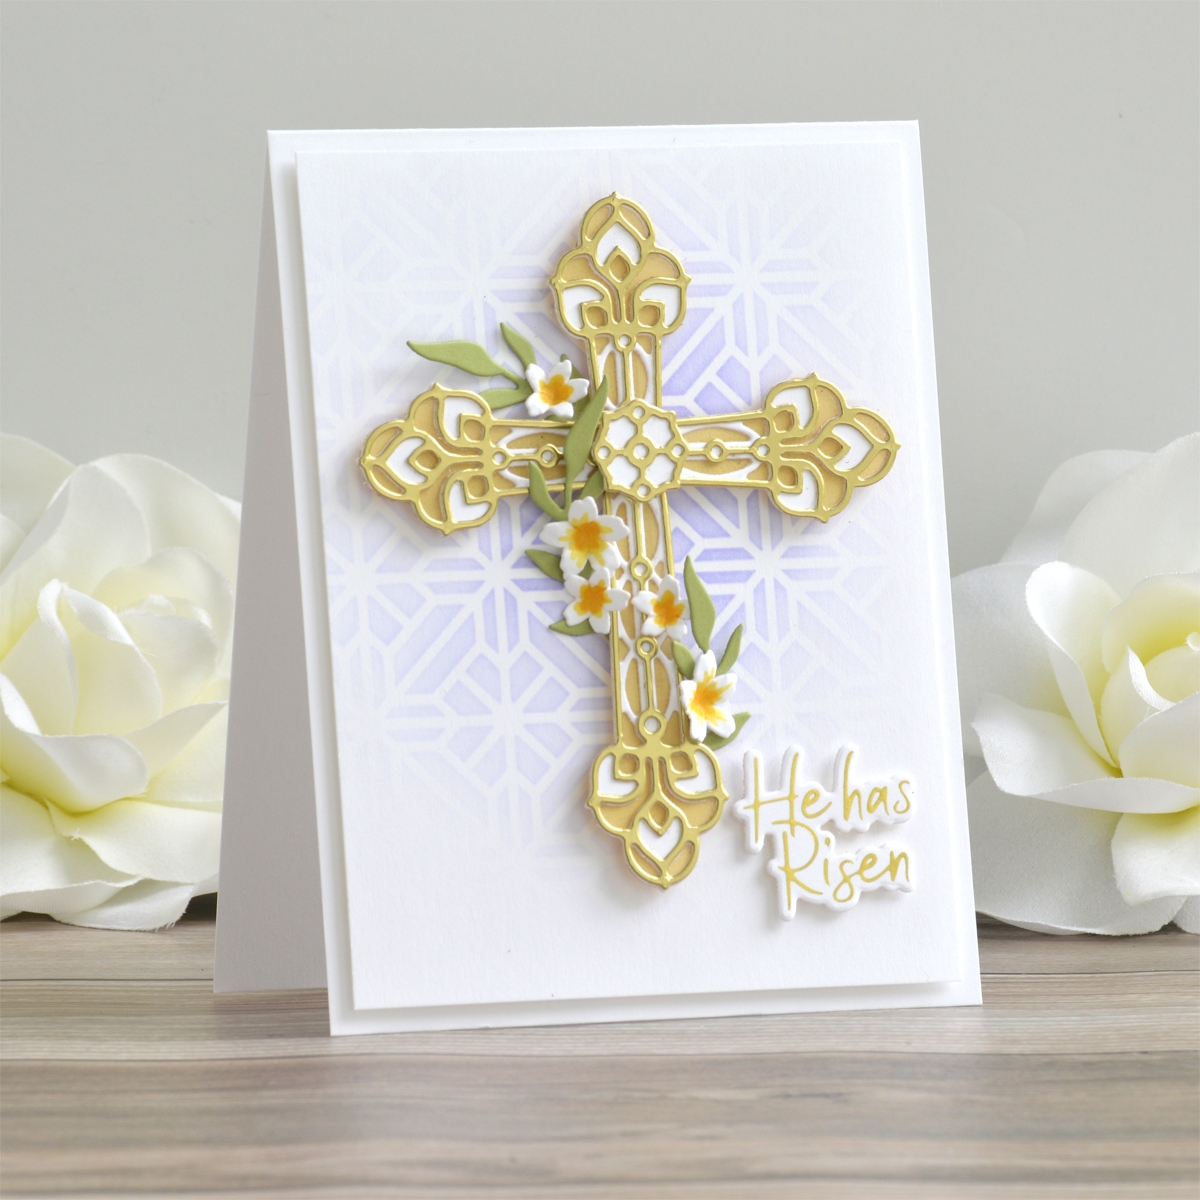
- Die cut the components of the Kaleidoscope Cross, using gold metallic cardstock for the top (more detailed) layer and white cardstock for the bottom layer.
- To create the golden underlay, trace the white layers of the arms of the cross onto gold vellum and cut out with scissors just inside the traced lines.
- Adhere all layers together with liquid glue as shown.
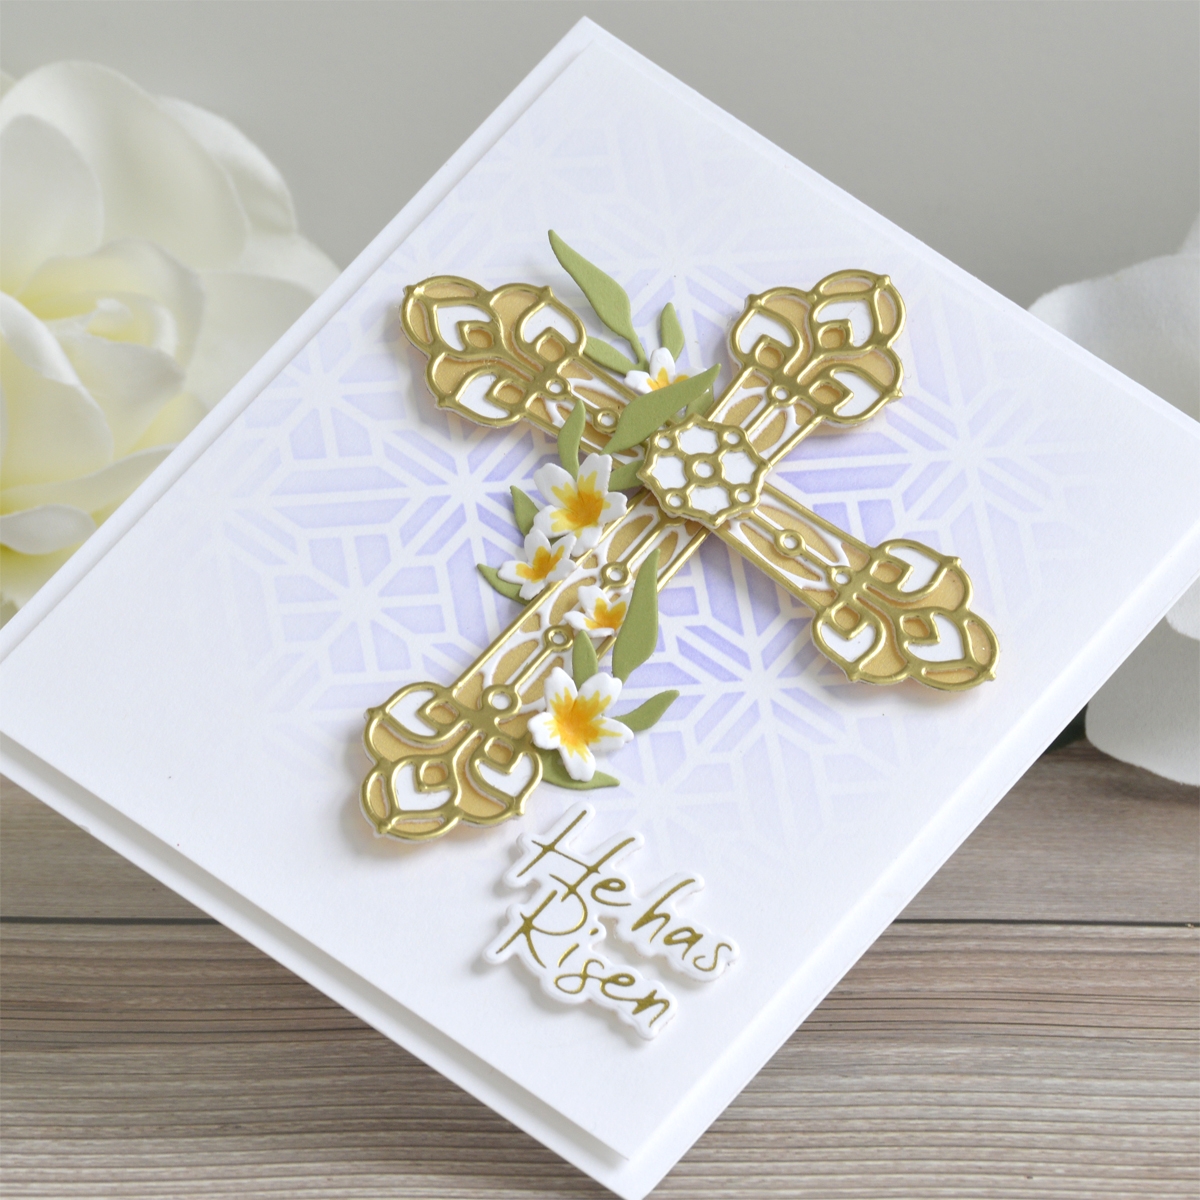
- Die cut the leaves and flowers from green and white cardstock using the Geometric Floral Frames die set.
- Color the centers of the flowers with yellow Copic markers and shape the petals with a ball stylus to resemble lilies.
- Apply Gold Hot Foil to white cardstock using the sentiment from the Faith Glimmer Sentiments Hot Foil Plate Set and the Glimmer Hot Foil Machine.

- Trim a piece of white cardstock to 4” x 5.25”. Lightly apply Shaded Lilac Distress Ink to the center of the panel using the Stained Glass Stencil and a blending brush.
- Adhere the background panel to a top-folding A2-sized white card base with foam adhesive. Add the die cut cross to the center of the card front using more foam adhesive.
- Arrange the flowers and leafy branches around the cross and adhere them down with strong liquid glue.
- Pop the foiled sentiment up in the lower right corner of the card using foam adhesive.
Spellbinders Supplies:
Other Supplies
white cardstock, gold matte foil cardstock, gold vellum, green cardstock, Shaded Lilac Distress Ink, blending brush, Copic Markers, ball stylus, scissors, foam adhesive, tape runner, liquid glue

What I love most about the beautiful layered components in this collection is that they can be used to build much more than just the intended cross shapes. Imagine building border elements or pendulum designs…or even a shining star for an easy and elegant Christmas card!

- Apply Speckled Prism Hot Foil to white cardstock using the Gleaming Cross Hot Foil Plate Set and the Glimmer Hot Foil Machine. Foil five short arms, one long arm, and the center and then cut each component out with the coordinating dies.
- Apply Cobalt Hot Foil to white cardstock using the greeting from Yana’s Christmas Sentiments Hot Foil Plate Set. Cut it out with the coordinating die.
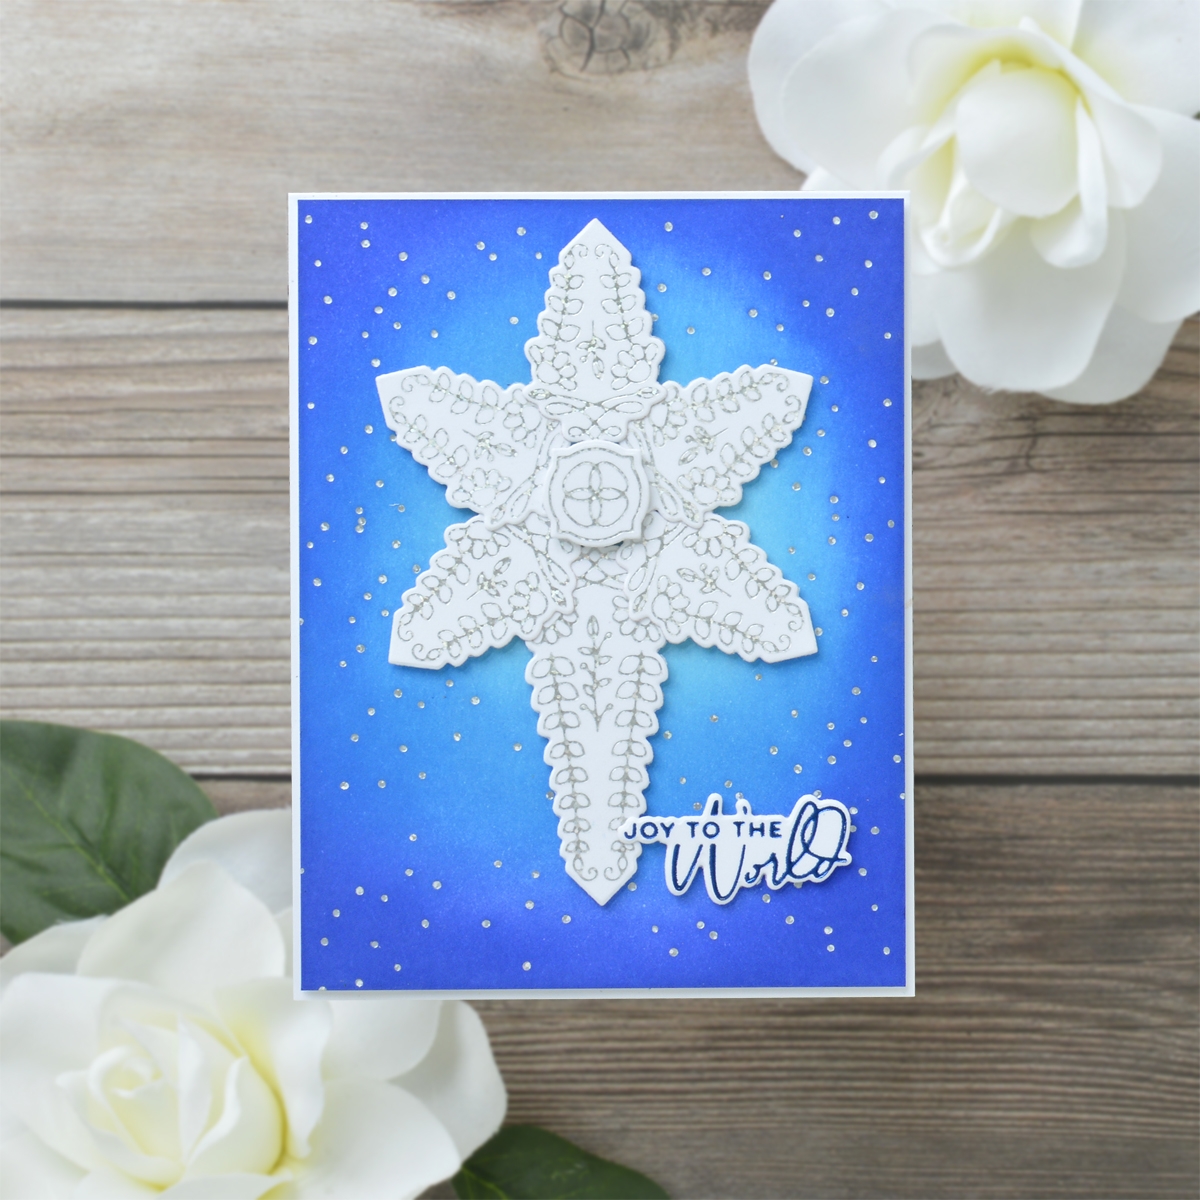
- Trim a piece of white cardstock to 4.125” x 5.375”. Apply Speckled Prism Hot Foil to the panel using the Falling Snow plate from the Glimmer Winter Village Hot Foil Plate Set and the Glimmer Hot Foil Machine. Repeat until the entire panel is covered with glimmering stars.
- Starting in the center of the panel, blend Tumbled Glass, Salty Ocean, and Blueprint Sketch Distress Inks with foam blending tools to create a radial gradient.
- Adhere the ink blended panel to a top-folding A2-sized white card base using foam adhesive. Arrange the foiled cross arms into the shape of a six-pointed star as shown and adhere down using foam adhesive. Pop the sentiment up in the lower right corner of the card front.
Spellbinders Supplies:
Other supplies
white cardstock, Tumbled Glass, Salty Ocean, and Blueprint Sketch Distress Inks, foam blending tool, foam adhesive, liquid glue, tape runner

I hope you enjoyed these simple and elegant holiday cards and thanks so much for stopping by today. You can find more inspiration over at my blog AnnieBWills.com.

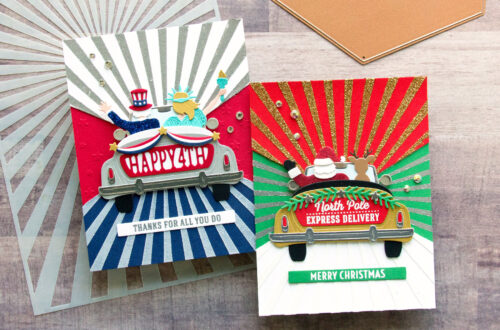
Liberty Collection – July and December by Jean

Shaped Cards Video Series. Episode #2 – It’s Your Birthday