Susan’s Autumn Flora Collection – Relaxing the Rules
Hello crafty friends! I’m Jean, a papercrafter blogging at Right as Rain. I am delighted to be on the Spellbinders blog today sharing cards created with Susan’s Autumn Flora Collection.
In full disclosure, I am completely new to the world of realistic, dimensional flowers and foliage, and I’m a perfectionist who tends to completely overthink things. With that in mind, I am sharing my process working with these products to create autumn-themed cards.
Rather than endeavor to create realistic leaves and greenery, I relaxed the rules, playing with the shape and size of the die-cut pieces. For example, my colors are not entirely accurate, yet the colors I chose evoke autumn.
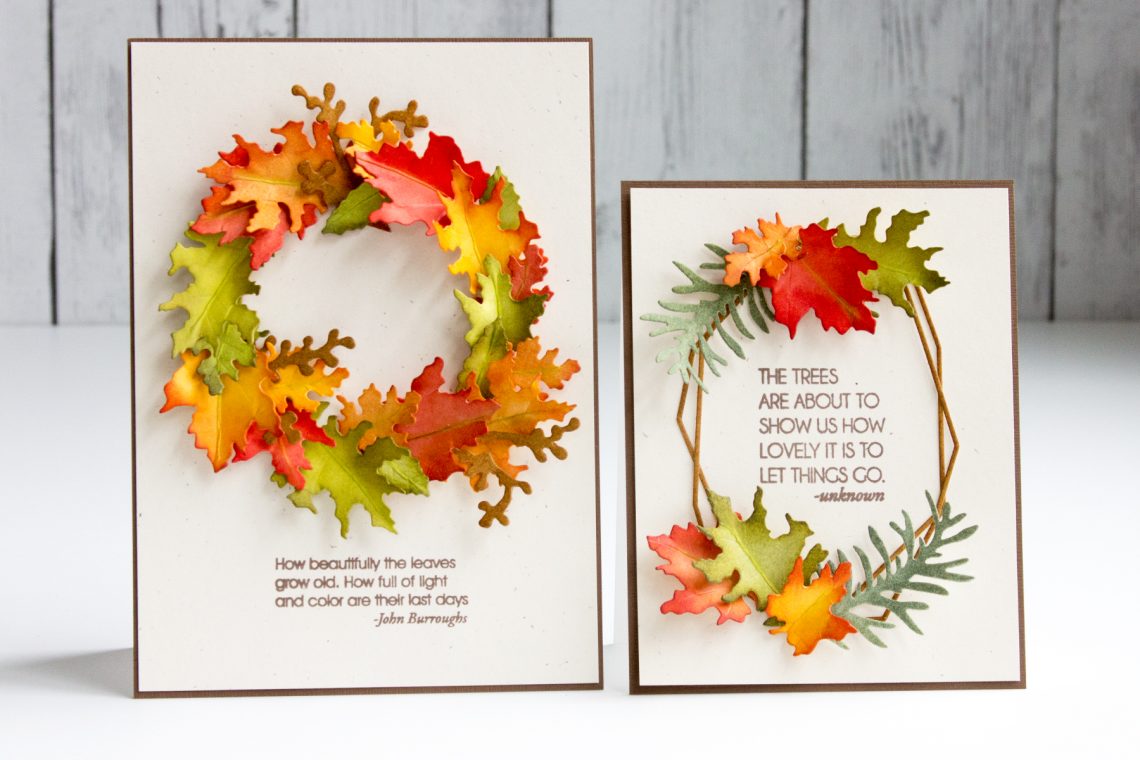
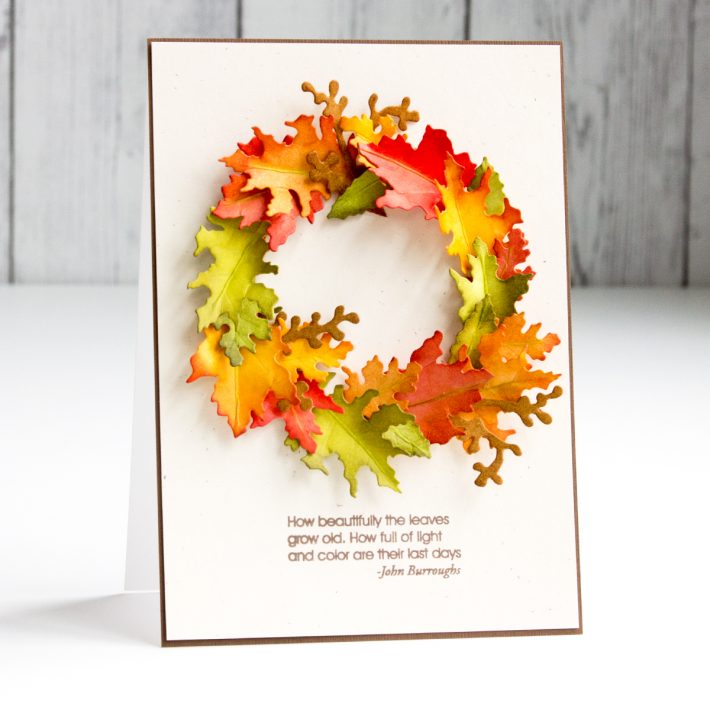
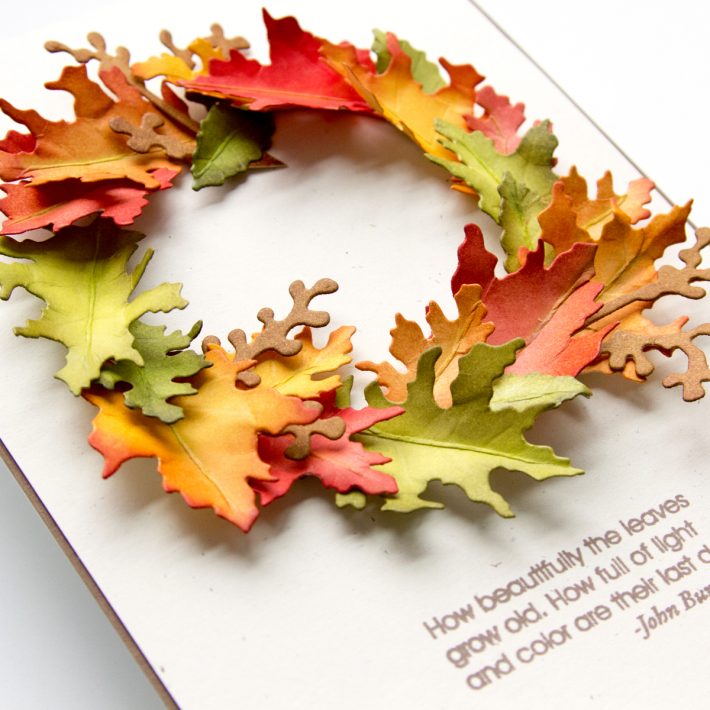
On the first card, measuring 5″x 7″, I created a wreath containing different leaf shapes and colors.
- I colored Bristol board with a variety of Distress Inks.
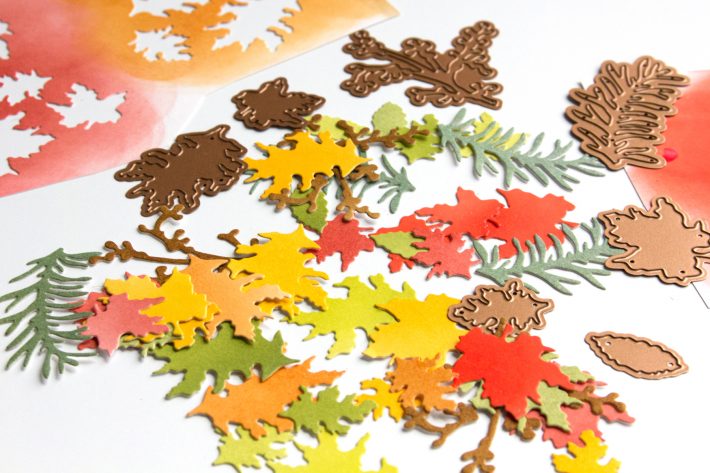
- I cut the inked Bristol board with five of the leaf dies (Small Oak, Large Oak, Small Maple, Large Maple, and Birch) in the Woodland Garden Leaves I cut multiples of the leaves from a variety of colors. I also cut branches using the Bittersweet die in the Foliage and Ladybugs set.
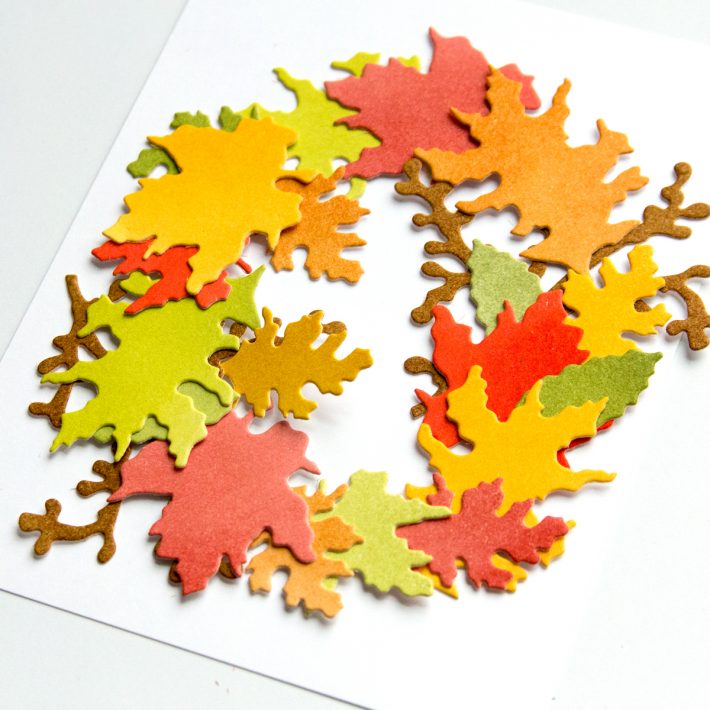
- I arranged the leaves and branches in a wreath formation, varying the leaf shape and color. I photographed the wreath so that I would have a record of the arrangement.
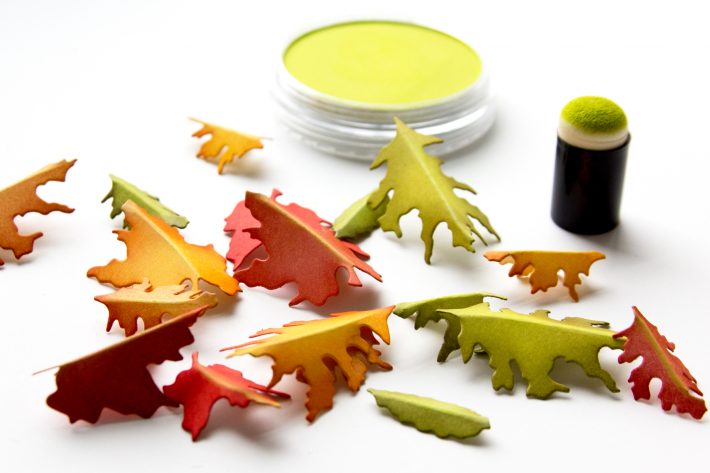
- I dismantled the arrangement and inked both the edges and the undersides (around the edges which might show) of the leaves. For example, I added Rusty Hinge to a leaf inked in Mustard Seed and Fired Brick to a leaf inked in Candied Apple.
- Using the 1mm tip in the Stylus Tips set with the Tool ‘n One, I scored the center of the leaves from the back. I folded the center back exposing the leaf’s vein and applied Bright Yellow Green Pan Pastel with a foam applicator.
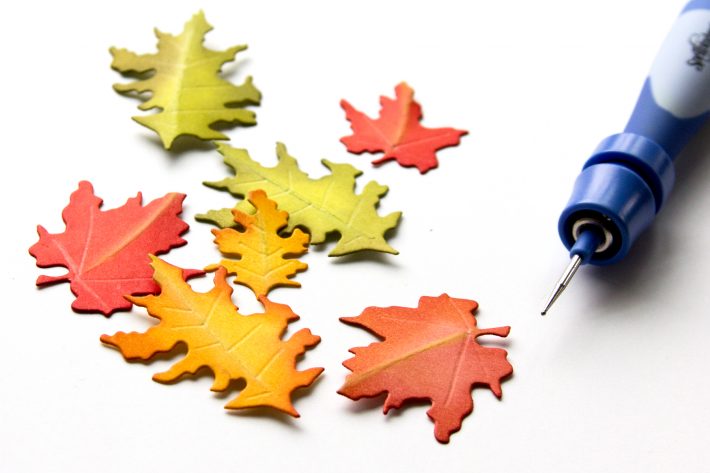
- I added vein lines to the leaves with 1mm tip. As a perfectionist, this is where I resisted the process. The vein lines I added are not botanically accurate.
- With the 3 mm stylus tip, I worked the leaves both inside and out to curl and distress on a foam pad. Finally, I added more Distress Ink and reapplied the Pan Pastel as needed.
- I cut a circular frame from cardstock with nesting circle dies on which to glue the leaves.
- Using the original photo as my guide, I glued the leaves and branches (which I trimmed) to the wreath frame.
- I stamped the Autumn Quotes sentiment in brown ink on off-white rustic cardstock and trimmed the panel to just under 5″x 7″. I added the stamped panel to a 5″x 7″ cardstock base covered with dark brown cardstock. I glued the wreath to the card and fluffed the leaves as needed for additional volume.
Spellbinders Supplies:
Other Supplies
Memento Rich Cocoa ink; off-white rustic cardstock; Strathmore 300 Series Bristol board; Bazzill linen-textured brown cardstock; Distress Inks: Vintage Photo, Gathered Twigs, Fossilized Amber, Mustard Seed, Fired Brick, Candied Apple, Spiced Marmalade, Rusty Hinge, Wild Honey, Forest Moss, Peeled Paint; Bright Yellow Green Pan Pastel; foam applicators; glue; foam pad
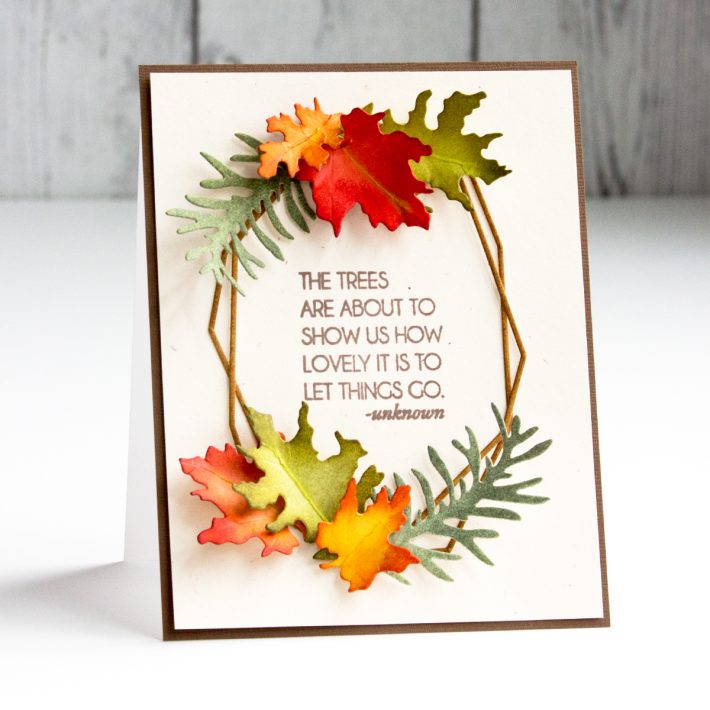
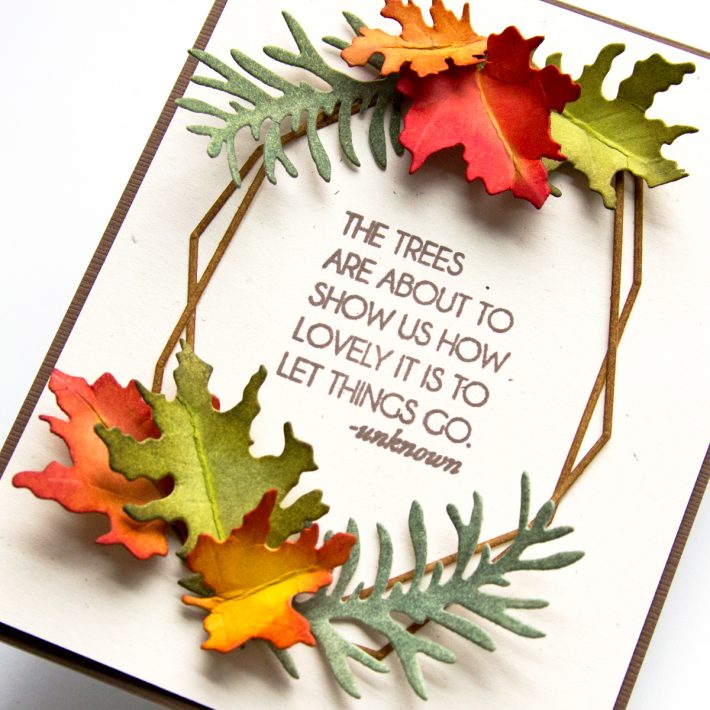
I followed the same process as above to create a CAS autumn-themed card.
- After coloring the Bristol board with Distress Inks, I cut four of the leaves (Small Oak, Large Oak, Small Maple, Large Maple, and Birch) with the Woodland Garden Leaves I cut multiples of the leaves as needed. I also cut an evergreen bough using the Rosemary die in the Foliage and Ladybugs set. Even though it’s technically a rosemary sprig, I viewed it as an evergreen bough.
- I cut the frame with a die in the Geometric Floral Frames set (twice).
- After inking the edges and undersides of the foliage, I scored the center of the leaves with the 1mm Stylus tip. I folded the center back exposing the leaf’s vein and applied Bright Yellow Green Pan Pastel. I added vein lines with the 1mm tip.
- With the 3 mm stylus tip, I worked the leaves both inside and out to curl and distress them on a foam pad. I added more Distress Ink and reapplied the Pan Pastel as needed.
- I stamped the Autumn Quotes sentiment in brown ink on off-white rustic cardstock and trimmed the panel to just under 4 1/4″x 5 1/2″. I added the stamped panel to an A2 cardstock base covered with dark brown cardstock.
- I glued the frame pieces to the card and the leaves and evergreen to the frame.
Spellbinders Supplies:
Other Supplies
Memento Rich Cocoa ink; off-white rustic cardstock; Strathmore 300 Series Bristol board; Bazzill linen-textured brown cardstock; Distress Inks: Vintage Photo, Gathered Twigs, Fossilized Amber, Mustard Seed, Fired Brick, Candied Apple, Spiced Marmalade, Rusty Hinge, Wild Honey, Forest Moss, Peeled Paint, Iced Spruce; Bright Yellow Green Pan Pastel; foam applicators; glue; foam pad
Thank you for dropping by. Whether you are new to realistic florals or a seasoned pro, I hope you are inspired to create gorgeous, autumn-themed cards with Susan’s Autumn Flora Collection.


2 Comments
Dorothy Mutafopulos
Beautiful fall leaves and love the layout too!
slangnv
These two cards are amazing! So much detail was put into them and the results were stunning. I especially liked the geometrical frame card, it just sets the leaves off perfectly. Wonderful sentiments. Thank you Jean for sharing all your tips!