May 2021 Clear Stamp of the Month is Here – Borders & Sentiments
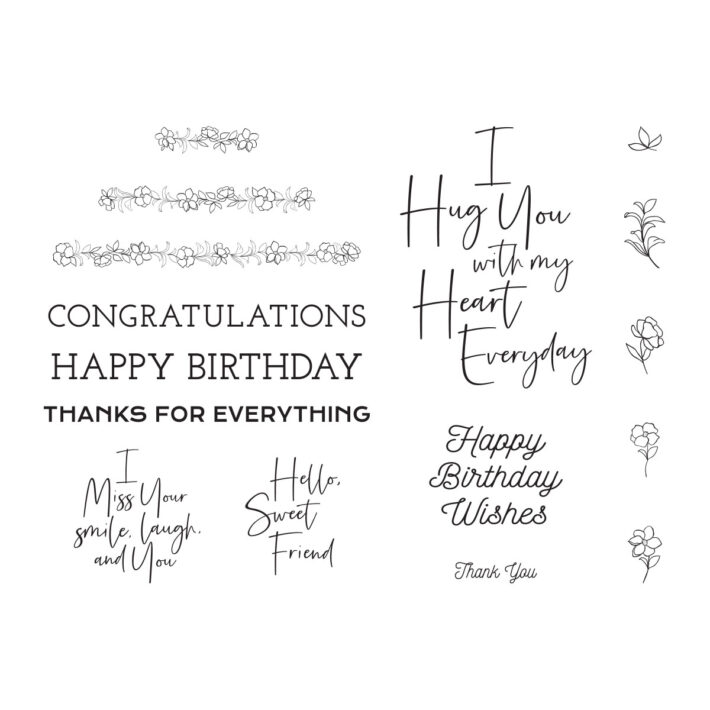
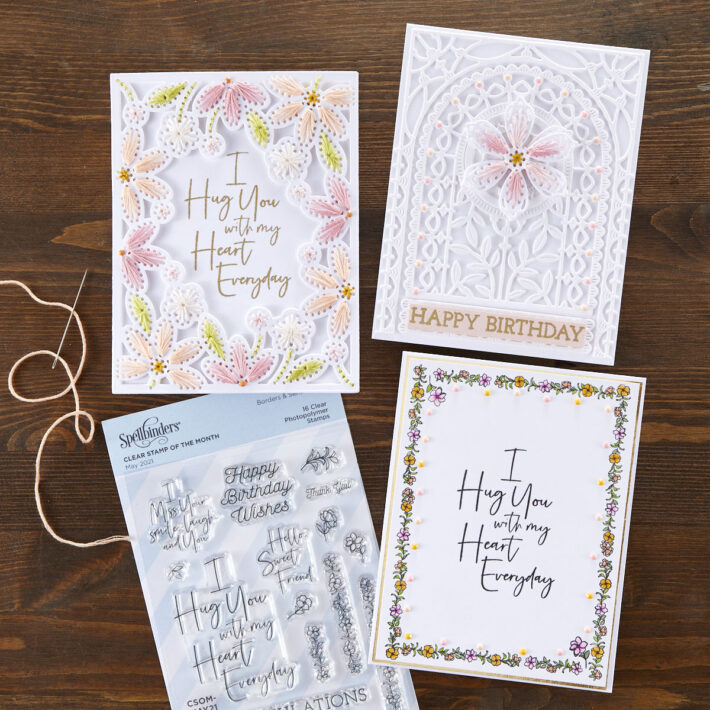
Our May 2021 Clear Stamp of the Month is here! This “Borders & Sentiments” stamp set features made in the USA stamps from high-quality photopolymer for clear, crisp impressions. Our stamps create one of the best impressions on the market giving you a perfect stamped image every time!
Here’s a look at the May 2021 Clear Stamp of the Month – Borders & Sentiments:
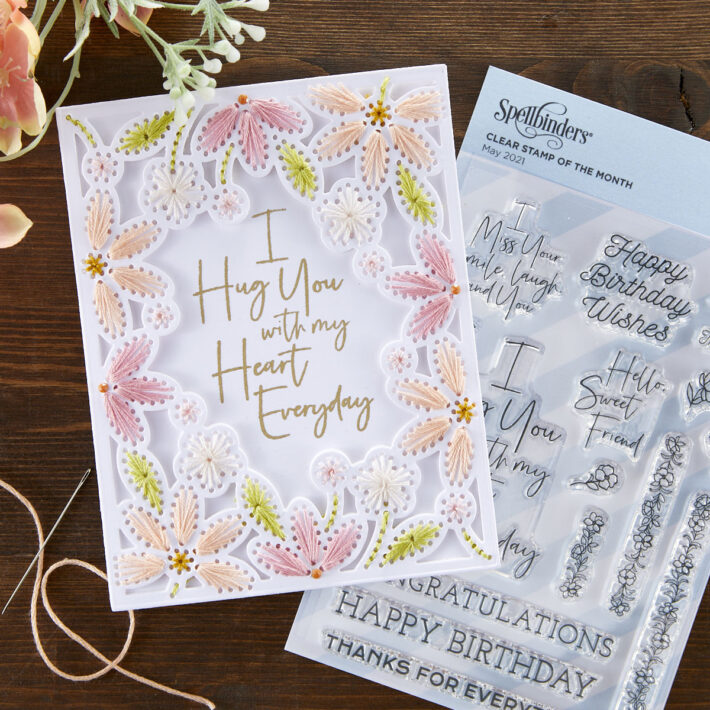
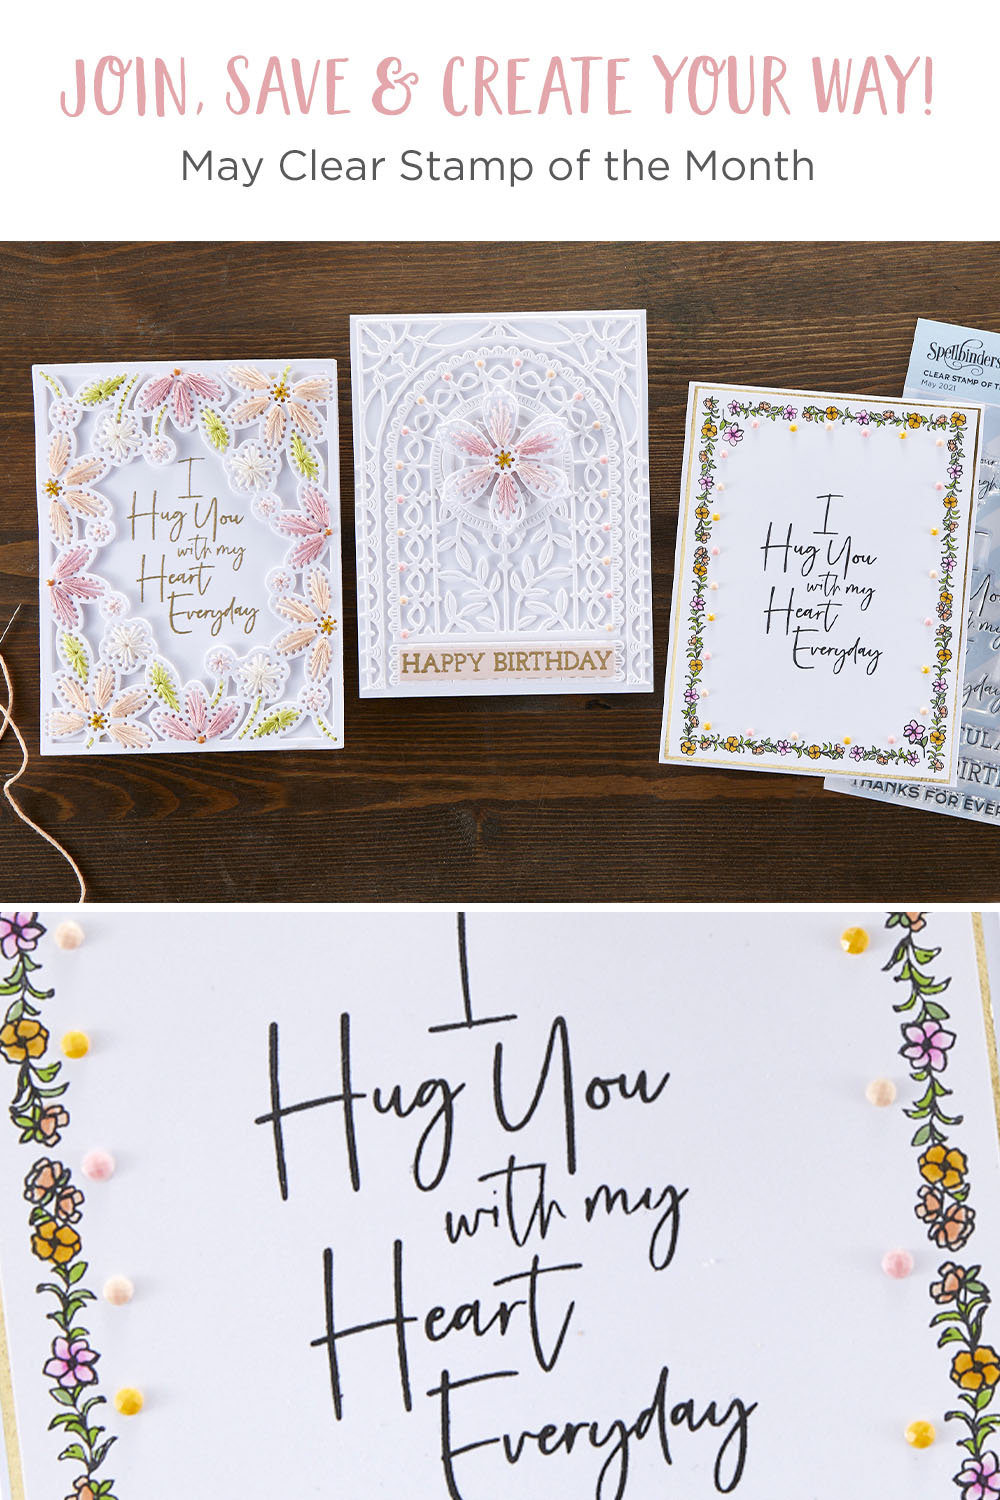
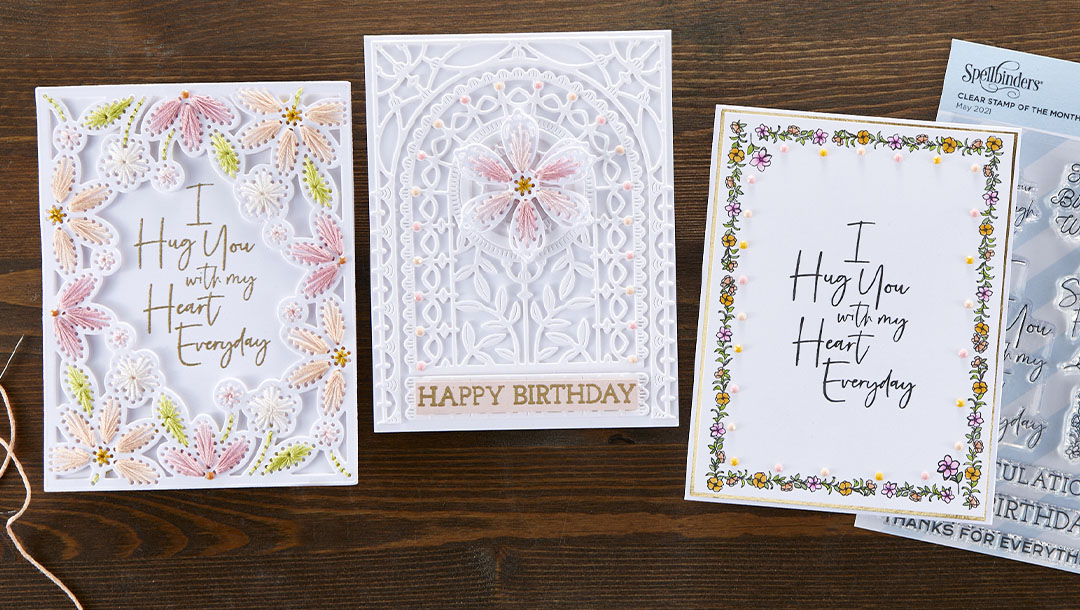
Hug You Card
The larger sentiment from May 2021 Clear Stamp of the Month Borders & Sentiments fits perfectly inside the May 2021 Large Die of the Month Stitched Card Front, Border & Flower.
- Line up the stitched cover die from the set over 4 1/4 x 5 1/2″ white card panel. Die-cut and remove the small pieces out of the card panel using your Tool n’ One.
- Use Embroidery thread and embroidery needles to get the stitching done over the card front panel.
- Die-cut a second card front card panel and adhere from the back of the stitched card front panel.
- Line up the stitched panel over A2 white card panel and stamp the sentiment in the center with embossing ink.
- Add gold embossing powder, heat set the embossing powder using a heat embossing gun tool.
- Adhere embossed panel to an A2 top folding white card base.
- Adhere stitched card front panel over the heat embossing card panel.
- Embellish with small jewels to add a pop of shine!
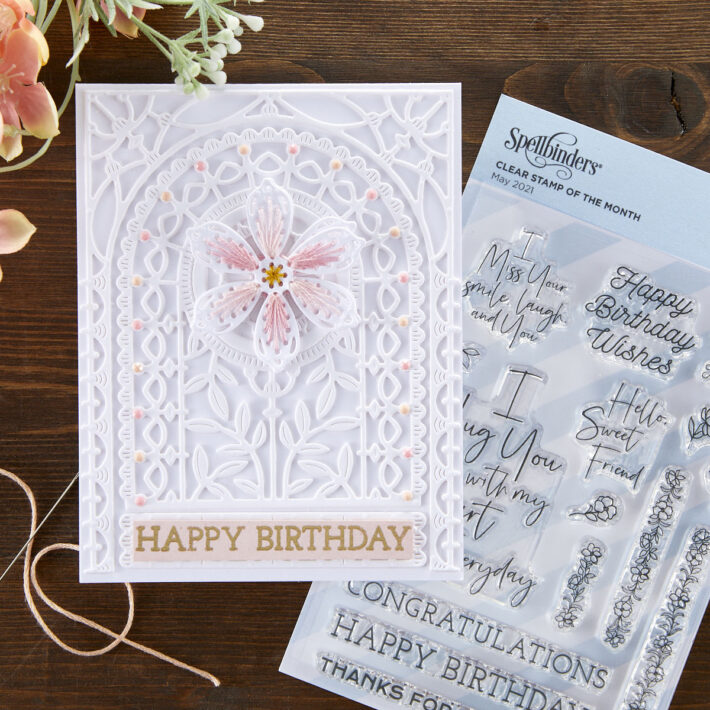
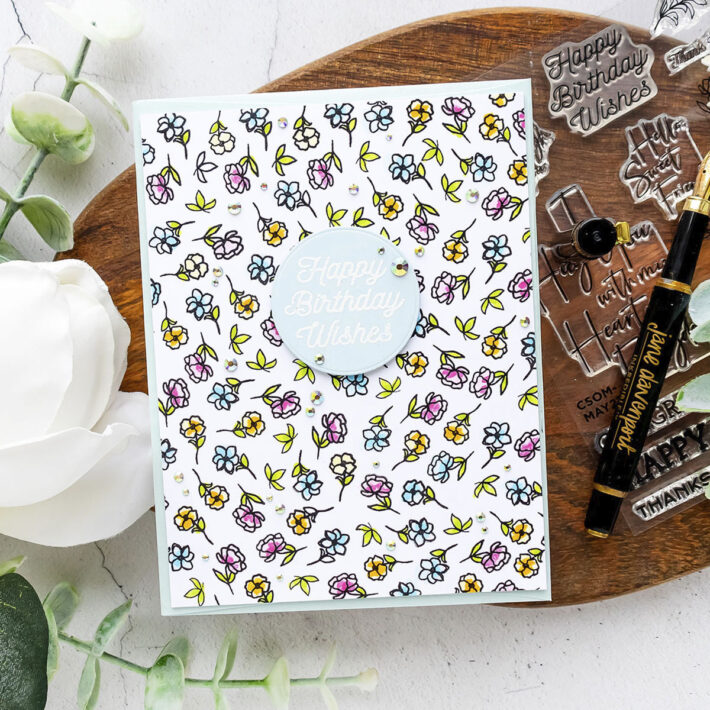
Happy Birthday Card
Some of the strip sentiments from May 2021 Clear Stamp of the Month Borders & Sentiments fit perfectly inside the bottom detailed die-cutting piece of the May 2021 Small Die of the Month Arched A2 & Slimline Card Creator.
- Die-cut Arched A2 card creator dies from white cardstock.
- Adhere die cut onto an A2 standard size white card panel following the design.
- Stamp strip sentiment in clear embossing ink onto pink cardstock.
- Add gold heat embossing powder and heat set the powder using a heat embossing tool.
- Trim down the sentiment and mount as shown.
- Die-cut stitched flower from white cardstock using one of the dies from May 2021 Large Die of the Month; stitch using embroidery thread.
- Mount stitched flower and embellish card with jewels to add a pop of shine.
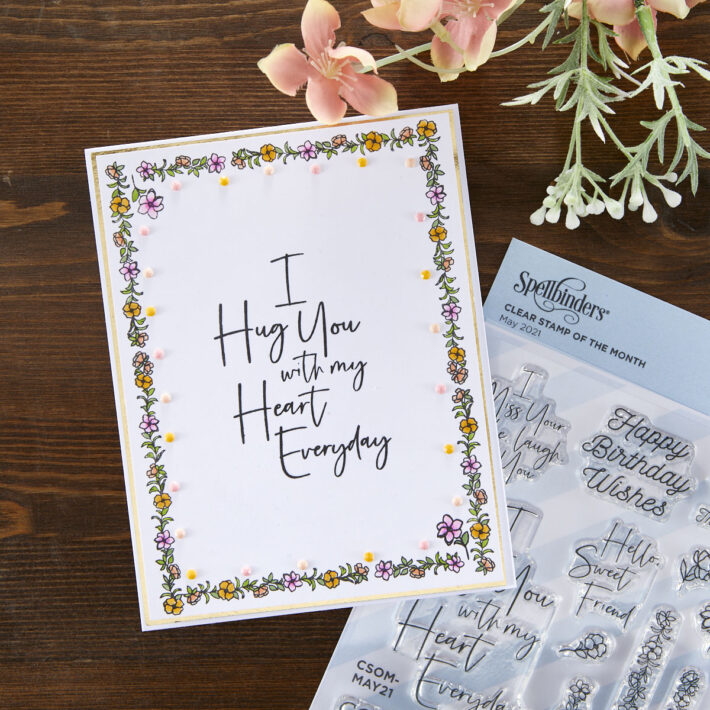
Floral Border Card
Start by creating a stamped floral frame on an A2 card.
- Place an A2 standard size white card panel in a portrait way inside the MISTI Stamping Tool.
- Place the large floral edger stamp in the lower left corner of the card panel leaving 1/8’’ gap.
- Stamp image with detailed black ink, turn card panel and stamp the images once again on the other side of the panel.
- Remove the stamp, line up the medium floral edger stamp and repeat the stamping process.
- Remove the stamp, line up the medium size floral edger stamp image to get the stamping done in the bottom part of the panel.
- Turn over the card panel and repeat the stamping in the other side of the card panel.
- Continue to create a frame.
- Stamp the larger sentiment in detailed black ink in the center of the card.
- Use Copic markers or any coloring medium to color in the floral frame.
- Trim panel to 5 1/4″ x 4.0″ .
- Adhere to gold mat cut to 4 1/8″ x 5 3/8″.
- Mount the layered card panel onto A2 top folding white card base.
- Embellish with jewels.
May 2021 Clear Stamp of the Month – Video Tutorial
Watch video tutorial using this month kit below or on Youtube:
Additional inspiration
Here’s a closer look at the projects we created using our May 2021 Clear Stamp of the Month:
Value Clubs
For those who want to join multiple clubs to bundle and save, we offer Value Clubs and VIP Value Clubs. VIP Value Clubs offer members the most value and savings + members will periodically get BONUS Deals and Gifts. See all Value Club options here.

