Slimline Collection – Springtime Card Inspiration with Annie Williams
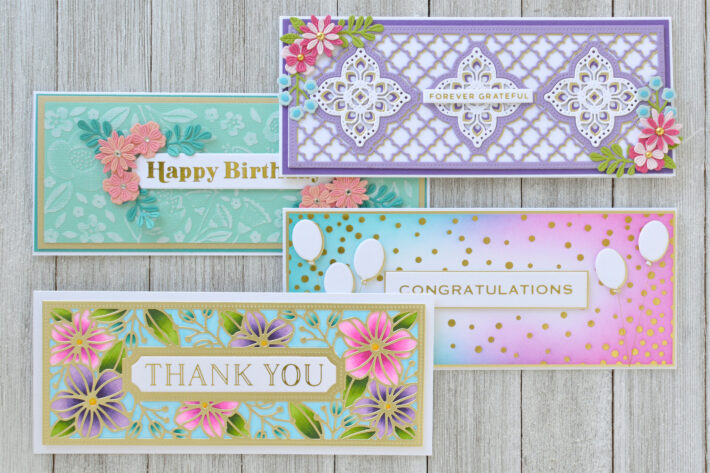
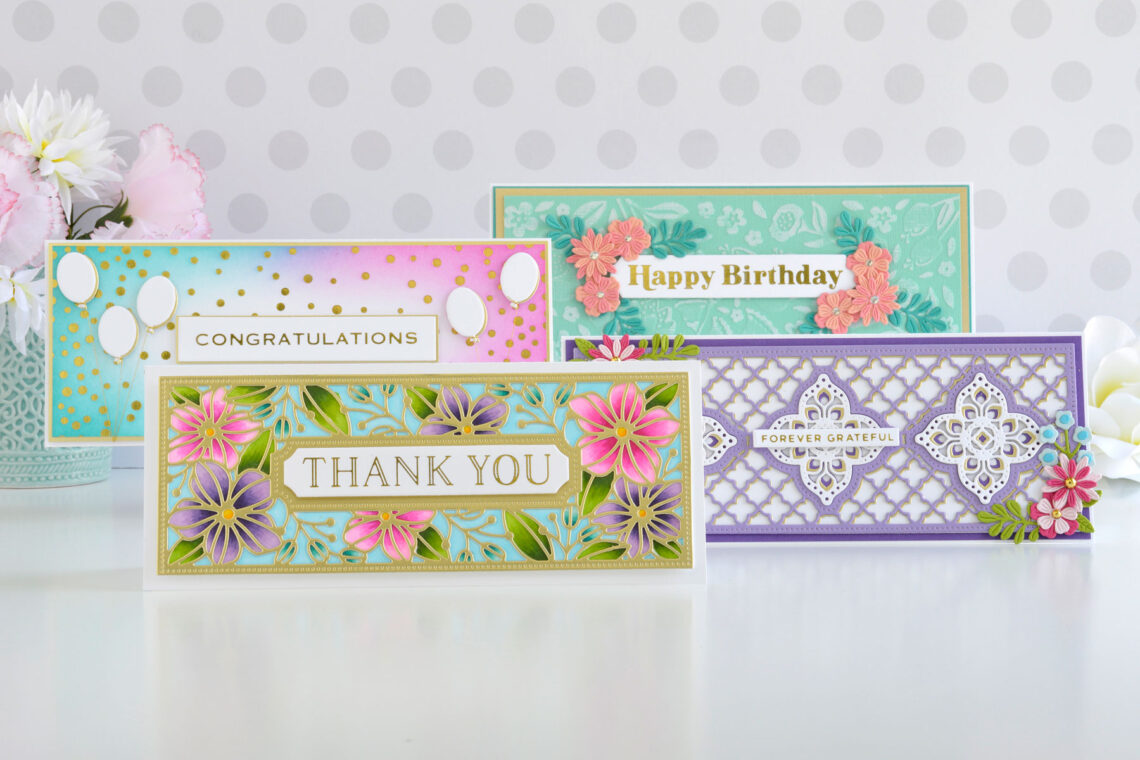
Hi there, this is Annie Williams and I’m thrilled to have the opportunity to share a couple of projects using the new Slimline Collection from Spellbinders. The gorgeous slimline background patterns, pretty floral accents, and big and bold sentiments inspired me to create four bright springtime cards for various occasions.
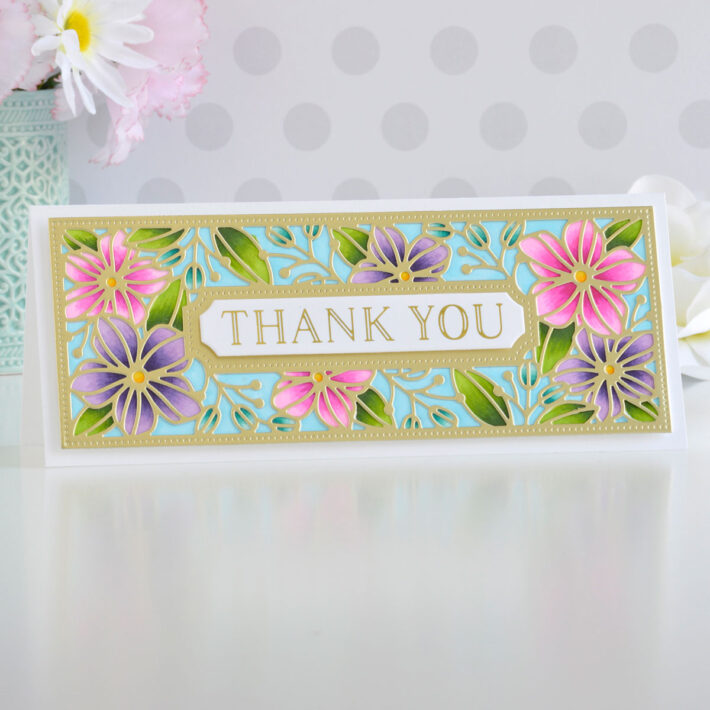
Blossoming Slimline
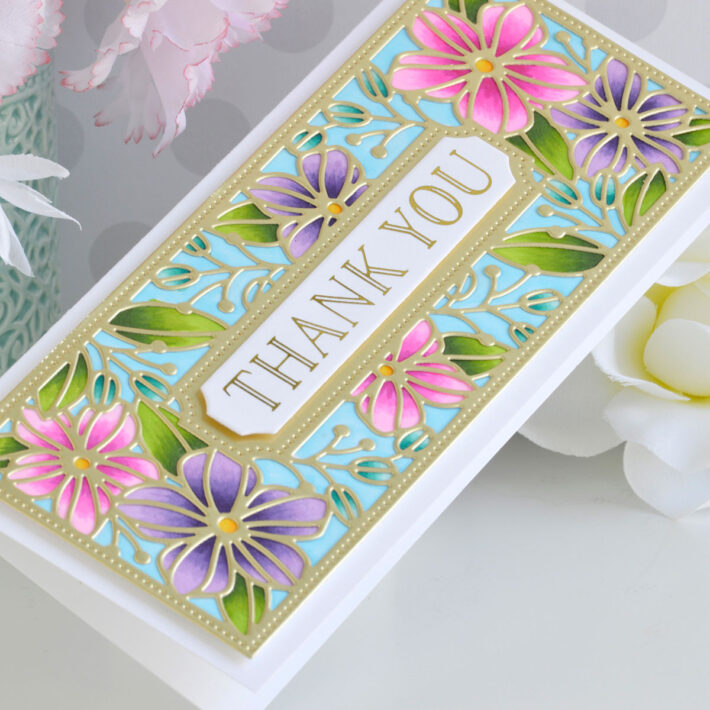
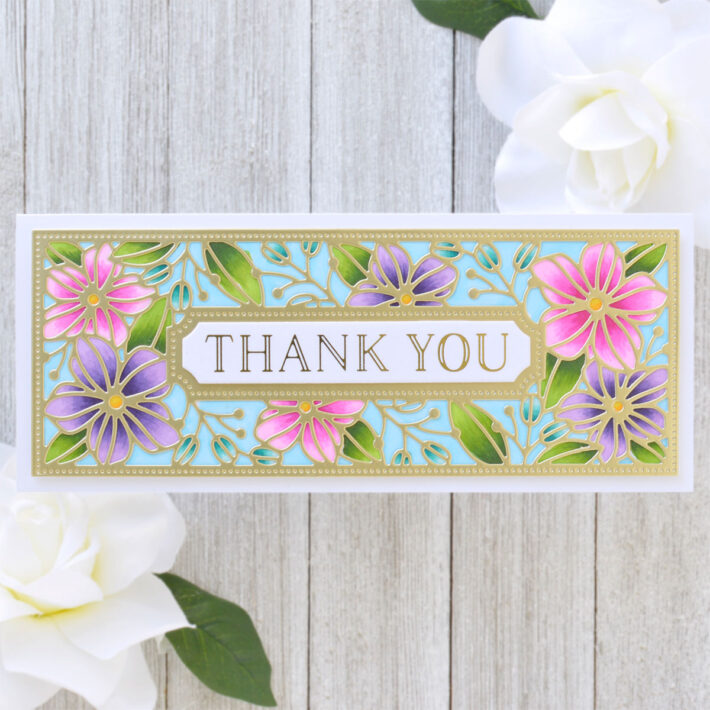
The Blossoming Slimline die set is so gorgeous, I had to start with this piece from the collection first. There are so many ways to create beautiful slimline card backgrounds with this die, but the large petals and leaves in the pattern were begging for me to color them!
- Die cut gold metallic cardstock using the Outer Rim and Blossoming Insert dies from the Blossoming Slimline die set.
- Cut white cardstock using the Outer Rim die, then make an impression of the Blossoming Insert die on the cardstock using an embossing mat in your diecutting machine.
- Following the embossed lines as a guide, color each flower and leaf on the white cardstock with Copic markers. Add light blue to any of the remaining areas.
- Apply Gold Hot Foil to white cardstock using one of the sentiments from the Essential Glimmer Sentiments plate set and the Glimmer Hot Foil Machine.
- Die cut the sentiment out using the Label Rim die from the Blossoming Slimline die set.
- Adhere the gold die cut panel on top of the colored panel using liquid glue.
- Add the layered background to a top-folding 5” x 3.5” white card base with foam adhesive.
- Pop the sentiment up in the center of the card with more foam adhesive.
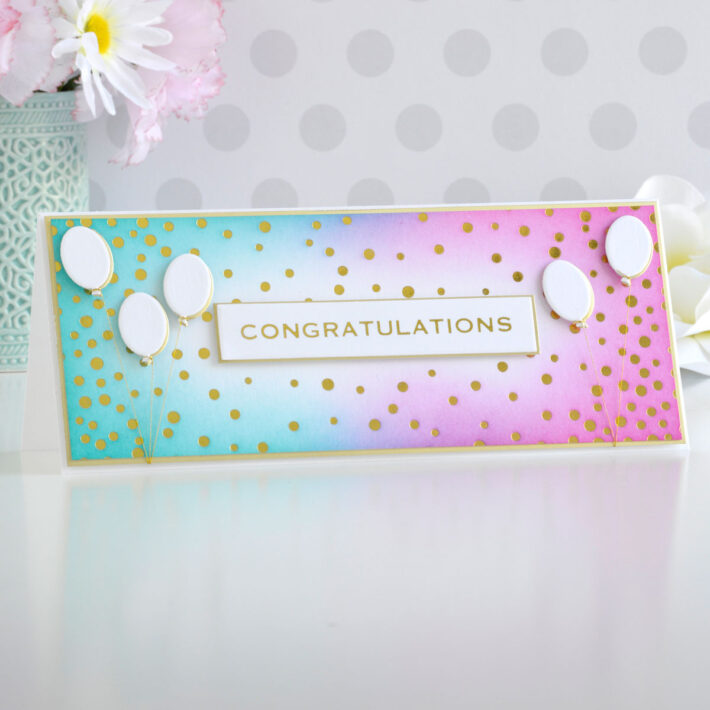
Slimline Confetti
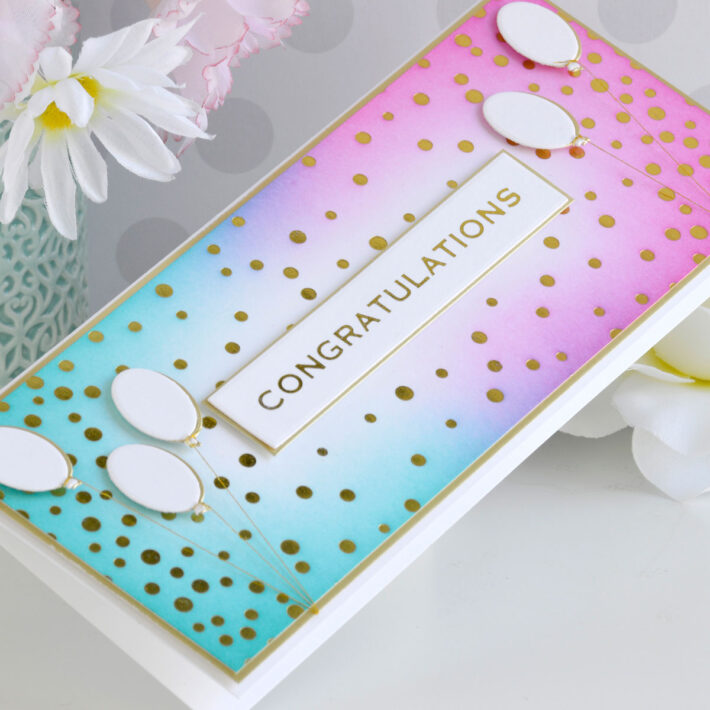
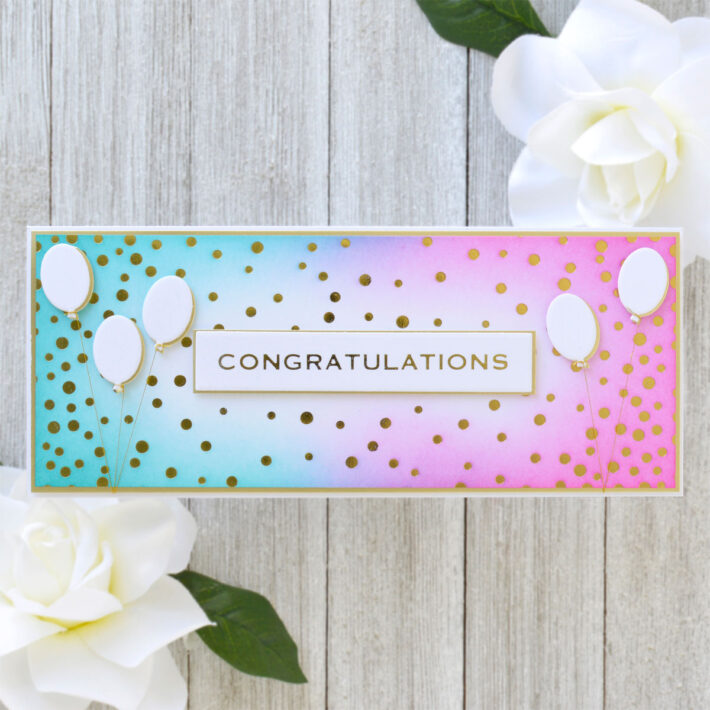
I love how versatile the Slimline Confetti Background Foil Plate is! You can foil it twice to cover an entire slimline card as I’ve done here, but it also nearly fills an entire A2-sized background when foiled once. I used this pretty background to create a clean and simple congratulations card.
- Trim a piece of white cardstock to 8.25” x 3.25”. Apply Gold Hot Foil over the entire panel using the Slimline Confetti Background Foil Plate and the Glimmer Hot Foil Machine.
- Blend Peacock Feathers and Picked Raspberry Distress Inks over the edges of the panel, allowing them to overlap a bit in the center.
- Apply Gold Hot Foil to white cardstock using one of the sentiments from the Essential Glimmer Sentiments plate set.
- Die cut the sentiment out using the Label Rim die from the Flowering Slimline die set and mat it with gold cardstock.
- Die cut white and gold cardstock five times each using the balloon die from the Sunday Drive Die Set. Adhere each white balloon on top of a gold balloon with liquid glue, slightly offsetting the die-cuts so that a gold shadow forms.
- Mat the foiled background panel with gold cardstock.
- Tie gold thread around each balloon end. Adhere the balloons to the background panel with foam adhesive, then secure the balloon strings behind the back of the panel before mounting on a top-folding 8.5”x 3.5” white card base.
- Pop the sentiment panel up in the center of the card with foam adhesive.
Moroccan Kaleidoscope Slimline
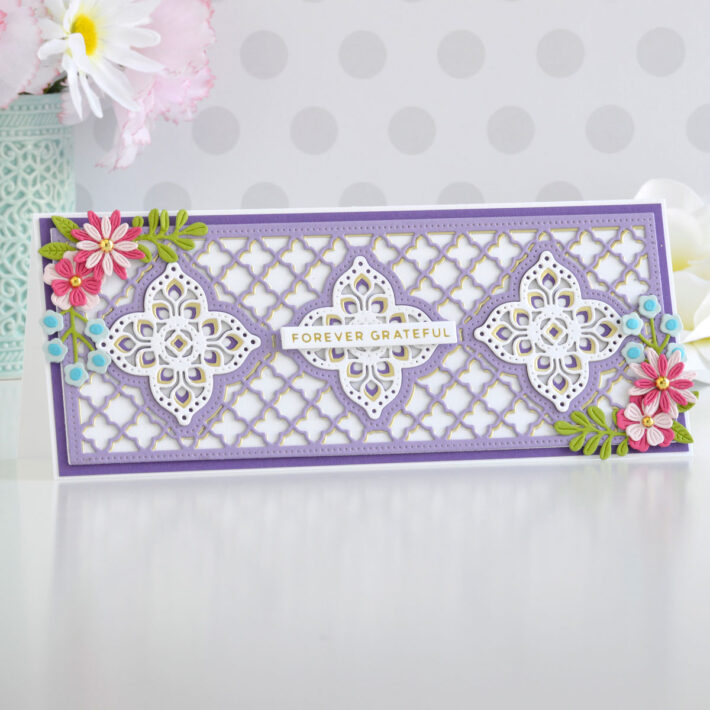
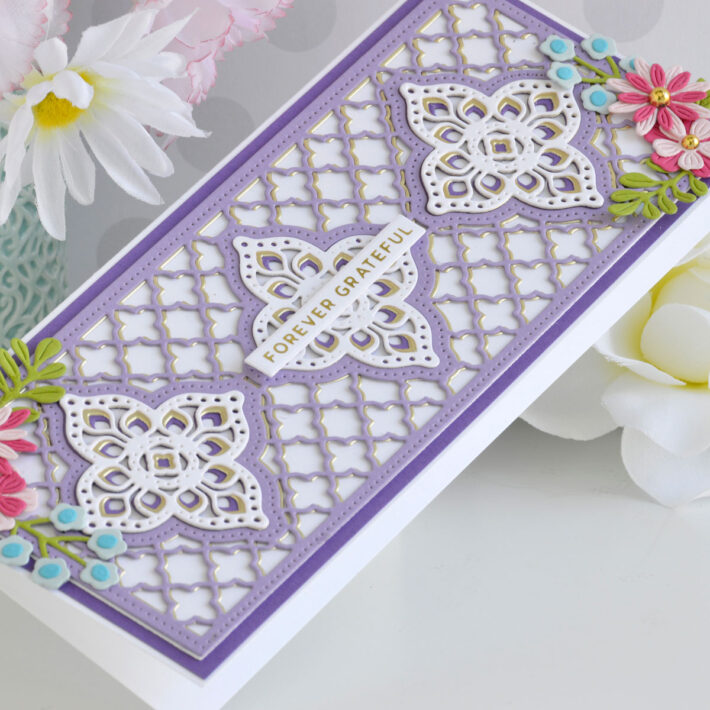
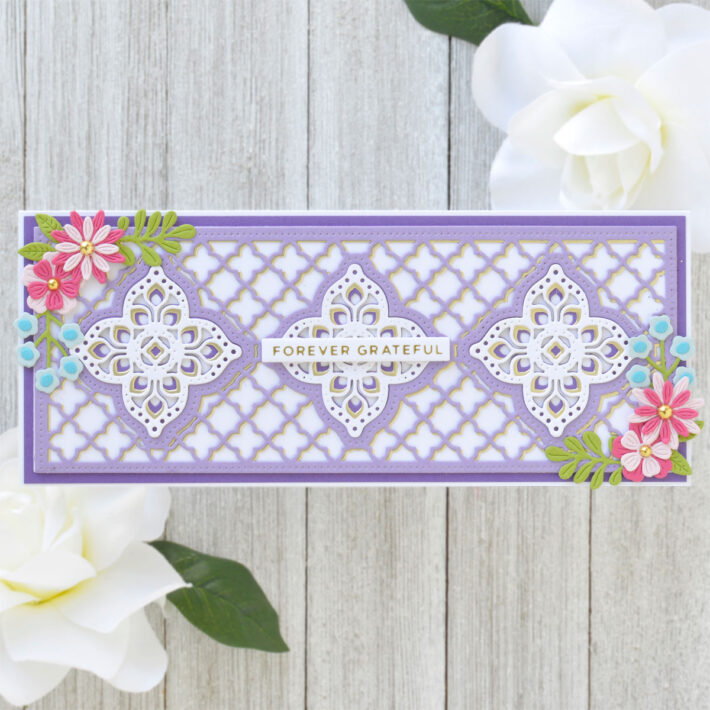
The Moroccan Kaleidoscope die set makes ornate slimline cards a breeze! I used tons of layers to create a bright but elegant thank you card.
- Die cut light purple and gold cardstock using the Outer Rim, Moroccan Insert, and Kaleidoscope Insert dies from the Moroccan Kaleidoscope die set. This will create two panels that have both the ornate background pattern and three shaped windows cut out.
- Adhere the purple panel on top of the gold panel with liquid glue, offsetting them slightly to let the gold layer peek out a bit. Then layer this on top of a panel of white cardstock cut with the Outer Rim die in the set.
- Die cut dark purple, gold, and white cardstock using the Kaleidoscope Insert dies from the set and layer them together using liquid glue.
- Apply Gold Hot Foil to white cardstock using one of the sentiments from the Mini Everyday Sentiments Foil Plate Set and cut it out with the coordinating die.
- Die cut pink, blue and green cardstock using the Mini Blooms and Sprigs die set. Adhere the layered flowers together with liquid glue.
- Mat the background panel with dark purple cardstock and mount to a top-folding 8.5” x 3.5” white card base with foam adhesive.
- Insert the kaleidoscope shapes in the windows of the background panel and adhere down with liquid glue.
- Pop the foiled sentiment up in the center of the card using foam adhesive.
- Arrange the layered flowers in the corners of the card and tack down with liquid glue. Add gold pearls to the flower centers if desired.
Slimline Flora
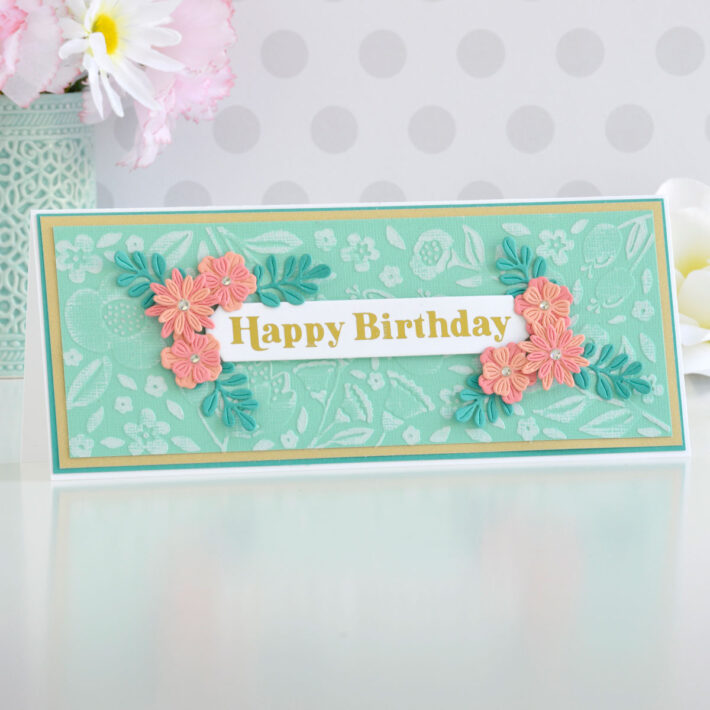
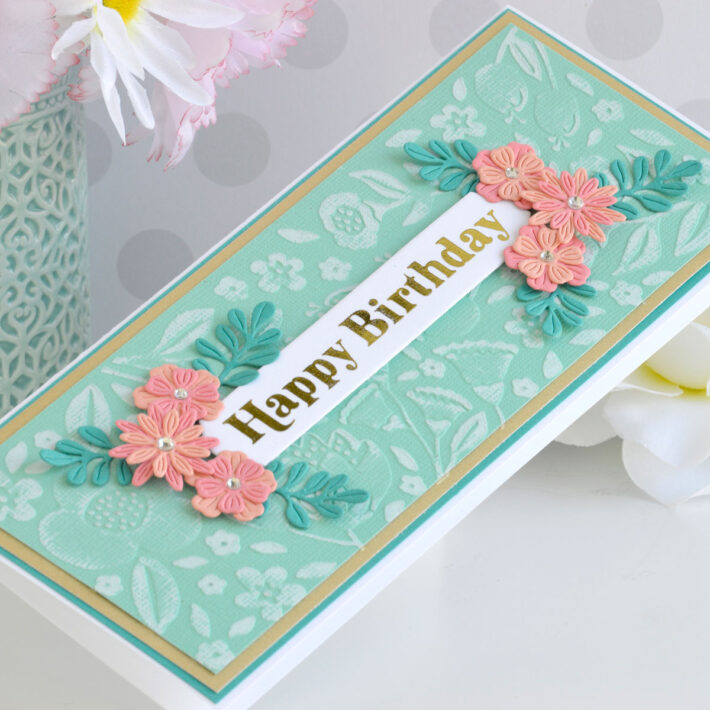
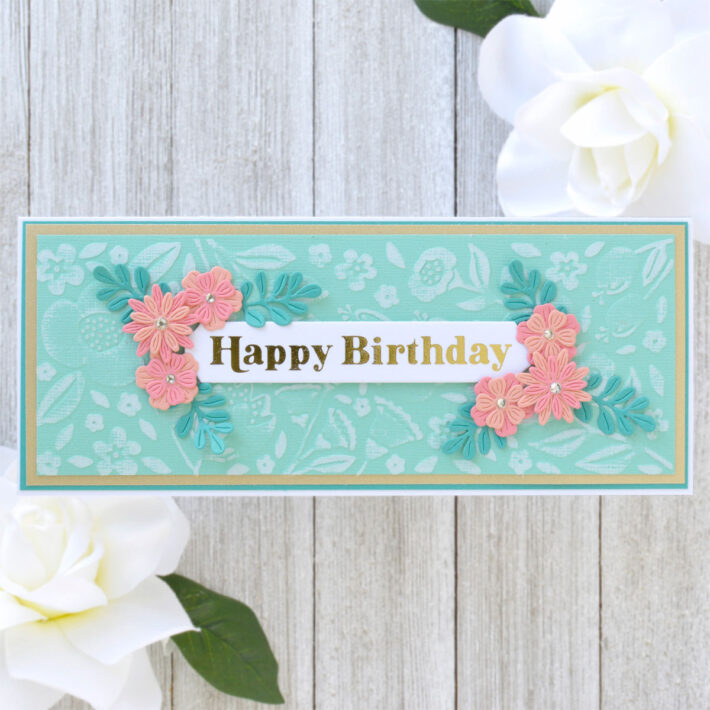
The Slimline Flora Embossing Folder adapts the pattern from the uber popular Simply Perfect Florets Embossing Folder for slimline cards and it’s the perfect modern background for a variety of occasions. I used it here with some white-core cardstock to create a soft and pretty birthday card.
- Trim aqua white-core cardstock to 8” x 3” and emboss it using the Slimline Flora Embossing Folder.
- Lightly sand the surface of the embossed panel with a sanding block to bring out some of the details of the pattern. If you don’t have white-core cardstock, you can lightly apply ink or gilding wax for a similar effect.
- Mat the embossed panel with gold shimmer and teal cardstock using tape runner.
- Apply Gold Hot Foil to white cardstock using one of the sentiments from the Essential Glimmer Sentiments Foil Plate Set and cut it out with the Label Rim die from the Blossoming Slimline die set.
- Die cut peach, pink, and teal cardstock using the Mini Blooms and Sprigs die set. Adhere the layered flowers together with liquid glue.
- Adhere the matted background panel to a top-folding 8.5” x 3.5” white card base with tape runner.
- Pop the foiled sentiment up in the center of the card using foam adhesive.
- Arrange the layered flowers and leaves around the sentiment and tack down with a combination of liquid glue and foam adhesive for lots of dimension.
- Add clear rhinestones to the flower centers if desired.
Spellbinders Supplies:

Other supplies
White heavyweight cardstock, gold metallic cardstock, Peacock Feathers and Picked Raspberry Distress Inks, blending brushes, gold thread, Copic markers, embossing mat, aqua white-core cardstock, various colored cardstock for diecutting, clear rhinestones, gold pearls, liquid glue, tape runner, foam adhesive
I hope you enjoyed this bunch of bright springtime slimline cards and thanks so much for stopping by today. You can find more inspiration over at my blog AnnieBWills.com.

