All Aboard Christmas Kit | Inspiration With Lisa Mensing
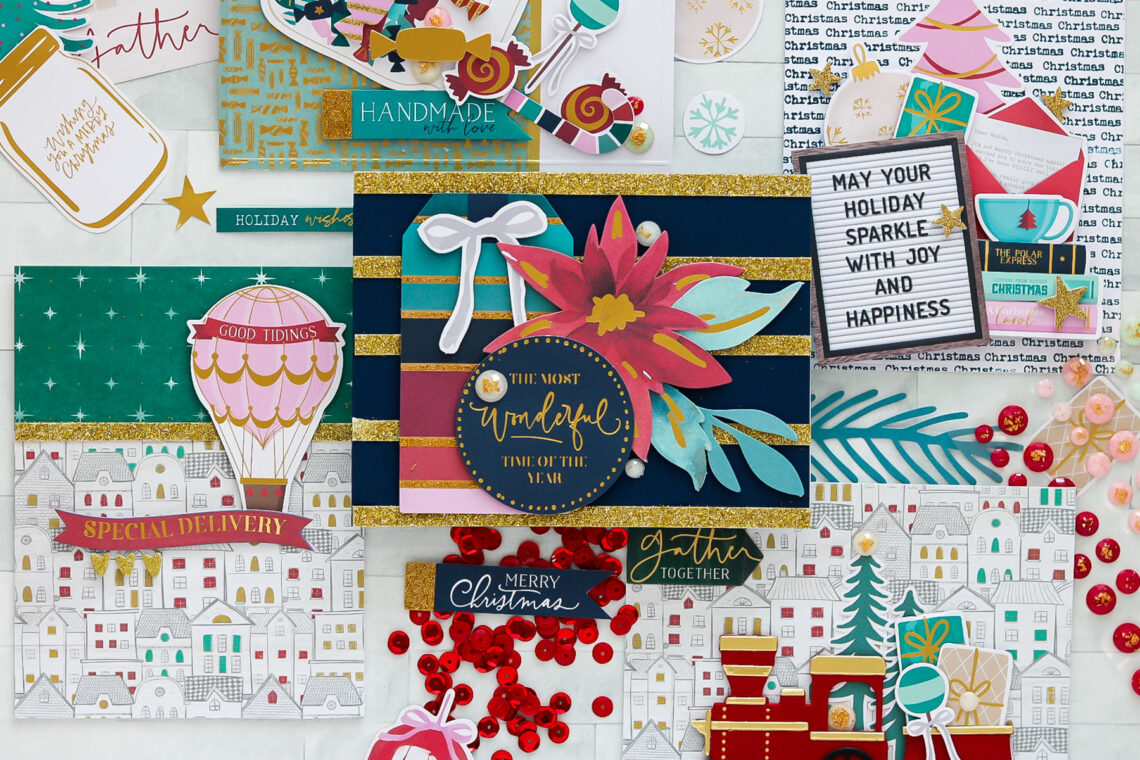
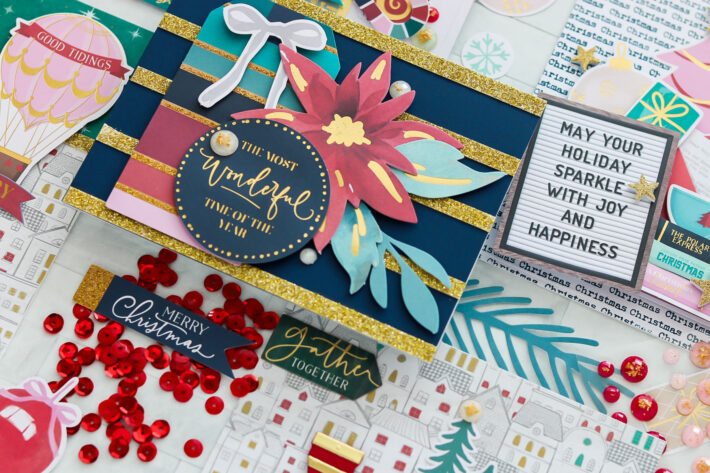
Hello, everyone. Lisa here, from LisaMensing.com, with you today. I’m so excited to be back sharing inspiration here on the Spellbinders Blog with you. The All Aboard Christmas Kit is packed full of holiday happiness. I was pleasantly surprised at the generous amount of product included in this kit. Honestly, I’ve never had a kit with so much in it. It’s packed full of die-cut shapes and floral die-cuts, which brings me to my first card.
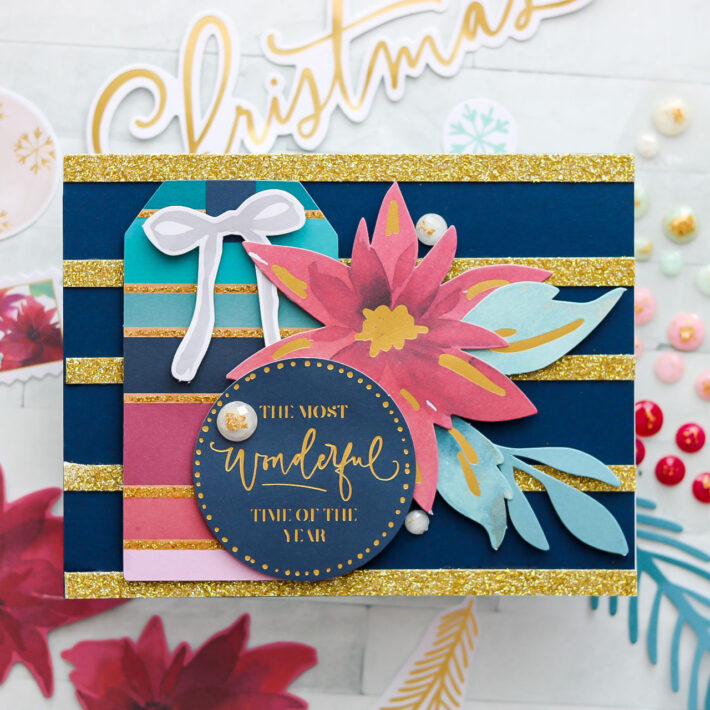
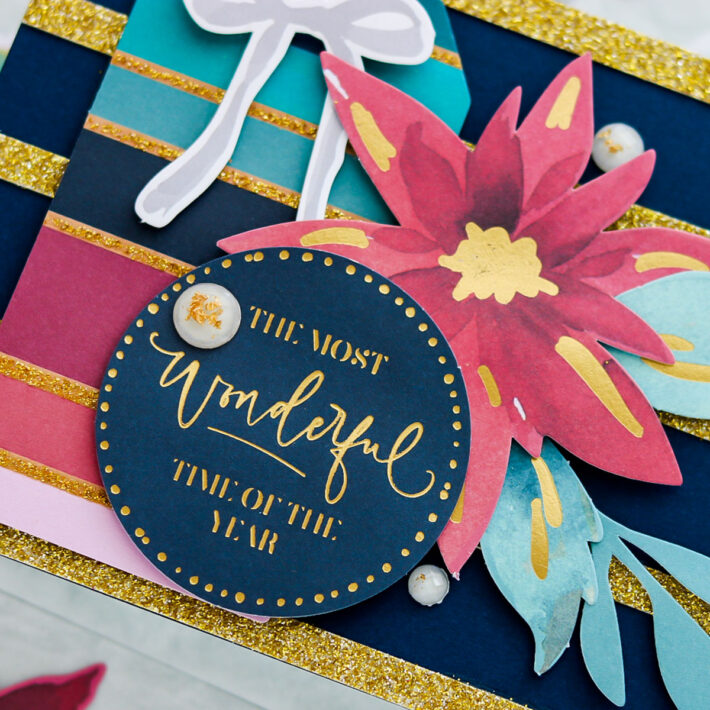
I LOVE die-cut shapes! It’s like a puzzle for me, searching for the right piece to finish the picture.
- Cut a piece of the navy cardstock to 4.25” x 5.5” and adhere to one of the card bases using the double-sided tape
- Cut .25” strips from gold glitter cardstock, glue to navy cardstock
- Arrange tag, bow, sentiment, and floral die-cuts
- Add three gemstones
I love the variety of die-cut shapes included in this kit. I believe there is something for every style here.
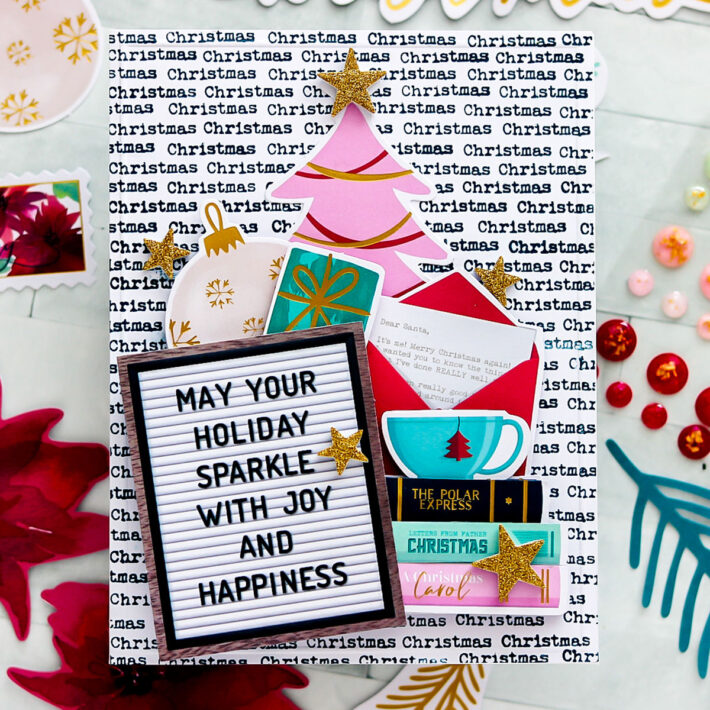
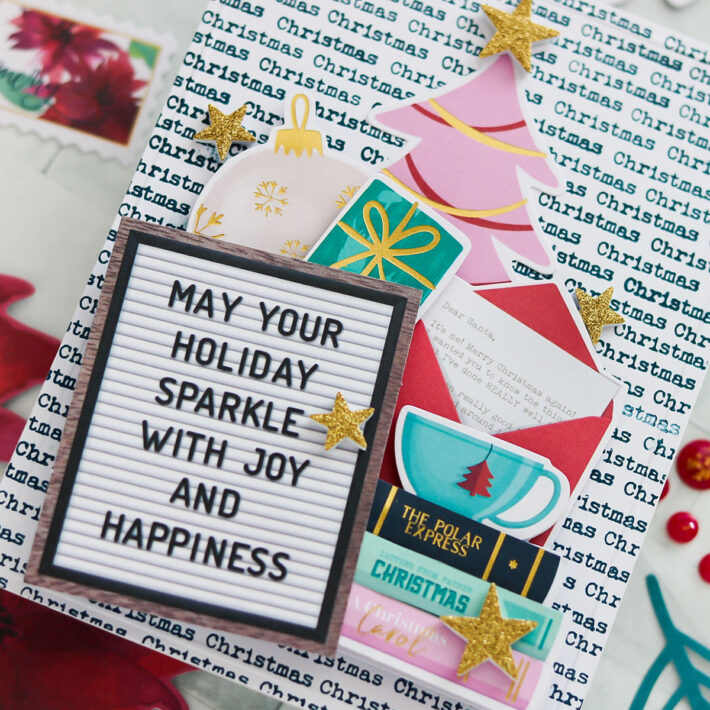
- Cut a piece of the white cardstock to 4.25” x 5.5”
- Using a navy ink stamp Christmas from the clear stamp set to create a
Background
- Add stamped, white cardstock to one of the card bases using the double-sided tape
- Arrange die-cut shapes using foam squares
- Add gold glitter stars from the gold foam sticker sheet
Clean and simple cards are a must during the holiday season, especially for those last-minute cards. It’s okay: it happens to everyone. Grab the kit box and whip something up. The recipient will be none the wiser. (Our secret)
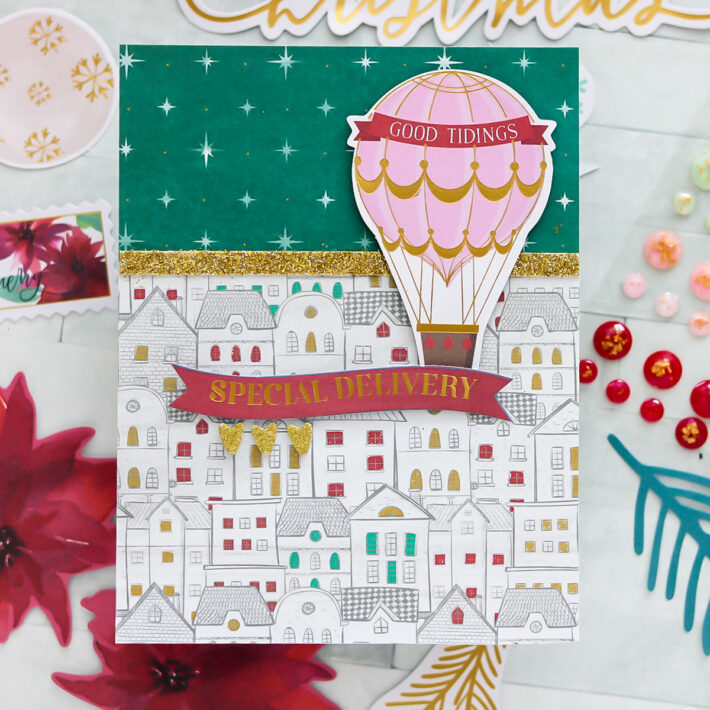
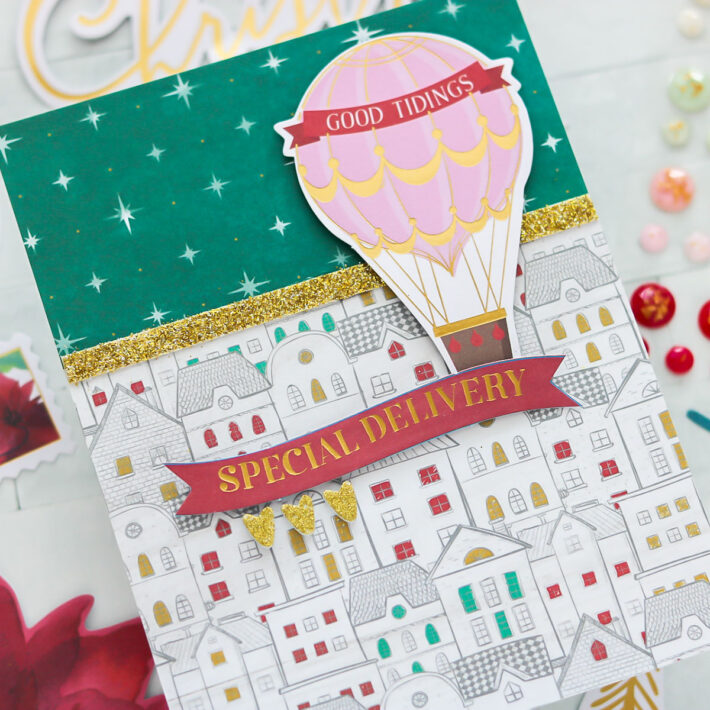
- Cut a piece of pattern paper to 4.25” w x 3.5” h, cut a second pattern to 4.25” w x 2”h; using double-sided tape adhere to one of the card bases
- Trim the gold glitter cardstock to 4.25” w x .25”; glue where the two pattern papers meet
- Using the foam squares, pop up the hot air balloon and banner sentiment die-cut shape
- Add three gold glitter hearts from the gold foam sticker sheet
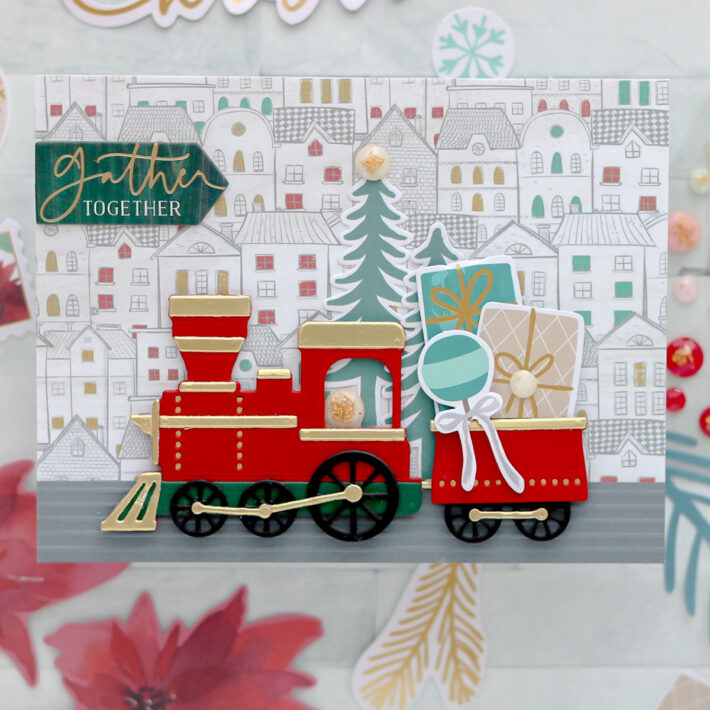
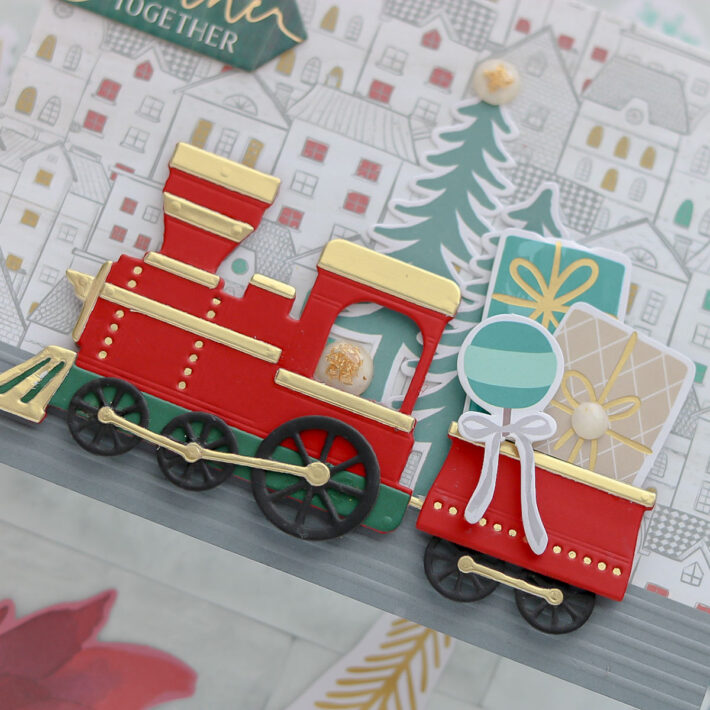
I had to use the set of dies included in this kit to create this adorable holiday train. I mean, what’s Christmas without a train, right?
- Die-cut the train using cardstock included in this kit: red, green, black, and mirror gold cardstock; assembled with glue
- Cut the pattern paper to 5.5” w x 4.25”h, adhere to the card base using double-sided tape
- Cut a piece of the dark gray cardstock to 4.25” w x 5/8” glue to the bottom of the card; use scoreboard to emboss lines 1/8” apart (this is an excellent way to add texture to the card)
- Glue the tree die-cut shapes to card
- Using the foam squares, add die-cut shapes to train
- Add the sentiment from the Chipboard Embellishments
- Add three gemstones
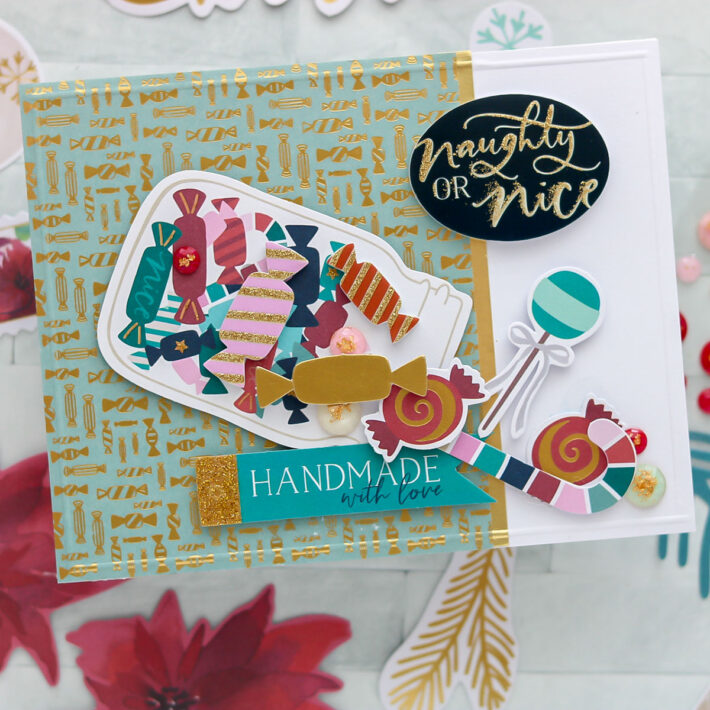
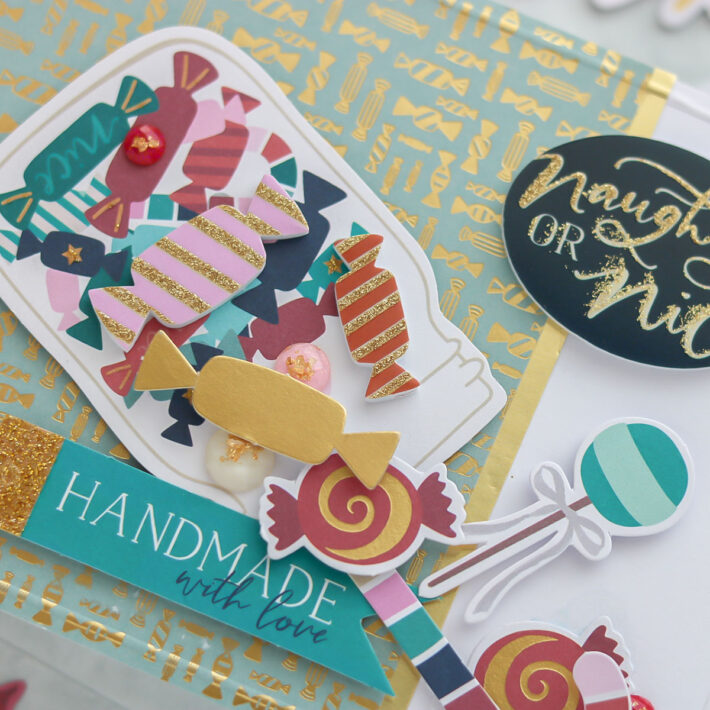
As I sorted through the die-cut shapes, I was happy to see the jar full of candy, and I knew I had to use it with the Naughty or Nice sentiment from the glitter foam sticker sheet.
- Cut a piece of the white cardstock to 5.5” w x 42.5”h, adhere to a card base using double-sided tape
- Cut the pattern paper to 3.75” w x 4.25”h; trim a piece of mirror gold cardstock to .25” x 4.25”; add double-sided tape to the back edge of pattern paper and line paper with gold mirror cardstock
- Adhere the pattern paper to the left side of the card base
TIP: using a scoreboard and scoring stylus (or bone folder), emboss a line around the outer edge of the card
- Using the foam squares, add the candy jar, “handmade” sentiment tag, and candy
- Add the naughty or nice sentiment and pieces of candy from the glitter foam sticker sheet
- Add gemstones
I was hoping you could drop a comment below letting me know your favorite. If you like the projects above and would like to see more of my work, you can find me at LisaMensing.com. Thank you for spending time with me here on the Spellbinders Blog.

One Comment
MaryH
This kit has some wonderful paper selections which you showcased beautifully. The train is very novel and cute. I can see a lot of uses for this die too. Lovely job giving us a taste of what is in this kit.