
Happy Harvest Collection Inspiration with Jennifer Kotas
Hello! I’m Jennifer Kotas from Who Stole My Glitter. I’m so happy to be on The Spellbinders Blog today. I’ve got three cards to share with you using the Happy Harvest Collection by Nichol Spohr. All three cards feature moody, autumnal backgrounds created using Jane Davenport Mermaid Markers.
To create the backgrounds, I started with watercolor paper an inch or so larger than I needed. I scribbled color at the top of the paper, then proceeded down the paper with each additional color. Next, I sprayed it gently with water to get the color moving and moved the paper from side to side, soaking up any pooling with a towel. While the paper was still wet I went back in with the markers to add more ink where I thought it needed it. I very carefully and with minimal water blended the sky and the ground. I set these aside to completely dry. I first used this technique with these markers in my Underwater Scene blog post.
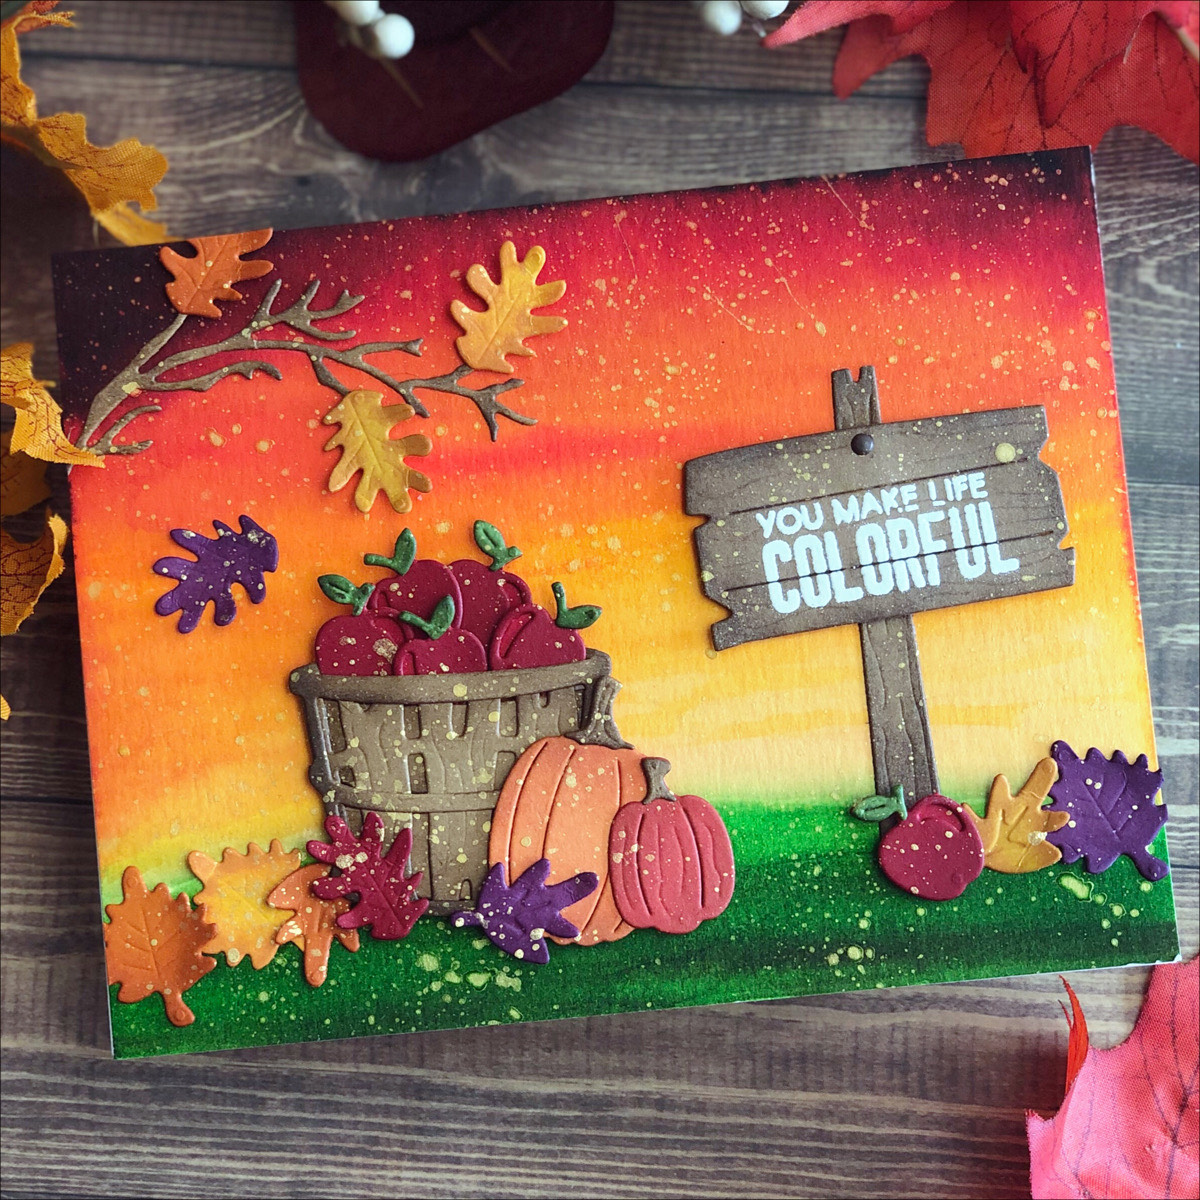
- Die cut pieces from various colored cardstocks.
- Add ink blending to all pieces for added dimension.
- Assemble apples, pumpkins and basket before attaching to card panel. Use tweezers or a jewel picker as needed.
- Emboss sentiment on sign.
- Cut card panel to 4 1/4” x 5 1/2”
- Adhere pieces with liquid glue. I adhered the leaves only at the center and fluffed up the edges.
- Splatter the entire panel with gold watercolor. This was a bit frightening but I think it took things up a notch.

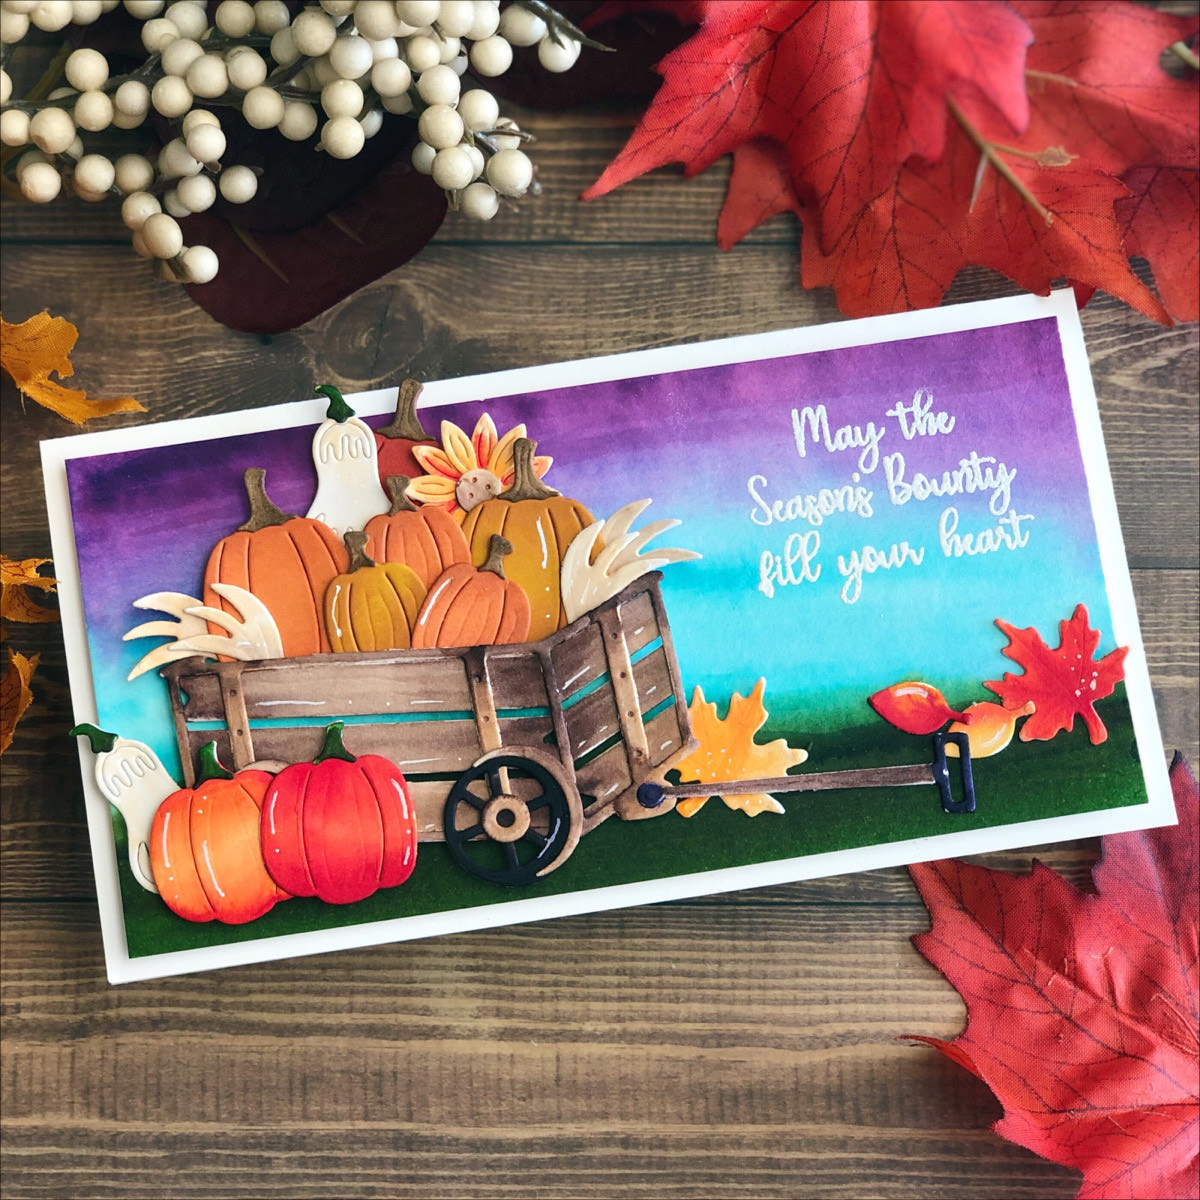
- Die cut pieces from Bristol Smooth paper.
- Color all pieces using the Mermaid Markers and a water brush pen. Set aside to dry.
- Assemble the wagon and pumpkins with liquid glue.
- Cut the watercolor panel down to 3” x 6” and adhere to a mini slimline card base cut to 6 1/2” x 6 1/4” scored and folded at 3 1/4”
- Emboss the sentiment with white embossing powder.
- Adhere all pieces to background, some with liquid glue and some with foam tape. I had leftover pumpkins from the first card that I added to the wagon.
- Add white gel pen highlights.
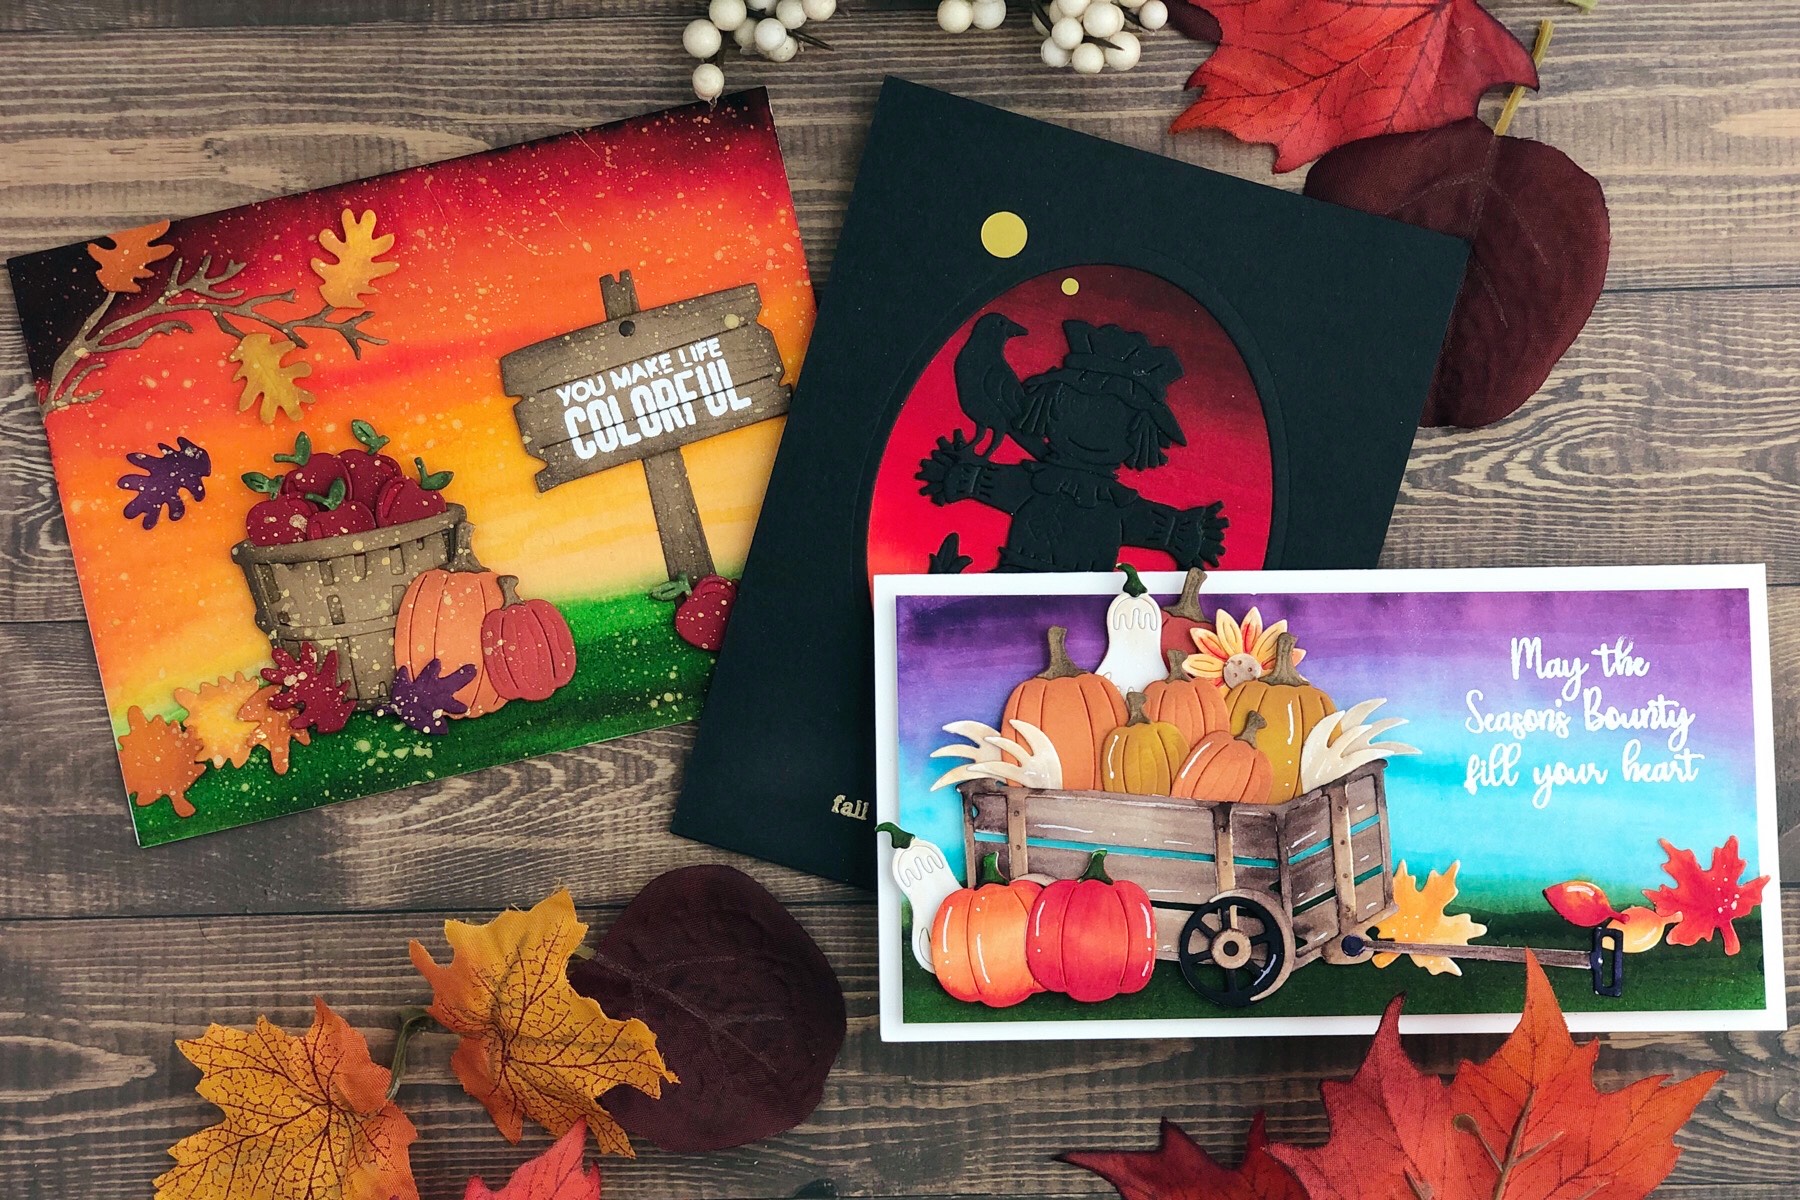
- Die cut an oval from a piece of black cardstock cut to 4 1/4” x 5 1/2”.
- Emboss the sentiment in gold below the opening.
- Die cut all pieces from black cardstock.
- Assemble the scarecrow and corn stalks. You only need to add what will be seen in shadow. For example, you won’t need to add the eyes.
- Adhere the watercolor panel behind the oval opening. Don’t place adhesive too close to the edge of the oval so you can tuck the die cuts under it.
- Adhere die cuts inside the oval with liquid glue.
- Add gold sequins.
- Adhere the panel to an A2 card base cut from black cardstock.
Spellbinders Supplies:

Other supplies
Arches Cold Press Watercolor Paper, Hero Arts Cardstock, Neenah Solar White cardstock, Hero Arts Detail White Embossing Powder, Hero Arts Gold Embossing Powder, Hero Arts Embossing and Watermark Ink, Hero Arts Dye Inks, Kuretaki Zig Gansai Tambi Starry Colors, Sakura White Gelly Roll Pen, Bearly Arts Precision Glue, thin foam squares, Bristol Smooth Paper
Thank you for visiting! You can find more projects from me on my blog, Who Stole My Glitter and on Instagram as jenniferkotas.
One Comment
Patricia Wilson
Love what you did with Nichole’s collection. I just got my scarecrow dies today and can play, too. Your cards were so fantastic. Thanks for sharing this inspiration with us.