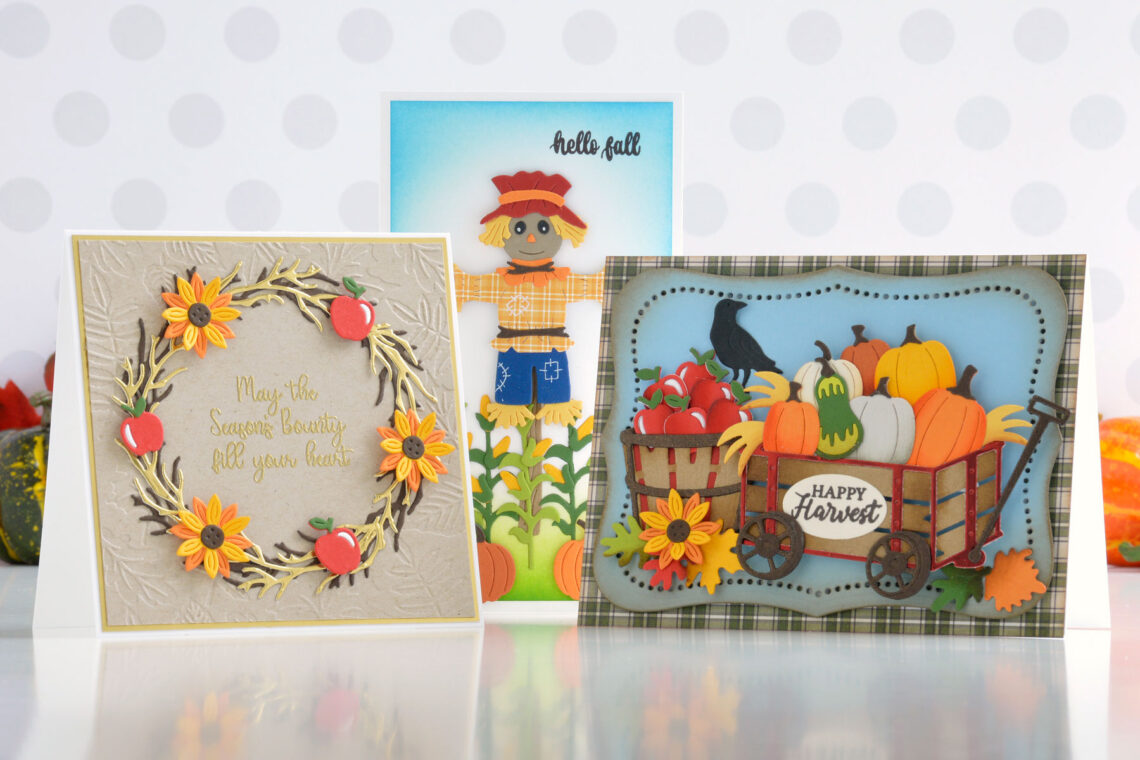
Happy Harvest Collection – Autumn Card Inspiration with Annie Williams
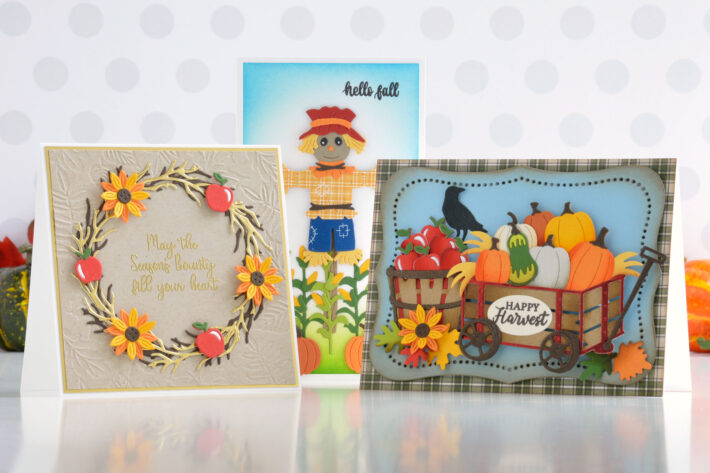
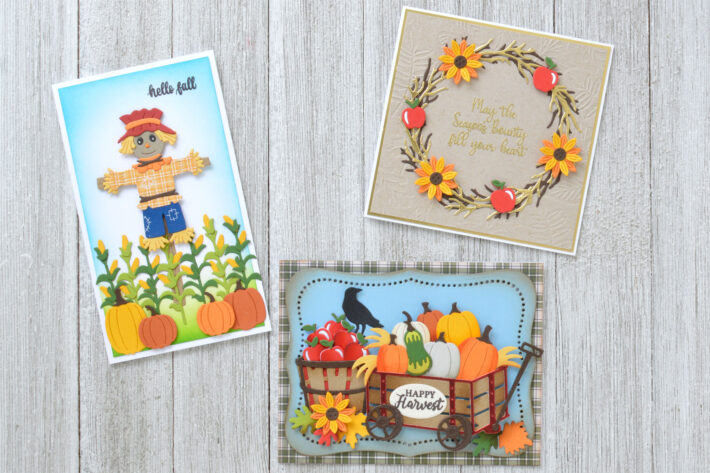
Hi there, this is Annie Williams and I’m excited to be back on the blog today to share a couple of projects using the new Happy Harvest Collection by Nichol Spohr. The gorgeous fall-themed dies and beautiful sentiments in this collection inspired me to create three warm and welcoming cards in different sizes that are perfect for sending an autumnal hello.
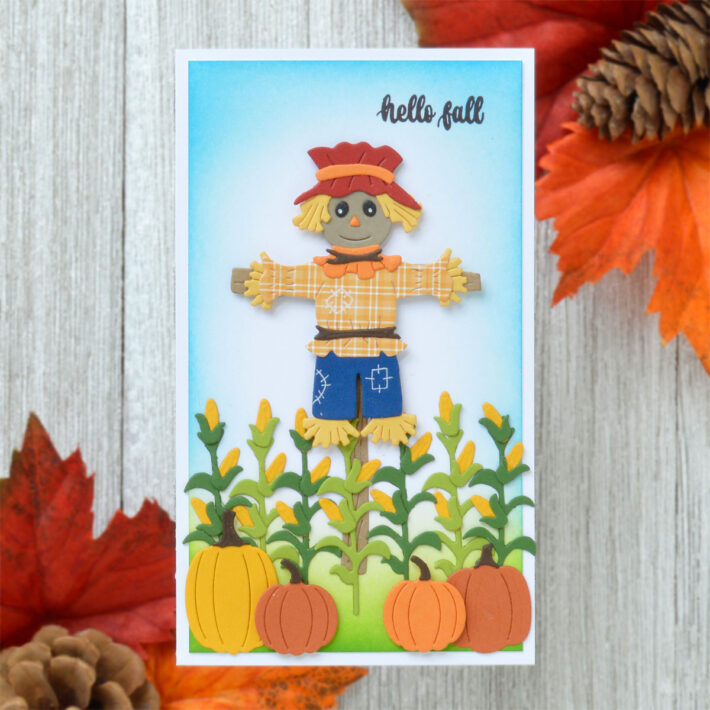
Scare a Crow Card
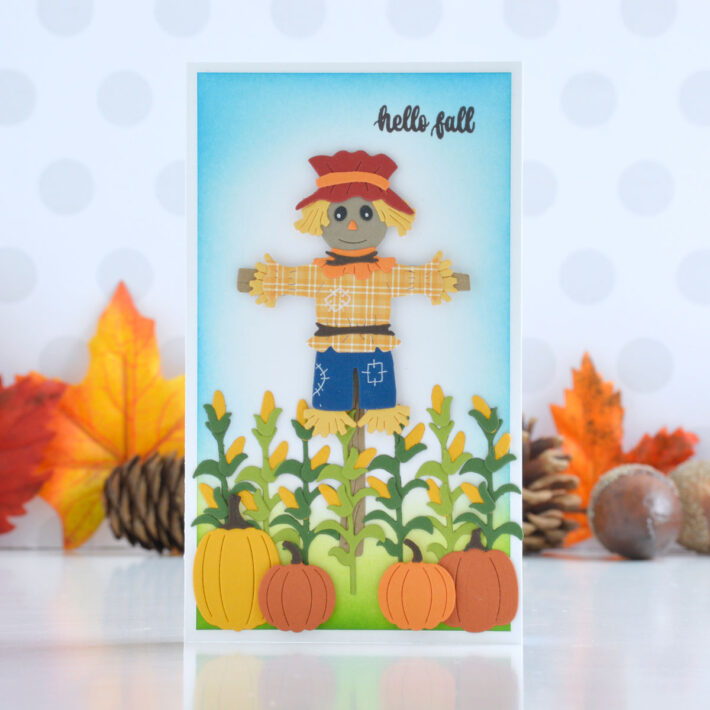
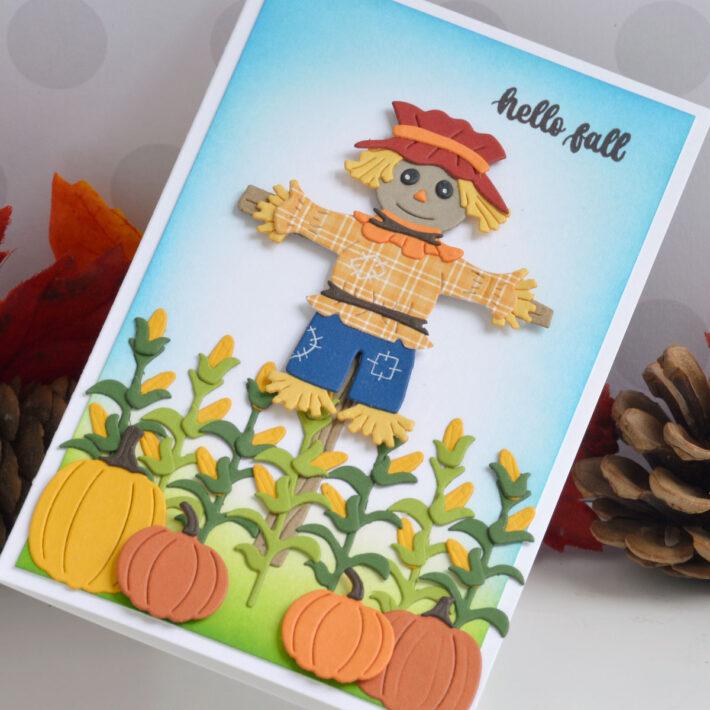
I couldn’t get over how cute the Scare A Crow Die Set was, so I reached for this set first. With a bright autumn afternoon sky and a field full of corn and pumpkins, this mini slimline card is the perfect way to let loved ones know you’re thinking of them this fall.
- Trim a piece of white cardstock to 3.25” x 5.75”.
- To create the background, blend Twisted Citron and Mowed Lawn Distress Ink over the bottom quarter of the panel with a blending brush and Tumbled Glass and Salty Ocean Distress Ink around the edges of the rest of the panel.
- Stamp a sentiment from the Fall Greetings Stamp Set onto the top right corner of the panel using brown ink.
- Die cut the corn stalks and scarecrow from various colors of cardstock using the Scare A Crow Die Set. For the shirt, I used patterned paper, but you could easily add a plaid pattern to regular cardstock with a pen.
- Assemble the die-cuts with liquid glue.
- Enhance the embossed patches on the scarecrow’s clothes using a white gel pen.
- Die cut Saffron, Persimmon, and Terracotta Cardstock using the pumpkin dies from the Scare A Crow, Welcome Fall, and Wagon Full of Fall Die Sets. Assemble with liquid glue.
- Adhere the ink-blended panel to a side-folding white card base measuring 3.5” x 6” using tape runner.
- Add the scarecrow’s plank and the corn stalks to the card front with liquid glue.
- Pop the scarecrow and pumpkins up on top using foam adhesive.
Spellbinders Supplies:

Other Supplies
Heavyweight white cardstock, white gel pen, Tumbled Glass, Salty Ocean, Twisted Citron, and Mowed Lawn Distress Ink, Versafine Clair Pinecone Ink, blending brushes, Photoplay Mad 4 Plaid Fall Paper Pad, tape runner, foam adhesive
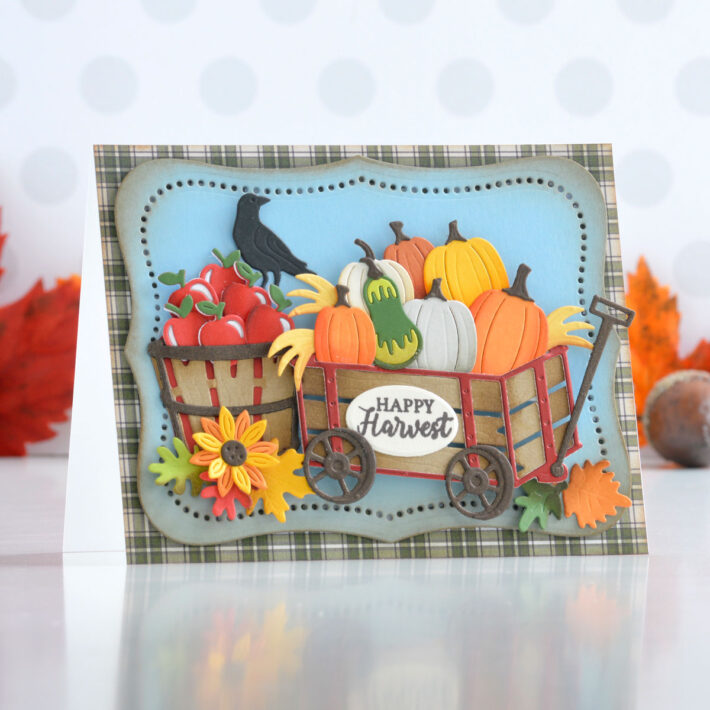
Happy Harvest Card
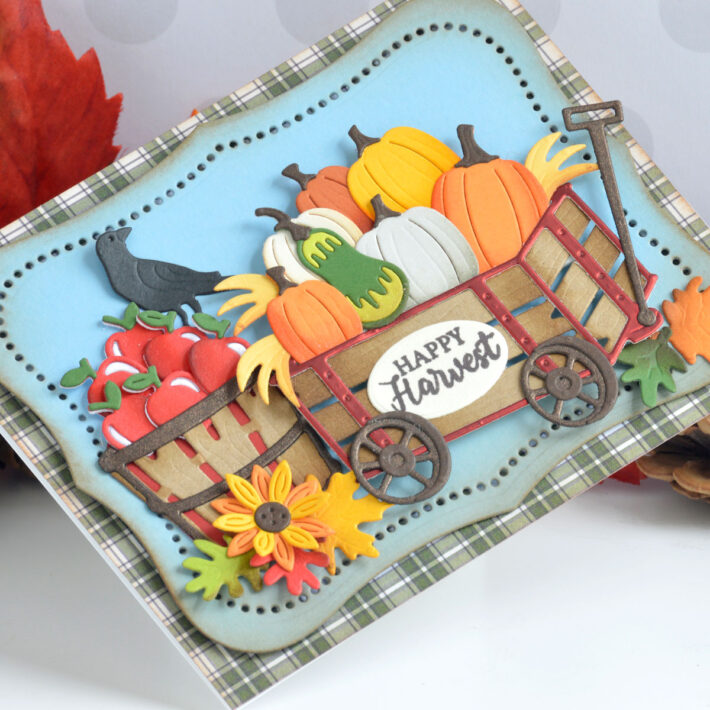
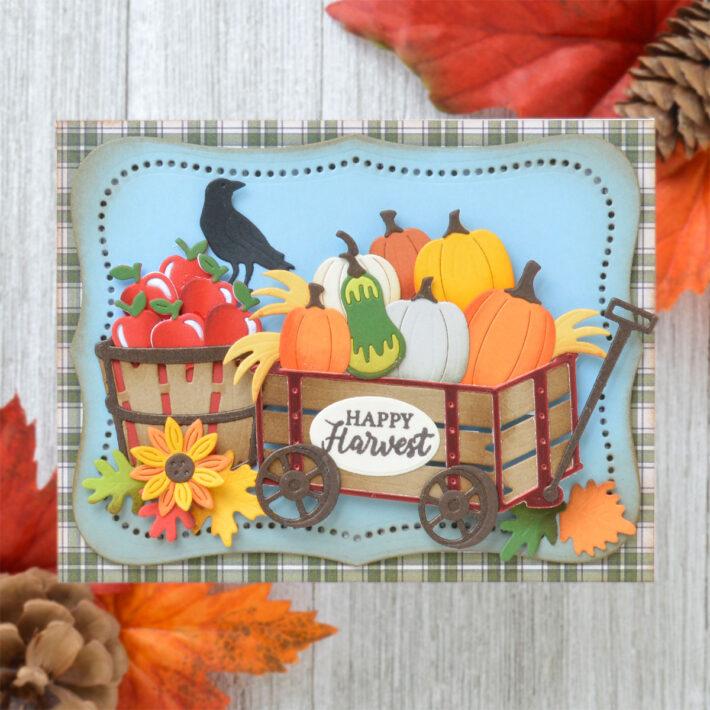
I live out in the country, and one of my favorite things about early fall is the sheer abundance of fruits and veggies at the roadside farm stands near my neighborhood. So for this next card, I loaded up the card front with piles of apples and pumpkins to give the recipient that same blessed feeling.
- Die cut kraft and bronze shimmer cardstock using the basket dies from the Welcome Fall Die Set and kraft, red satin, and bronze shimmer cardstock using the wagon dies from the Wagon Full of Fall Die Set.
- Add Vintage Photo Distress Ink to the wood panels with a sponge dauber to shade and assemble the containers with liquid glue.
- Die cut the pumpkins, leaves, crow, and apples from the Welcome Fall, Wagon Full of Fall, and Scare A Crow Die Sets using various colors of cardstock, add a little shading with Vintage Photo Distress Ink, and assemble with liquid glue.
- Stamp a sentiment from the Fall Greetings Stamp Set onto Alabaster Cardstock using brown ink and cut it out using the sign die from the Wagon Full of Fall Die Set.
- Die cut Raindrop Cardstock using the largest rim and pierce dies from the Essential Labels Die Set.
- Apply Vintage Photo Distress Ink around the edges with a blending brush.
- Add plaid patterned paper to the front of a top-folding A2-sized white card base using tape runner.
- Pop the label panel up on top with foam adhesive.
- Arrange the die cuts on top and adhere to the blue panel using a mix of liquid glue and foam adhesive for tons of dimension.
Spellbinders Supplies:

Other supplies
Heavyweight white cardstock, kraft cardstock, Stardream Metallic Bronze Cardstock, Tonic Studios Scarlet Organza Cardstock, Vintage Photo Distress Ink, Versafine Clair Pinecone Ink, blending brushes, sponge daubers, Photoplay Mad 4 Plaid Fall Paper Pad, tape runner, foam adhesive
Harvest Wreath Card
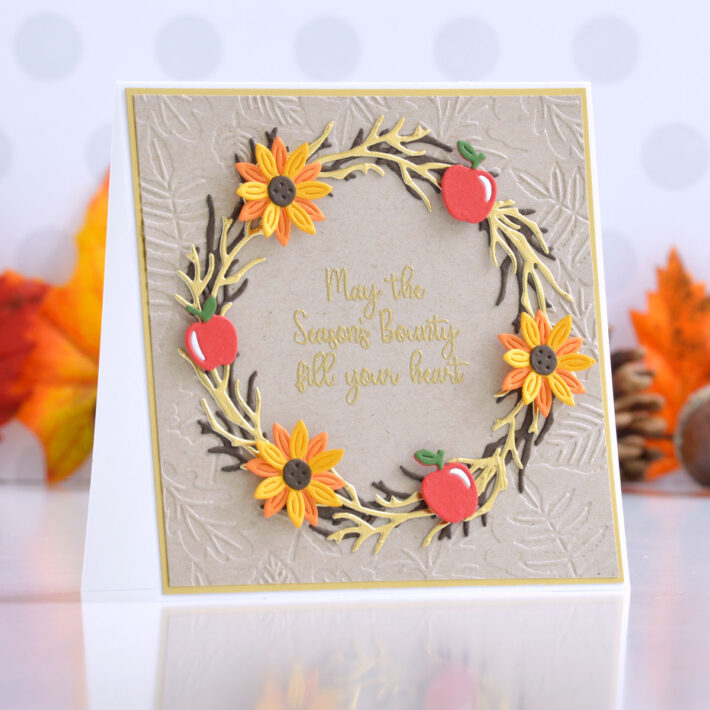
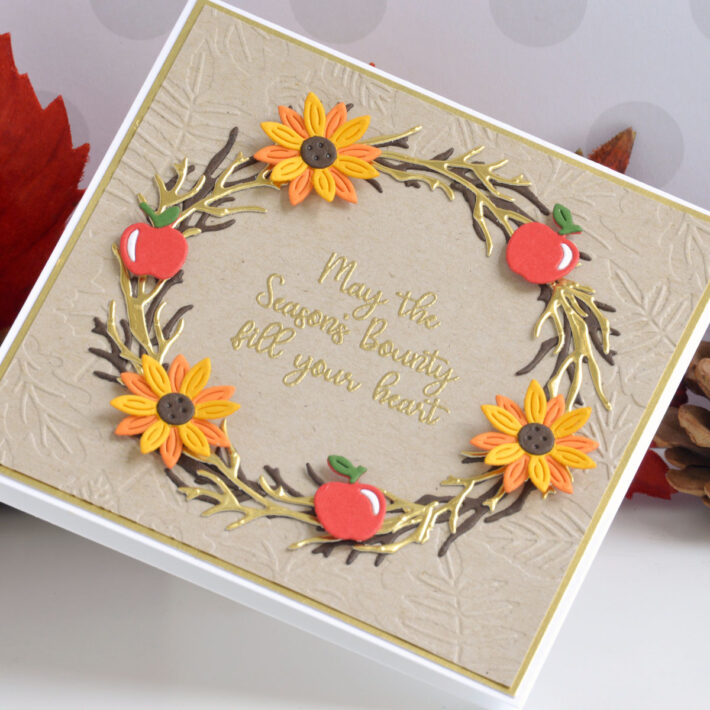
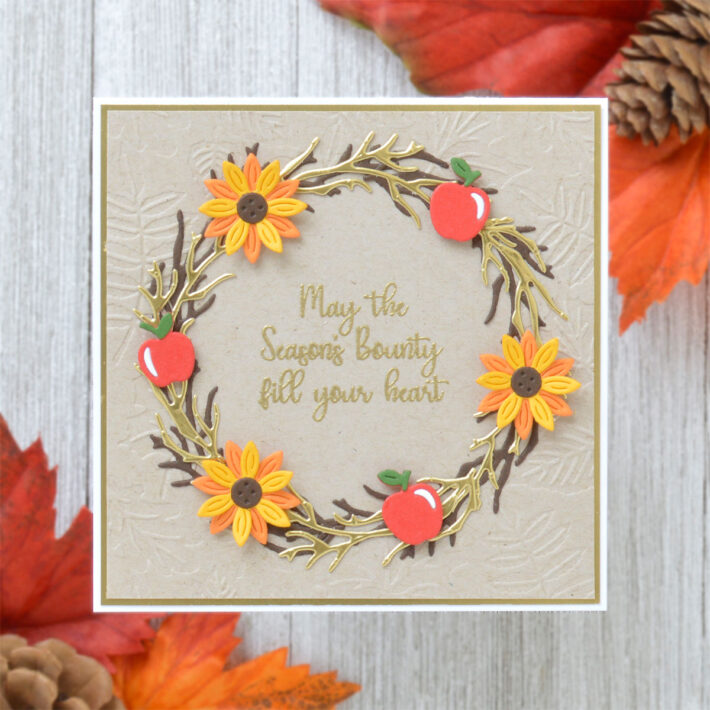
A simple and pretty wreath is another great way to send autumn hugs, so I used the branch from the Welcome Fall Die Set to create the base and added fall icons on top for this easy square card.
- Trim a piece of kraft cardstock to 4.25” square and emboss it using the Falling Leaves Embossing Folder and a circular embossing diffuser to add texture to only the edges.
- Stamp a sentiment from the Fall Greetings Stamp Set in the center of the panel using Versamark Ink, add gold embossing powder, and melt with a heat tool.
- Mat it with Mirror Gold Cardstock and then adhere it to a 4.5” square white card base with tape runner
- Die cut Timber and Mirror Gold Cardstock four times each using the branch die from the Welcome Fall Die Set.
- Arrange the brown die-cuts on top of the card front to form a circle and adhere down with liquid glue. Repeat with the gold die-cuts on top as the next layer.
- Die cut Saffron, Persimmon, Poppy Field, Fern, and Timber Cardstocks using the sunflower and apple dies from the Welcome Fall and Scare A Crow Die Sets.
- Assemble them with liquid glue and adhere on top of the wreath using foam adhesive.
Spellbinders Supplies:

Other supplies
White heavyweight cardstock, kraft cardstock, Tim Holtz Embossing Diffuser Set 1, Versamark Ink, gold embossing powder, tape runner, foam adhesive
I hope you enjoyed this trio of pretty autumn cards and thanks so much for stopping by today. You can find more inspiration over at my blog AnnieBWills.com.

One Comment
Patricia Wilson
These cards are lovely. Nicole S. does a great job in creating products and cards and love what you did with the dies she created.