Using Electronic and Manual Machines Together | Shadowbox Gift Card Bag by Annie Williams
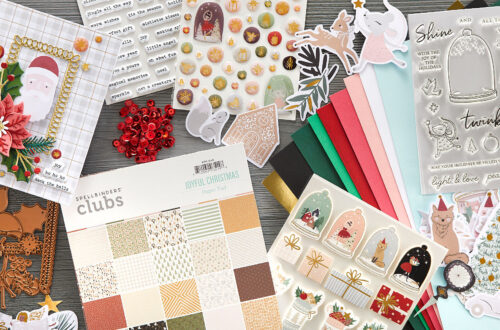
Hi there, this is Annie Williams and I’m happy to be back on the blog today to share a fun and festive gift card bag made by combining digital cutting files with some of the latest Christmas products from Spellbinders. I love the versatility of electronic cutting machines, but often times when they are used with paper crafting the results can look a little flat. By integrating embossing folders, stencils, and dies that layer or even emboss, you can take an ordinary gift bag to the next level.
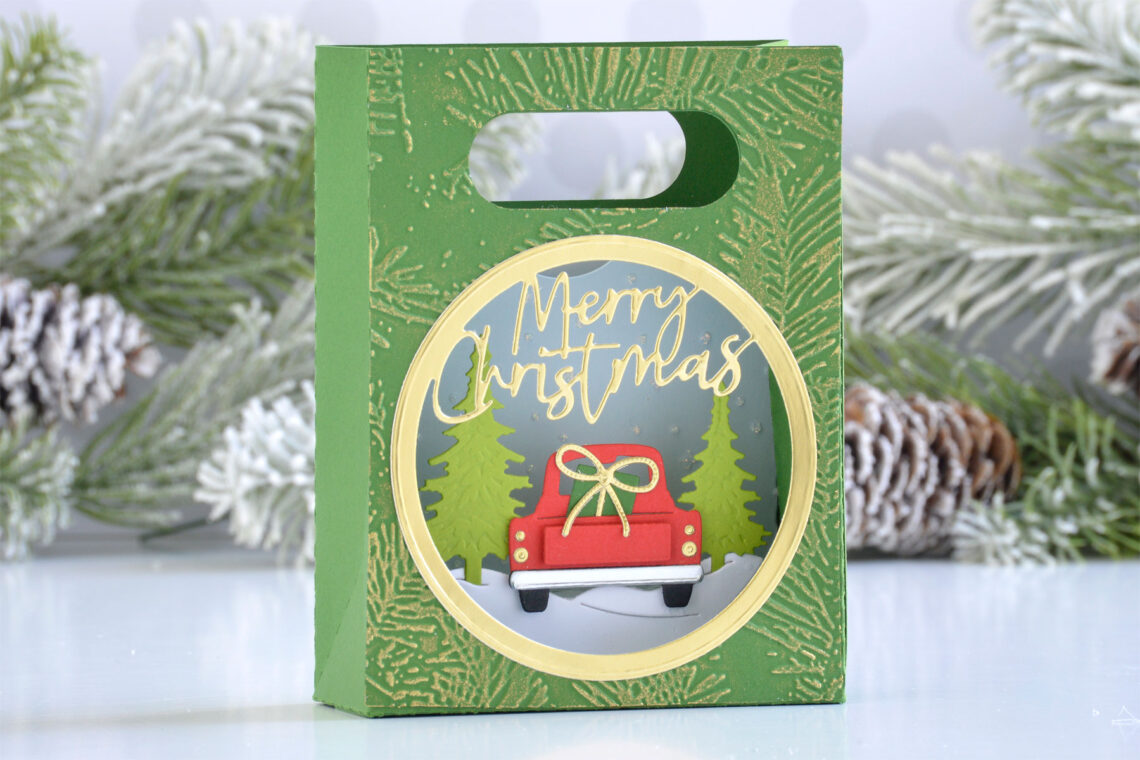
I loved the idea of these shadowbox gift card bags as a fun way dress up an otherwise ordinary gift card exchange for the holidays. While my Silhouette CAMEO can help me cut out extra large designs and maybe speed up the process for making multiples too, I rely on my manual machine for the special details that really make a gift like this special.
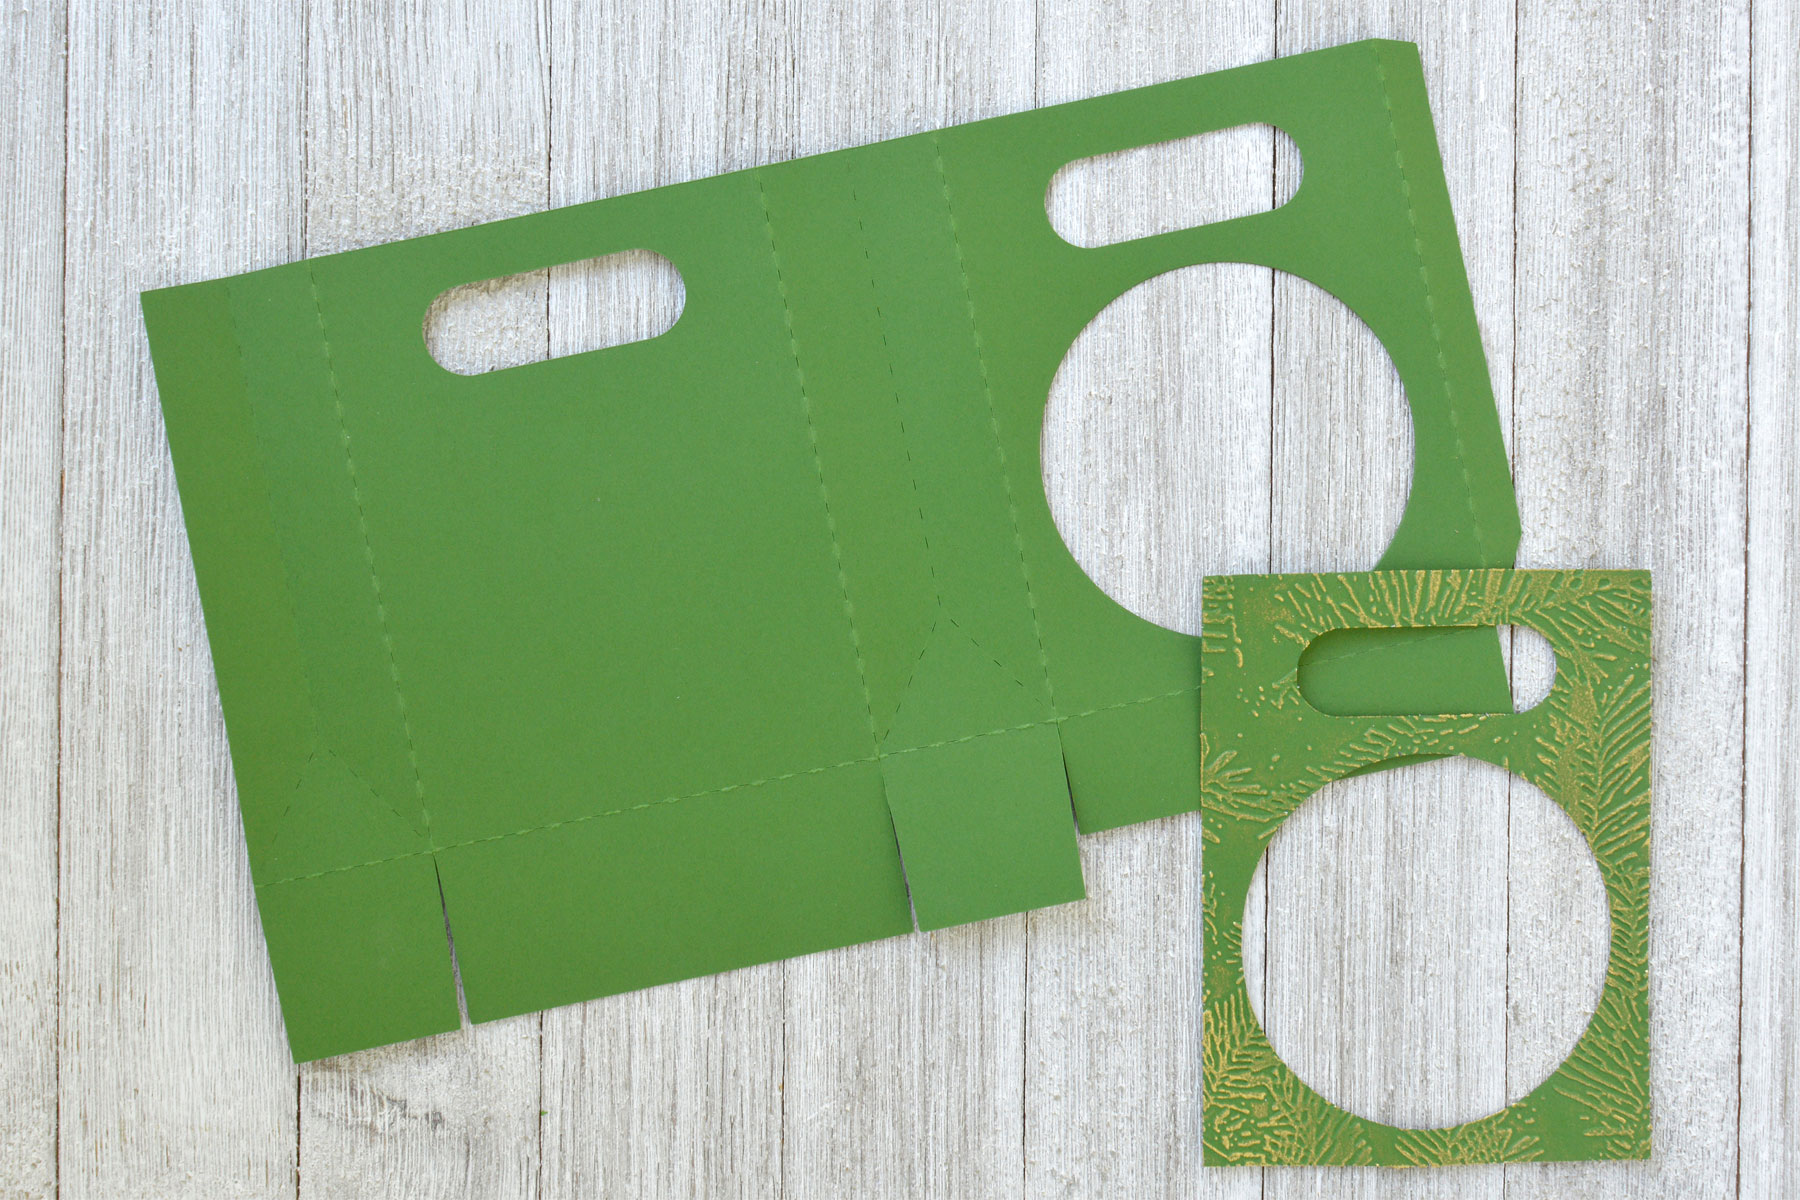
- Open up the gift card bag file in your software and duplicate the part of the design that cuts the main bag. Keep one copy off to the side, but edit the second to include only the front panel of the bag.
- Draw two circles that are 3.125” wide and center each within the open space of both the front panel and full bag cutting designs. Cut both pieces out of Fern cardstock using the electronic cutting machine.
- Emboss the front panel with the Forevergreen Embossing Folder. To bring out the pattern and add a little shine, lightly rub gold gilding wax over the embossed areas.
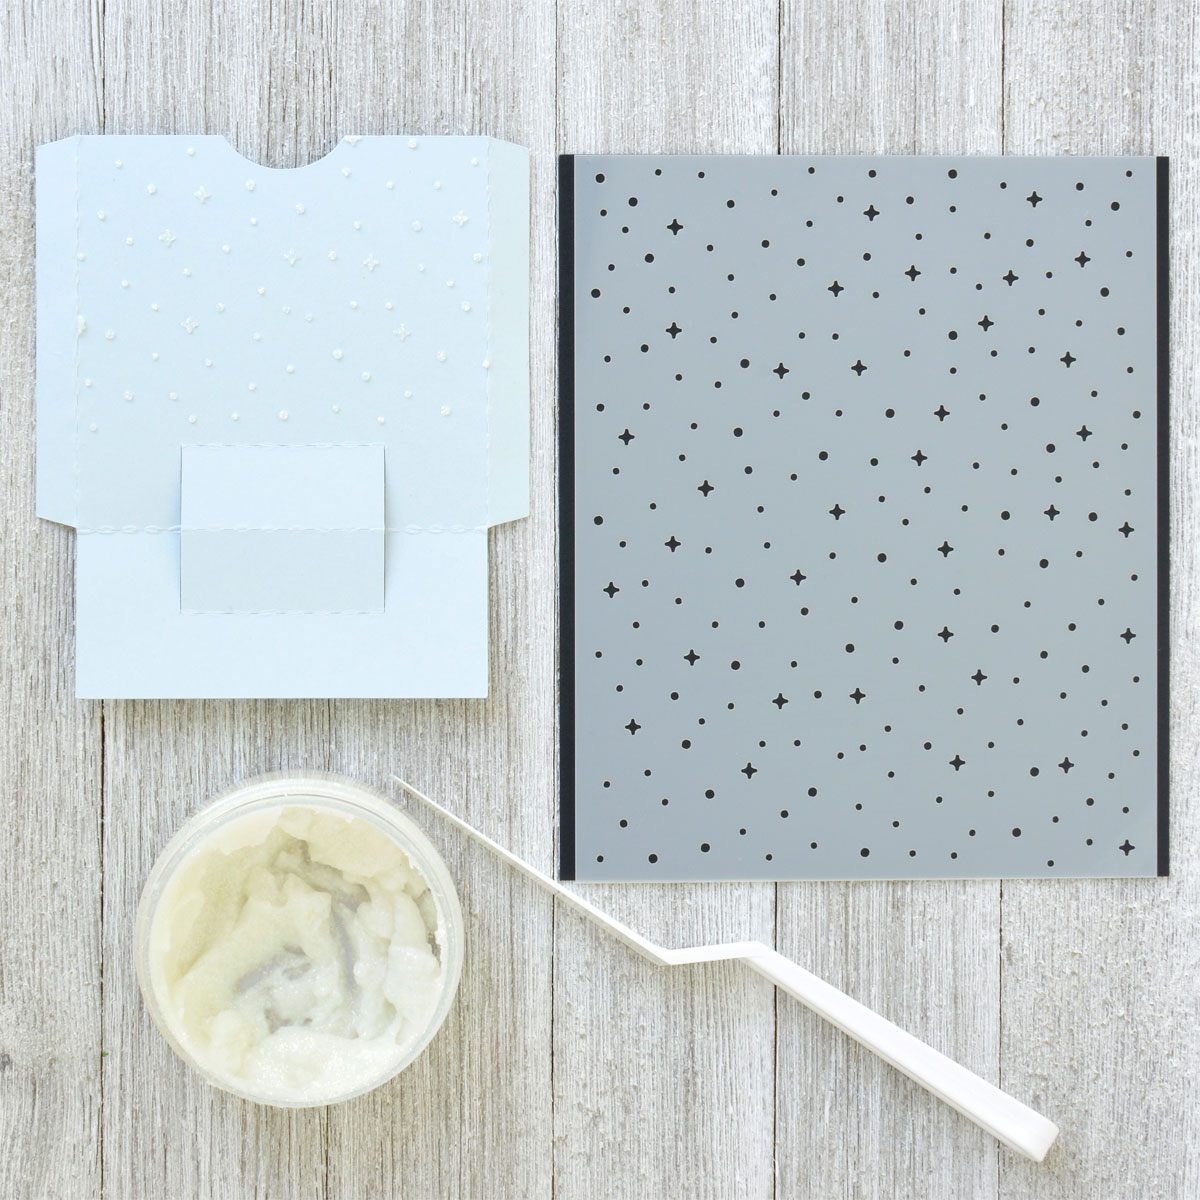
- Cut Glacier Cardstock using the gift card pocket design from the digital cutting file.
- To add some fun sparkle to what will eventually be the background in your shadowbox scene, secure the All The Stars Stencil over top just the pocket front and apply white or iridescent glitter paste through the stencil. Set aside to dry.

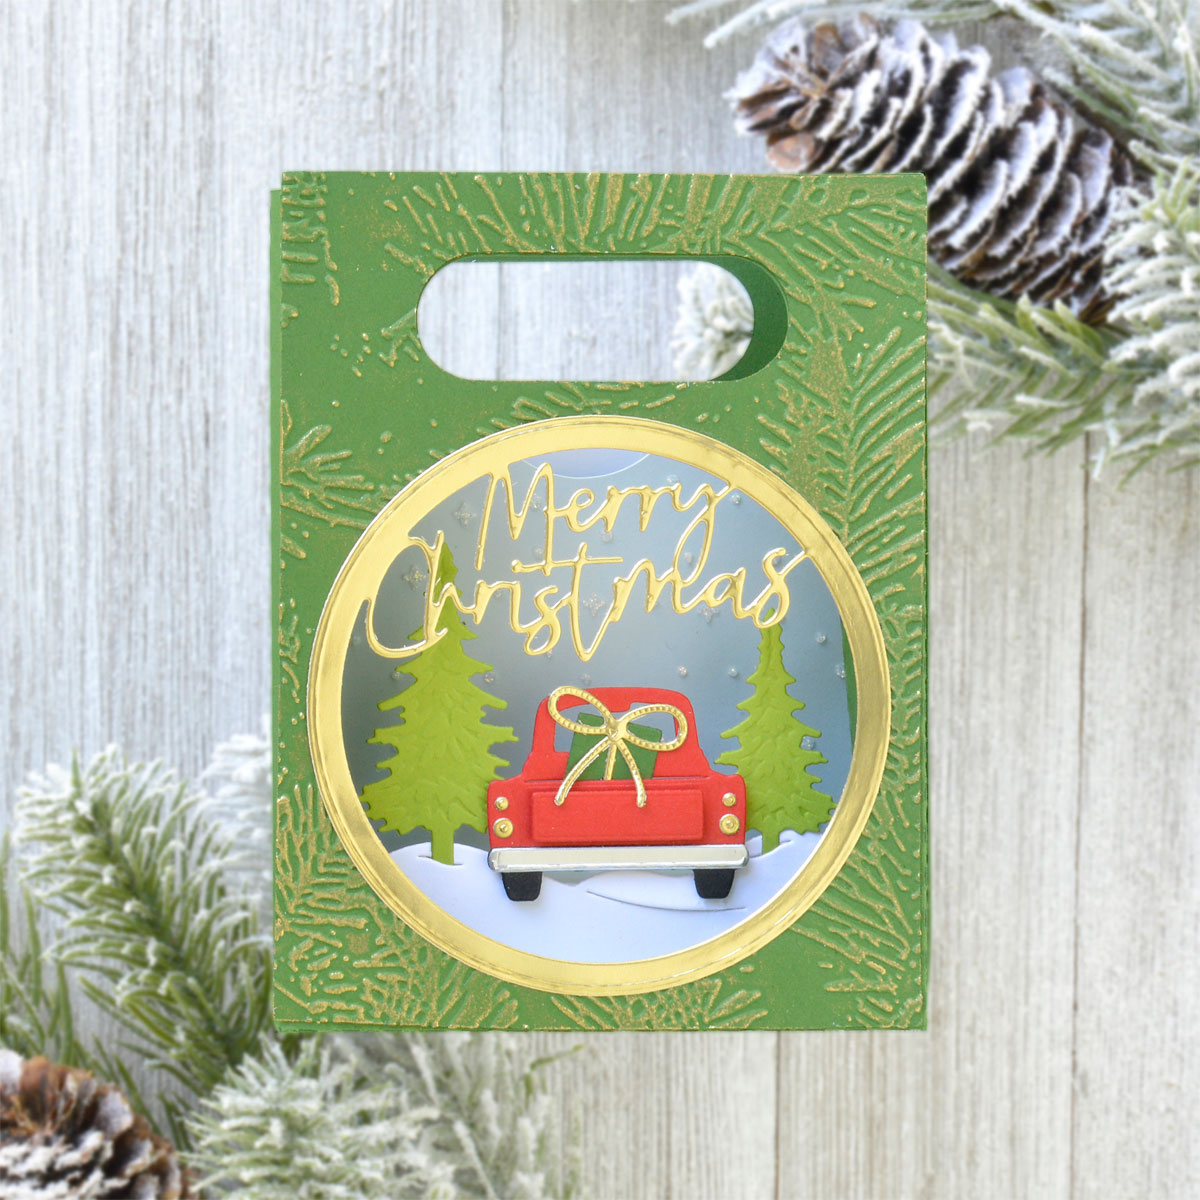
- Die cut Mirror Gold, Rainforest, Poppy Field, Mirror Silver, Onyx, and white cardstock using the Through The Woods Die Set. Assemble the different parts of the scene as shown with liquid glue.
- Die cut Fern and Mirror Gold Cardstock with the package and bow dies from the Shopping Spree Die Set. Assemble and insert into the back of the pickup with liquid glue.
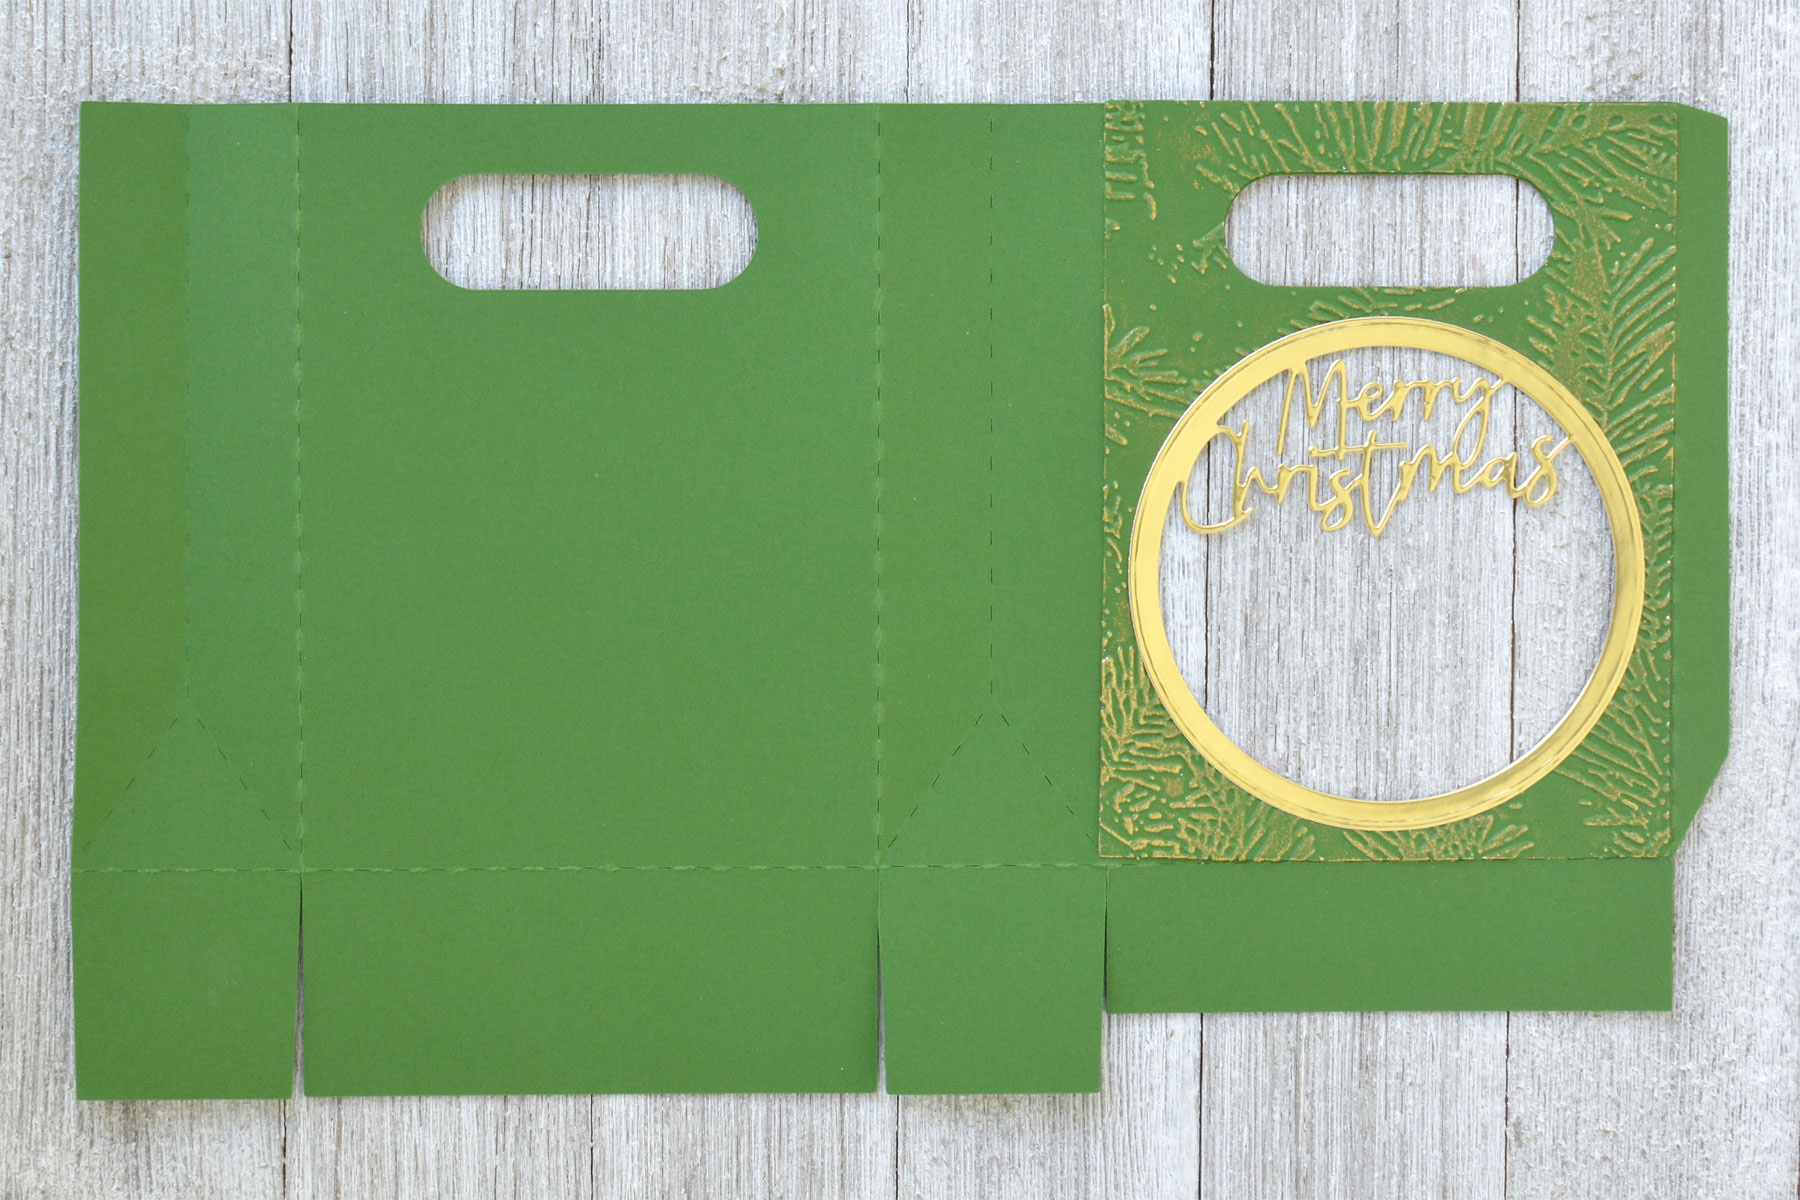
- Adhere the embossed panel to the front of the gift bag with liquid glue, then add the gold sentiment circle around the opening with more liquid glue.
- If you would like to add treats to the bag later as well, adhere a piece of acetate behind the opening now.
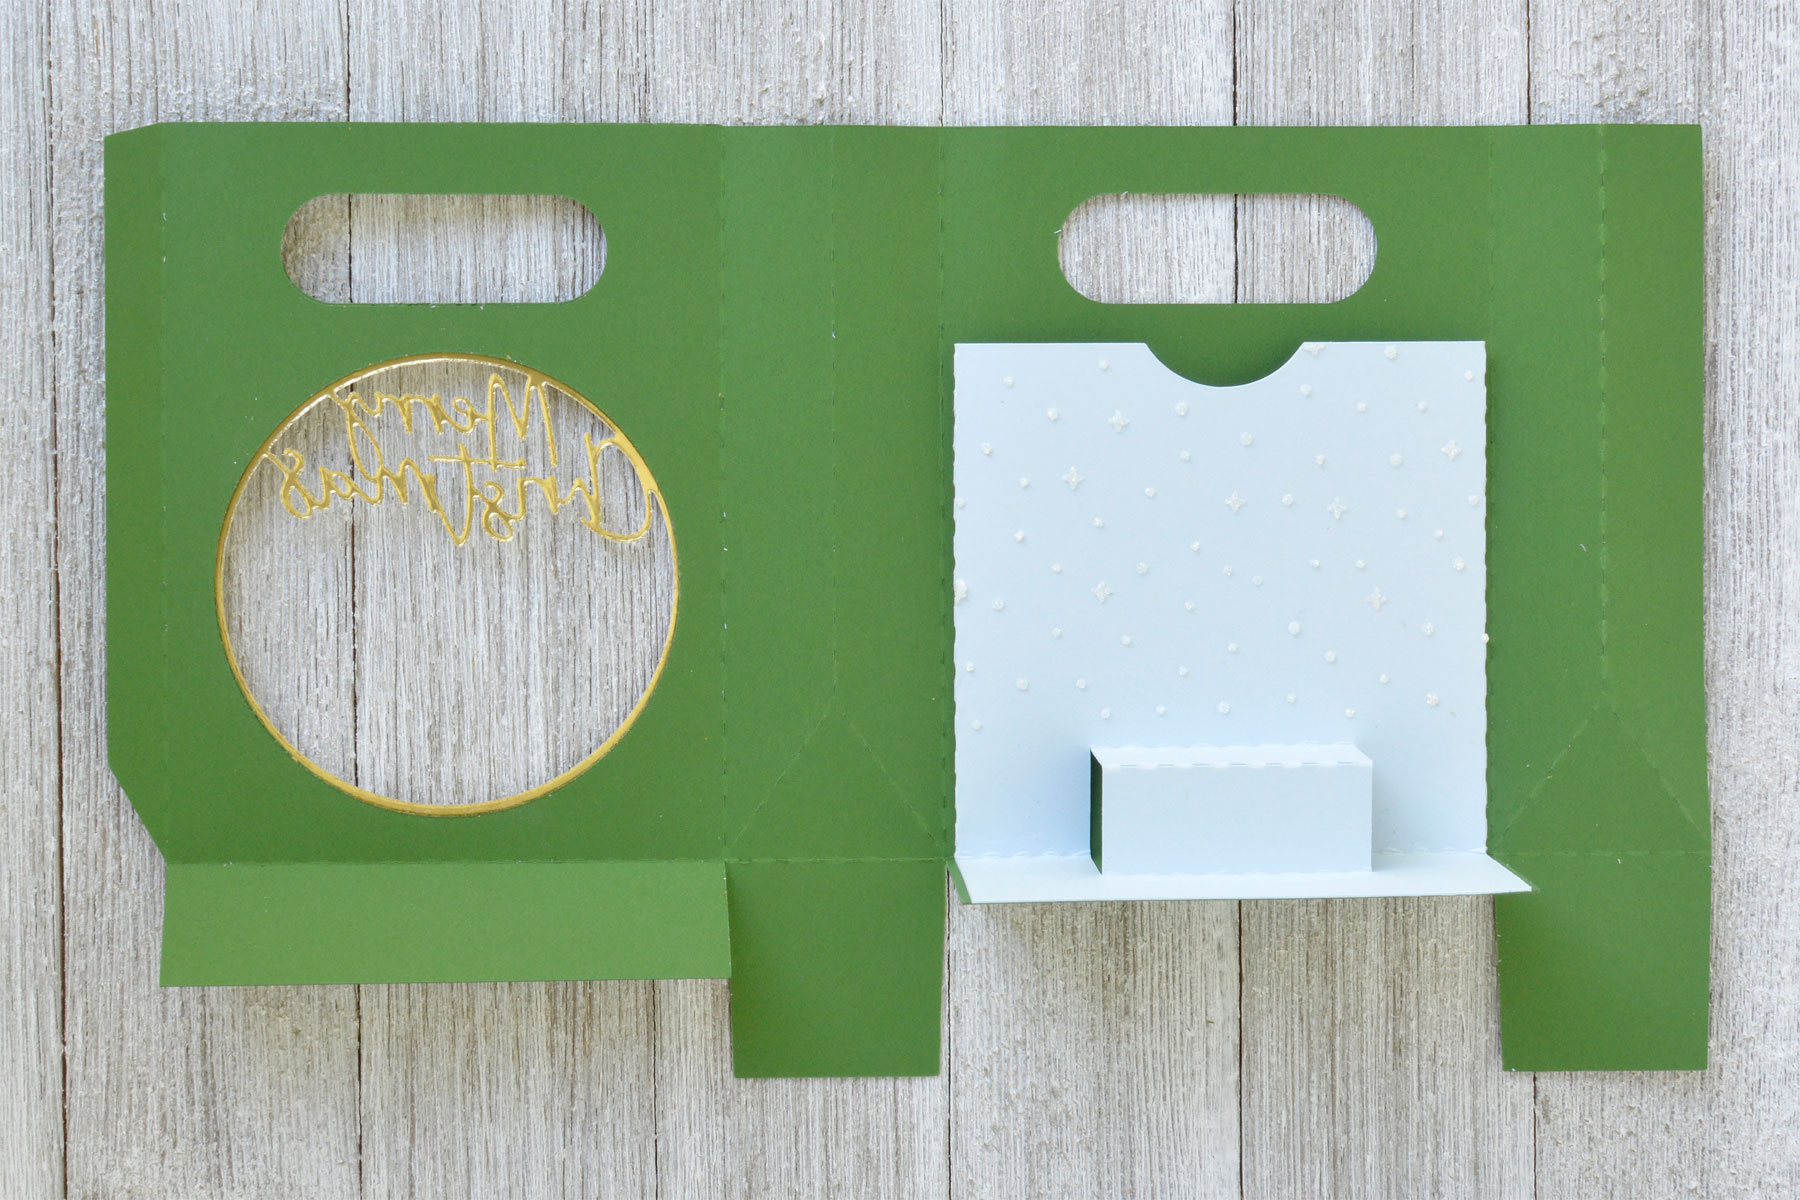
- Once the glitter paste has dried, score the folds of the pocket and adhere it to the inside of the bag with liquid glue as shown.
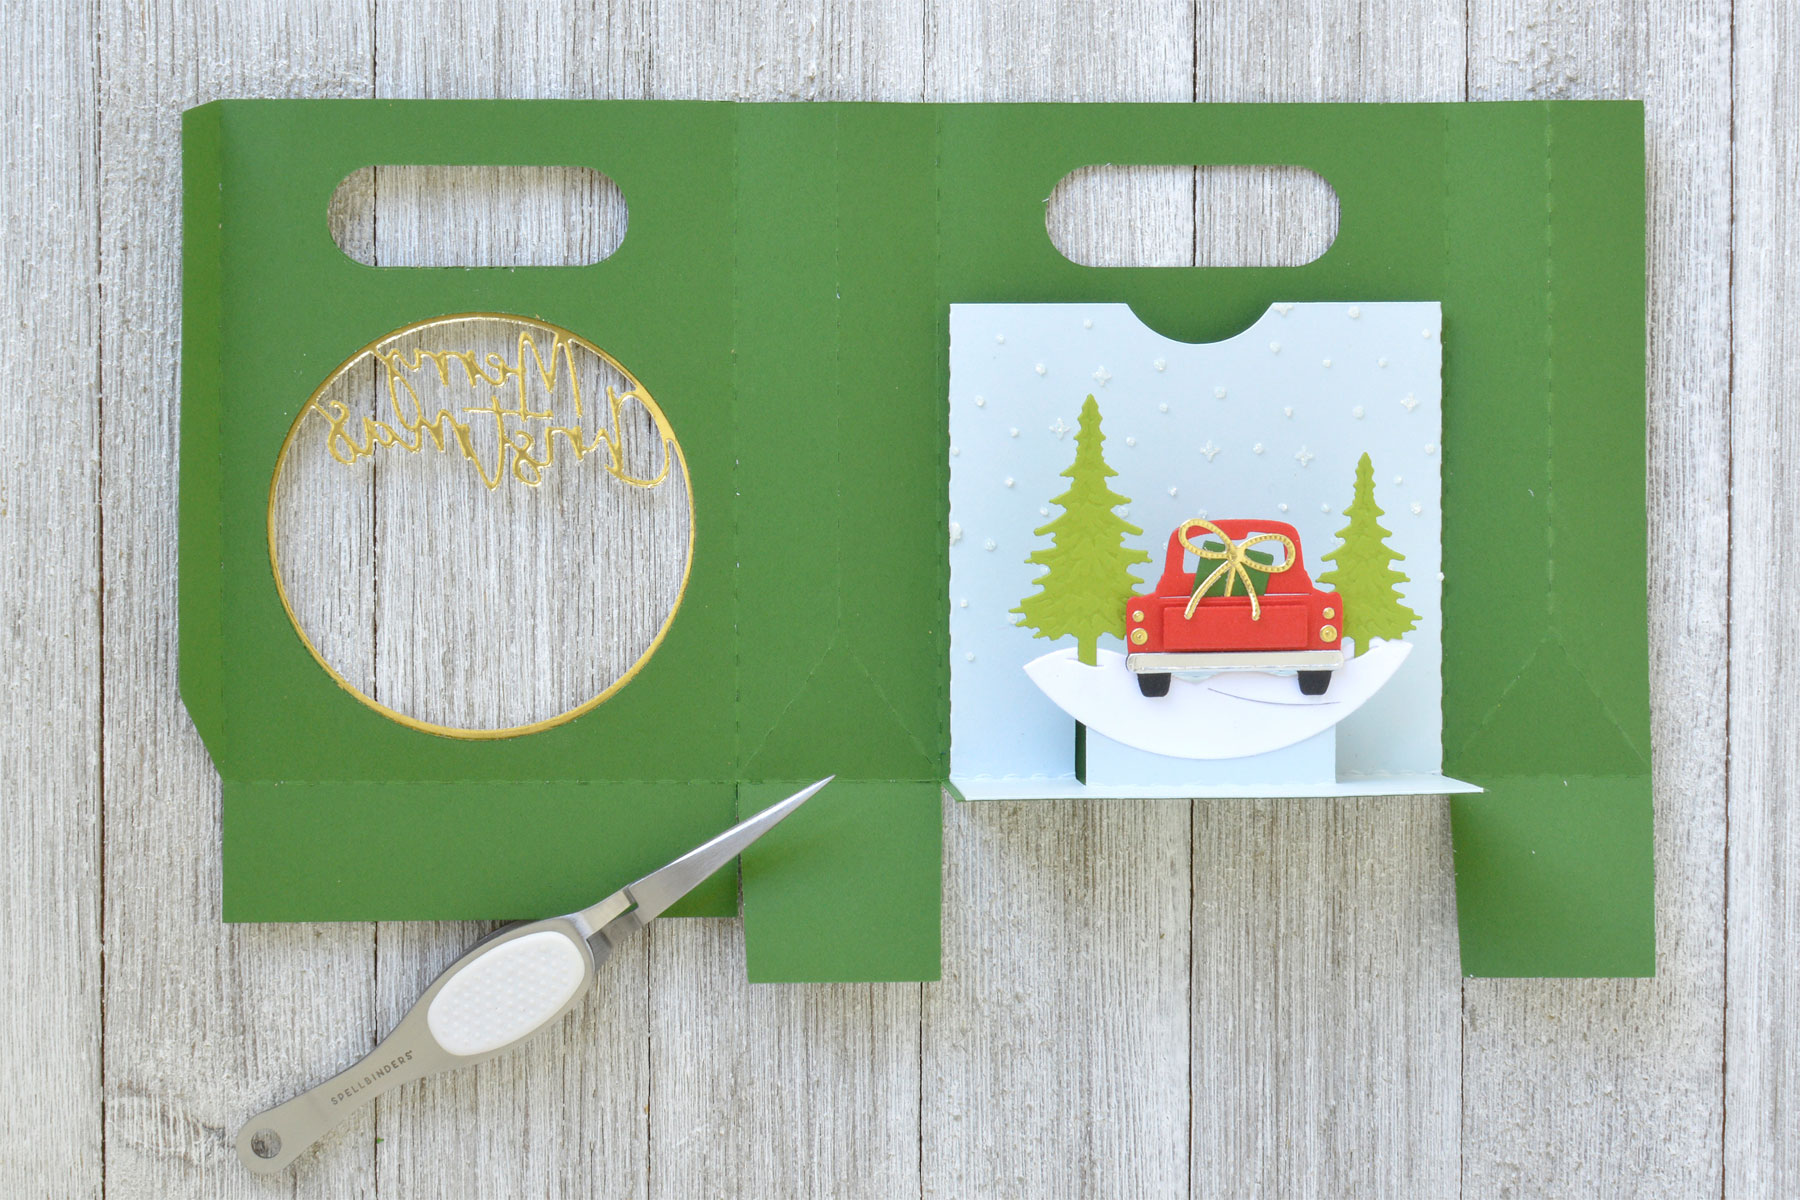
- Add the die-cut snowbank to the pop-up mechanism of the pocket with liquid glue. You can fold up the bag temporarily to look through the window and determine the perfect placement for the trees and snow.
- Pop the pickup truck up in the center of the scene with foam adhesive.

- Fold up the bag and adhere the flaps down to construct the final piece.
- You can insert a gift card into the pocket and tie the bag shut with ribbon without affecting the scene, or leave it as is like I’ve done here.

I hope you enjoyed this festive shadowbox gift card bag and thanks so much for stopping by today. You can find more inspiration over at my blog AnnieBWills.com.
Spellbinders Supplies:

Other Supplies
Heavyweight white cardstock, gilding wax, Gina K. Designs Iridescent Glitz Glitter Gel, palette knife, foam adhesive, Silhouette CAMEO, Shadowbox Gift Card Bag Digital Cutting File.
Becca Feeken Shadowbox Release. Blog Hop + Giveaway (Now Closed)
Beautiful Sentiment Vignettes Inspiration with Karen Brown