Be Bold Colorblock Collection – Card Inspiration with Annie Williams
Hi there, this is Annie Williams and I’m so happy to be back on the blog today to share a couple of projects using the new Be Bold Colorblock Collection from Spellbinders. The eye-catching sentiment designs in this collection inspired me to create two bright and fun cards perfect for expressing yourself in a big way.
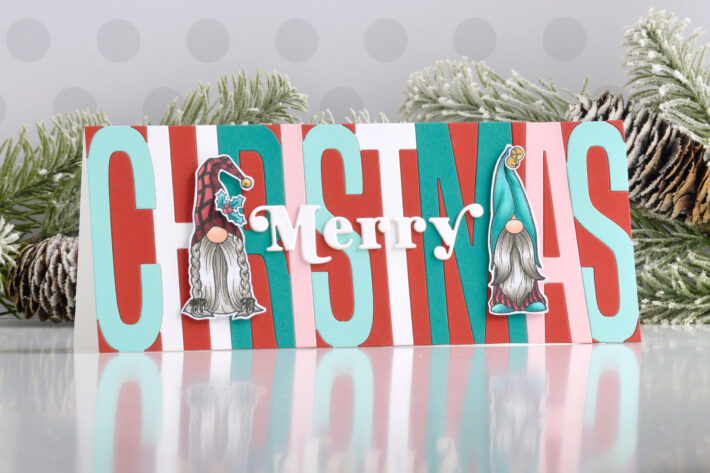
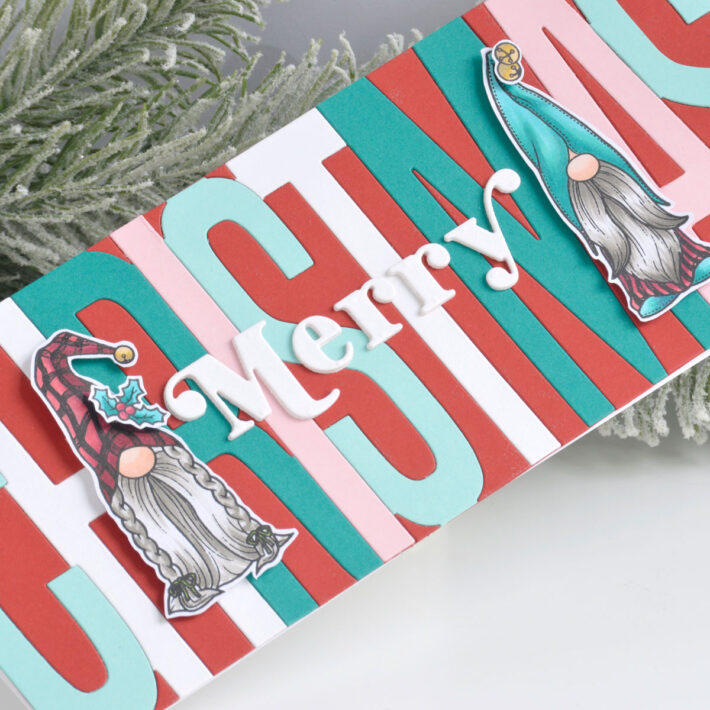
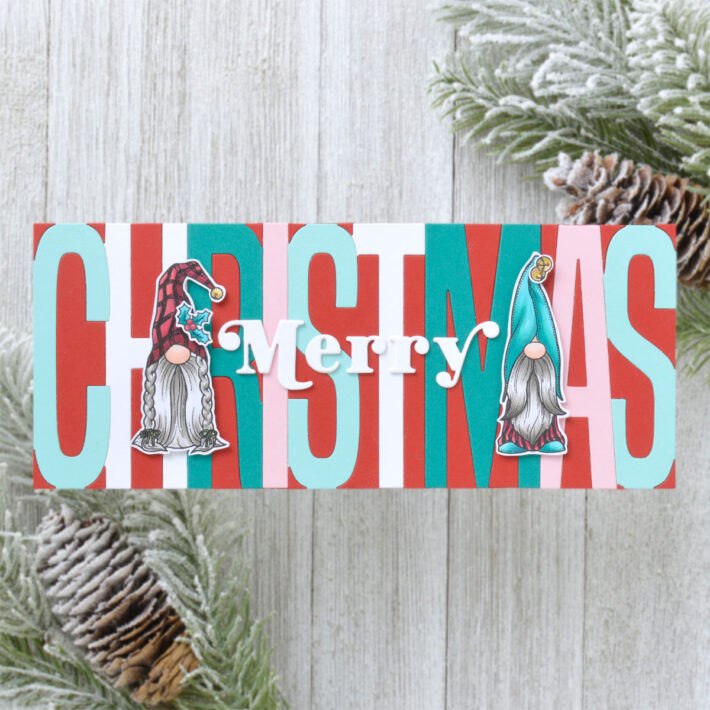
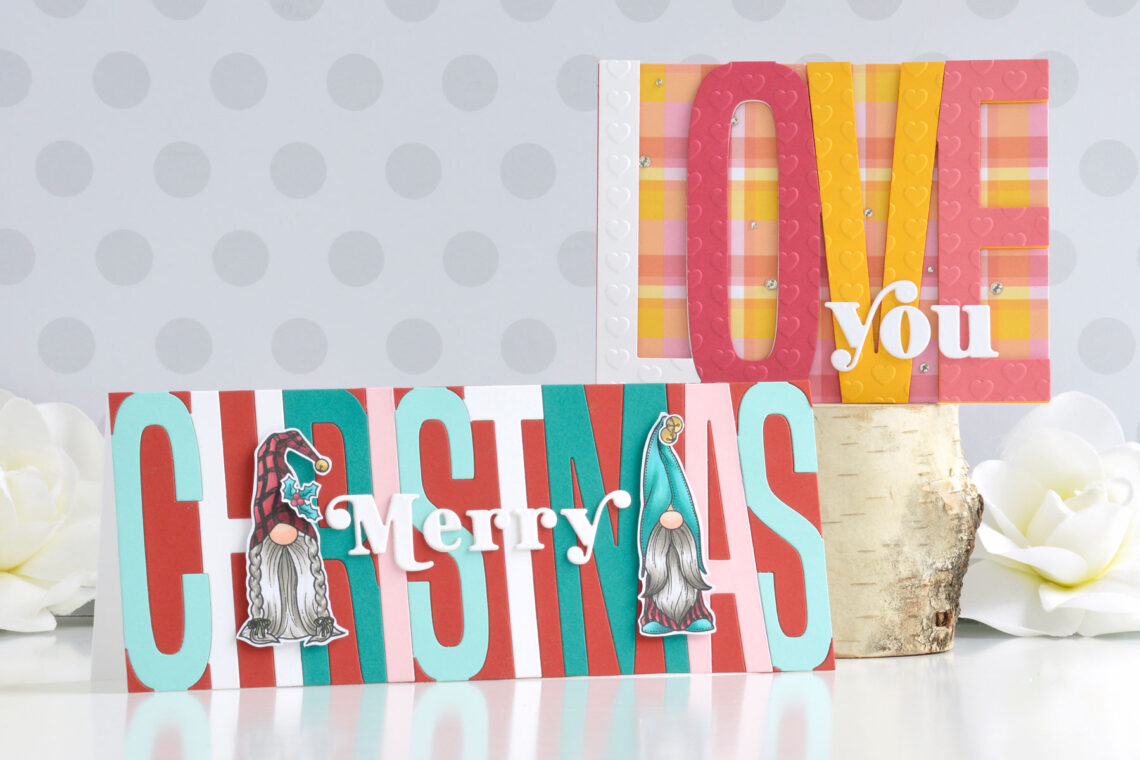
The Be Bold Colorblock Merry Christmas Die Set really creates a showstopping background when you mix bright colors. I added a few cute gnomes to this vibrant card front for a simple and fun Christmas slimline card.
- Die cut Pomegranate, Snowdrift, Pink Sand, Waterfall, and Lagoon Cardstock using the Christmas die from the Be Bold Colorblock Merry Christmas Die Set.
- Trim a piece of scrap cardstock to 3.5” x 8.5” and cover one side completely with adhesive (I used double-sided adhesive sheets for this).
- Piece together the Christmas word onto the scrap cardstock, using the Pomegranate die-cuts as your negative space and alternating all of the other colors for the letters.
- Die cut Snowdrift Cardstock three times with the Merry Die from the Be Bold Colorblock Merry Christmas Die Set. Adhere the three layers of each letter together with liquid glue.
- Stamp the images from the Holiday Gnomes Stamp Set onto white cardstock with black alcohol-friendly ink.
- Color the images in with Copic markers to match the background panel and fussy cut them out with scissors, leaving a thin white border.
- Adhere the background panel to a top-folding white card base measuring 3.5” x 8.5” using tape runner.
- Add the “merry” sentiment to the center of the card front with liquid glue.
- Pop the gnomes up around the sentiment with foam adhesive.
Spellbinders Supplies:

Other Supplies
Heavyweight white cardstock, double-sided adhesive sheets, Hero Arts Intense Black Ink, Copic markers, scissors, tape runner, foam adhesive
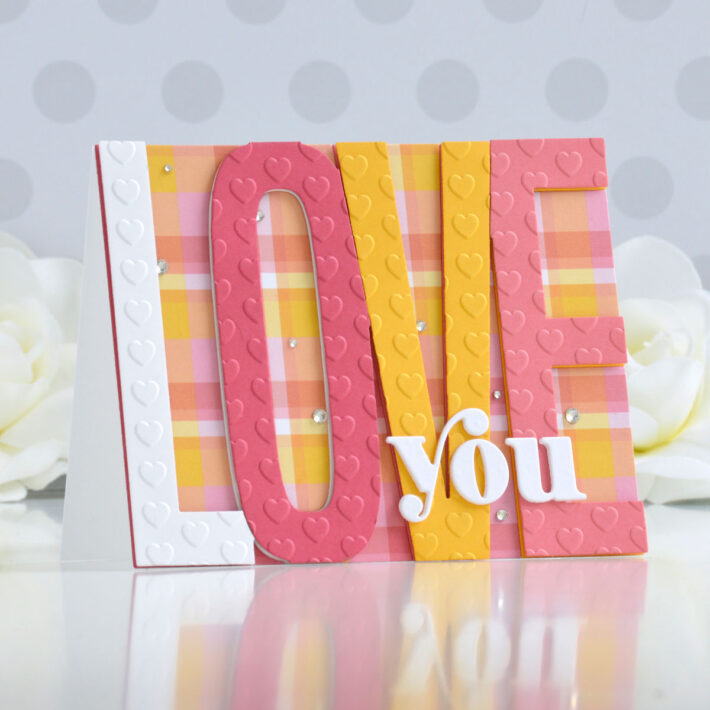
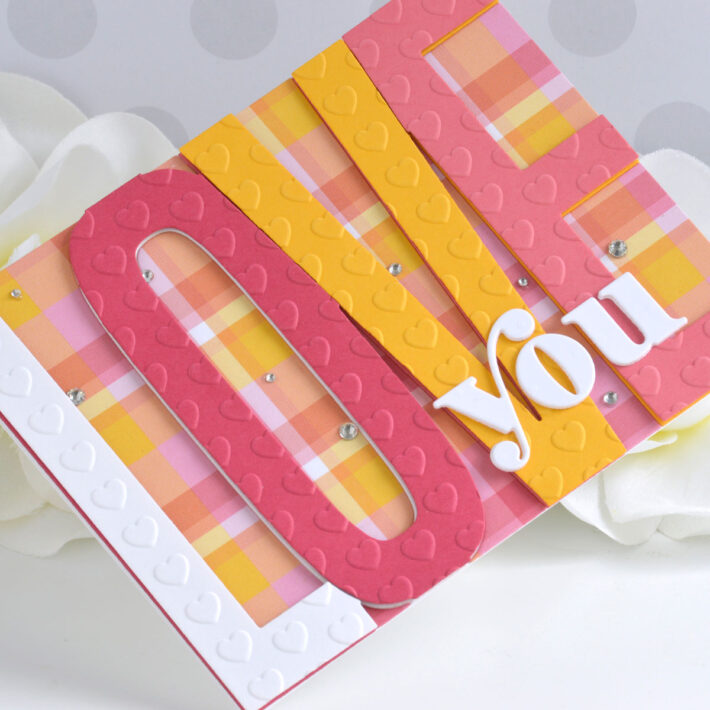
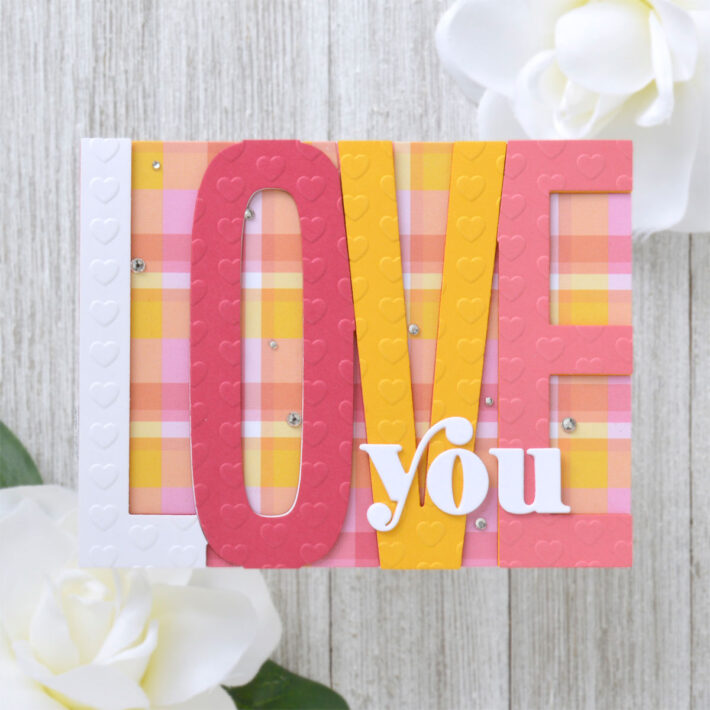
With such big bold letters to work with, you can easily add color, pattern, or texture to change up the look of these sentiments for different recipients. Here I played with a plaid background and embossing to create a bright and cheery love card for a friend.
- Die cut plaid patterned paper, Snowdrift, Dahlia, Wild Berry, and Saffron Cardstock with the Love Die from the Be Bold Colorblock Love You Die Set.
- Trim a piece of scrap cardstock to 4.25” x 5.5” and cover one side completely with double-sided adhesive.
- Piece together the “love” word onto the scrap cardstock, using the plaid die-cuts as your negative space and alternating one each of the other colors for the letters. This will create a smooth and flush background that we’ll be adding to next.
- Choose one letter from each of the cardstock colors (that contrasts with the same letter that will be beneath it) and emboss it using the Heart and Soul Embossing Folder. For letters that touch, be sure the pattern matches up well when assembled.
- Die cut Snowdrift Cardstock three times using the You Die from the Be Bold Colorblock Love You Die Set. Adhere the layers together with liquid glue.
- Adhere the background panel to a top-folding A2-sized white card base with tape runner.
- Pop the embossed letters up on top of the card front with foam adhesive (the contrasting color beneath with show a tiny bit for a bright pop of color).
- Add the “you” sentiment to the lower right corner with liquid glue.
- Embellish with Silver Mix Gems if desired.
Spellbinders Supplies:

Other supplies
Heavyweight white cardstock, Lawn Fawn Perfectly Plaid 6×6 paper pad, double-sided adhesive sheets, tape runner, foam adhesive
I hope you enjoyed this duo of bright and bold cards and thanks so much for stopping by today. You can find more inspiration over at my blog AnnieBWills.com.

