Easy Interactive Cards With Lisa Mensing & Garden Shutters Collection
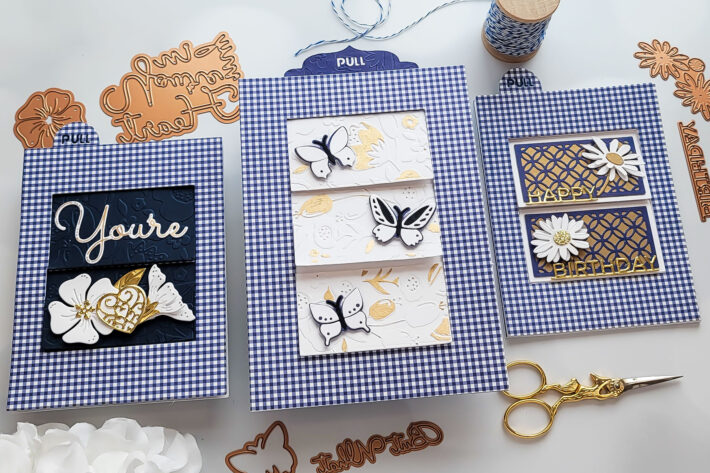
Hello, crafty friends. Lisa here, from LisaMensing.com, with you today. I am so excited to be back sharing inspiration here on the Spellbinders Blog. I have three cards to share with you featuring the Garden Shutters by Becca Feeken. If you are looking for easy interactive cards, look no further. I had so much fun creating my first shutter cards, and I hope you enjoy them.
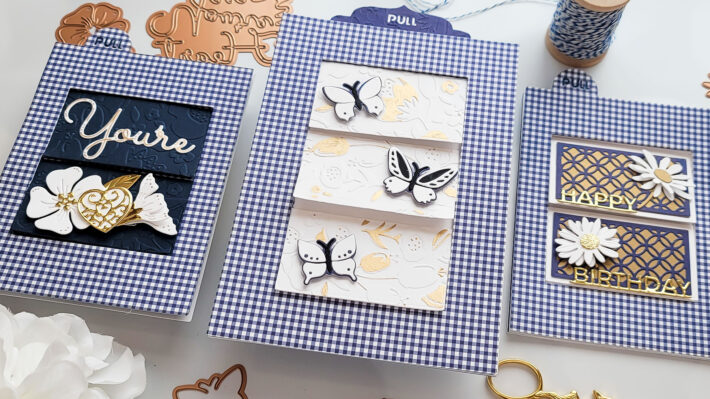
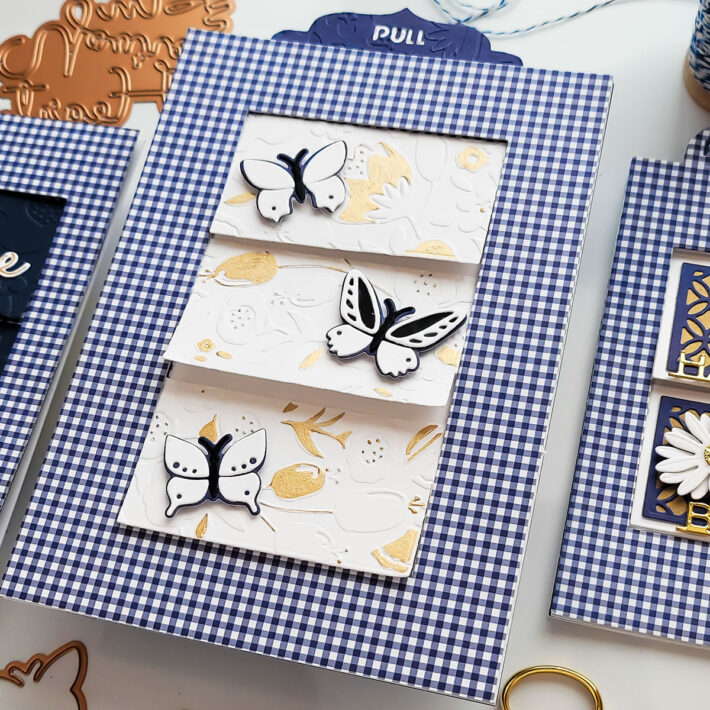
I was slightly intimidated by this die set but quickly realized there was no need for concern. The Kinetic Layer Mechanism die included in the Butterfly Bliss Garden Shutters 5 x 7″ Card Base set from the Garden Shutters Collection by Becca Feeken makes this process super simple.
Instructions:
- Cut three pieces of patterned paper to 5″ x 7″ (I used double-sided navy gingham)
- Cut two pieces of white cardstock to 5″ x 7″
- Using the Kinetic Layer Mechanism: 2.20 x 4.00 in creating the interactive shutter by placing the die-cut side down on 5″ x 7″ white cardstock, aligning the top right tab of the die to the top right side of the cardstock, and aligning the right side tab along the right side of the cardstock, run through the die-cutting machine, slide the die down keeping the right side tab aligned to the right side of the cardstock and line up top center holes on the die with the cut-out bottom center holes, rerun through the die-cutting machine, and repeat that process, moving the die down, one more time so that you have three shutters
- Center the Card Window: 3.00 x 5.00 in. die on the 5″ x 7 “patterned paper and run through the die-cutting machine, cut both pieces of the patterned paper
- Die-cut butterflies and pull tab from coordinating cardstock, and the sentiment
- Dry emboss the shutters using any embossing folder
- To assemble the card, take one of the die-cut patterned papers and adhere to the 5″ x 7″ white cardstock panel, add glue to the top tabs of the die-cut shutter mechanism, stick to the card panel, adhere the second die-cut patterned paper panel over the shutter mechanism being mindful that the mechanism is moving freely
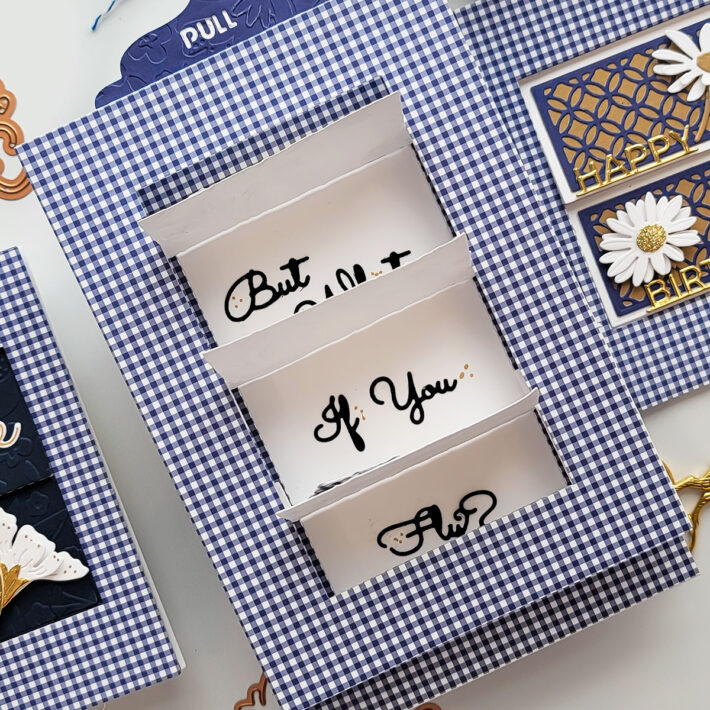
- Decorate with butterflies, adhere the sentiment under the shutters, add pull tab to top of card
Spellbinders Supplies:

Other Supplies
Patterned paper, white cardstock, navy cardstock, black cardstock, glue
A7 or A2 Kinetic Cards
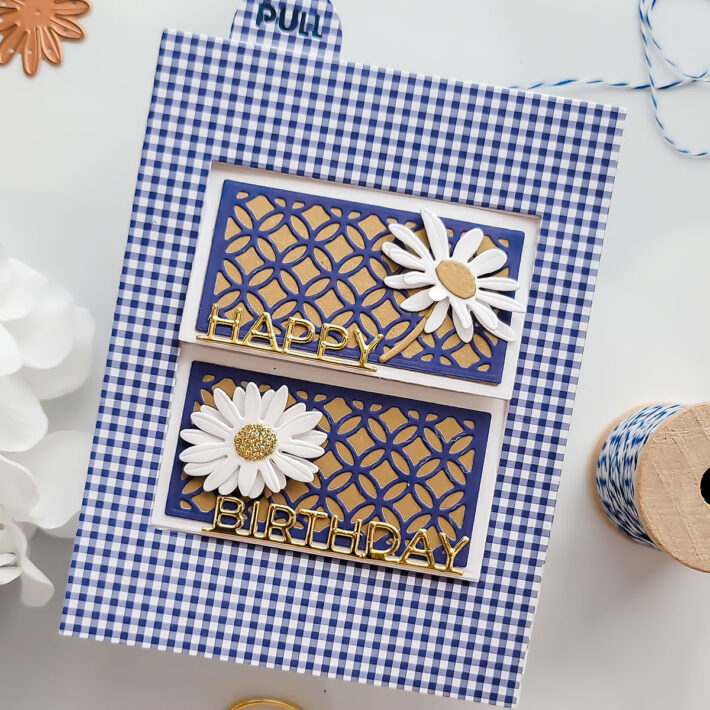
Whether you are using the A7 or A2 Garden Shutters Die Set the process is much the same. When creating the A2 version you cut two shutters instead of three, but assembling is same. I created two more cards using the Daisy Delight Garden Shutters A2 Card Base sies and Primrose Heart Façade dies.
I love the daisies and the gorgeous lattice design included in the Daisy Delight Garden Shutters A2 Set.
I do want to recommend if you are planning to add a handwritten message to the back of the shutters do that before assembling the card.
Spellbinders Supplies:
Other Supplies
Gold cardstock, gold glitter cardstock, white cardstock, patterned paper, glue.
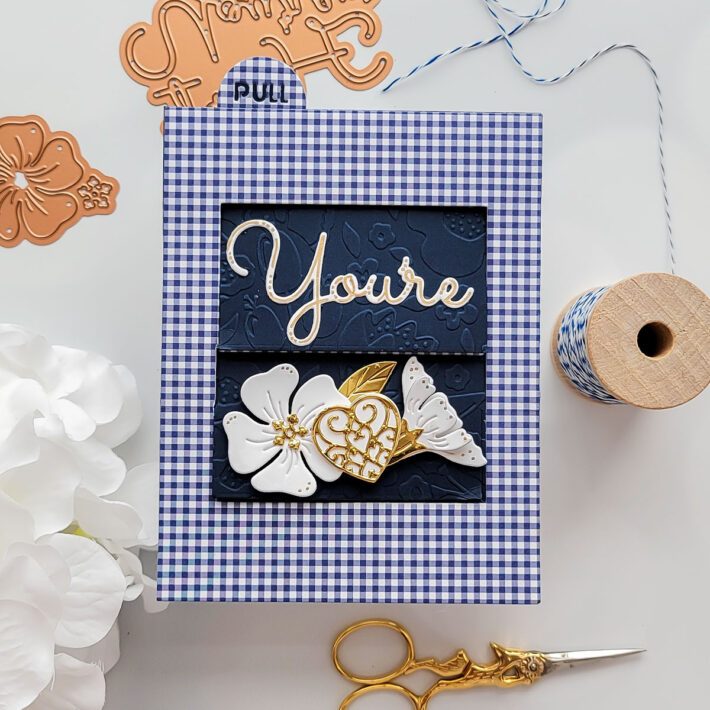
This is my favorite of the three cards I am sharing with you today. The Primrose Heart Façade Die Set is stunning.
Spellbinders Supplies:
Other supplies
Gold cardstock, gold glitter cardstock, white cardstock, patterned paper, glue.
Thank you for stopping by and spending time with me!
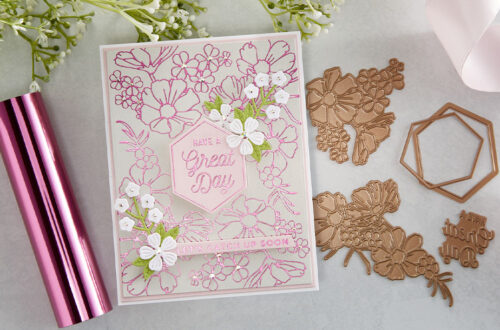
August 2021 Glimmer Hot Foil Kit of the Month is Here – Hex Floral

Quick Technique | Christmas Is The Day Card with Deck The Halls Die