Yana’s Blooms Collection – Card Inspiration with Annie Williams
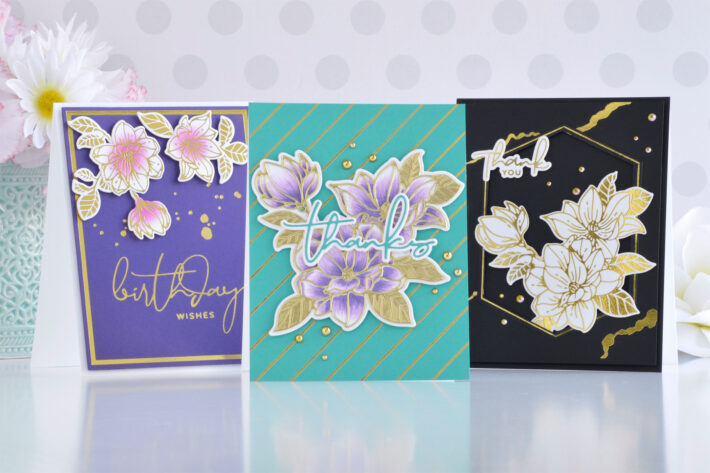
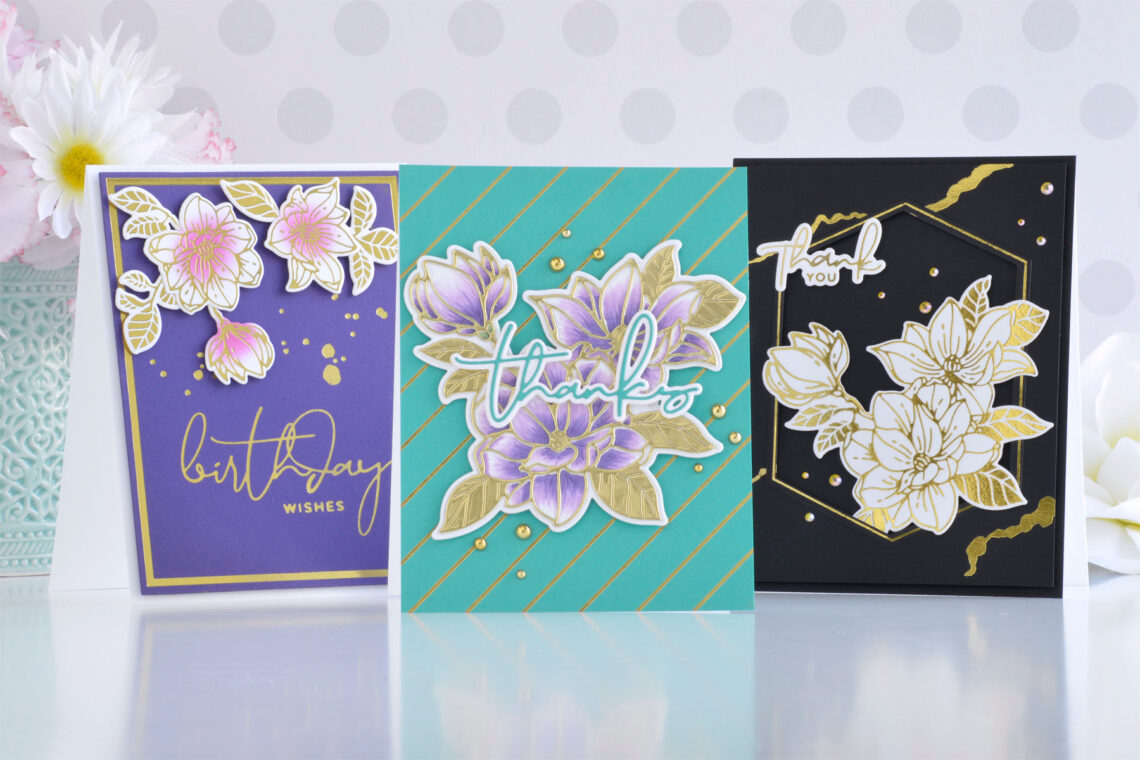
Hi there, this is Annie Williams and I’m excited to be back on the blog today to share a couple of projects using the new Yana’s Blooms Collection by Yana Smakula. The gorgeous florals, versatile backgrounds and borders, and pretty sentiments in this collection inspired me to create three bold cards with tons of gold foiling.
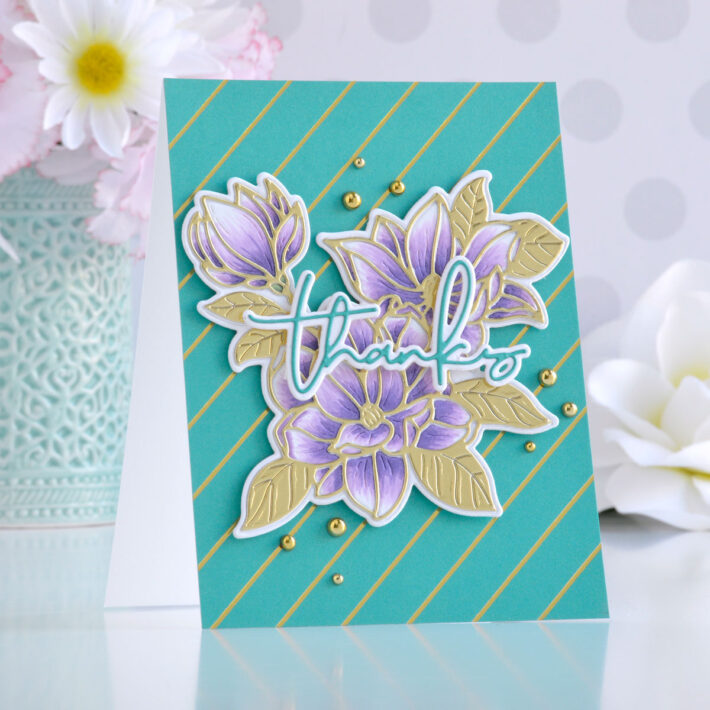
Magnolia Blooms Thank You Card
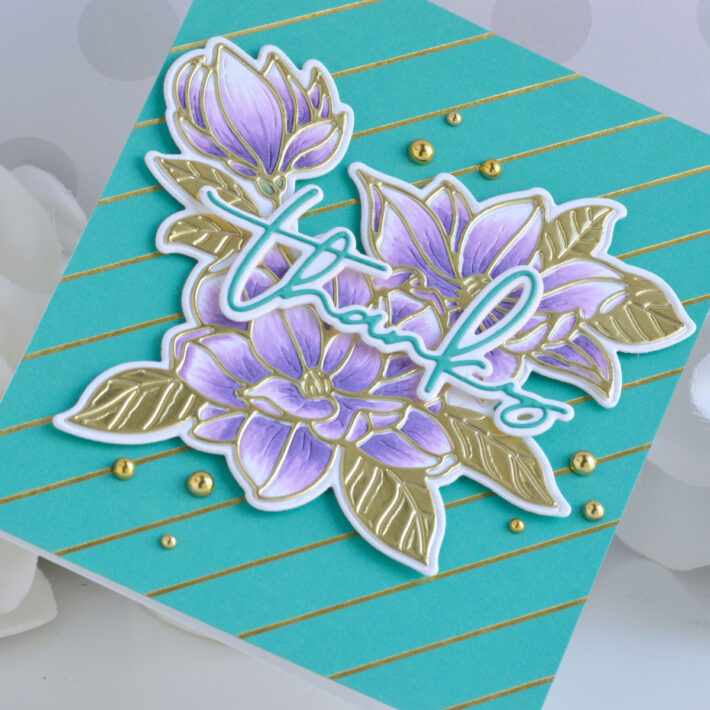
Magnolias are one of my favorite early spring flowers and I couldn’t wait to use all of the beautiful versions of them in this collection. Here I’ve cut and colored the Magnolia Blooms design and added it to a pretty foiled background for this bright thank you card.
- Trim a piece of Teal Topaz Cardstock to 4.25” x 5.5”.
- Apply Gold Hot Foil to the panel using the Diagonal Glimmer Stripes Foil Plate and the Glimmer Hot Foil Machine.
- Adhere the foiled panel to a top-folding A2-sized white card base with a tape runner.
- Die-cut Mirror Gold Cardstock using the Magnolias Rim and Insert dies from the Magnolia Blooms Die Set.
- Die-cut white cardstock using the Magnolias Rim die and then emboss the design from the Magnolias Insert die onto the die-cut using the correct sandwich for your die-cutting machine.
- Color the white embossed die-cut with Copic markers using the embossed lines as a guide to determine where each petal lays.
- Adhere the gold layer on top of the colored layer with liquid glue.
- Die-cut Teal Topaz and white cardstock using the thanks die from the Yana’s Layered Script Sentiments and adhere together with liquid glue.
- Add the floral bouquet to the center of the card front with foam adhesive and then pop the sentiment up on top with more foam adhesive.
- Embellish with Fashion Gold Embellishments.
Spellbinders Supplies:

Other Supplies
Heavyweight white cardstock, Copic markers, tape runner, foam adhesive.
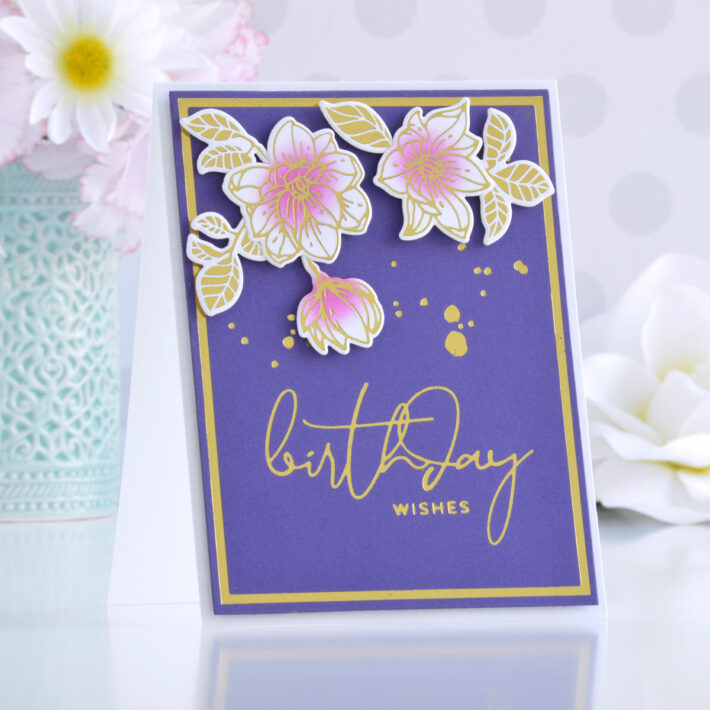
Magnolia Bouquet Birthday Wishes Card
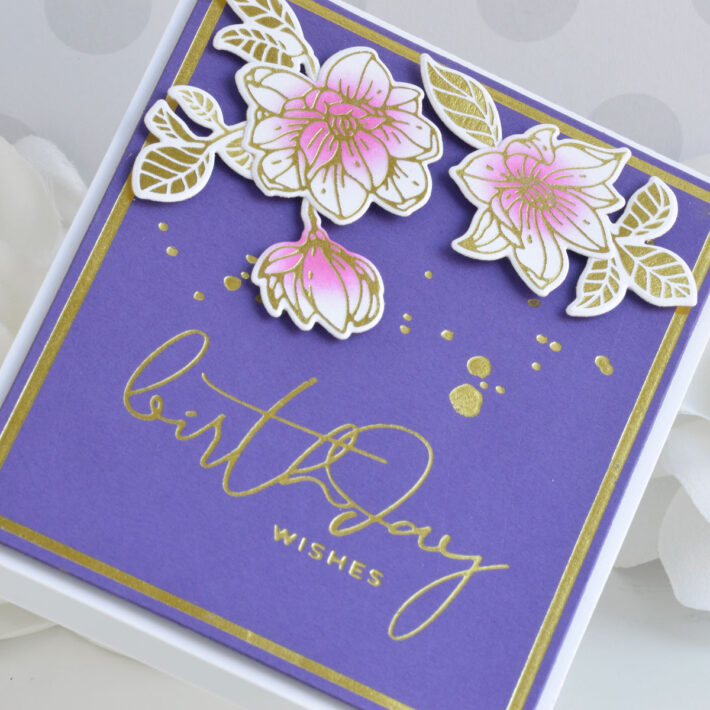
Next, I wanted to try out the beautiful Magnolia Bouquet Glimmer Plates to create my own little arrangement of blooms. I added them to another bold foiled background panel for this simple and elegant birthday card.
- Apply Gold Hot Foil to white cardstock using the Magnolia Bouquet Glimmer Plates Set and the Glimmer Hot Foil Machine.
- Add just a touch of color to the center of the flowers with Picked Raspberry Distress Ink and a sponge dauber.
- Cut the images out using the coordinating dies.
- Apply Gold Hot Foil to Royal Amethyst Cardstock using the frame, splatter, and sentiment plates from the Splatter Sentiments Glimmer Plate Set.
- Die-cut the panel out using the Layer 2 Die from the Precision Layering A2 A Die Set (or trim it to 4” x 5.25” maintaining an even border all around the foiled frame).
- Adhere the foiled background panel to a top-folding A2-sized white card base with foam adhesive.
- Arrange the flowers and leaves on the top of the card front and adhere down with more foam adhesive.
Spellbinders Supplies:

Other supplies
White heavyweight cardstock, Picked Raspberry Distress Ink, sponge dauber, foam adhesive.
Magnolia Glimmer Blooms Thank You Card
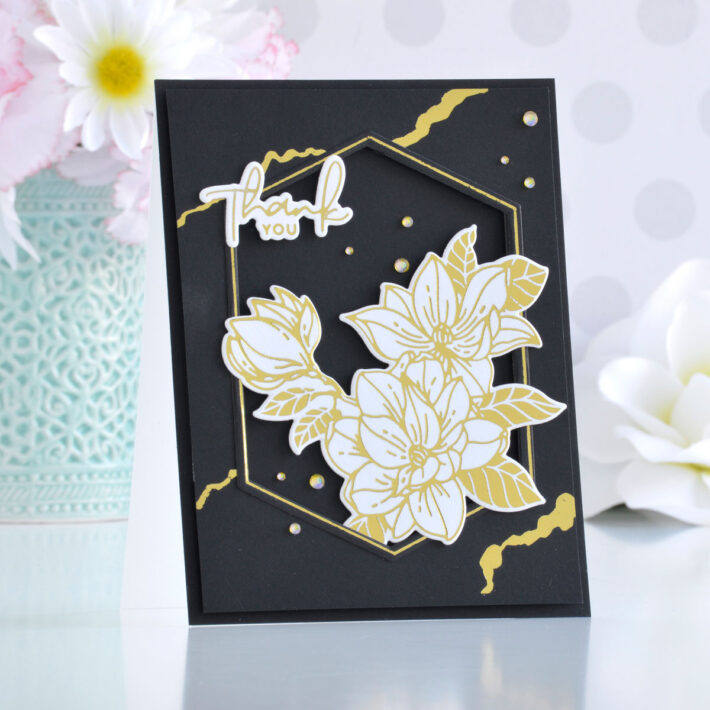
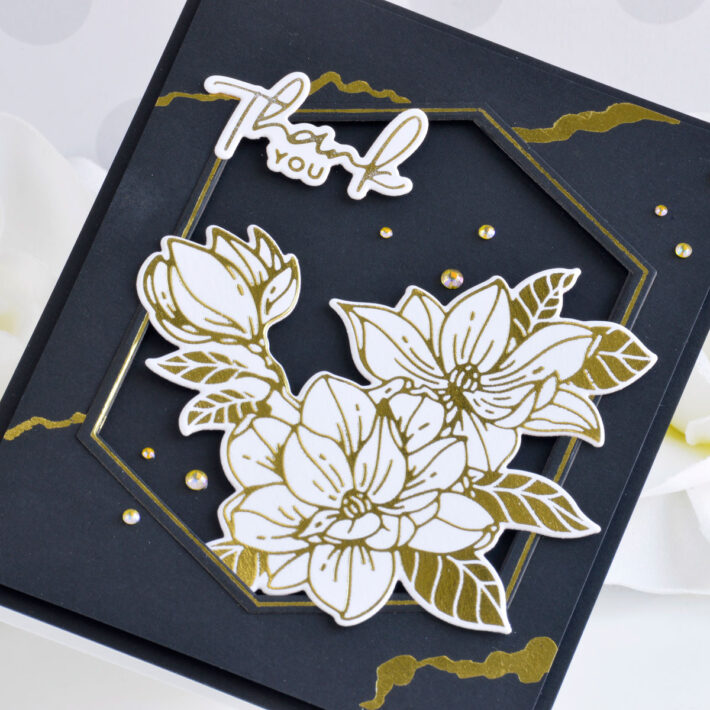
I love the look of black, white, and gold together, and thought the gorgeous Magnolia Glimmer Blooms design could easily stand on its own with no coloring. Here I added it to a pretty marbled frame for this clean and simple thank you card.
- Trim a piece of Onyx Cardstock to 4” x 5.25”.
- Apply Gold Hot Foil to different parts of the panel using the Long and Short Tear Plates from the Geo Foliage Glimmer Plate & Die Set.
- Die-cut the center of the panel out using the Geo Hex Inner Die from the same set.
- Apply Gold Hot Foil to Onyx Cardstock using the Geo Hex Plate and cut it out using the Geo Hex Inner and Outer Dies.
- Apply Gold Hot Foil to Glimmer Specialty cardstock using the Magnolia Glimmer Blooms Plate Set and cut it out with the coordinating die.
- Apply Gold Hot Foil to Glimmer Specialty cardstock using one of the sentiments from the Yana’s Special Sentiment Glimmer Plates set and cut it out with the coordinating die.
- Trim a piece of Onyx Cardstock to 4.25” x 5.5” and adhere to a top-folding A2-sized white card base with a tape runner.
- Adhere the foiled hexagon frame around the window in the marbled background with liquid glue. Add this panel to the center of the card front with foam adhesive.
- Tuck the foiled bouquet and sentiment into the window on the card front and adhere them down with foam adhesive.
- Embellish with Aura AB Color Essential Gems.
Spellbinders Supplies:

Other supplies
White heavyweight cardstock, tape runner, foam adhesive.
I hope you enjoyed this trio of bold foiled cards and thanks so much for stopping by today. You can find more inspiration over at my blog AnnieBWills.com.

