Celebrate You: Cards & Gift Bags How-To with Hussena Calcuttawala
Hello, crafty friends! This is Hussena from Quill and Punch Works, and I am so excited to be guest designing on the Spellbinders blog today featuring the Celebrate You Collection. This is a large collection with lots of great gifting and greeting cards goodies that pair beautifully with cardstock or patterned paper for a quick easy card, or something a little more stepped up with the addition of floral dies.
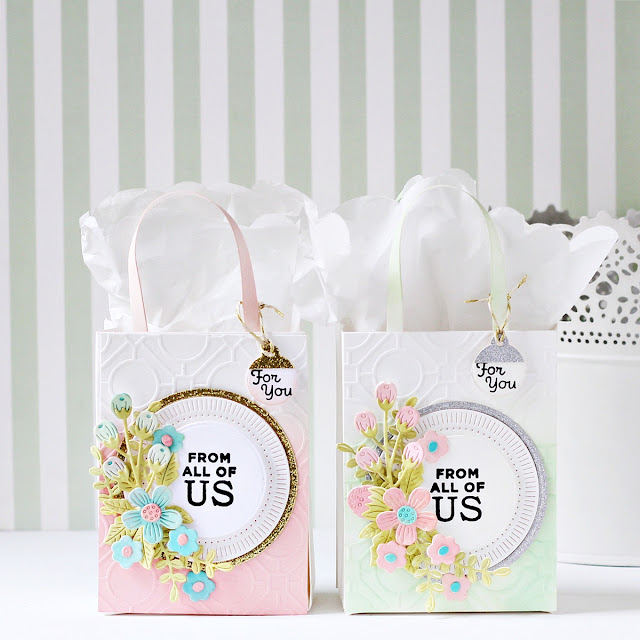
Custom Gift Bags
My first project is a set of Gift Bags made using the Gift Bag Etched Dies, Be Bold Blooms Etched Dies, the Mini Blooms and Sprigs Etched Dies, and the Geo Screen Embossing Folder. These are so simple and easy to make and are perfect for holding little treats or jewelry and more!
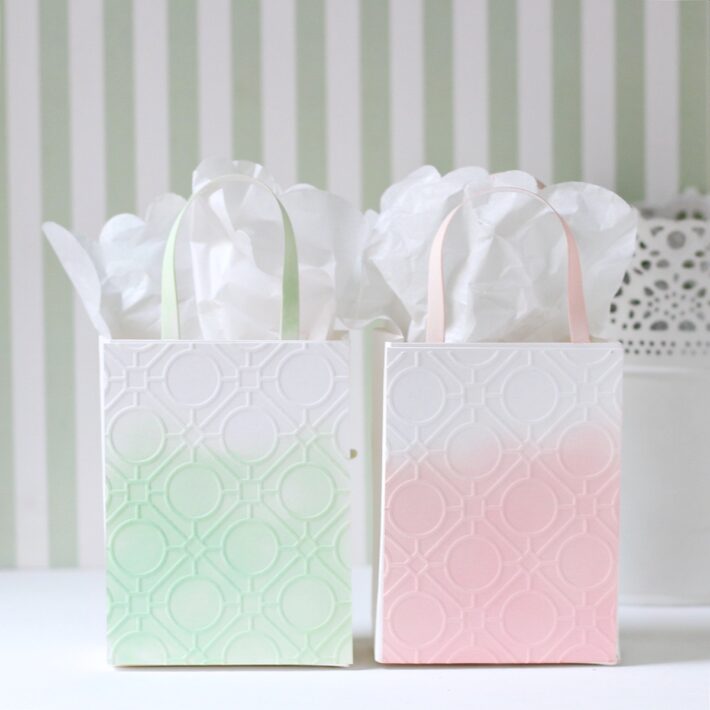
To start with, I die-cut Snowdrift Cardstock using the Gift Bag Etched Dies. Next, I embossed the front and back panels of the gift bags using the Geo Screen Embossing Folder and assembled the bags with double-sided tape. Next, I blended Cracked Pistachio and Worn Lipstick Distress inks over the bottom two-thirds of the cardstock pieces using a blending brush and adhered them down to the front and back of the bags.
Next, I die-cut Snowdrift Cardstock using the flower and foliage dies from the Be Bold Blooms Etched Dies and the Mini Blooms and Sprigs Etched Dies. I inked the flowers using Worn Lipstick and Peacock Feathers Distress Oxide inks and the leaves using Peeled Paint Distress Oxide ink.
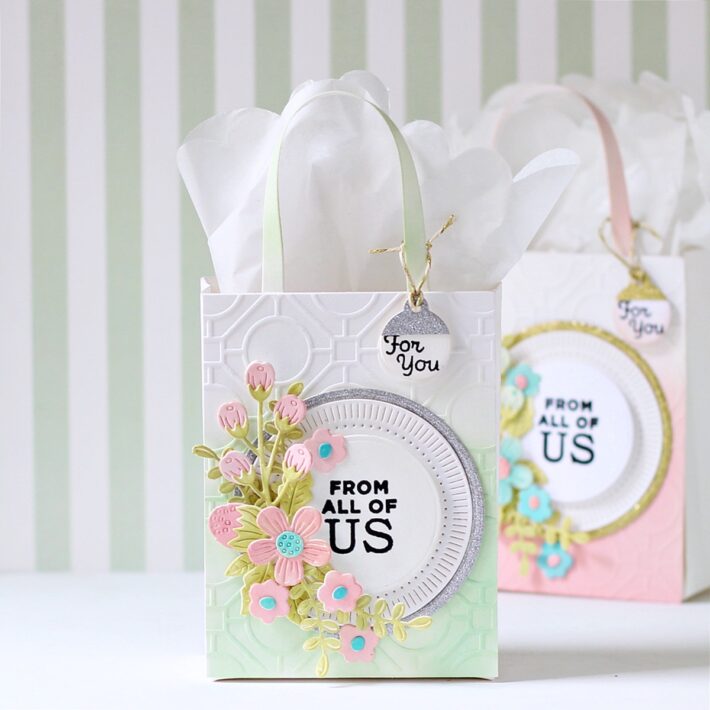
Next, I die-cut Silver Glitter Cardstock, Gold Glitter, and Snowdrift Cardstock using the Large, Medium, and Small circle dies from the Fluted Classics Circle Etched Dies. I stamped my sentiment from the Let’s Celebrate Sentiments Clear Stamp Set onto the Small Circle Insert pieces using Versafine Onyx Black ink and adhered the pieces. I adhered the pieces down in the center of my bags using a combination of liquid glue and foam adhesive. I then assembled my flowers and leaves around it and adhered them down using foam tape for dimension and interest.
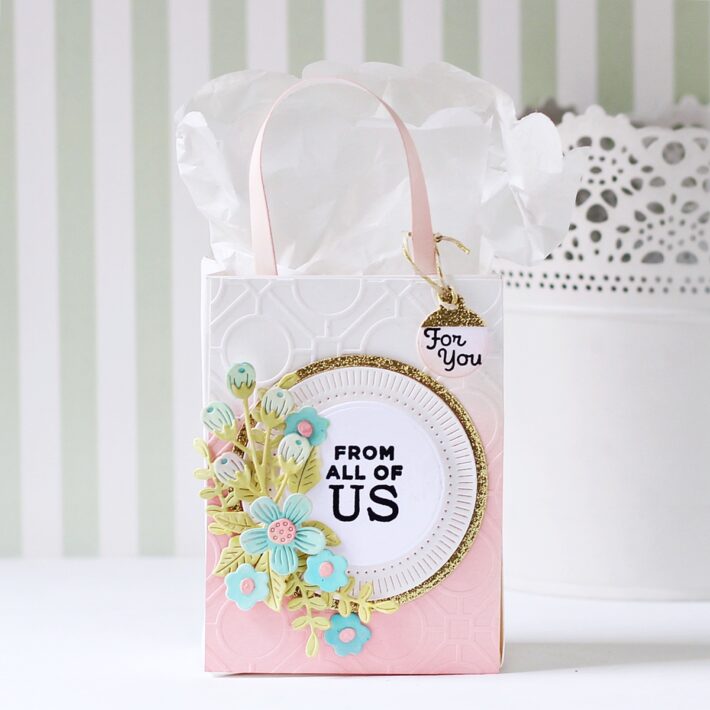
Once that was done, I die-cut Snowdrift, Silver Glitter, and Gold Glitter Cardstock using the Small Round Tag Die in the Assorted Tags Etched Die Set. I trimmed the glitter die cut-pieces in half and adhered them over the white pieces. Next, I stamped my sentiment from the Sentiments for You Clear Stamp Set onto the die-cut pieces using Versafine Onyx Black ink. I then die-cut the handles of the bags using Snowdrift Cardstock and blended Cracked Pistachio and Worn Lipstick Distress inks over the pieces using a blending brush. I attached the tags to the bag using gold metallic twine and adhered the pieces on top using foam adhesive.
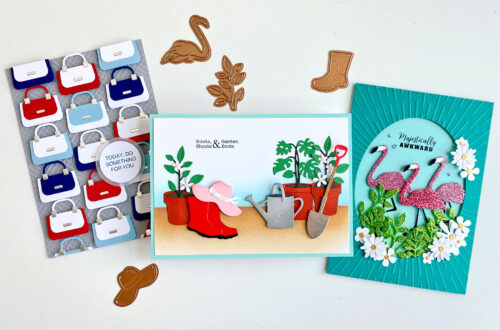
Colorful Birthday Card
My next project features the Swallowtail Tags Etched Dies, the Romantic Slimline Borders Etched Dies, the Sentiments for You Clear Stamp Set, and the I Dance Etched Dies. I thought the banners in the Swallowtail Tags were so wonderful that they could be a focal point all on their own. I used a multitude of bright colors and paired them with an embossed background for a simple birthday card.
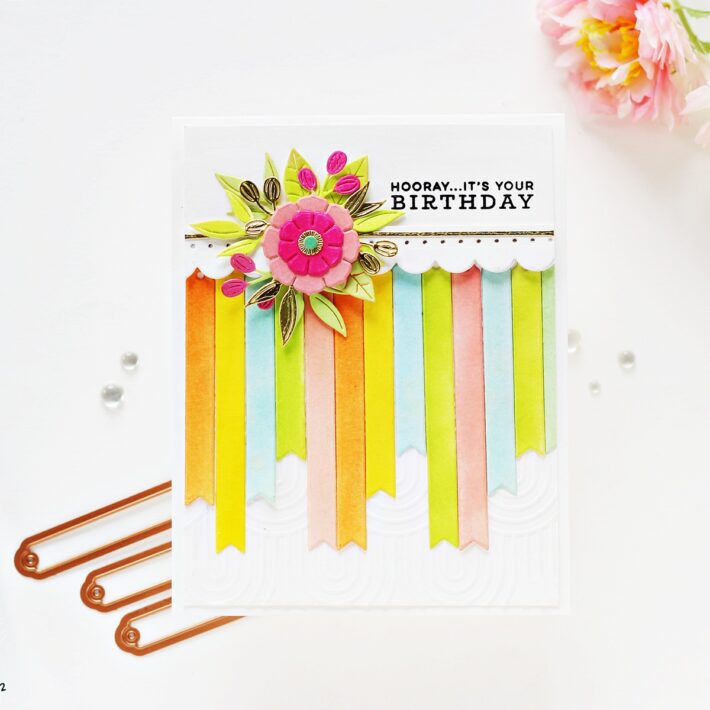
To create my card, I trimmed Snowdrift Cardstock to 4” x 5.25” and embossed it using the Optical Arches Embossing Folder. Next, I die-cut Snowdrift Cardstock using the Perforated Edge and Scalloped Border dies in the Romantic Slimline Borders Etched Dies. There are several beautiful designs you can create with this border set, and they’re perfect for any card size. Once my border was die-cut, I went ahead and die-cut Mirror Gold Cardstock using the Ribbon/Twine die included in the Assorted Tags Etched Die Set and adhered it right above the perforated edge for visual interest.
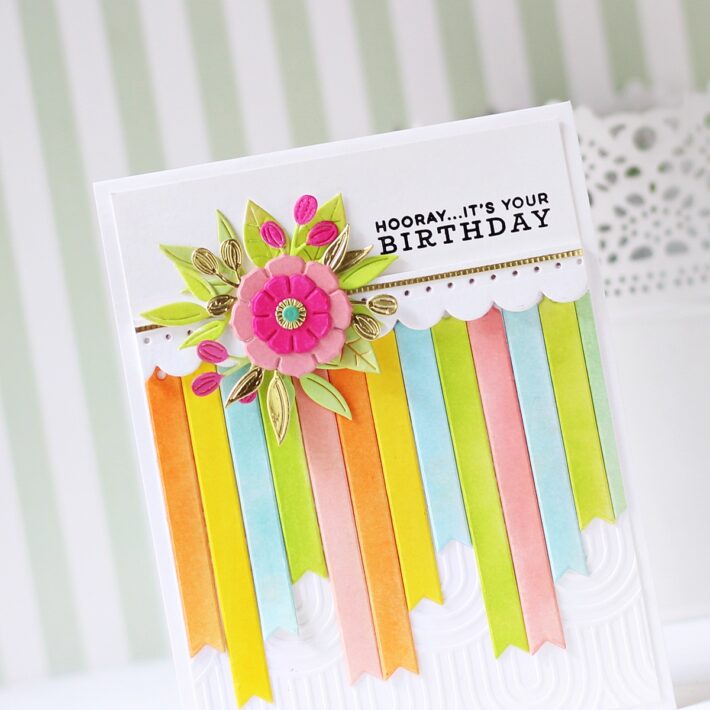
Next, I die-cut Snowdrift Cardstock using the various tag dies in the Swallowtail Tags Etched Dies. I colored the pieces using Dried Marigold, Mustard Seed, Broken China, Twisted Citron, and Worn Lipstick Distress inks using a blending brush. Once they were all colored, I assembled the pieces on my embossed panel using Craft Glue.
Then, I die-cut Dahlia, Fuchsia, Rainforest, Peridot, and Mirror Gold Cardstock using the flower and foliage dies in the I Dance Etched Dies. I assembled the flower together and adhered it down on the left-hand side of the panel using foam adhesive for a raised effect. Next, I tucked in the leaves and foliage underneath the bloom to create a floral spray on my card front. Then, to finish, I stamped a sentiment from the Sentiments for You Clear Stamp Set onto the card panel using Versafine Onyx Black ink. I adhered the embossed panel to a top-folding A2-sized white card base using a tape runner to finish off the card.
Graduation Card
My last project for today is a Slimline Card made using the Radiant Burst Embossing Folder, Hats Off to You Etched Dies, Sentiment Labels Etched Dies, and the Open Road Sentiments Clear Stamp Set. I used the Hats Off to You die set to create a stand-alone focal point with a sentiment for this embossed graduation card.
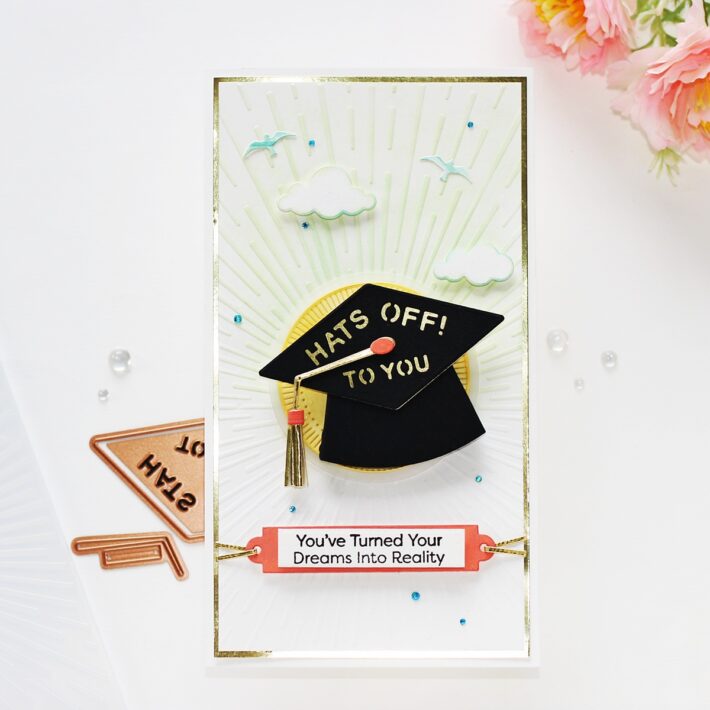
To start, I trimmed a piece of Snowdrift Cardstock to 3.50 x 8.50-inch and embossed it using the Radiant Burst Embossing Folder. Next, I blended Cracked Pistachio Distress ink over the top two-thirds of the cardstock using a blending brush. Next, I die-cut the mortarboard cap, with sentiment insert, and button from the Hats Off to You Etched Dies out of Onyx and Dahlia Cardstock. Then, I die-cut the solid mortarboard cap and tassel pieces from Mirror Gold Cardstock and assembled it using Craft Glue. I love the way this die set is designed. It’s super cool and simply perfect for graduation cards! Next, I die-cut Snowdrift Cardstock and Vellum using the Fluted Classics Circle Etched Dies. I blended Scattered Straw Distress Oxide ink on the white die-cut piece using a blending brush and then adhered the circle die-cut piece over the circle layer on my panel using foam adhesive.

Once that was done, I stamped a sentiment from the Open Road Sentiments Clear Stamp Set to Snowdrift Cardstock using Versafine Onyx Black ink and cut it out using one of the insert dies from the Sentiment Labels Die Set. Then, I die-cut Snowdrift Cardstock using the large label from the Sentiment Labels Die Set and blended Candied Apple Distress Oxide ink over the piece using a blending brush. Once that was done, I adhered the sentiment strip on top with liquid glue. Next, I die-cut Mirror Gold Cardstock using the twine die in the Sentiment Labels Etched Dies. I attached the sentiment label on the card using twine and adhered it on top using foam adhesive.
Next, I die-cut Snowdrift Cardstock using the On Cloud Nine Etched Dies and blended Cracked Pistachio and Broken China Distress inks over the edges of the clouds using a blending brush. Then, I die-cut the seagulls from the Build a Summer Birdhouse Etched Die Set out of Snowdrift Cardstock and colored them using the same ink colors. I popped the pieces onto my card front using foam adhesive and mat the card panel with Mirror Gold Cardstock. Finally, to complete, I adhered the embossed panel to a side-folding slimline white card base using a tape runner. Then, as a finishing touch, I adhered a few Teal Color Essentials Gems around my panel.
Spellbinders Supplies:

Other Supplies
Neenah Solar White Cardstock, Citrine Glitter Cardstock, Cracked Pistachio Distress Oxide ink, Versafine Onyx Black Ink, MISTI Stamping Tool, Gold Baker’s Twine, Tape Runner.
That’s it for today’s post! I hope you enjoyed it and have been inspired to create with these stunning dies and stamp from the Celebrate You Collection. Thank you so much for stopping by!
Hussena Calcuttawala
'Hello! My name is Hussena, and I live in Kolkata, India. I am a stay at home mum of two kids and have been crafting for over five years now. I started my creative journey with paper quilling and since then have dabbled in various paper crafting forms like punch craft, die cutting, and more recently stamping. I am an ardent floral fan and you will find me using florals on almost all my creations. I love working with dies, especially floral and intricate ones, as they offer me various possibilities. I also love to create my own handmade flowers, and this is one of the reasons why I am drawn to Spellbinders dies. You can find my work on my blog: Quill and Punch Works
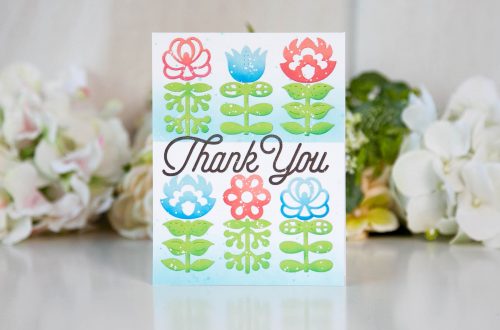
Folk Art Inspiration | Nordic Blooms Card with Keeway
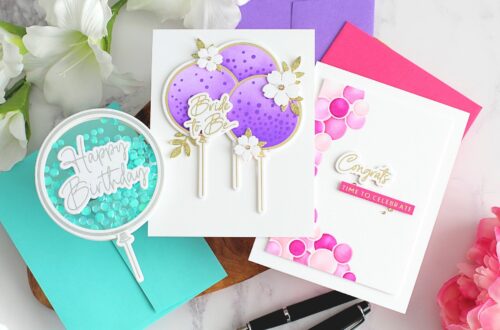
Balloon Bonanza With Michelle Short & Carissa Wiley It’s My Party Collection