Reverse Foiling with Essential Glimmer Solid Shapes and Jung AhSang
Hello crafty friends! It’s Jung AhSang here, and I am so excited to be returning for another guest post on the Spellbinders blog. If you’d like to follow my crafty projects, my blog is jungahsang.wordpress.com, and my Instagram is @junglebarrya.
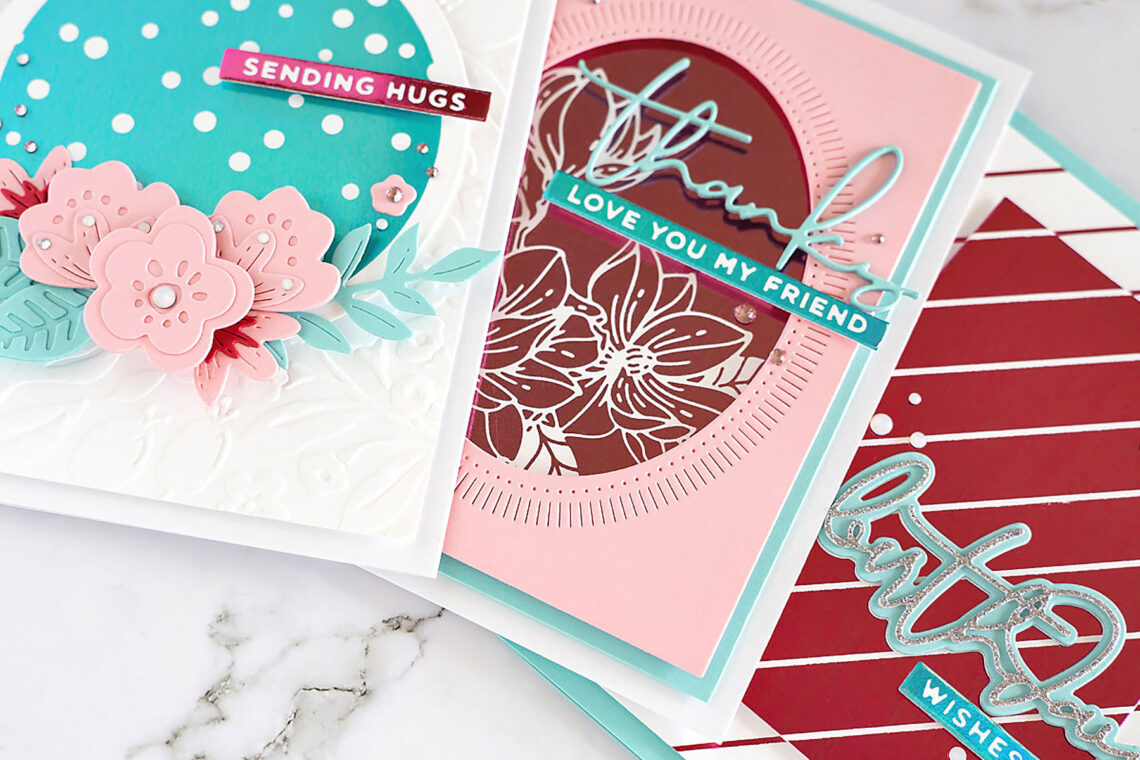
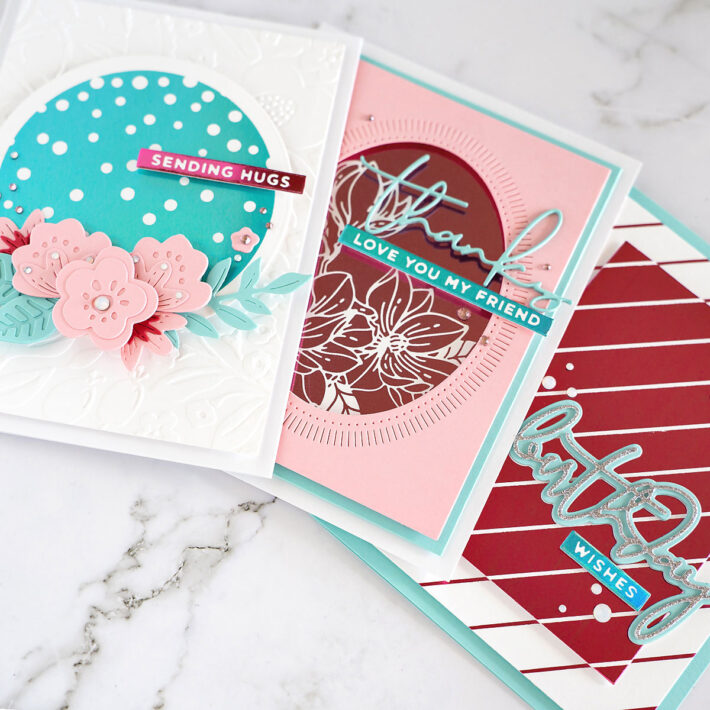
Today, I’m working with the Essential Glimmer Solid Shapes. I absolutely love the Glimmer Hot Foil system, and I always wanted to utilize the leftover foil from my projects. These glimmer solid shapes allow you to take advantage of that leftover foil. There are 4 shapes: rectangle, square, oval, and circle.
Reverse Diagonal Glimmer Stripes
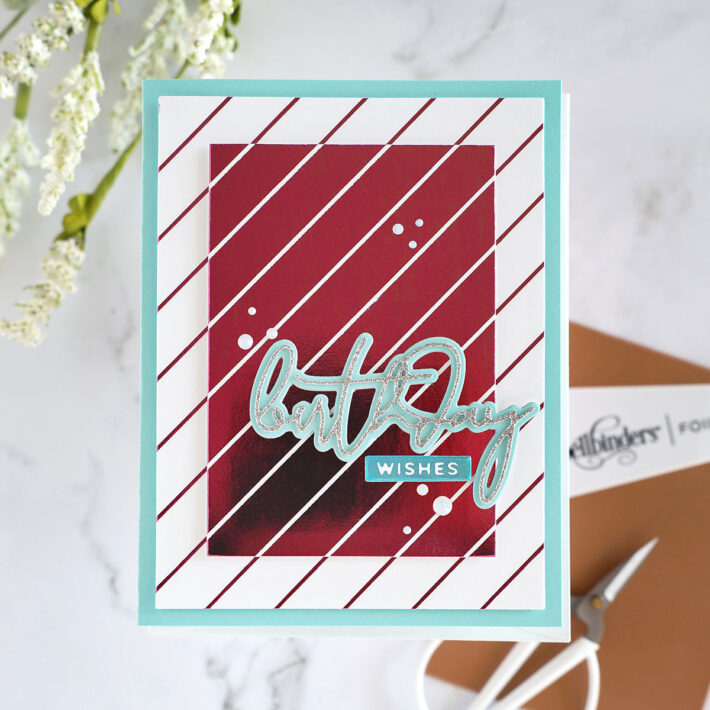
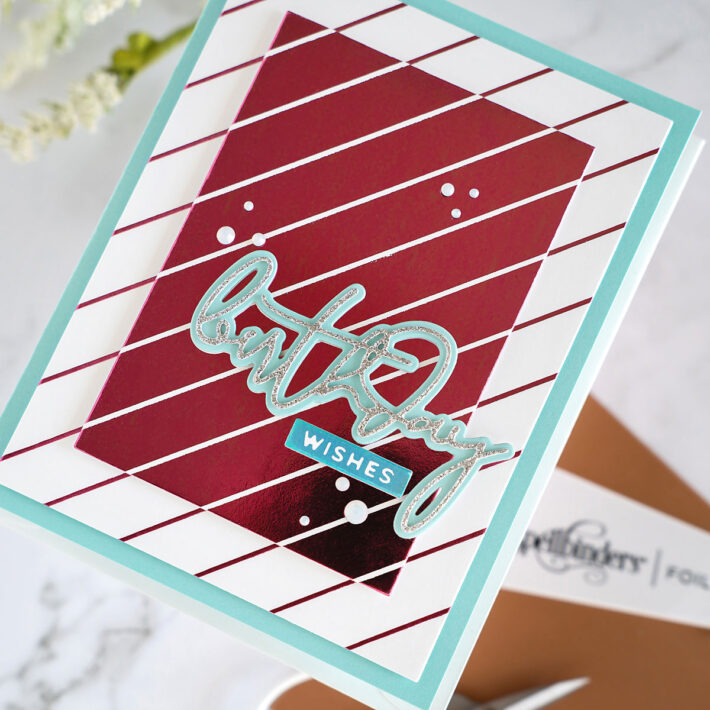
For my first card, I used the Essential Glimmer Solid Rectangle. I also used the Diagonal Glimmer Stripes plate to create a glimmer card utilizing both positive and negative foiled images.
First, I hot foiled the stripes plate with bright pink foil on smooth white cardstock. Then, with the leftover foil, I used the solid rectangle plate and foiled it on smooth white cardstock. I was left with 2 striped panels. I used 2 different sizes of the precision layering A2 dies to die cut the panels. I adhered the pink panel with white stripes to the white panel with pink stripes with foam tape, making sure to align the stripes. adhered these panels to an A2 card base I made using waterfall cardstock with more foam tape.
For the sentiment, I used silver glitter cardstock to die cut the scripty “birthday” two times, and more waterfall cardstock to cut the shadow two times. I glued them stacked together for a dimensional look. The “wishes” sentiment strip was foiled using moodust foil. Again, I used the rectangle solid plate to foil the leftover sentiment foil, and used the solid foiled sentiment for my card. To finish off my card, I added some crystal mix jewels.
Reverse Slimline Confetti Background
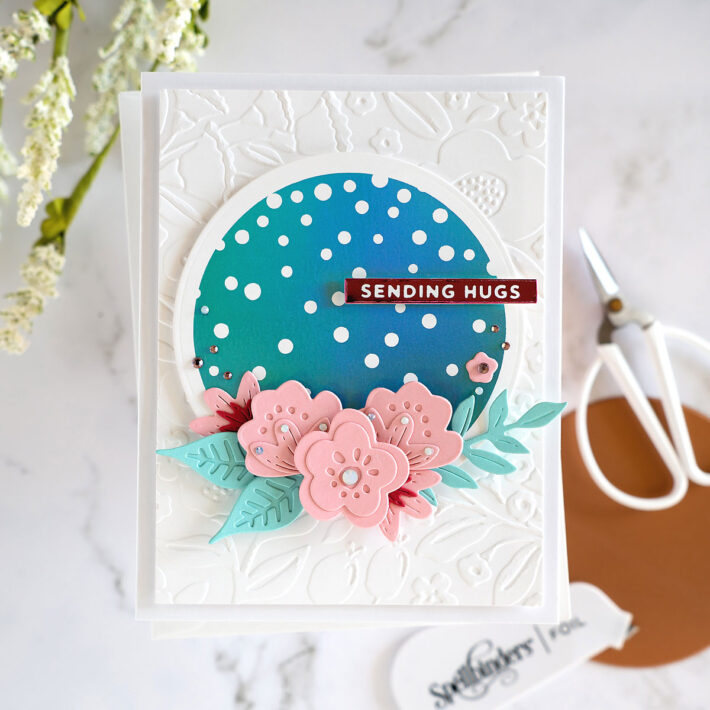
For my second card, I used the Essential Glimmer Solid Circle.
On a piece of smooth white cardstock, I foiled the Slimline Confetti Background with moondust foil. Then, I foiled the leftover foil using the solid circle. No matter the shape of your leftover foil, it will foil the circle portion only, making this a great option for one layer cards.
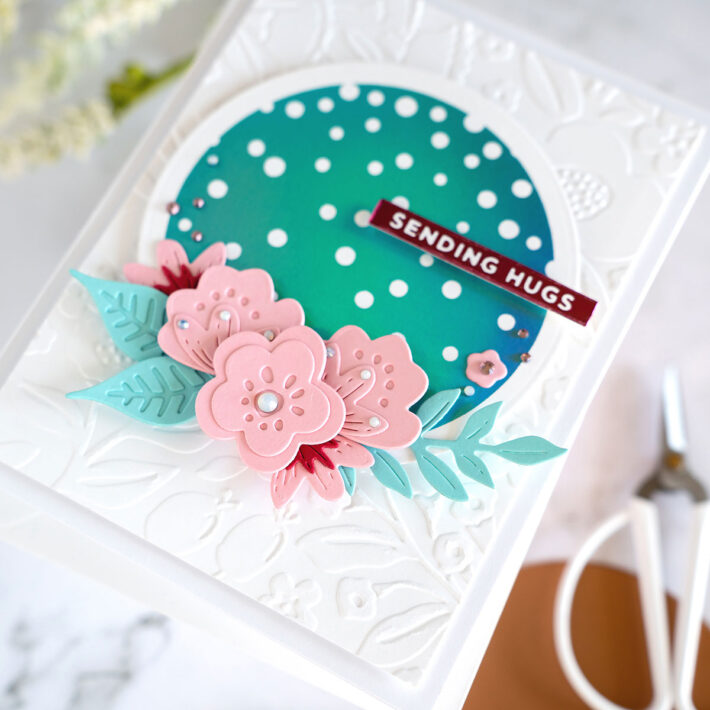
However, I knew I wanted to have lots of dimension, so I die-cut the foiled circle with a circle die. For my background panel, I used a trimmed down piece of white cardstock, and the Simply Perfect Florets embossing folder. I adhered that to an A2 white cardbase with foam tape. I adhered the foiled circle with more foam tape on top.
To embellish my card, I die-cut some flowers and leaves from pink sands and waterfall cardstock, using the Simply Perfect Layering Blossoms die set. I adhered the flowers to the bottom of the circle with both glue and foam tape. I added a “sending hugs” sentiment, which was using the leftover pink foil, just like my first card. I finished off the card with crystal mix and pink gems.
Reverse Magnolia Blooms
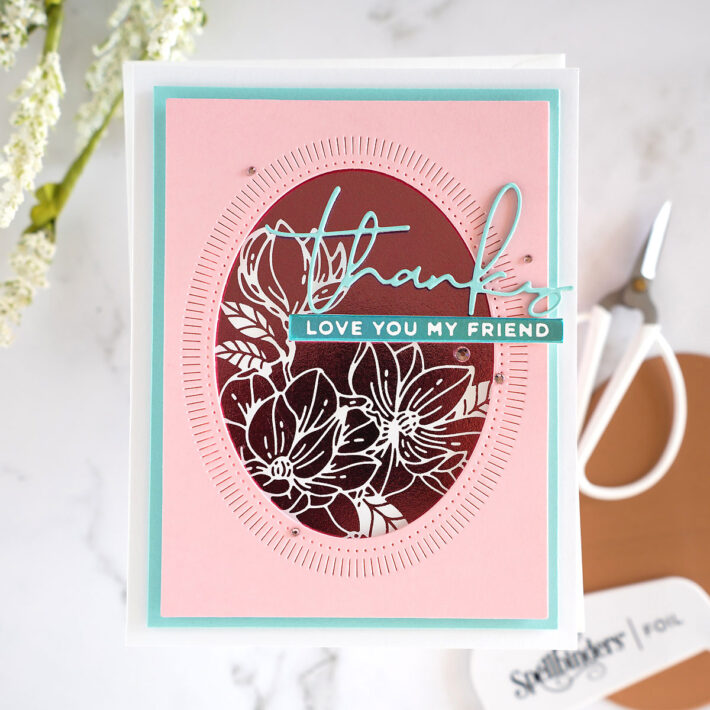
For my third card, I used the Essential Glimmer Solid Oval.
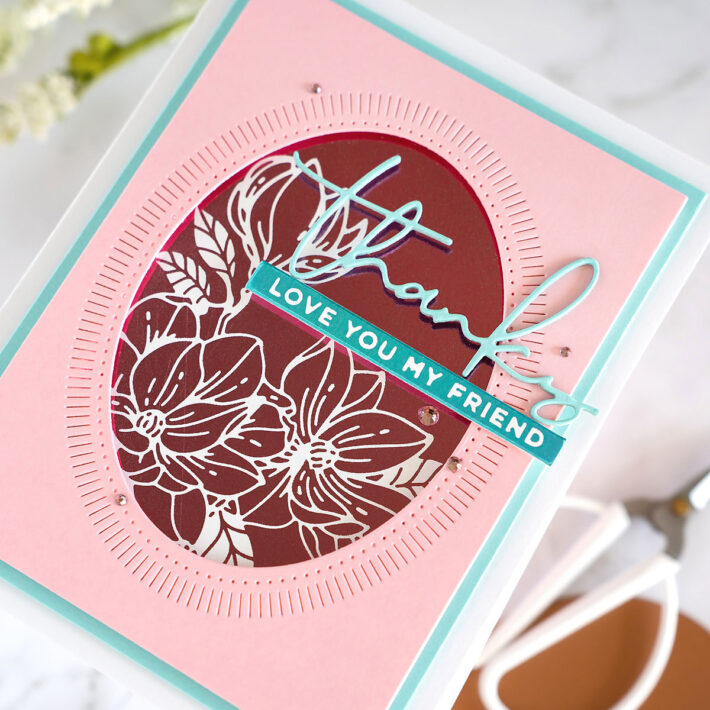
First, I foiled the Magnolia Glimmer Blooms on white cardstock with pink foil, keeping the foil bigger than needed, so I could use the leftover piece. Then, I foiled the leftover foil with the oval plate. I used a couple of the oval fluted dies to die-cut an oval from the center of a trimmed down piece of pink sands cardstock. I adhered the pink cardstock with foam tape on top of the oval foiled panel. Next, I adhered this to a panel I die-cut from waterfall cardstock using one of the precision layering A2 dies.
For the script sentiment, I diecut the script “thanks” from waterfall cardstock three times and glued them together to give it strength and dimension. I also foiled the “love you my friend” sentiment using moondust foil, then foiled it again using the leftover foil. I used this solid foil sentiment strip, and adhered it to the card using foam tape. I glued the script “thanks” just to the pink cardstock. To finish this card, I added some pink gems.
Spellbinders Supplies:

Other Supplies:
white cardstock, foam tape
I am so excited to have these solid glimmer plates in my collection. I know I will get a lot of use out of these! I hope my cards have inspired you to get crafty. Thank you so much for stopping by, and have a great day!

3 Comments
Trudie Vick
Love this technique. Wish you would do a video doing this technique. I’m a visual learner so it would make understanding a lot easier. Thanks for sharing.
postoprn
Yes a video showing exactly how this is done would be nice. Also what is the sandwich?
schiffrochelle
Who makes the oval die, please?