Inspired Basics Collection with Annie Williams
Hi there, this is Annie Williams and I’m excited to be back on the blog today to share a couple of projects using the new Inspired Basics Collection from Spellbinders. The versatile dies and pretty hot foil plates in this collection inspired me to create three cards. These cards are easy to create and are the perfect uplifting gifts for sending a little cheer.
Create a Decorative Tag Card
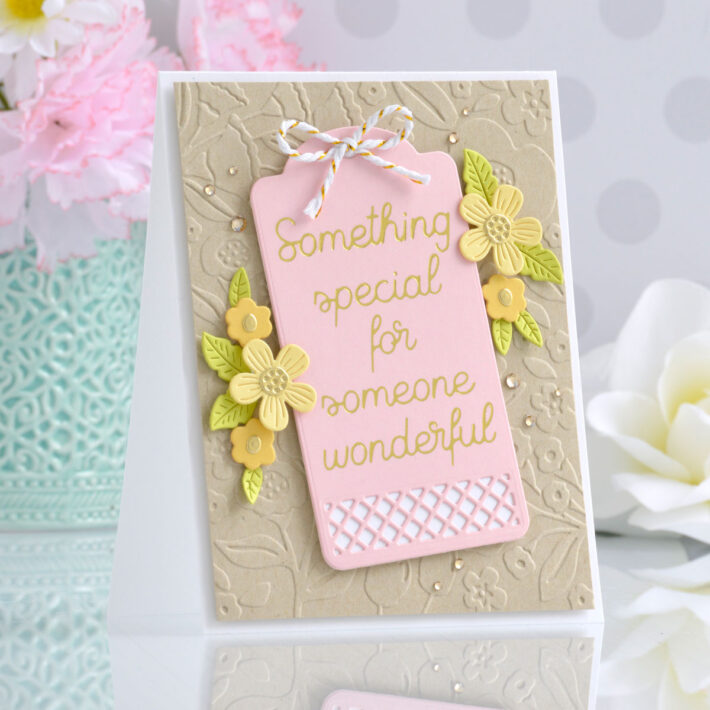
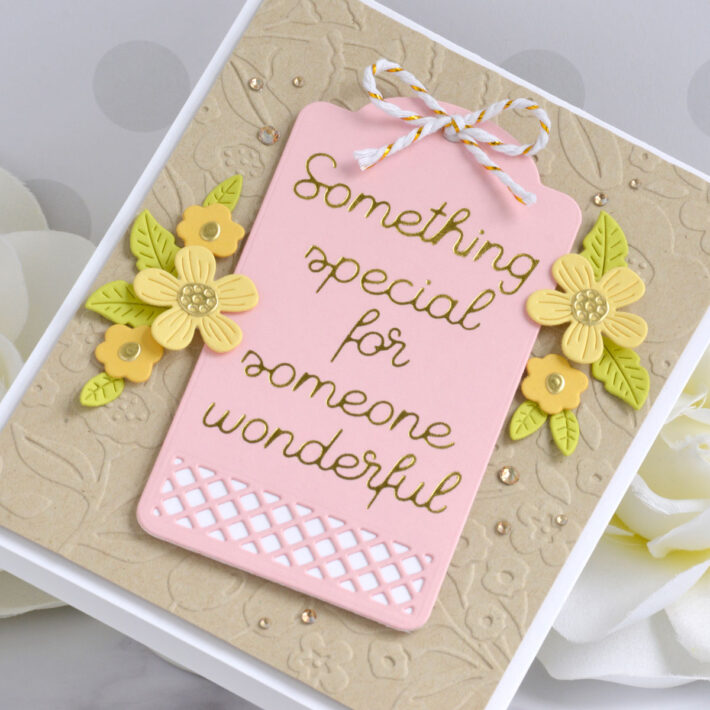
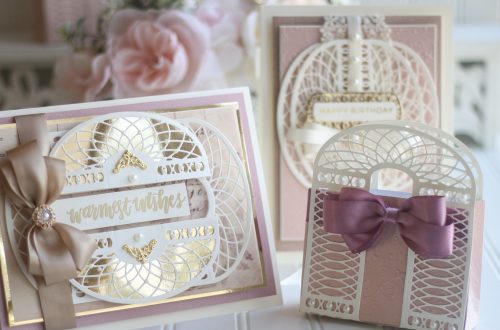
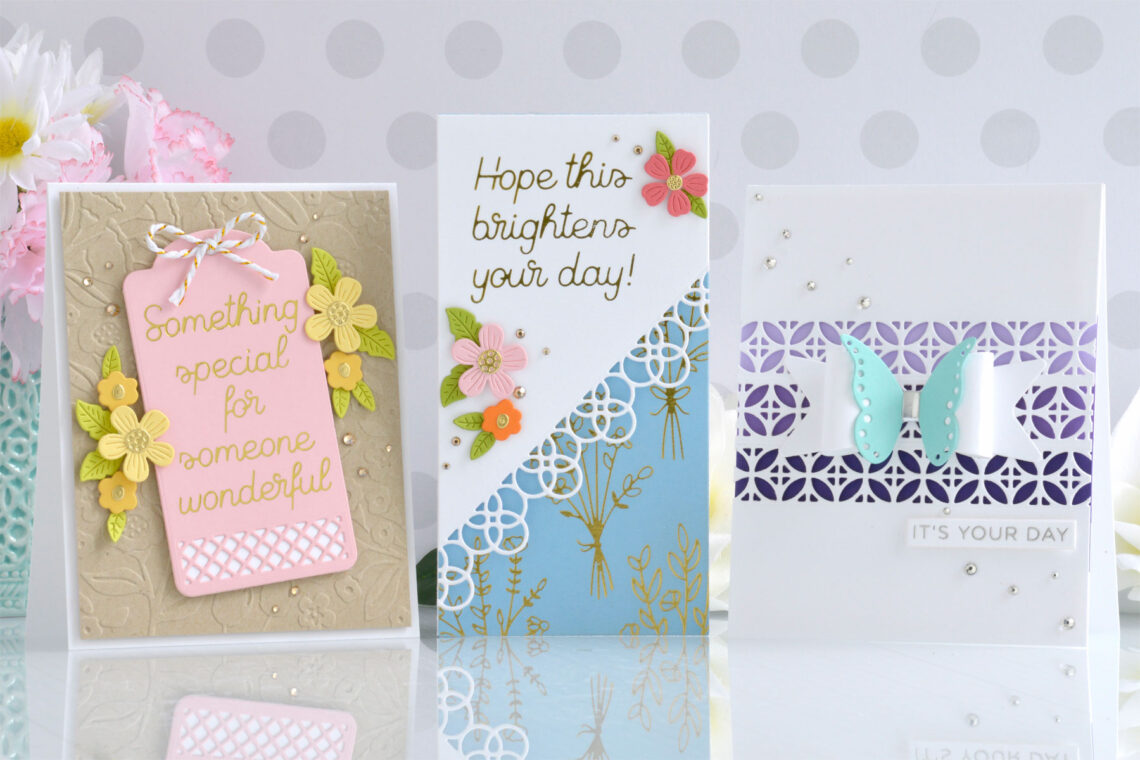
The Create A Decorative Tag Die Set is perfect for creating gift tags for all kinds of occasions. I added a foiled and die-cut tag to an embossed background for this pretty floral card.
- Trim a piece of kraft cardstock to 4” x 5.25” and emboss it using the Simply Perfect Florets Embossing Folder.
- Apply Gold Hot Foil to Pink Sand Cardstock using the Something Special Foil Plate Set and the Glimmer Hot Foil Machine.
- Die-cut the sentiment out using the tag and lattice insert dies from the Create A Decorative Tag Die Set.
- Die-cut Chamomile, Beeswax, Peridot, and Mirror Gold Cardstock using the Be Bold Blooms Die Set and assemble the flowers with liquid adhesive.
- Die-cut white cardstock using the tag die from the Create A Decorative Tag Die Set and adhere it to the back of the pink tag with liquid glue.
- Add the embossed background to a top-folding A2-sized white card base with foam adhesive. Then pop the foiled tag up on top.
- Arrange the flowers and leaves around the tag. Adhere them down with foam adhesive and liquid glue for lots of dimension.
- Embellish with Gold Mix Gems and gold baker’s twine.
Create a Slimline Border Card
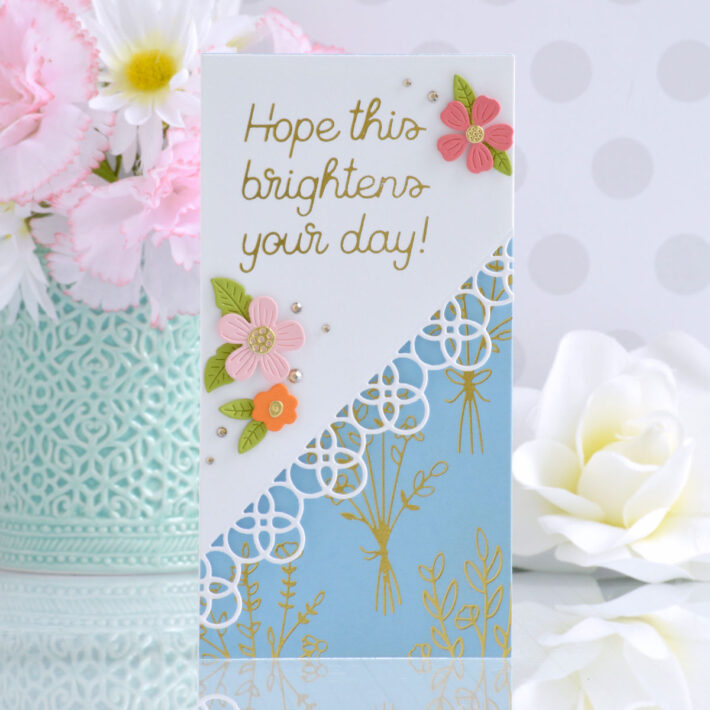
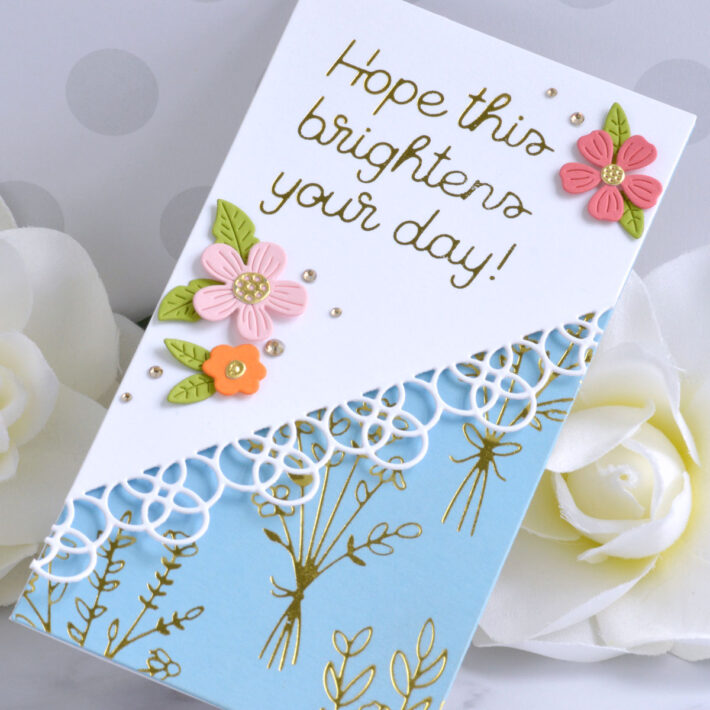
I love how versatile the Create A Slimline Border Die Set is. Here I’ve used the beautiful loopy border on a slant with some of foil plates in the collection. This creates a simple and pretty mini slimline card.
- Apply Gold Hot Foil to white cardstock using the Something Special Foil Plate Set and cut it out using the largest die from the Precision Layering Mini Slimline A Die Set.
- Cut the panel again on an angle using the loopy circles die from the Create A Slimline Border Die Set.
- Die-cut Raindrop Cardstock using the largest die from the Precision Layering Mini Slimline A Die Set.
- Apply Gold Hot Foil over the entire panel using the Flowers For You Foil Plate Set.
- Die-cut Pink Sand, Dahlia, Persimmon, Rainforest, and Mirror Gold Cardstock using the Be Bold Blooms and Mini Blooms & Sprigs Die Sets. Assemble flowers with liquid glue.
- Adhere the foiled panel to a side-folding white card base measuring 3.25” x 6.25” with a tape runner.
- Pop the die-cut panel up on top using foam adhesive.
- Embellish with flowers and Gold Mix Gems.
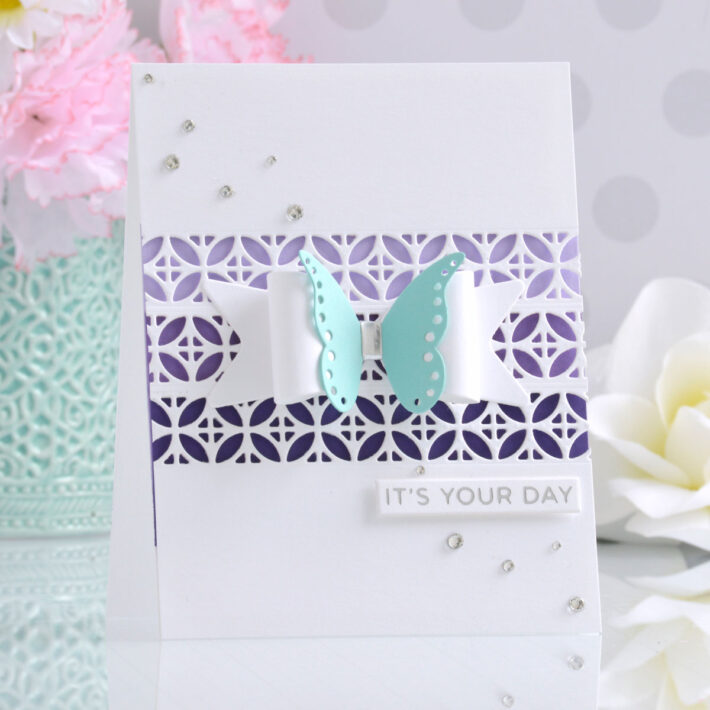
Create a Flutter & Flower Bow Card
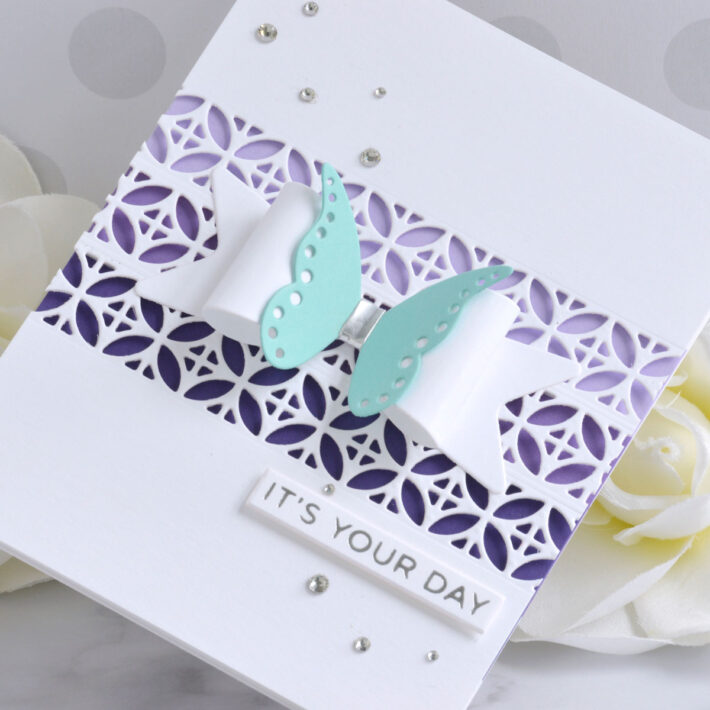
I thought the Create A Flutter & Flower Bow Die Set was so unique, that I had to use this set next. Here I’ve added a cute butterfly bow to a simple background for an easy and pretty card. Perfect for lots of occasions!
- Trim a piece of white cardstock to 4.25” x 5.5” and die cut it three times across the center using the 4 petal flower border die from the Create A Slimline Border Die Set.
- Trim pieces of Purple Mist, Lilac Blossom, and Royal Amethyst Cardstock to about 4.25” x 0.75” to adhere behind each die-cut row.
- Add the cardstock strips to a top-folding A2-sized white card base with tape runner. Then, pop the die-cut panel up on top with foam adhesive.
- Die-cut white, Waterfall, and Mirror Silver Cardstock using the Create A Flutter & Flower Bow Die Set and assemble with liquid glue.
- Apply Silver Hot Foil to white cardstock using the Everyday Sentiments II Foil Plate Set and trim it out into a small strip.
- Add the bow to the center of the card front using liquid glue.
- Pop the sentiment up beneath the die-cut rows with foam adhesive.
- Embellish with Silver Mix Gems.
Spellbinders Supplies:

Other Supplies
Heavyweight white cardstock, kraft cardstock, gold baker’s twine, tape runner, foam adhesive.
I hope you enjoyed these simple and pretty cards and thanks so much for stopping by today. You can find more inspiration over at my blog AnnieBWills.com.

