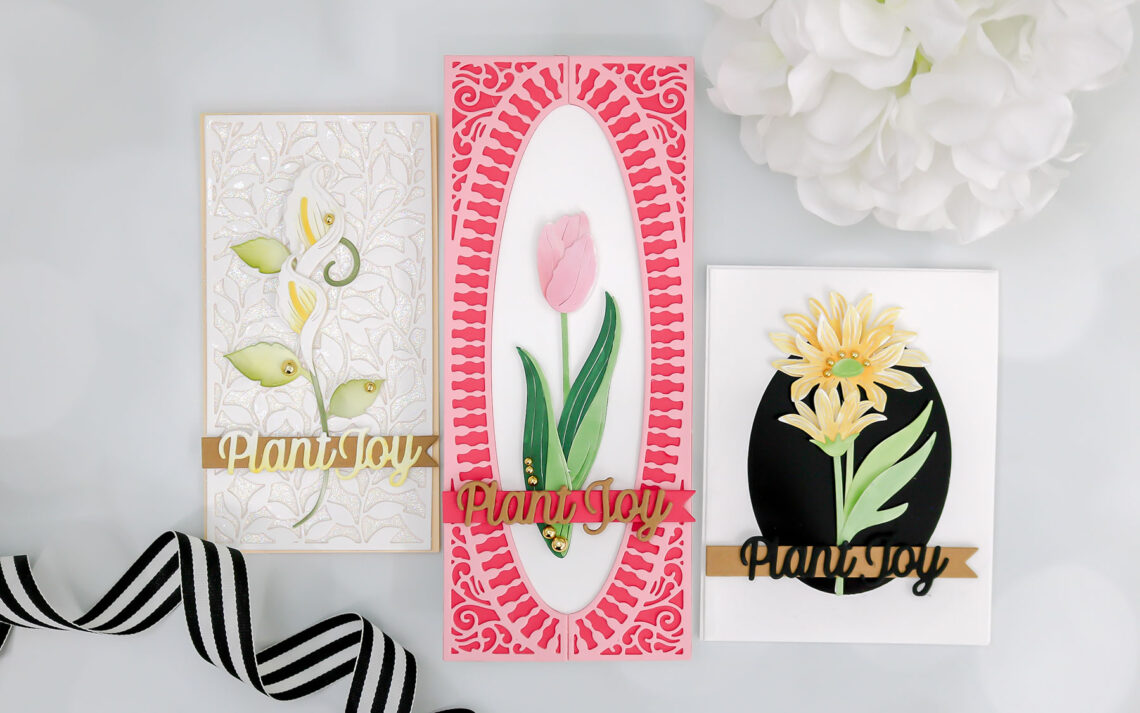
Plant Joy Cards with Lisa Mensing
Hello, crafty friends. Lisa Mensing here from Confetti and Card with Lisa Mensing. It is my pleasure to share three projects featuring the Layered Fleur Bouquet Collection with you today. This is a gorgeous collection just in time for Spring and Summer projects. I love all the dimensions you get when layering the beautiful blooms. It is the sentiment from the Half Slimline Diamond, Plant Joy, which is the theme behind all my projects.
Plant Joy Lilies
My first card is the easiest card I created for this post. I used glitter cardstock under two layers of the Sweet Leaf Mini Slimline die and simply added the gorgeous lilies.
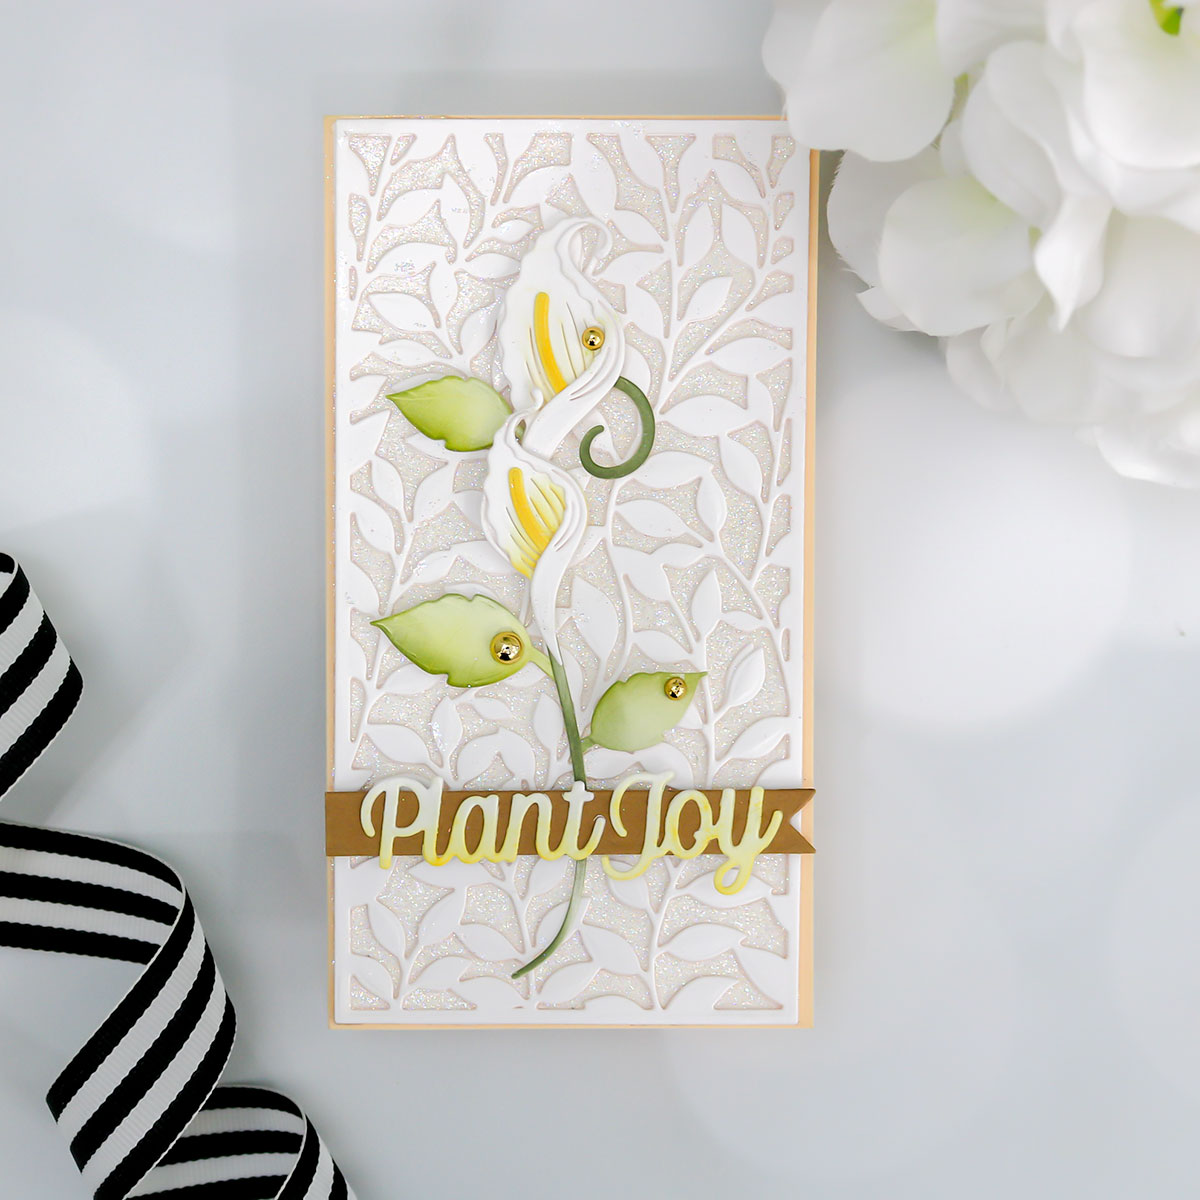
- Die-cut two layers from the Sweet Leaf Mini Slimline out of white cardstock and adhere to white glitter cardstock (know what I know now, I would stick with plain white cardstock)
- Add to a mini slimline card base
- Die-cut all the pieces from the Layered Lilies Die Set, color with your favorite alcohol markers or ink blend inks, assemble with glue
- Adhere to the center of the card using foam adhesives
- Die-cut the sentiment banner from kraft cardstock
- Die-cut the sentiment “Plant Joy” from white cardstock and ink blend edges, add a sentiment to the banner and adhere to the card using foam adhesives
Plant Joy Daisies
Daisies are one of the most adorable flowers ever, aren’t they? The flowers, to my mind, are always such a happy flowers, bringing smiles to everyone regardless of the color.
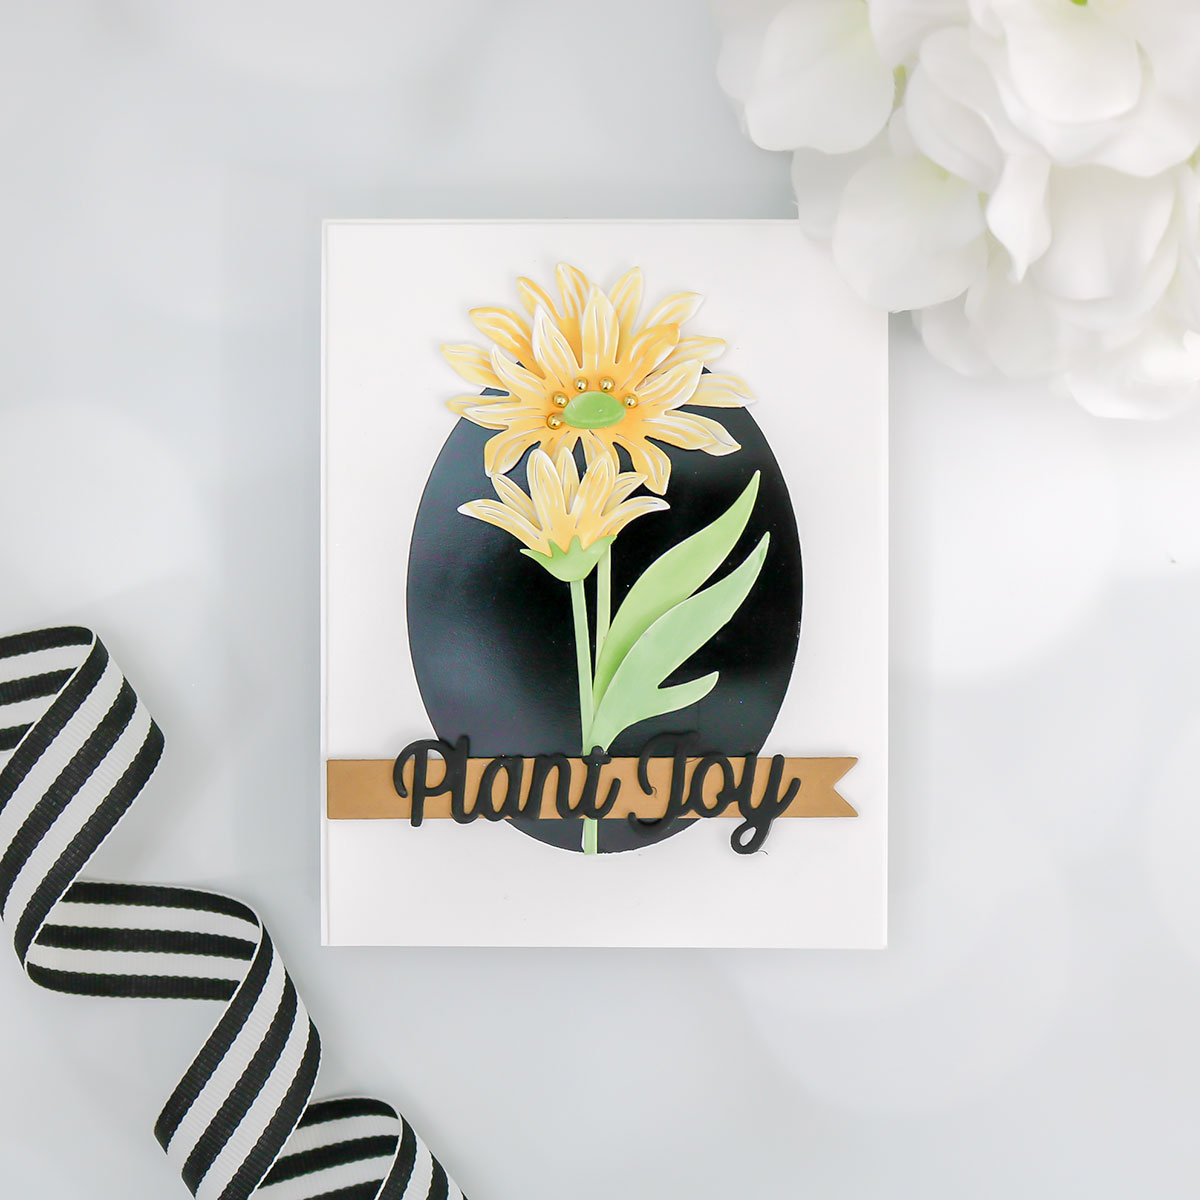
- Die-cut the pieces to assemble the daises from the Layered Daisies Die Set
- Color the daisies using your favorite colors and coloring mediums, assemble with glue
- Using the Essential Glimmer Solid Oval Glimmer Plate and Black Glimmer Foil, foil an A2 white card panel, centered
- Adhere daisies over the foiled oval using foam adhesives
- Die sentiment banner from Sweet Leaf Mini Slimline Die Set out of kraft cardstock
- Die-cut “plant joy” sentiment from black cardstock
- Assemble and adhere to card using foam adhesives
- Finish with Gold Fashion Embellishments
Plant Joy Tulips
Much of the time when I create posts here on the Spellbinders Blog, I stick with a color scheme, but today pink was calling for this last card and I followed my heart.
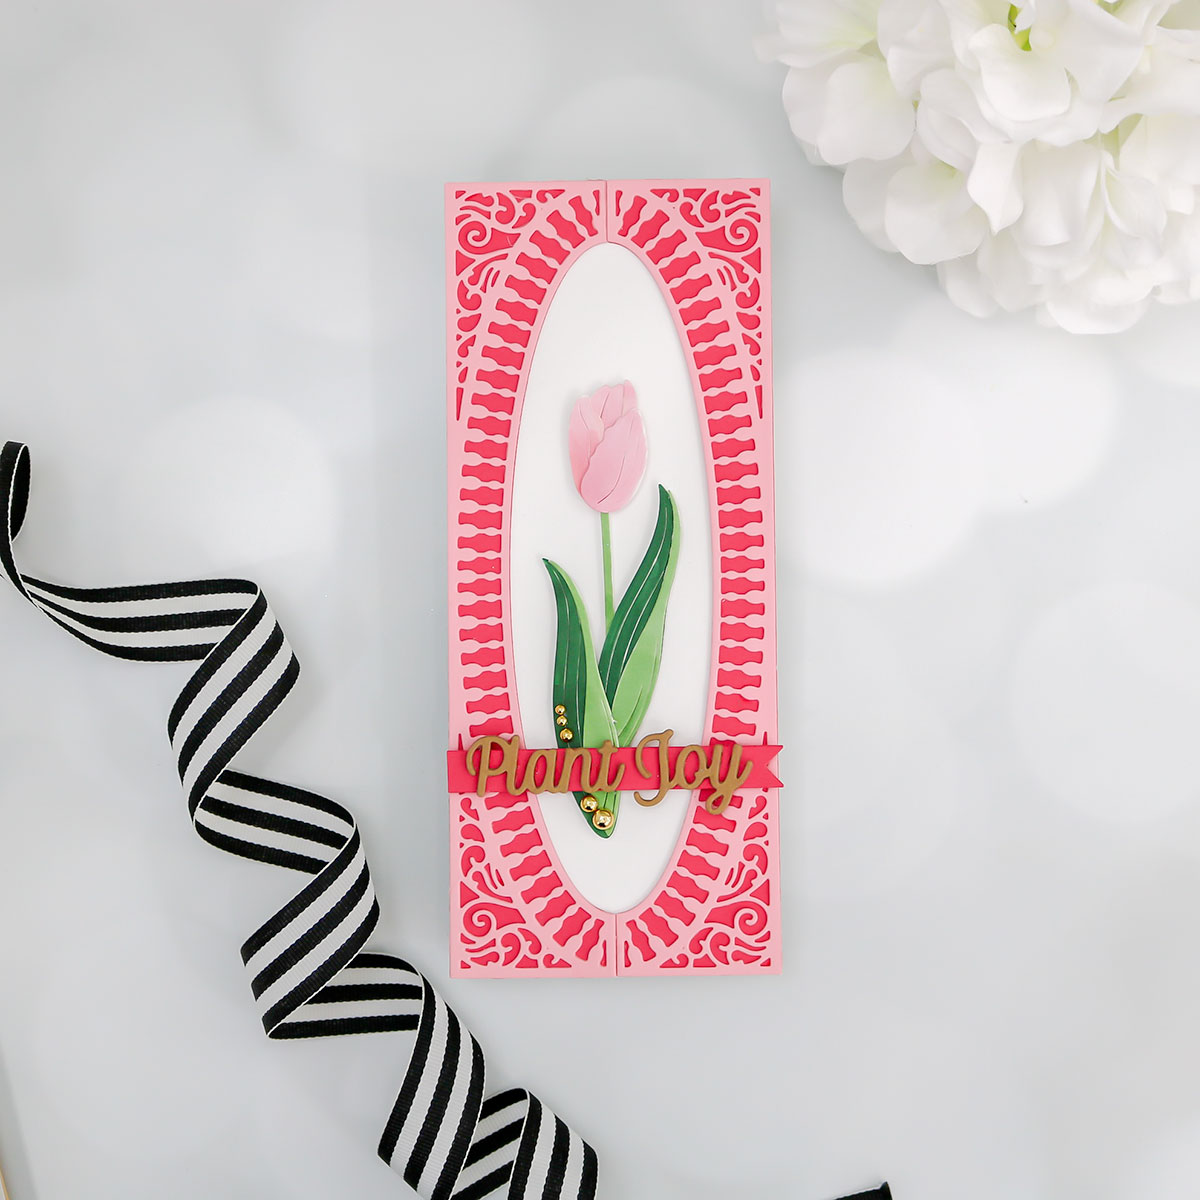
- Die-cut the Half Slimline Oval out of light pink cardstock, twice
- Die-cut a solid panel from a darker pink to back the lighter pink, use glue to adhere the die-cut pieces together, let dry
- Once dry glue to a slimline card base
- Die-cut the pieces from the Layered Tulips, color, or ink blend using your favorite inks
- Assemble using glue, let dry, once dry add to the card base using foam adhesives or glue
- Die-cut sentiment banner from Sweet Leaf Mini Slimline Die Set out of the darker pink cardstock
- Die-cut “plant joy” sentiment from kraft cardstock and glue to pink sentient banner
- Adhere to card using foam adhesives
- Finish with Gold Fashion Embellishments
Spellbinders Supplies:

Other Supplies
Neenah Avalanche White 120# Cardstock, kraft cardstock, yellow, pink, and green markers to color flowers, glitter cardstock, glue, yellow and green ink, blender brush.
Having you here is always a pleasure – thank you!
One Comment
paperpassionweb
So beautiful. I love all of your cards and seeing them put together in such beautiful cards really makes me want to add them to my collection!