Just Wanted to Say Cards 3 Ways with Jung AhSang
Hello crafty friends! It’s Jung AhSang here, and I am so excited to be returning for another guest post on the Spellbinders Blog. If you’d like to follow my crafty projects, my blog is jungahsang.wordpress.com, and my Instagram is @junglebarrya.
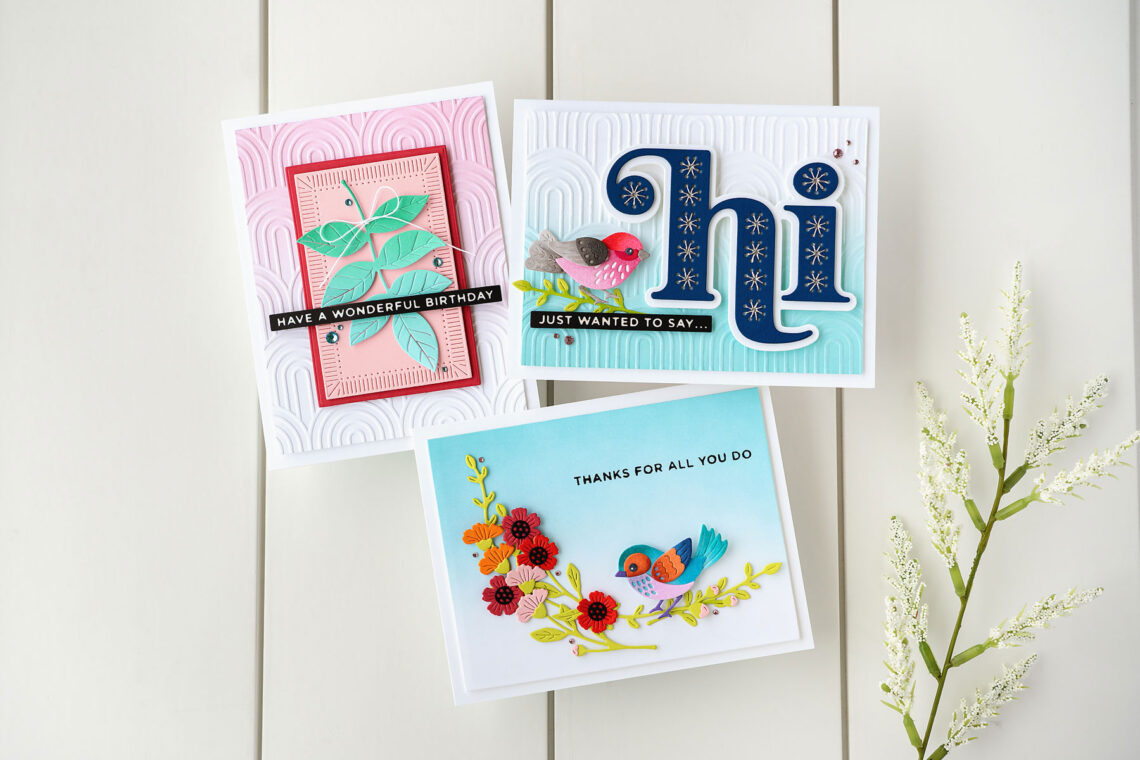
Today, I’m working with some products from the Just Wanted to Say collection. I especially love the birds and the sentiments in this collection!
Just Wanted to Say “Hi” Card
For my first card, I used the Stitched Hi and Little Chickadee dies, along with the Just Wanted to Say Glimmer sentiments.
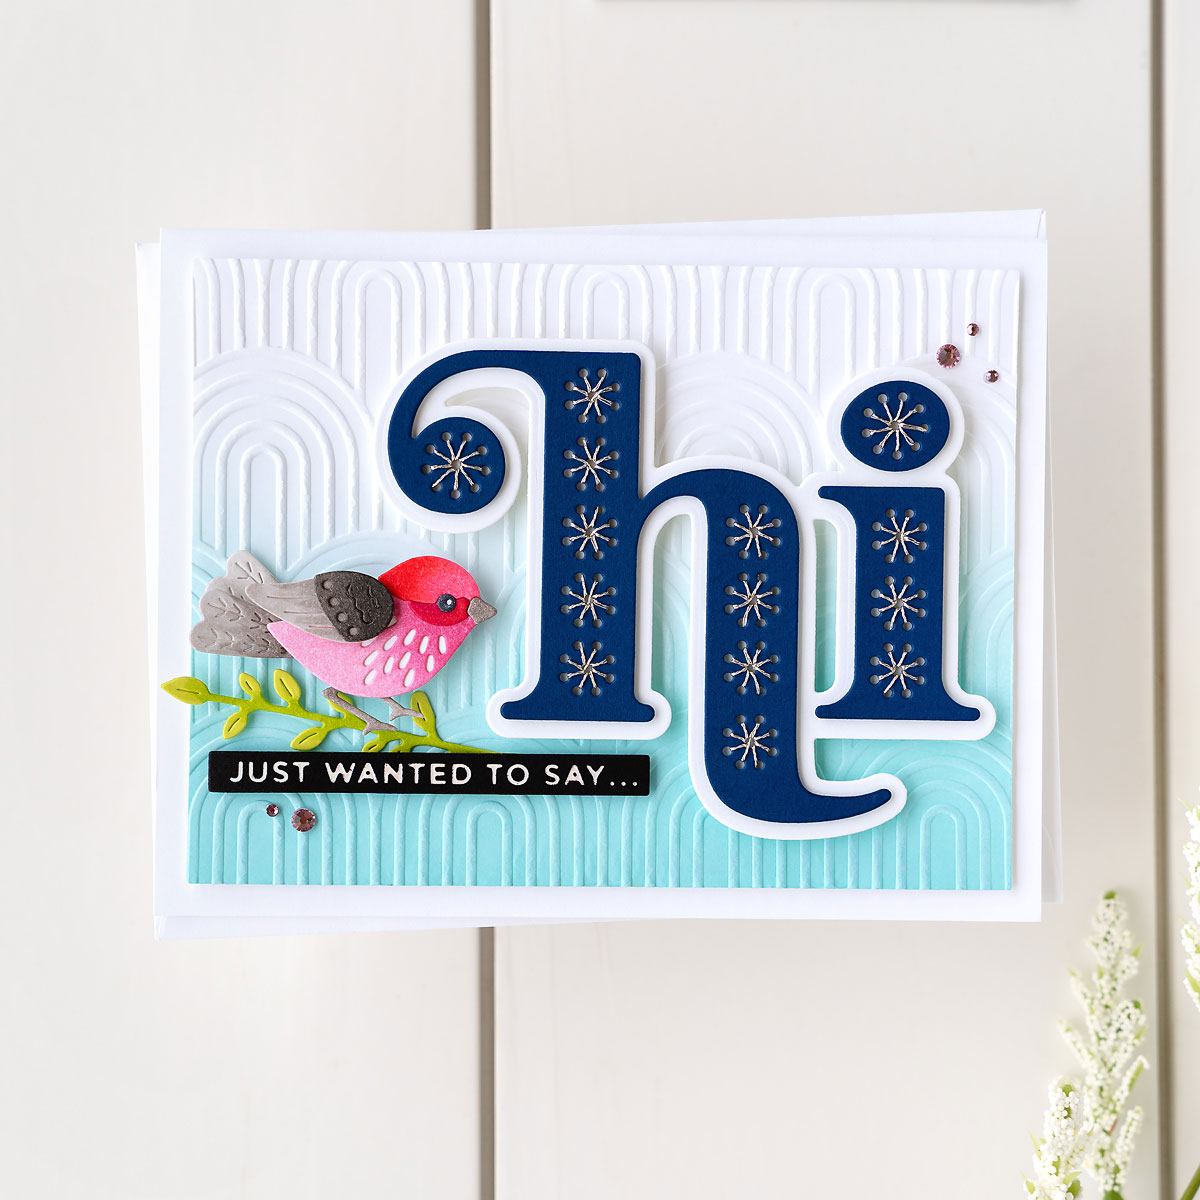
To begin my card, I worked on all the individual pieces. First, I die cut the stitched Hi with cosmic sky cardstock. I also die cut the outline of the “Hi” with white cardstock. Next, I used silver metallic thread to stitch on my letters. Once finished, I foam-mounted the stitched letters on the white outline. I also die-cut all the pieces from the Little Chickadee die set from white cardstock. I colored the pieces with Copic markers (I got my color inspiration from a real bird called a Rose Finch). I assembled my bird. Then, I hot foiled the “just wanted to say…” sentiment on black cardstock with prism foil.
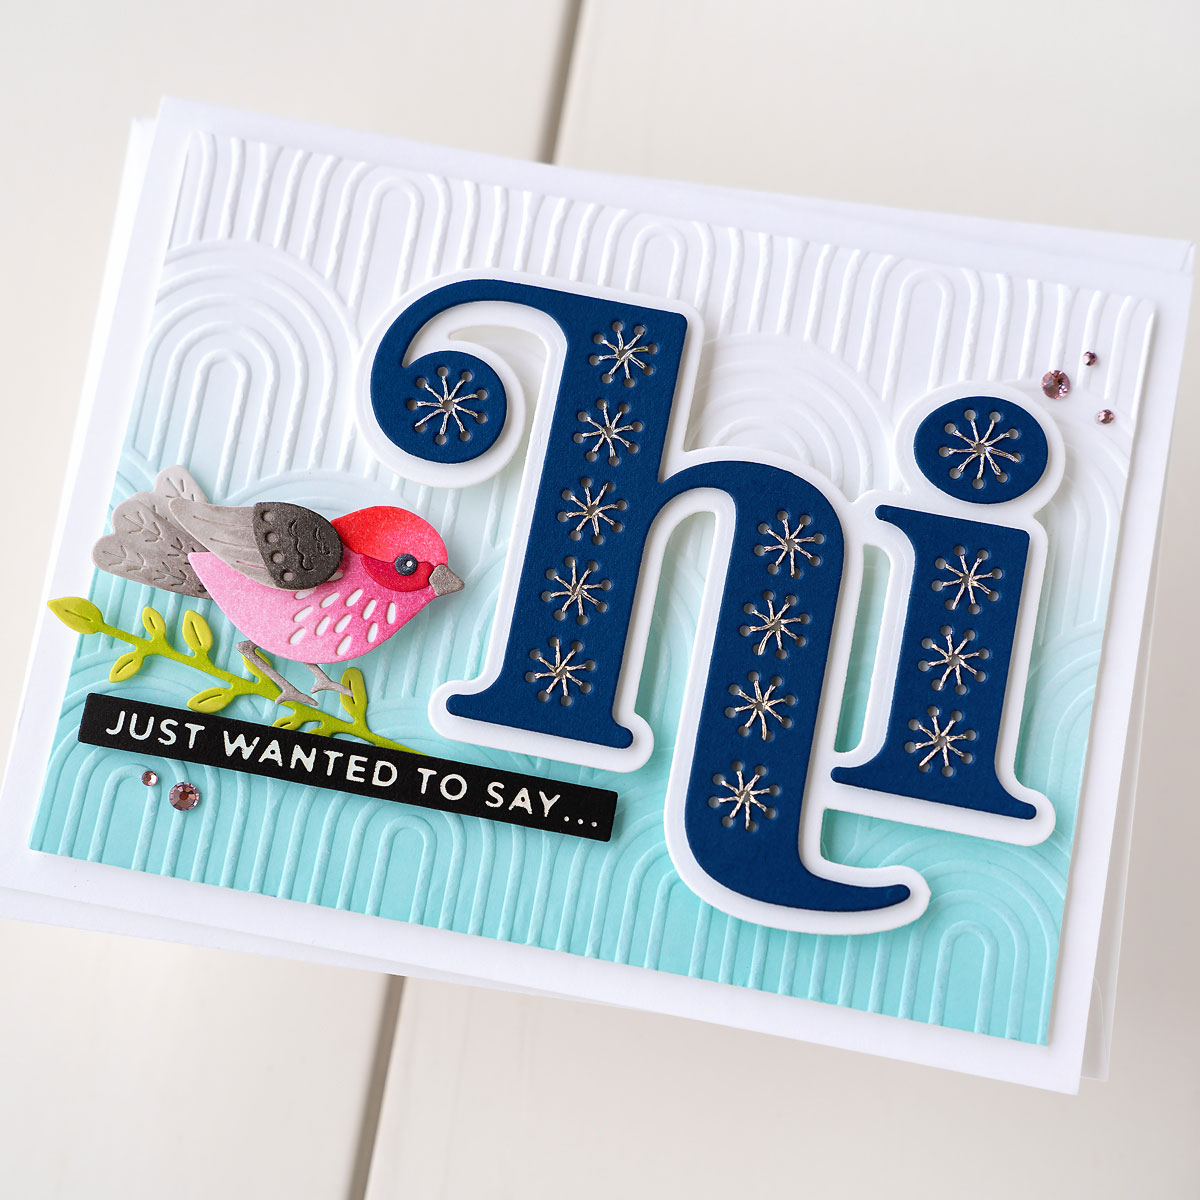
For the background, I used a piece of white cardstock. I used aqua-colored ink to add some ink blending, creating a subtle color gradient. I used a rectangle die to trim the panel, then used the optical arches embossing folder to create texture. I adhered the panel to a white card base with foam tape. Then, I adhered the stitched Hi with more foam tape. Next, I adhered to the sentiment strip and then the bird. I decided that I needed a pop of green for the bird, so I die-cut a leafy sprig from the Wreath Builder die set. To finish off my card, I added pink gems.
Sweet Birdie Thank You Card
For my second card, I used the Wreath Builder, and the Sweet Birdie dies.
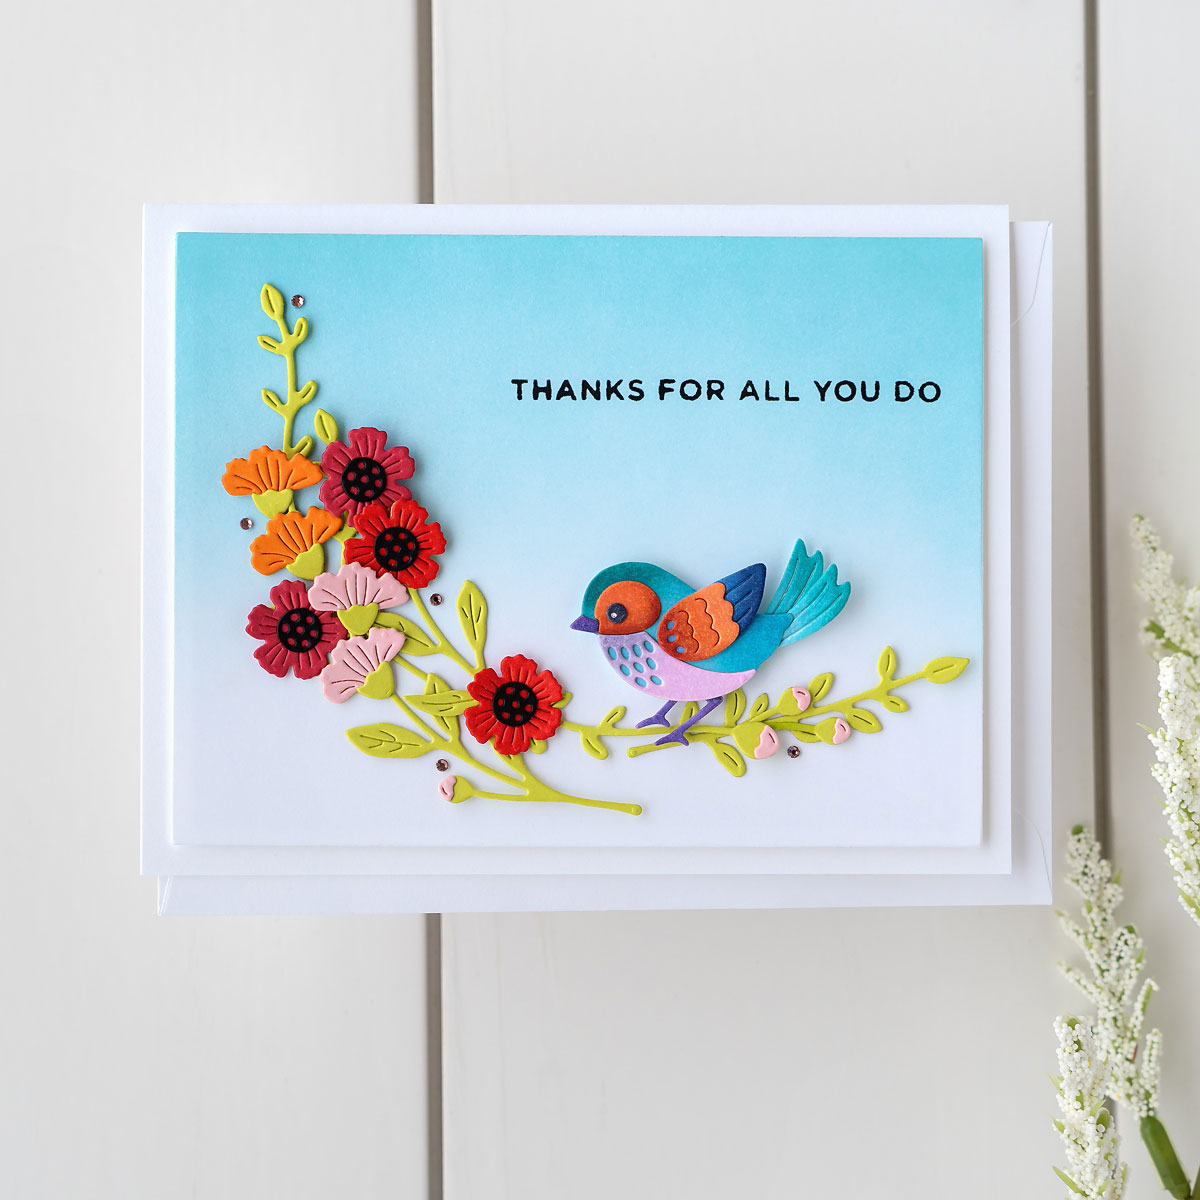
First, I die-cut all my pieces. I die-cut the Sweet Birdie dies from white cardstock, colored them with Copic markers, then assembled the bird (I got my color inspiration from a Lilac-breasted Roller bird). I also die-cut the pieces from the Wreath Builder set, die-cutting multiples of each die, then glued on the flowers onto the die cuts.
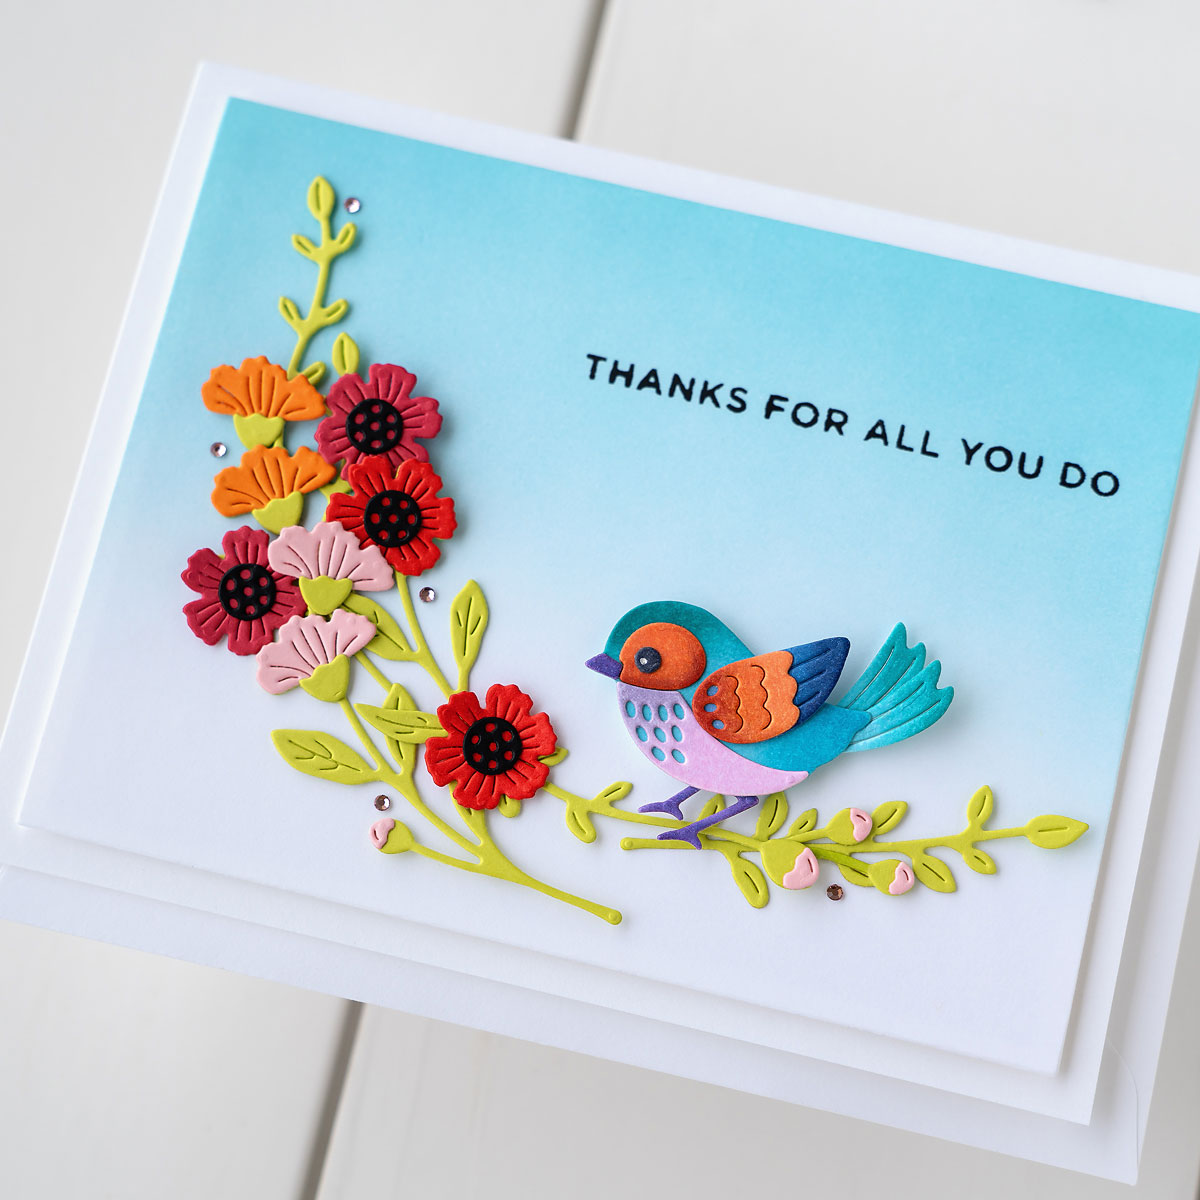
For the background, I ink blended aqua-colored ink on a piece of white cardstock to create a soft blue sky. I trimmed the panel with a rectangle die, then stamped the “Thanks for all you do” sentiment with black ink towards to upper right portion of the panel. I adhered to the Wreath builder pieces with glue, and then the bird with foam tape. I mounted the panel to a white card base with foam tape. To add a little sparkle to the card, I added pink gems.
Leafy Sprig Birthday Card
For my third card, I used the Leafy Sprig die and Just Wanted To Say glimmer sentiments.

To start my card, I hot foiled the “have a wonderful birthday” sentiment on black cardstock with prism foil. I die-cut the largest die from the Leafy Sprig die set from cardstock that I had made by blending aqua and green ink. I adhered the leaf to a pink panel that I die-cut using the fluted rectangle die set. I also layered it with wild berry cardstock.
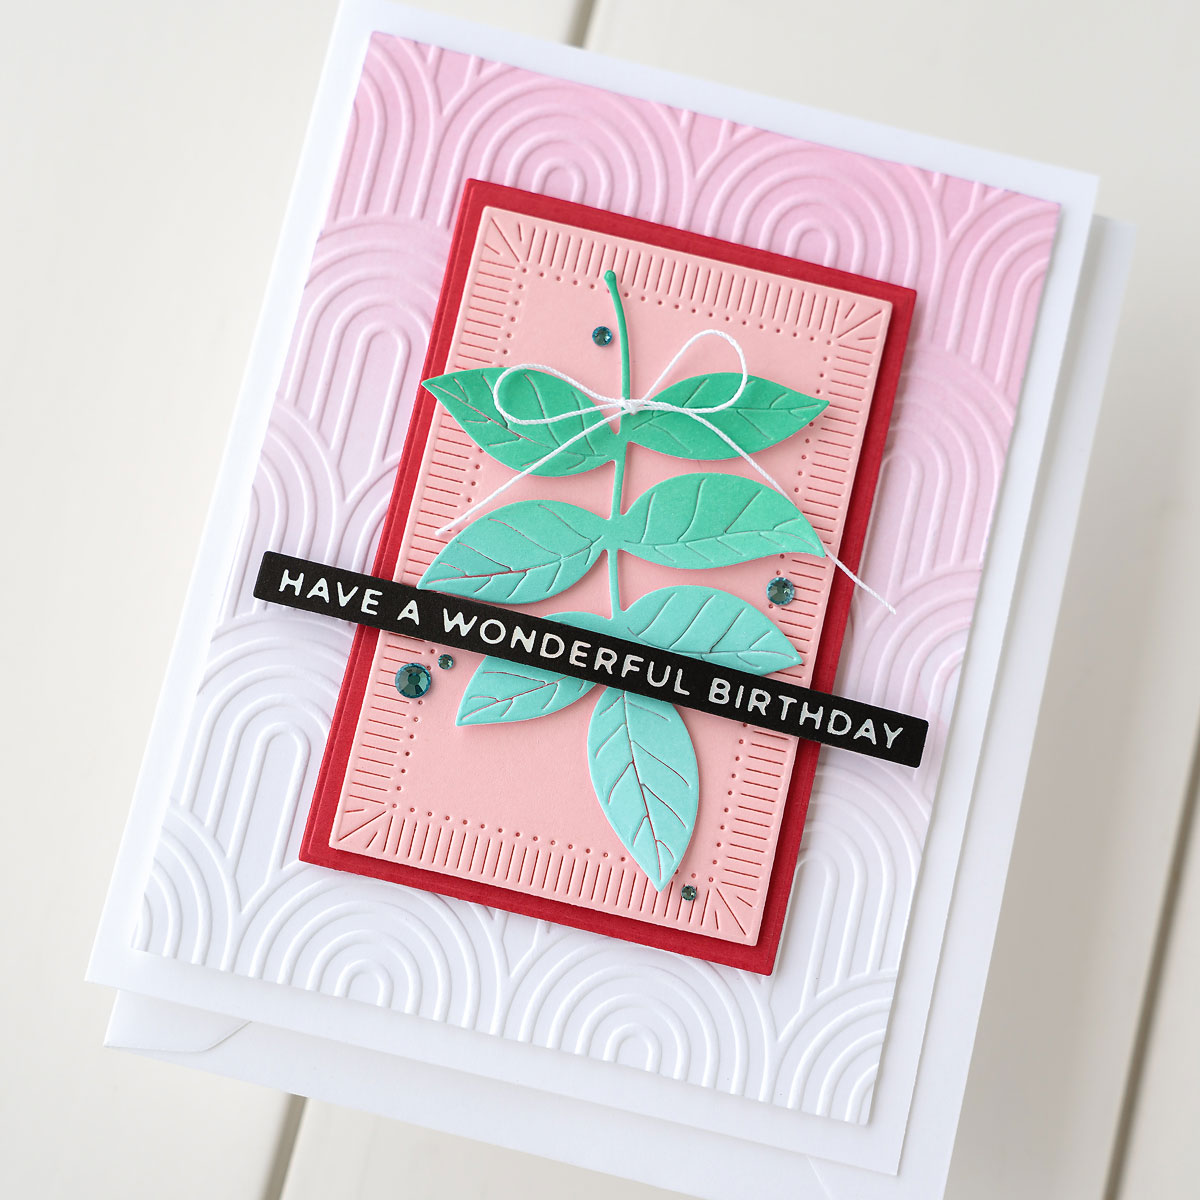
For my background, I ink blended a white cardstock panel with pink ink. Again, I trimmed it using a rectangle die and then used the optical arches embossing folder for texture. I adhered the background panel to a white card base with foam tape. Then, I added the leafy spring panel and sentiment strip with more foam tape. To embellish the card, I tied a little bow with white embroidery floss to the leaf spring, and then added some teal gems.
Spellbinders Supplies:

Other Supplies
Copic markers, Momento tuxedo black ink, Distress ink spun sugar, aqua ink, foam tape.
I am so happy with how these cards turned out. I hope you got some inspiration, and I hope you will check out the Just Wanted To Say collection from Spellbinders. Have a great day!


One Comment
Donna Degale-Kalloo
Love them all! Especially the birdie card.😍