Parcel & Post Collection – Mailbox Cards Inspiration with Annie Williams
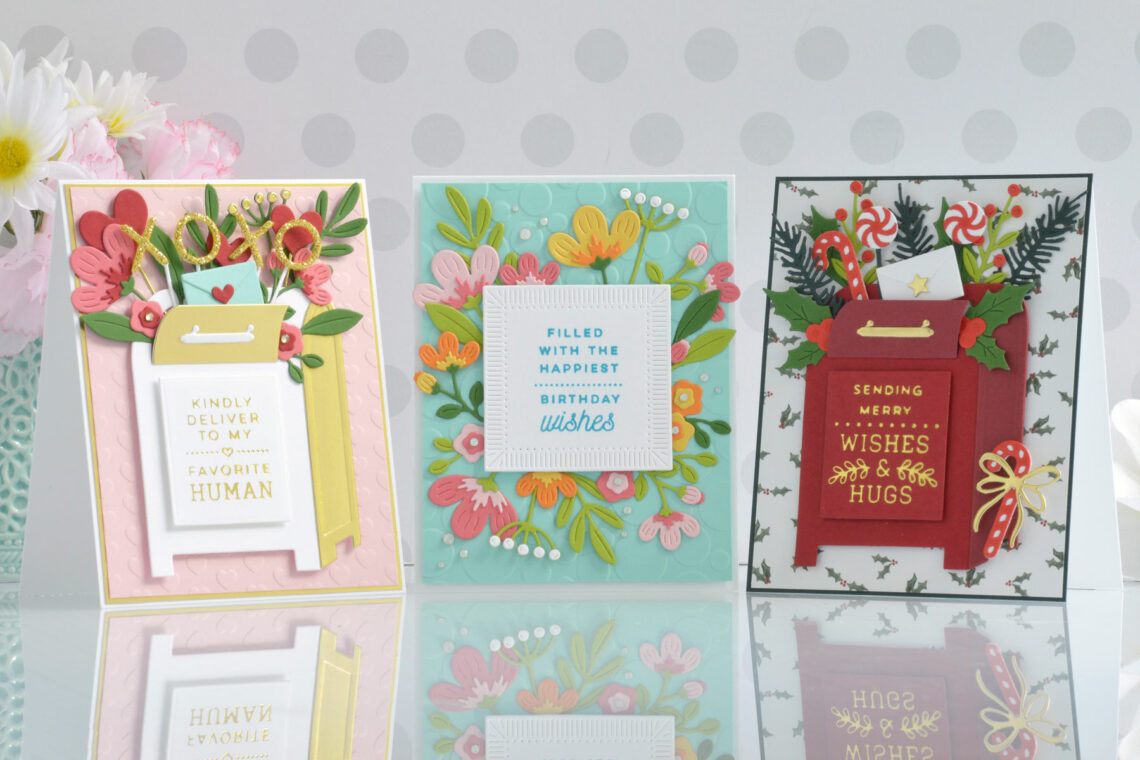
Hi there, this is Annie Williams and I’m excited to be back on the blog today to share a couple of projects using the new Parcel & Post Collection from Spellbinders. The unique designs and fun sentiments in this collection inspired me to create three bright and cheery cards for a variety of occasions.
Christmas Mailbox Card
I have such fond memories of big red mailboxes around the holidays that I had to use the Parcel & Post Mailbox Die Set to recreate one of them first. Here I stuffed my mailbox full of Christmas goodies for this pretty holiday card for a friend.
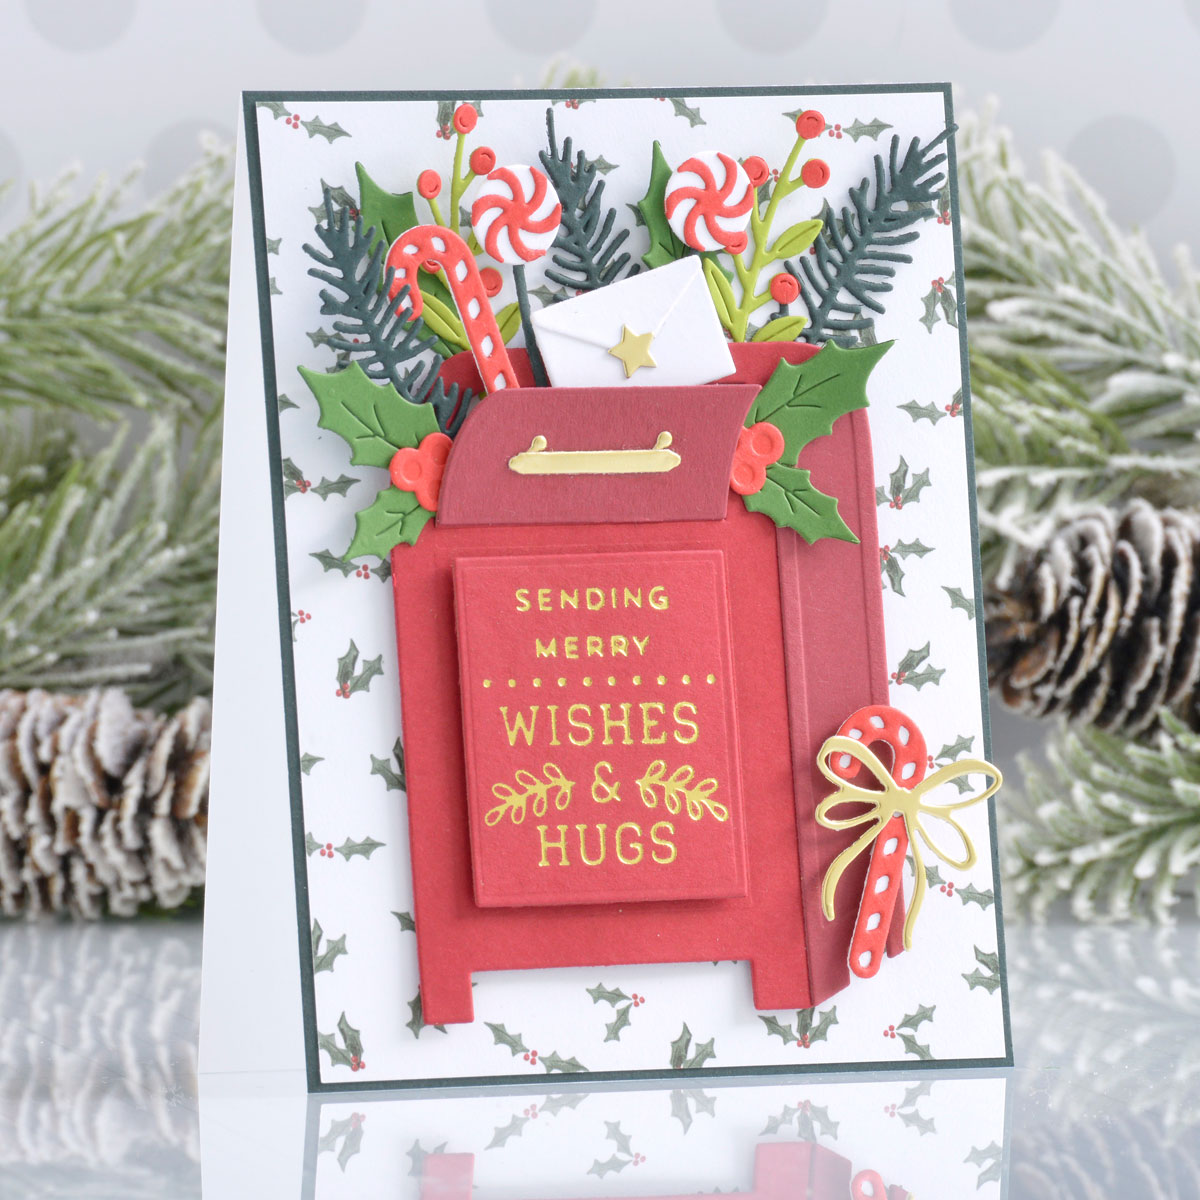
- Die cut Phone Booth, Mirror Gold, and Crimson Cardstock with the Parcel & Post Mailbox Die Set and assemble with liquid glue.
- Apply Gold Hot Foil to Phone Booth Cardstock using the Christmas Mailbox Greetings Glimmer Plate Set and cut it out with the mailbox panel die from the Parcel & Post Mailbox Die Set. Add to the front of the mailbox with foam adhesive.
- Die cute Forest, Fern, Rainforest, Poppy Field, Mirror Gold, and white cardstock with the Parcel & Post Christmas Decorations Die Set.
- Trim a piece of patterned paper to 4.125” x 5.375”, mat it with Forest Cardstock, and adhere it to a top-folding A2-sized white card base with a tape runner.
- Pop the mailbox up in the center of the card front with foam adhesive.
- Add the accessories to the mailbox with liquid glue.
Perfect for Valentine’s Day!
The Parcel & Post Heart Decorations Die Set is so cute, I had to create a pretty love-themed mailbox next. Here I added lots of pink, red, and gold accessories to an elegant white mailbox for this pretty love card.
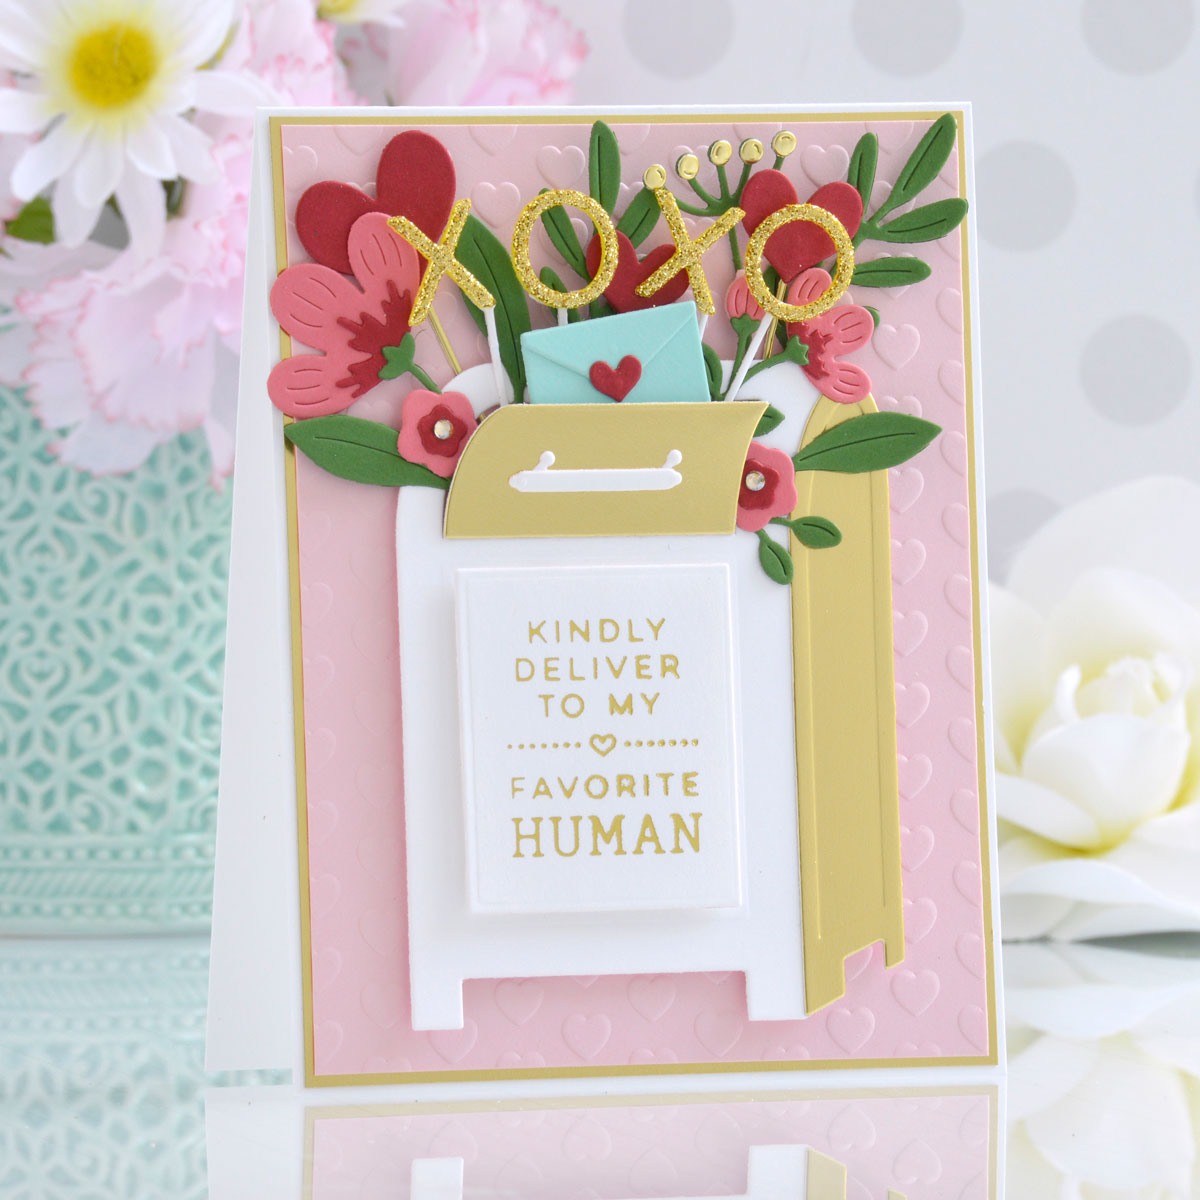
- Die cut white and Mirror Gold Cardstock with the Parcel & Post Mailbox Die Set and assemble with liquid glue.
- Apply Gold Hot Foil to white cardstock using the All Occasion Mailbox Greetings Glimmer Plate Set and cut it out with the mailbox panel die from the Parcel & Post Mailbox Die Set. Add to the front of the mailbox with foam adhesive.
- Die cut Dahlia, Phone Booth, Waterfall, and Fern Cardstock using the flower, envelope, and leaf dies from the Parcel & Post Mailbox Die Set. Assemble with liquid glue.
- Die cut white cardstock, Phone Booth Cardstock, and Gold Glitter Foam with the Parcel & Post Heart Decorations Die Set and assemble with liquid glue.
- Trim a piece of Pink Sand Cardstock to 4” x 5.25”, emboss it with the Heart And Soul Embossing Folder, mat with Mirror Gold Cardstock, and adhere to a top-folding A2-sized white card base with tape runner.
- Pop the mailbox up in the center of the card front with foam adhesive.
- Add the accessories to the mailbox with liquid glue.
- Embellish the flower centers with Gold Mix Gems.
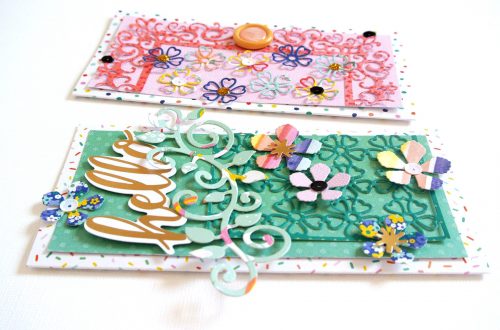
Sentiment as Focal Point
Lastly, I thought any of the sentiments in the collection would work perfectly as a focal point on a card, so I stamped one of the greetings from the Parcel & Post Sentiments Stamp Set in bright ink and added tons of pretty floral to embellish.

- Trim a piece of Waterfall Cardstock to 4” x 5.25”, emboss it with the Party Spot Embossing Folder, and adhere it to a top-folding A2-sized white card base with foam adhesive.
- Stamp a greeting from the Parcel & Post Sentiments Stamp Set onto white cardstock using teal ink and cut it out using the Fluted Classics Squares Die Set.
- Die cut Pink Sand, Dahlia, Persimmon, Beeswax, Rainforest, and Fern Cardstock using the flower and leaf dies from the Parcel & Post Mailbox Die Set and assemble with liquid glue.
- Arrange the flowers in the center of the card and adhere down with liquid glue. Pop the sentiment panel up on top with foam adhesive.
- Embellish with Opal Color Essentials Gems.
Spellbinders Supplies:

Other supplies
White heavyweight cardstock, Versafine Clair Warm Breeze Ink, foam adhesive, tape runner, Carta Bella Farmhouse Christmas Paper Pad.
I hope you enjoyed these colorful cards and thanks so much for stopping by today. You can find more inspiration over at my blog AnnieBWills.com.
Video Friday | Stenciled Scene Shaker Backgrounds
Blooming Garden Inspiration | Hello Cards with Elodie
