Christmas Flourish Collection Inspiration with Michelle Woerner
Hi crafty friends! I’m Michelle Woerner from Stop and Stamp the Roses and I’m super excited to be guest blogging today. I’ll be sharing 3 cards I made with the new Christmas Flourish Collection.
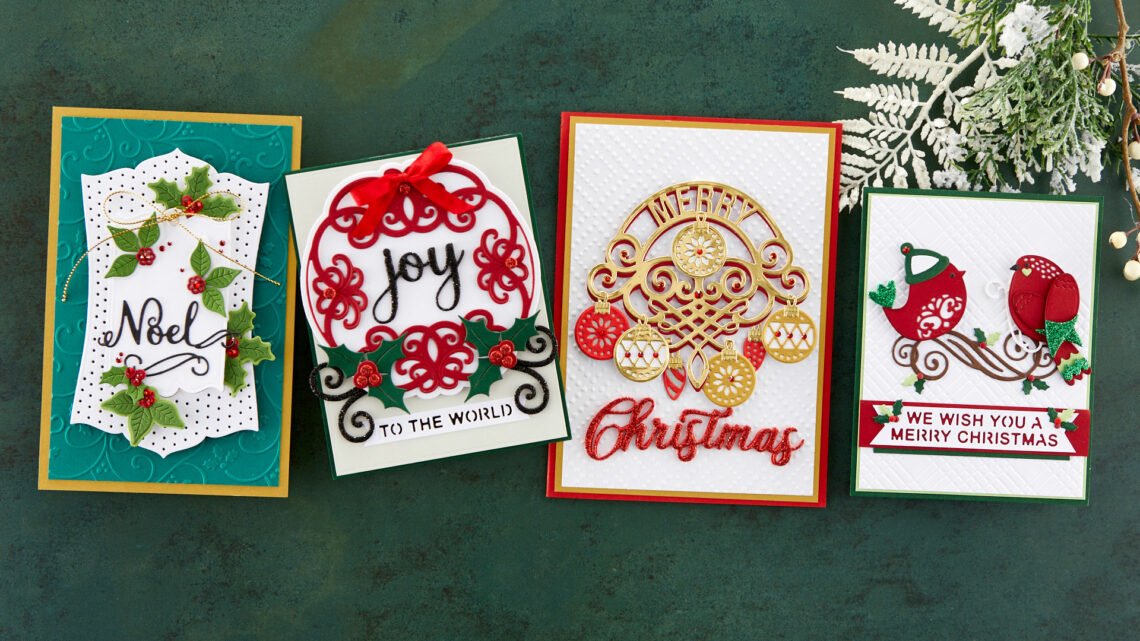
Christmas Flourish Collection is designed by Becca Feeken and features six die sets and one 2D embossing Folder. It has an elegant feel to it that can be dressed up or kept pretty simple. Perfect for all Christmas card styles! Take a look at what I made.
MAKING SPIRITS BRIGHT CARD
For my first card, I used Flourished Ornament Slimline die set.

- I layered together the Frame Outline and Diagonal Fluted Frame Insert and die cut from Pink Sand cardstock and adhered it over a white slimline card base.
- I layered together a variety of the Ornament Outlines and Inserts pieces and die-cut them, along with the Ornament Hanger and Decorative Crown, all from gold mirror cardstock.
- Then I die cut the Ornament Outlines from Pink Sand, Fern, and pale green cardstock. Layered and adhered with the gold mirror decorative elements.
- I arranged and adhered the ornaments on the card front adding the Ornament hangers to 2 of them, tucking the tops under the frame. The 2 ornaments with the hangers were adhered using foam dots.
- For the sentiment, I used the Mini Christmas Sentiment Glimmer set. I foiled the sentiment with Matte Gold foil on white cardstock, trimmed, and adhered across the card front with foam dots.
- Lastly, I added gold string bows and gold gems.
LET IT SNOW CARD
For my second card, I used the Let It Snowman A2 Cardfront die set.
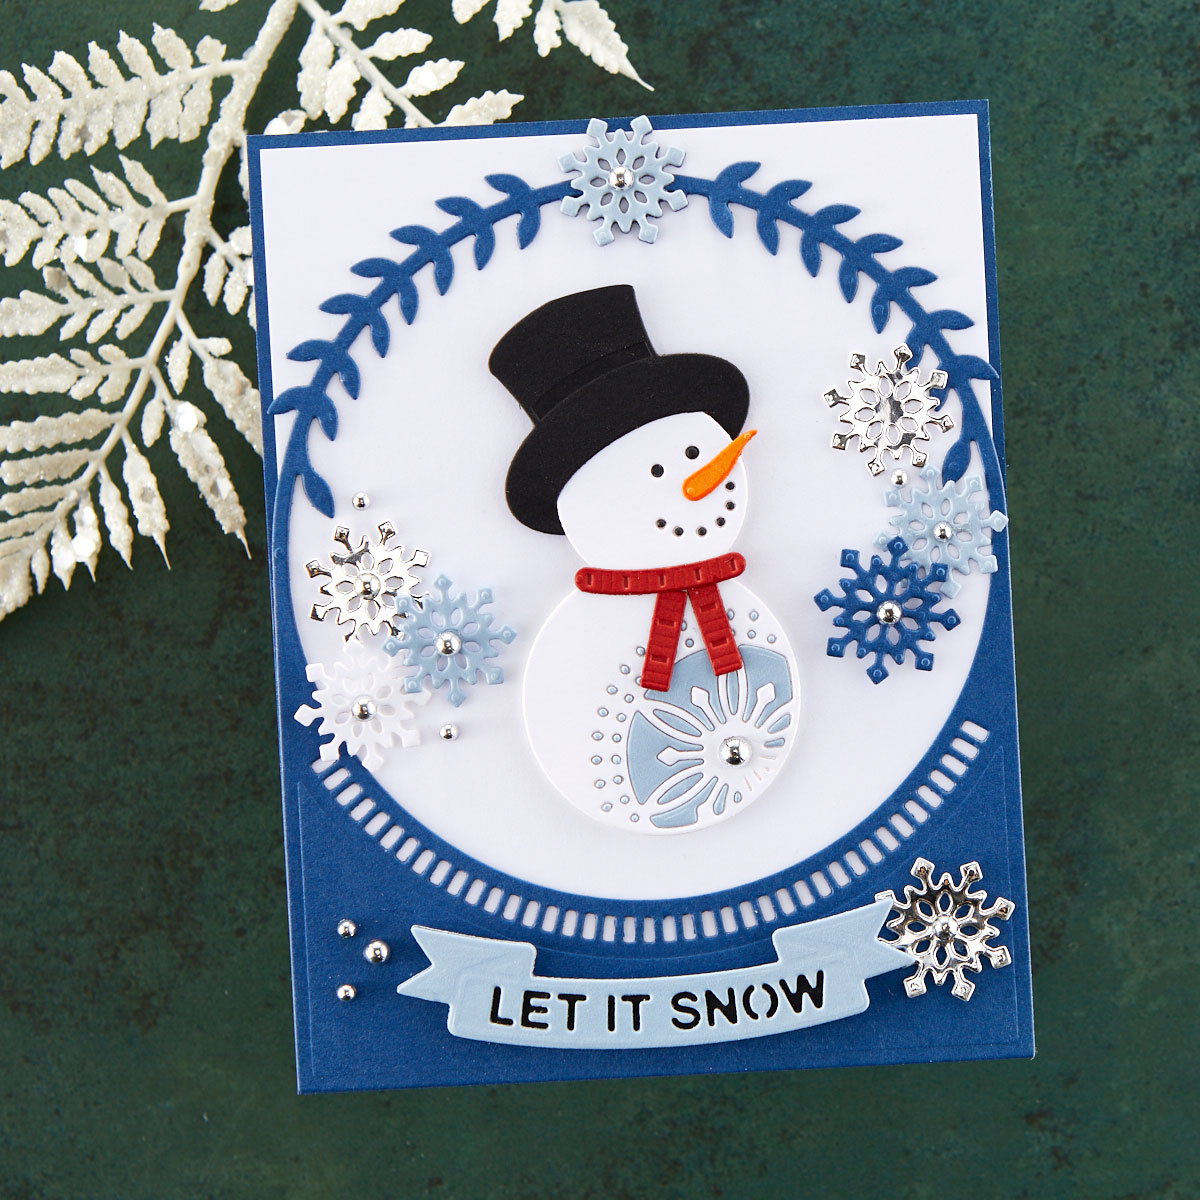
- I used the Precision Layering A2 A die set to die cut white cardstock and then matted it to a card base made from royal blue cardstock
- I die cut the frame in the same royal blue cardstock and adhered it to the card front
- I die-cut the snowman from white cardstock and then again in Raindrop. Then die cut the scarf from red, the hat from Onyx and the nose from orange cardstock.
- To make the snowman, I adhered a piece of black cardstock behind the face features opening and using tape, carefully paper pieced the Raindrop cardstock into the snowflake detail on his tummy.
- I adhered the snowman’s hat, scarf, and nose and then used adhesive foam to adhere him in the center of the frame opening.
- Next, I layered the banner and Let It Snow sentiment die and cut the banner from Raindrop cardstock. I adhered it over a solid banner die cut from Onyx cardstock.
- Using the large and small snowflake dies, I cut several with royal blue, Raindrop, white, and silver mirror cardstock and adhered to the card front.
- Lastly, I added silver pearls accents.
JOY TO THE WORLD CARD
For my third card, I used the Joy Flourish Doily die set.

- I used the Precision Layering A2 A die set to die cut Silver Fox cardstock and then matted it to a card base made from dark green cardstock.
- I then die cut the Flourish Doily Outline from white cardstock and the Flourish Doily from red cardstock layered them together and adhered to the card front.
- Next, I die-cut flourishes and Joy sentiment from black glitter foam, the holly berries from red glitter foam, berry outline from red and leaves from dark green cardstock. Layered and adhered them all to the card front.
- For the sentiment, I die cut To the World sentiment die into white cardstock, trimmed and cut banner ends. I adhered a strip of Onyx cardstock behind and adhered to the card front.
Thank you for spending time with me on the Spellbinders blog. I hope these cards inspired you to get started on your Christmas cards. You can find me on Instagram as well as my blog.
Spellbinders Supplies:

Other supplies
Pale green, red, orange and royal blue cardstock, May Arts gold string.

2 Comments
Erika L Hayes
Great samples as usual Michelle! Beautiful dies I have them and can’t wait to get them in the cycle.
Charity Chamberlain
All the cards are beautiful but I absolutely adore the ornament card!!! Such a fantastic color palette!