Oh What Fun! Cards for Beginners with Jung
Hello crafty friends! It’s Jung, and I am so happy to be returning for another guest post on the Spellbinders blog. If you’d like to follow my crafty projects, my blog is jungahsang.wordpress.com, and my Instagram is @junglebarrya.
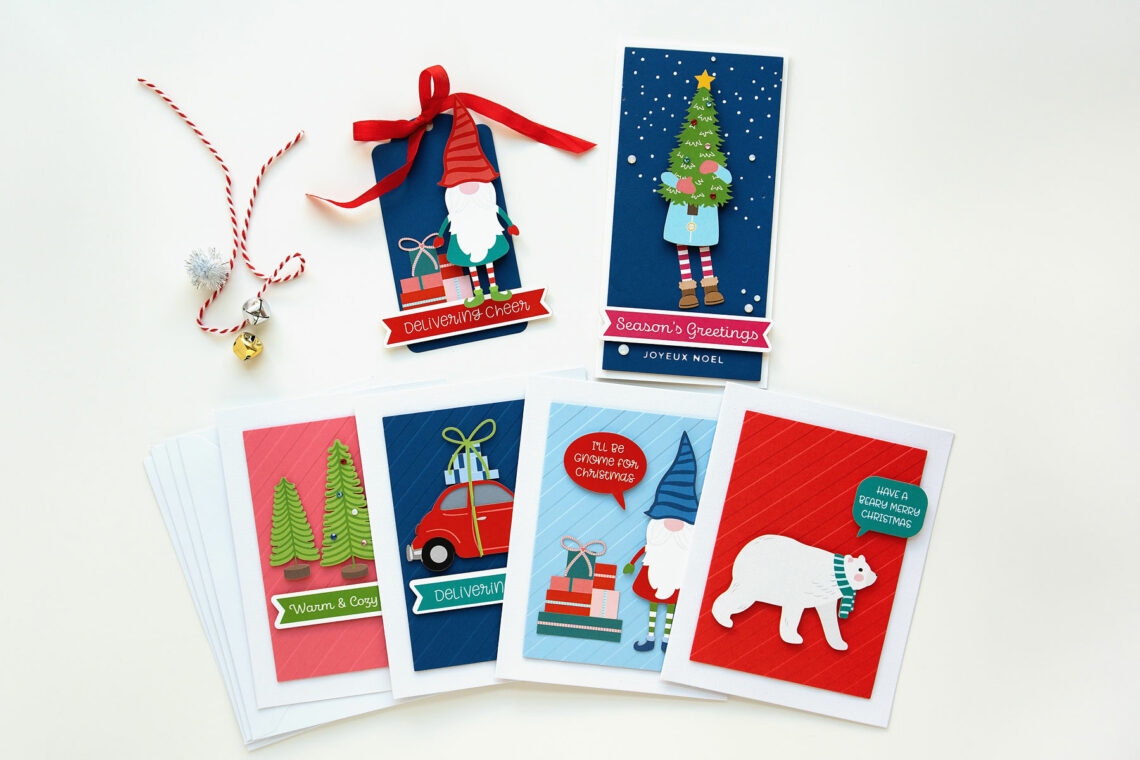
Today, I’m working with some die-cuts from the Oh What Fun! collection. I will be showing 3 different and easy ways to use these fun diecuts on cards.
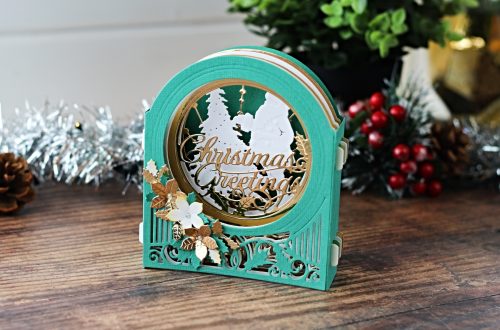
For my first card, I made an interactive mini slimline card.

To begin my card, I trimmed a piece of Cosmic Sky cardstock using one of the precision layering mini slimline dies. I wanted to add some interest to the background, so I used a glimmer hot foil plate and prism foil to hot foil falling snow to the background. I also foiled the “Joyeux noel” sentiment at the bottom of the panel. I adhered this panel to a white mini slimline card base with thin foam tape. Next, I laid out the tree-hugging body, legs, and sentiment banner diecuts on the card to get a general placement idea. I removed all the diecuts, except the legs, and placed a foam dot in the center of the hole. I did not add any adhesive to the legs, so the legs can move back and forth.
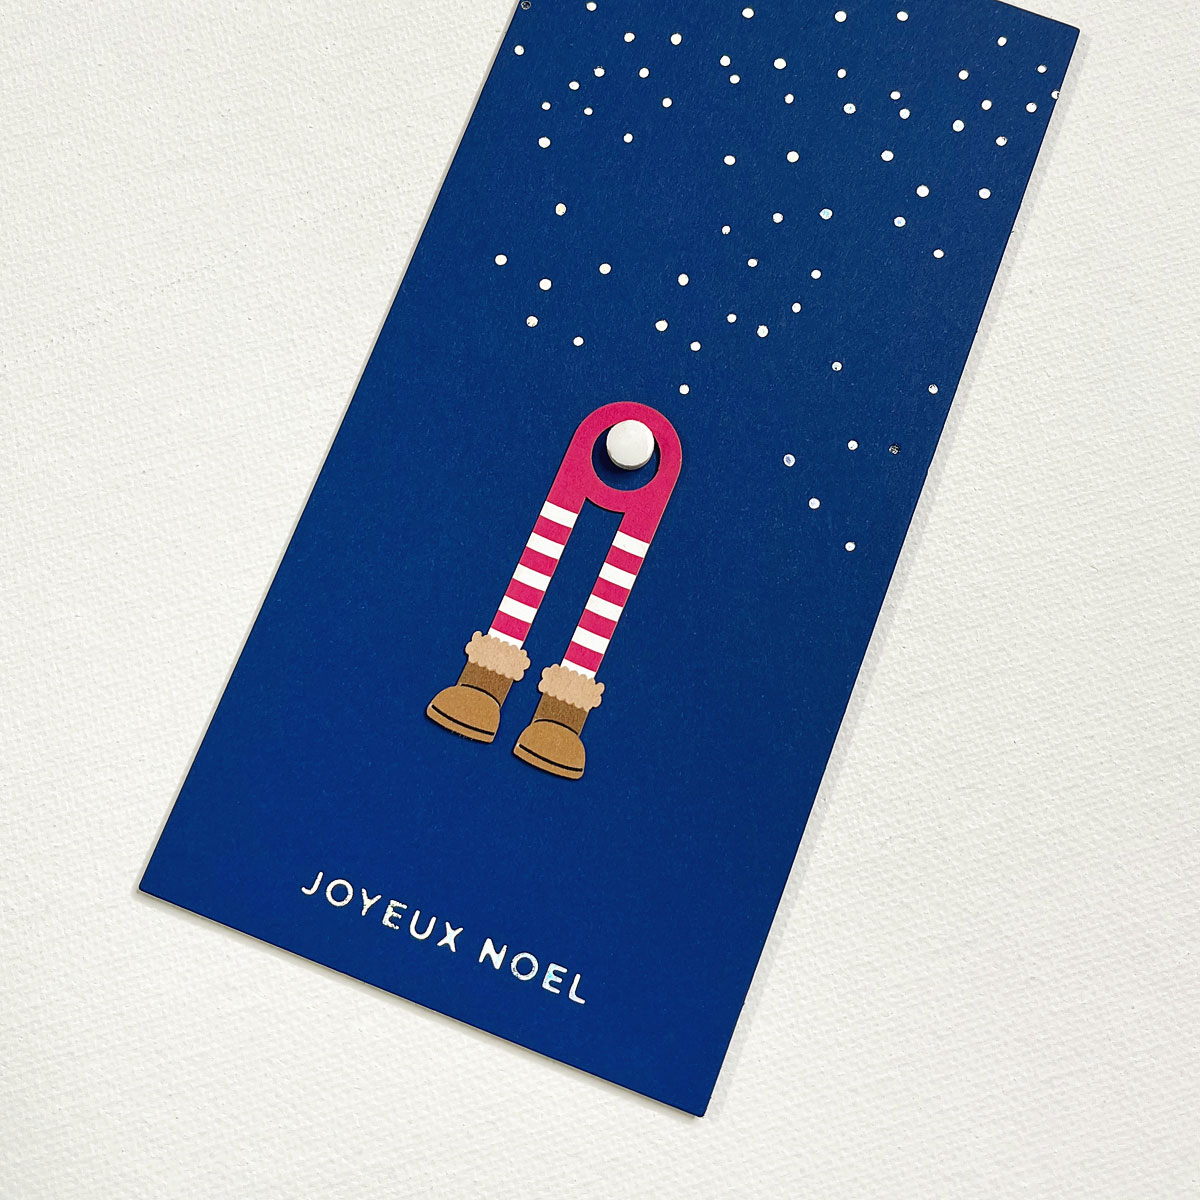
Next, I added more foam dots to the tree-hugging body, leaving the bottom ½ inch without foam dots to leave clearance for the swinging legs. I carefully adhered the body to the card.
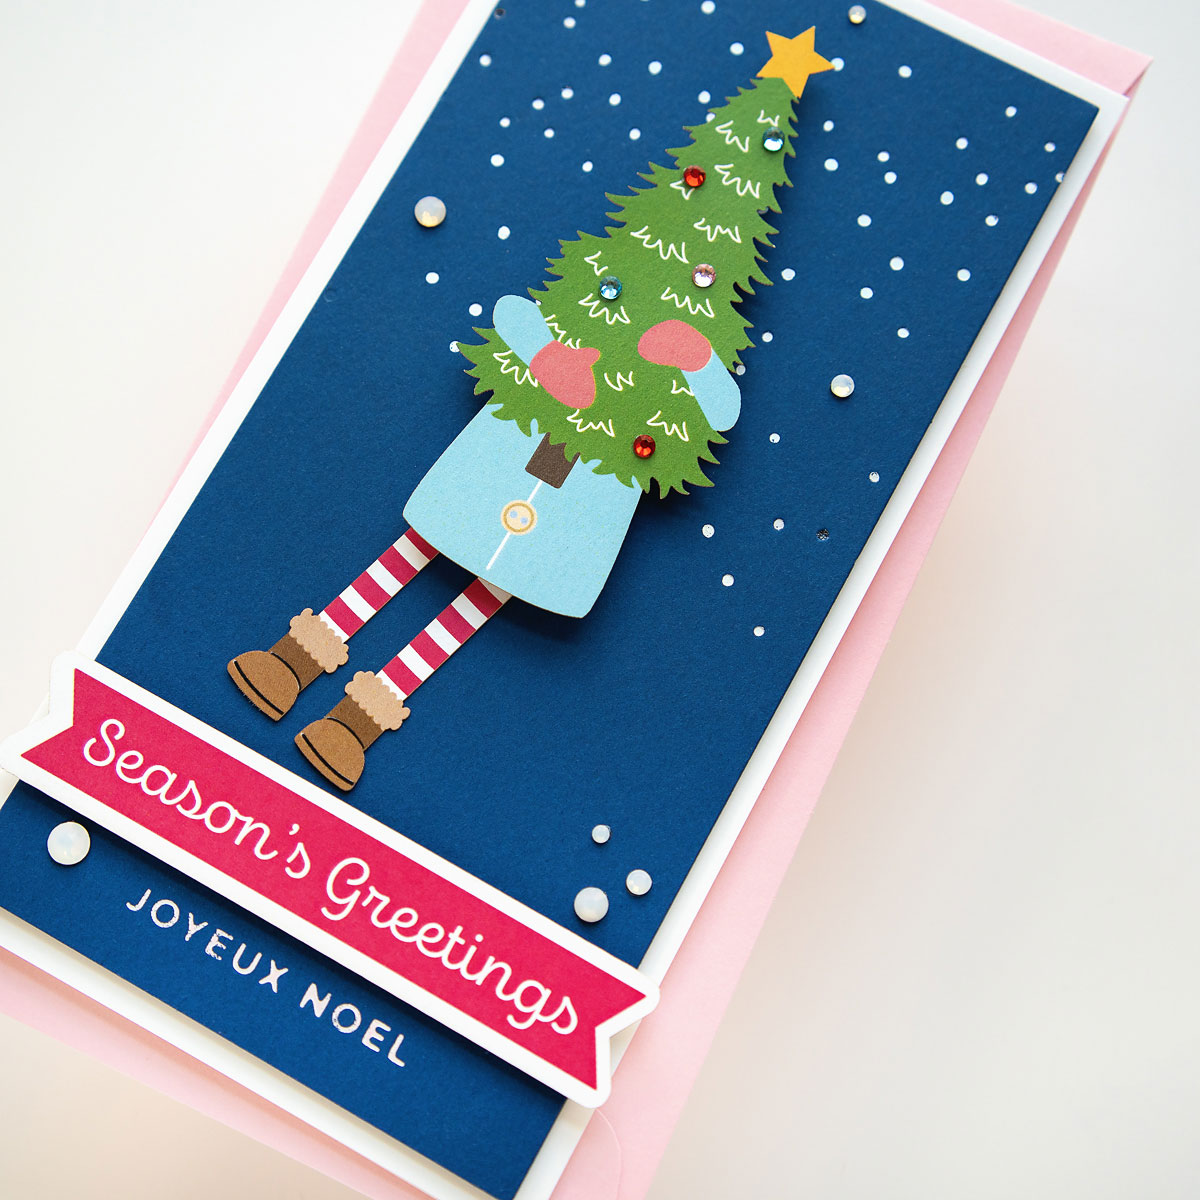
I adhered the sentiment banner above the foiled sentiment with more foam tape. To finish off the card, I added opal gems to the background and colored gems to the tree.
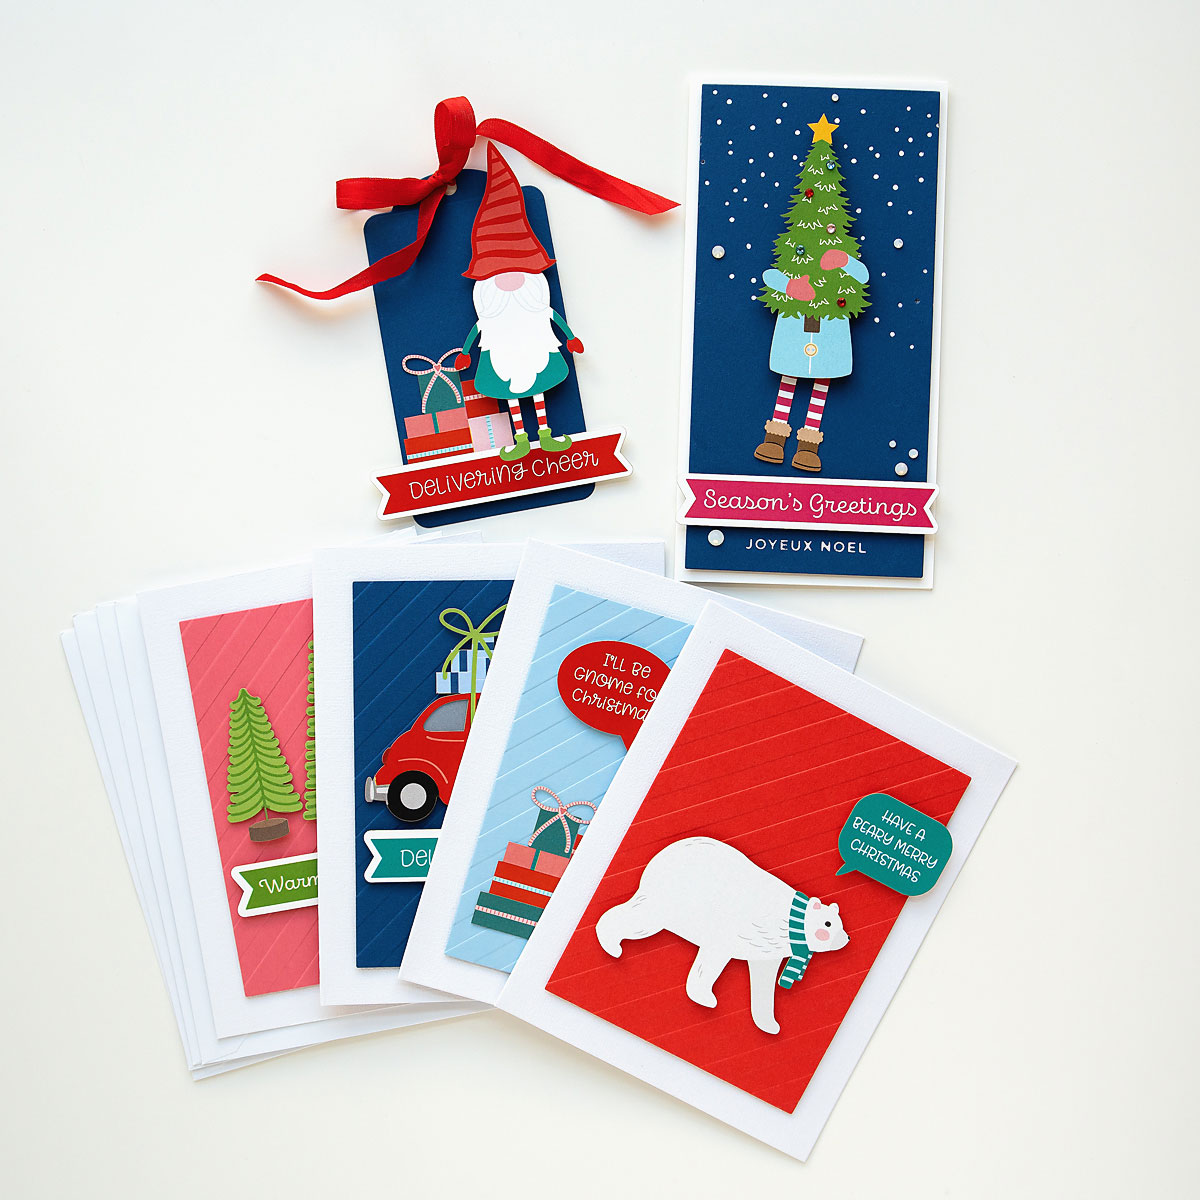
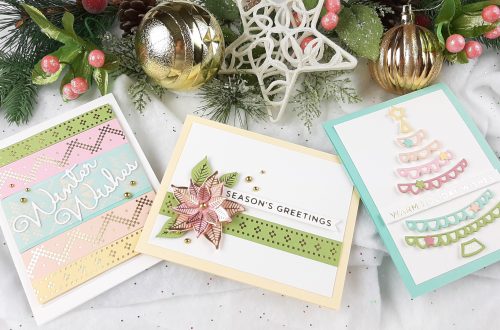
For the next, project, I made a simple set of cards. These would make a perfect gift!
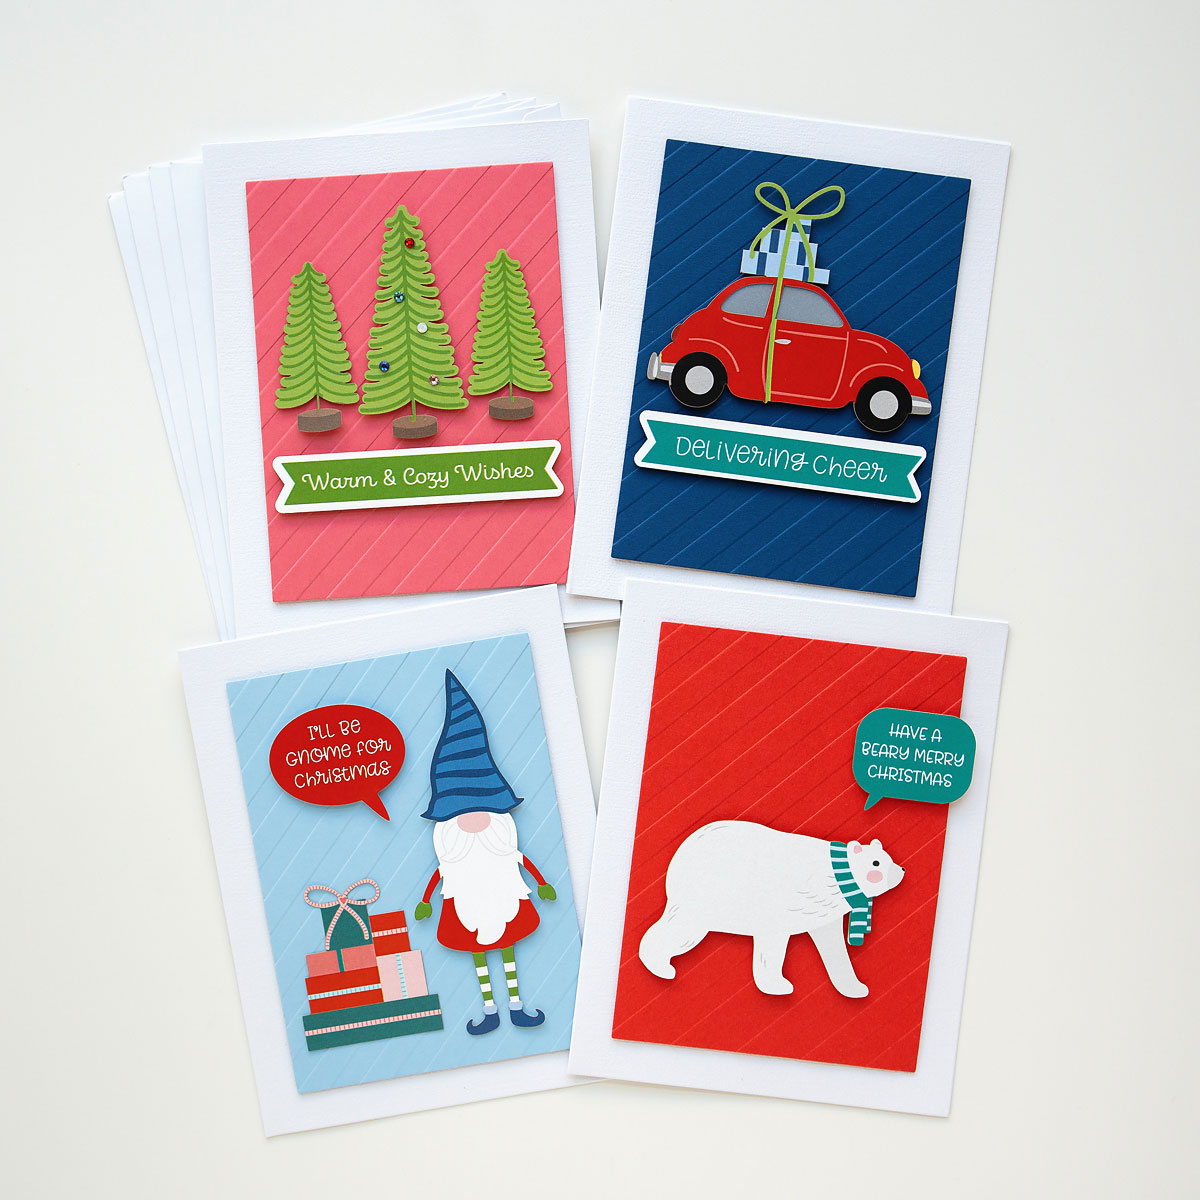
Another easy idea for these diecuts is a set of simple cards. I had some white cardbases and envelopes leftover from a card kit, so I grabbed 4 to make a set. First, I chose some diecuts along with coordinating word bubbles or sentiment banners. Next, I picked a few colors of cardstock that worked well with the diecuts. I chose cosmic sky, raindrop, dahlia, and poppy field. I trimmed them using a precision A2 layering die, then ran them through my Platinum 6 with a Stripes embossing folder. I adhered the cardstock to the card bases with thin foam tape.

Next, I simply adhered the diecuts to the cards with foam tape.
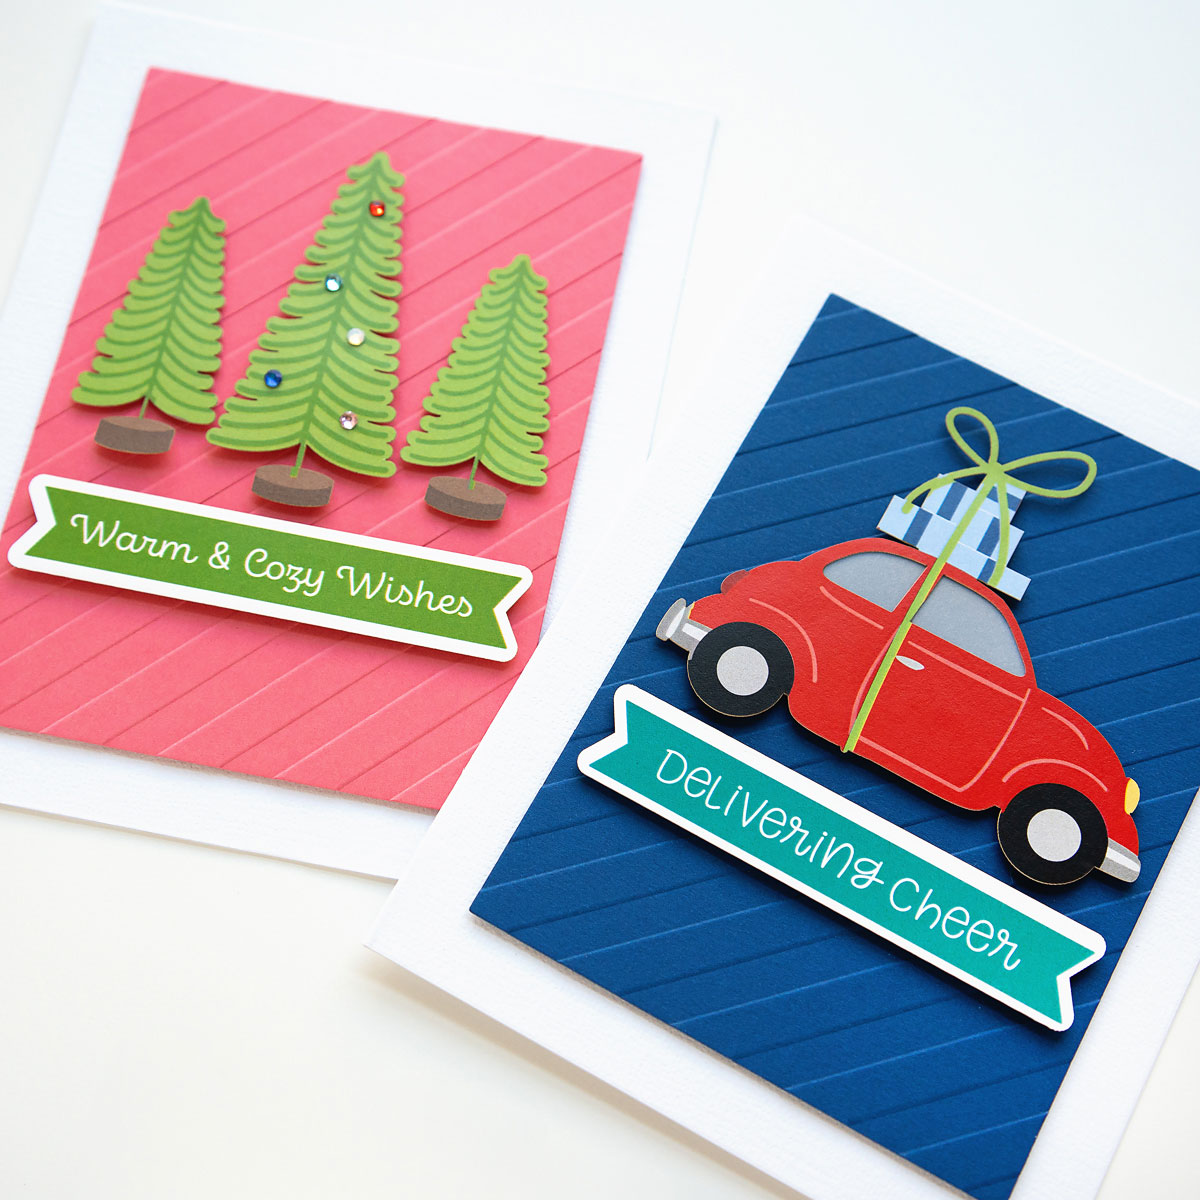
I added just a few jems to the bottle brush trees. These cards were so easy to make. The hardest part was deciding which diecuts to use; there are so many good diecuts in these packages!
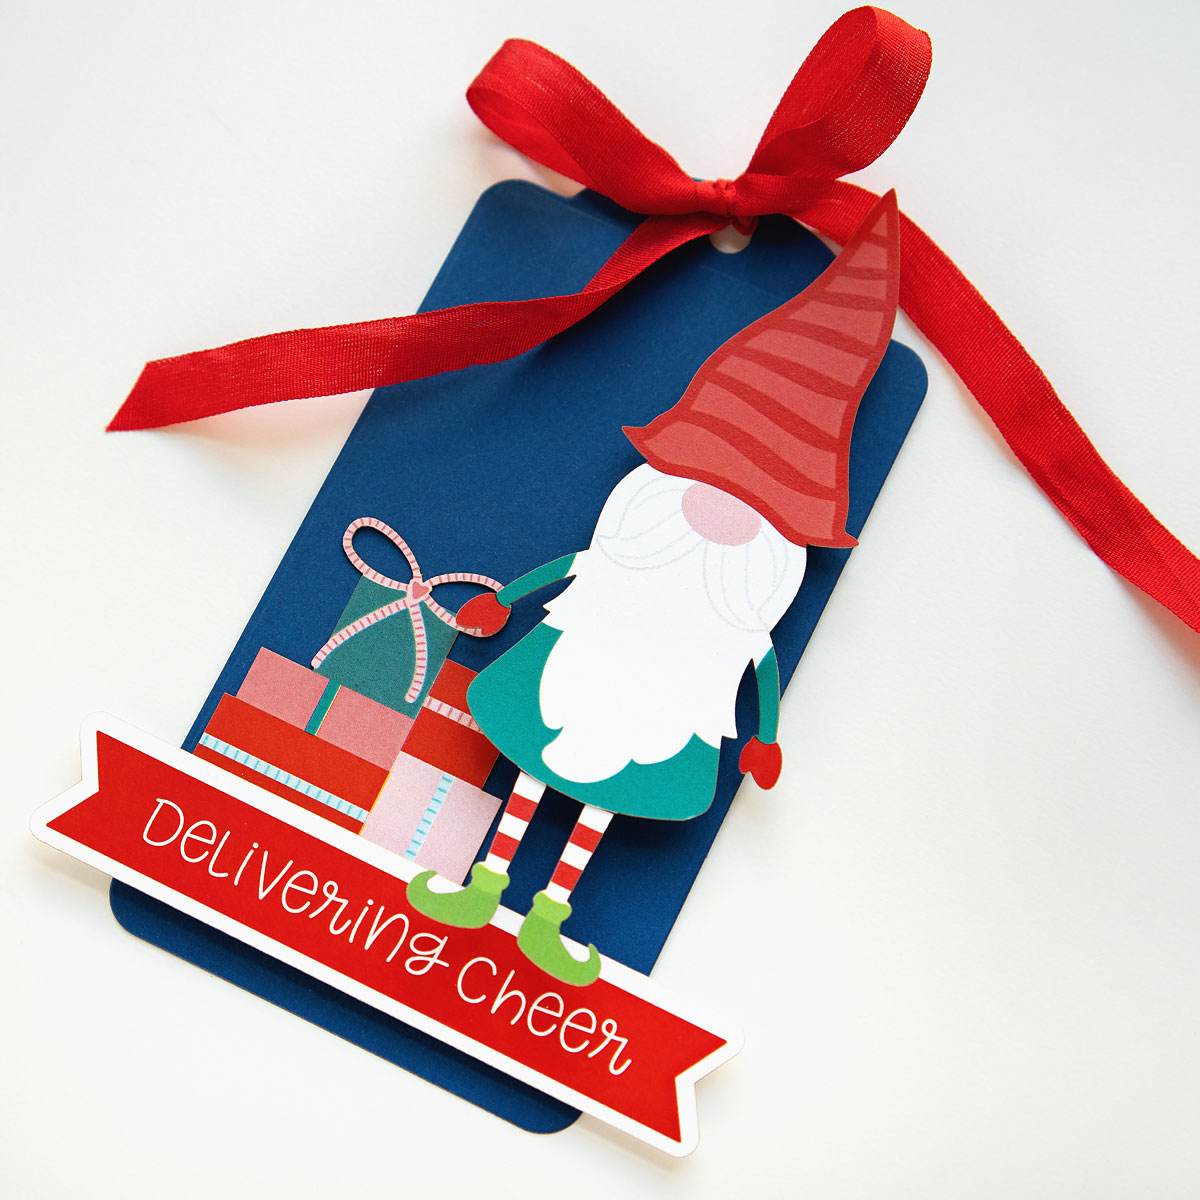
For my last project, I made a cute tag. This tag would be perfect on gift bags, or you could adhere it to a card base to make a card.
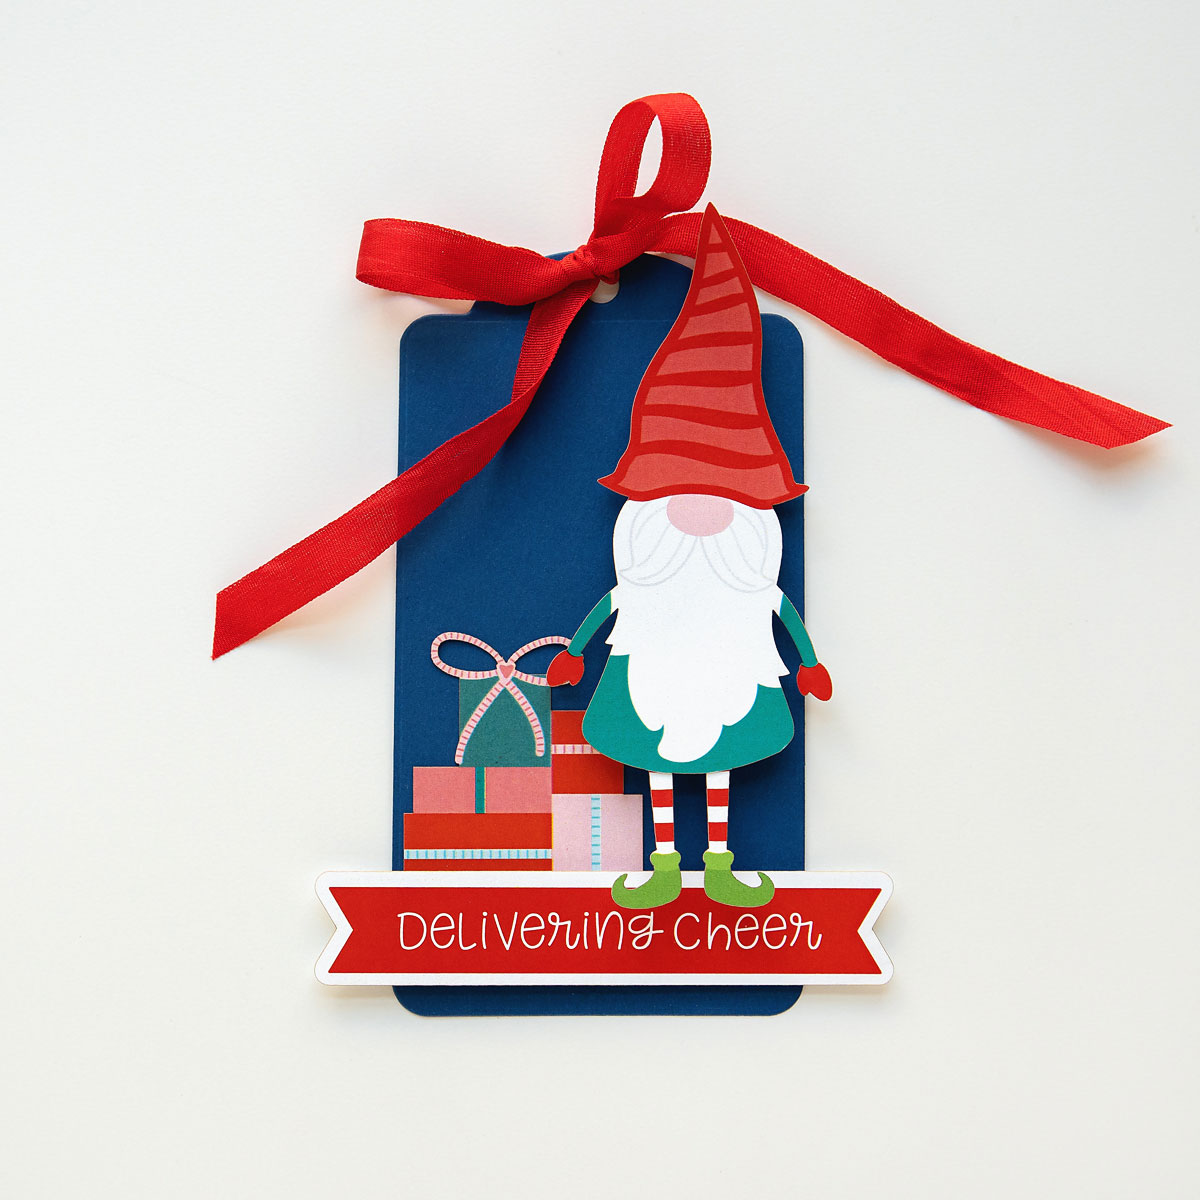
I started out by diecutting a tag from cosmic sky cardstock. Then, I adhered the sentiment banner with foam tape. I knew that I had to use one of these cute gnomes, so I adhered him to the right of the tag. I then glued some presents to the background for some added interest.
These projects were so fun, quick, and easy to make. They are perfect projects for beginners, for gifts, or if you just need to make something quick. These diecut packsages filled with tons of fun die cuts. Make sure you check out these die cuts as well as other fantastic products on the Spellbinders site. Thanks for stopping by!
Spellbinders Supplies:

Other Supplies
Foam tape, foam dots.

One Comment
MaryH
You certainly did “Deliver Cheer”! As I admired each one my smile got bigger and bigger. Thanks for the pre-Christmas JOY.