Tri-fold Cards Featuring the Sealed by Spellbinders Wax Seal Collection
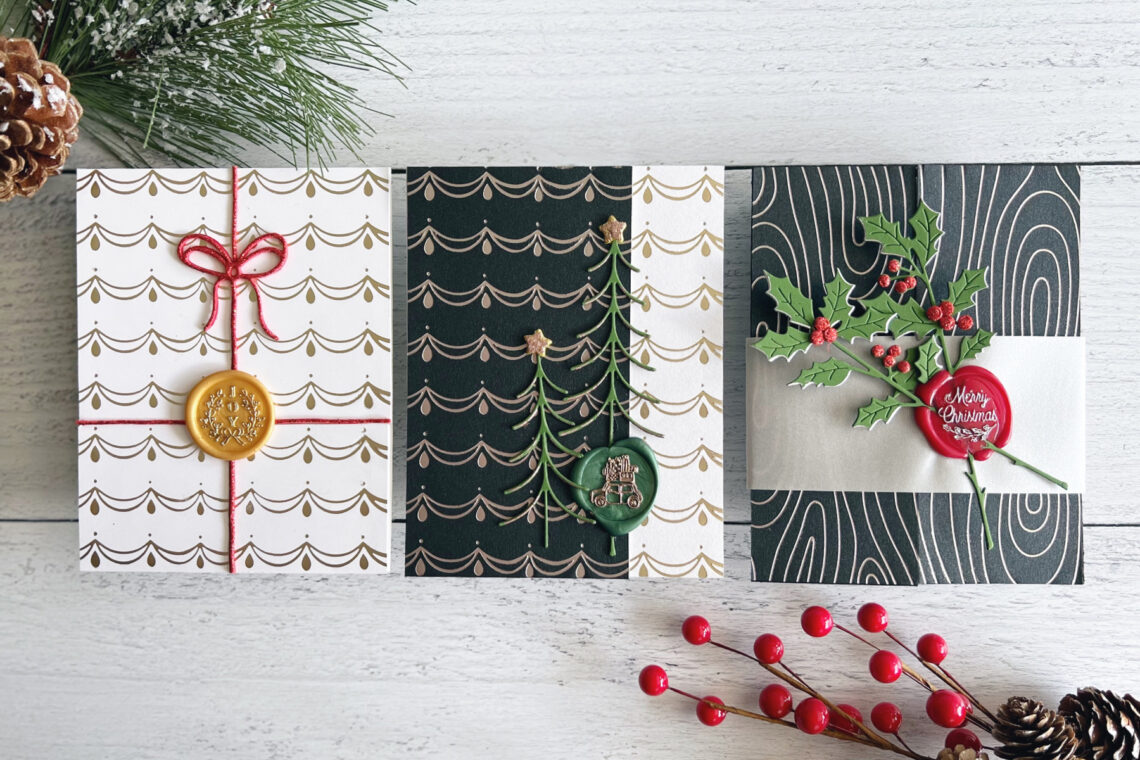
Hello! I’m Jen Kotas from whostolemyglitter.com and I’m happy to be here today to share three tri-fold cards featuring the Wax Seals Collection. There’s a lovely collection of wax seal stamps plus so many colors of wax beads. They are perfect to pair up with different metallic markers as I’ve done here.

The seals are quick and easy to create. You can use them to attach die cuts to cards or to hold a card closed or an envelope shut. You can create the seals directly on the paper or create it on the silicone mat and then glue it to the paper.
Merry Christmas Wax Seal Card
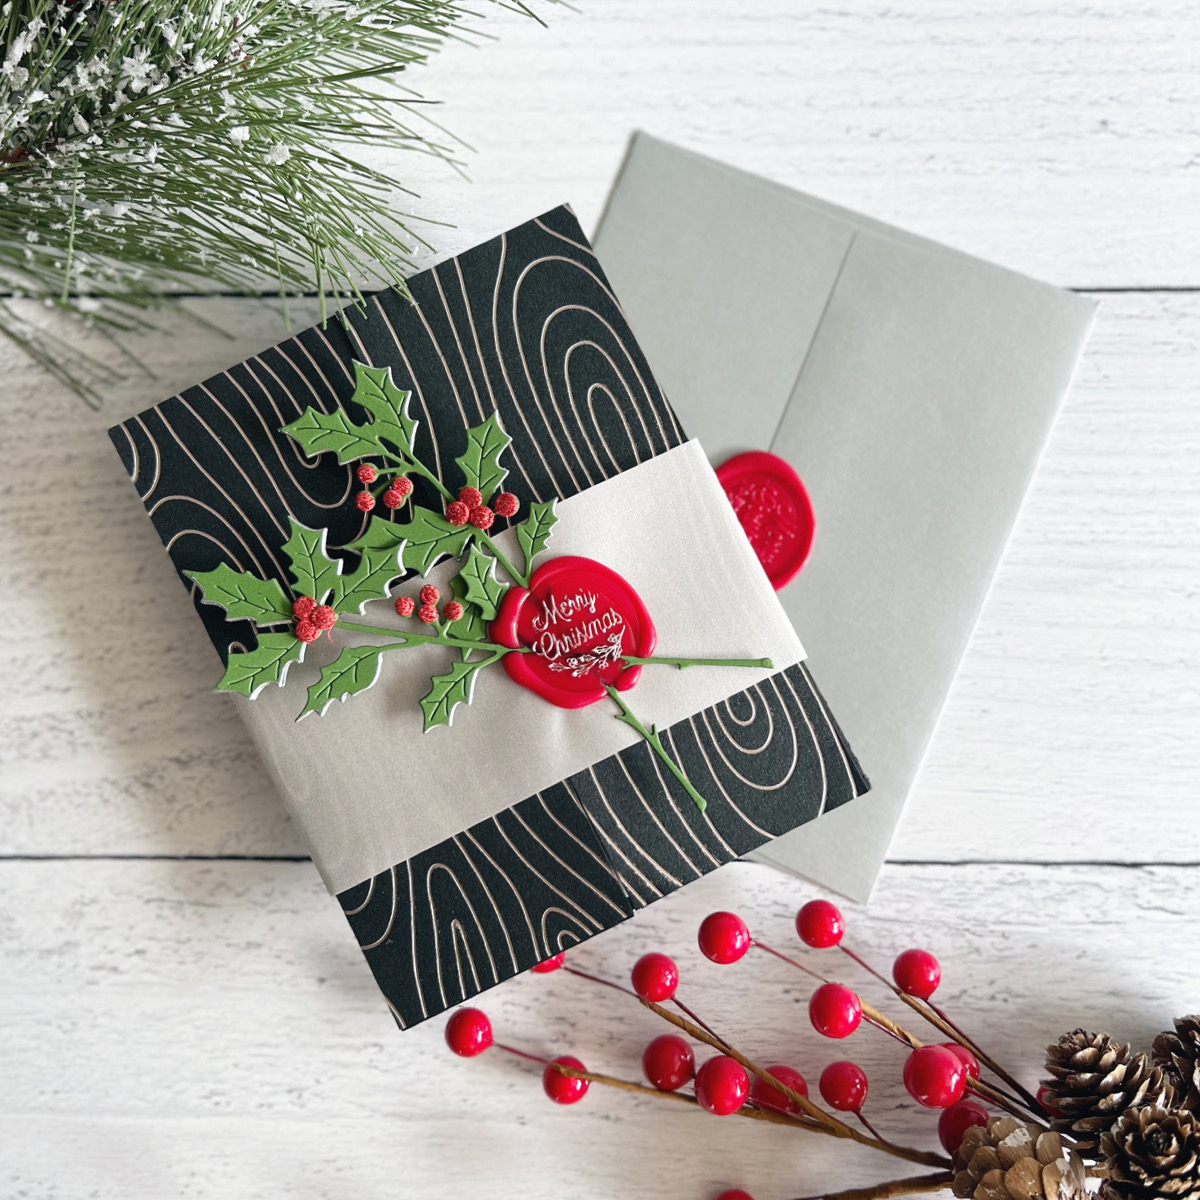
- Hot foil the Woodgrain Background Glimmer Hot Foil Plate on a piece of 4 ¼ x 5 ½” Brushed Black Cardstock with Satin Pewter Hot Foil Roll included in the Satin Metallics Variety Pack. Cut in half to 2 ⅛”.
- Cut a piece of Black Cardstock to 5 ½” x 8 ½”, scoring at 2 ⅛” in from each end. Fold the front flaps in and add a piece of white cardstock inside the card for a personal message.
- Adhere the hot foiled panels from step 1 to the front flaps of the card base. Make sure the foiling lines up in the center.
- Die cut the pieces from Sealed Holly Sprigs Etched Dies from Fern Cardstock and Red Glitter Foam. Adhere together. Add silver metallic marker to the edges of the holly leaves.

- Cut a strip of vellum 2” wide and long enough to wrap around the card as a belly band. Adhere ends together.
- Place the folded vellum on the silicone mat included in the Wax Seal Starter Kit. Arrange the die cuts on the vellum while the Red Wax Beads melt. Pour the wax over the die-cut stems.
- Press the Merry Christmas Wax Seal Stamp into the wax. Once cool add a silver metallic marker gently over the seal.
- Slide the belly band over the card. Add a Merry Christmas Wax Seal Stamp with Red Wax Beads to a Brushed Silver Envelope.
Gifts on Arrival Wax Seal Card
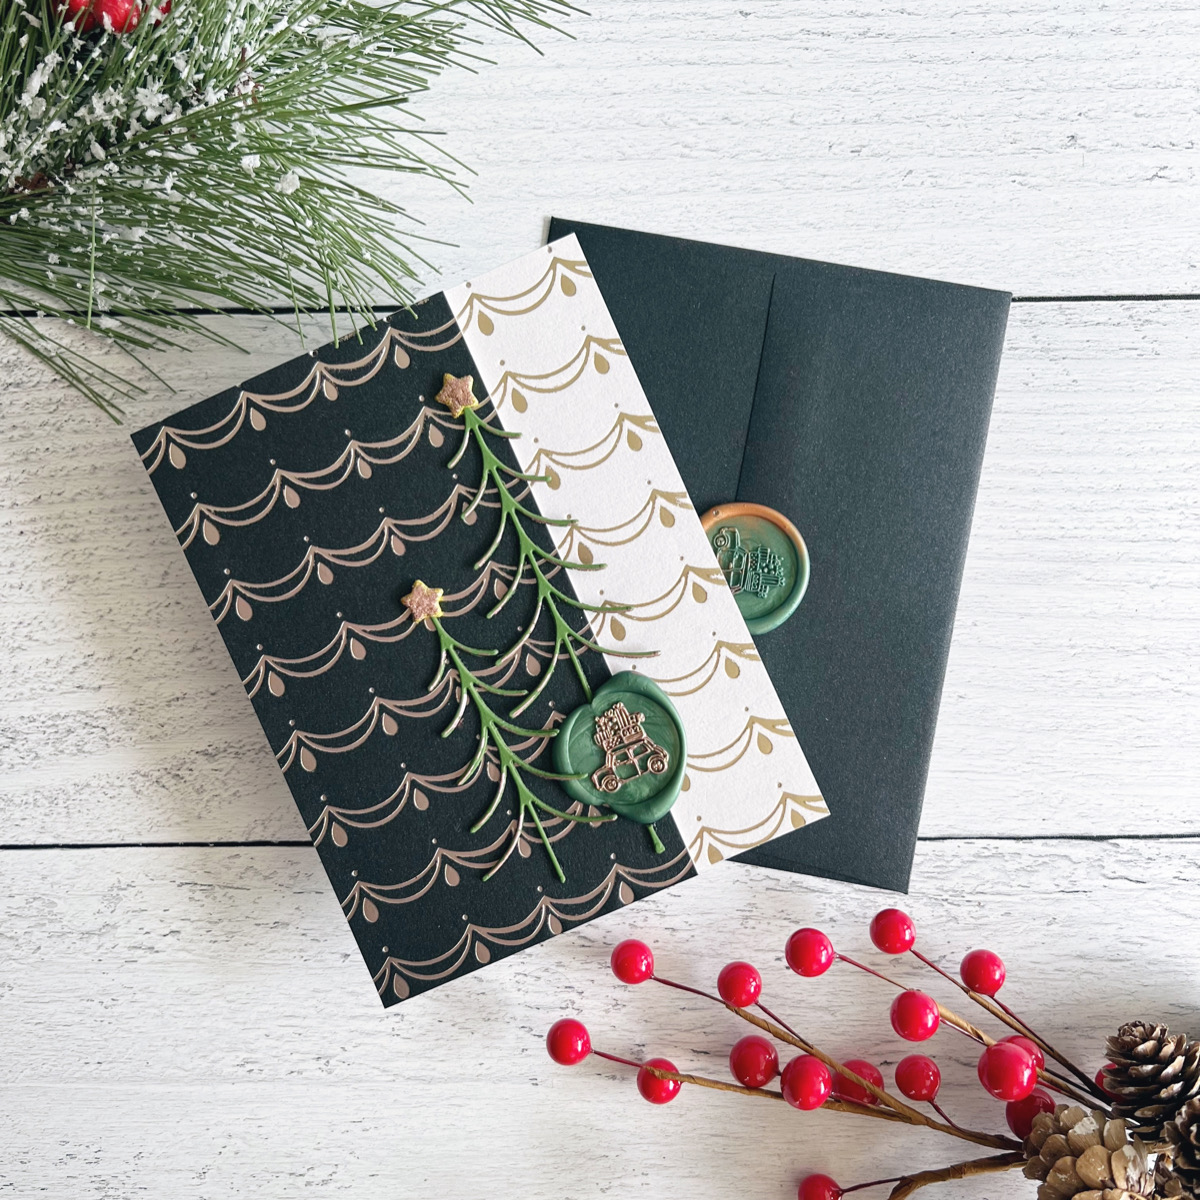
- Hot foil the Glimmering Swag Glimmer Hot Foil Plate on Brushed Black and Brushed White Cardstock panels cut to 4 ¼” x 5 ½” using Satin Gold Hot Foil Roll from the Satin Metallics Variety Pack.
- Cut off a small portion of the right side of the hot foiled Brushed Black panel. Cut a slightly larger portion off the left side of the hot foiled Brushed White panel. When overlapped the two panels should line up.
- Cut a piece of white cardstock to 5 ½” x 8 ½”. Use the hot foiled panels to determine where to score the cardstock. Fold and adhere the foiled panels, making sure they line up where they meet.
- Die cut the pieces from Sealed Christmas Tree Squigle Etched Dies from Fern cardstock and Gold Glitter Foam. Adhere the tall tree only so it hangs over the edge.
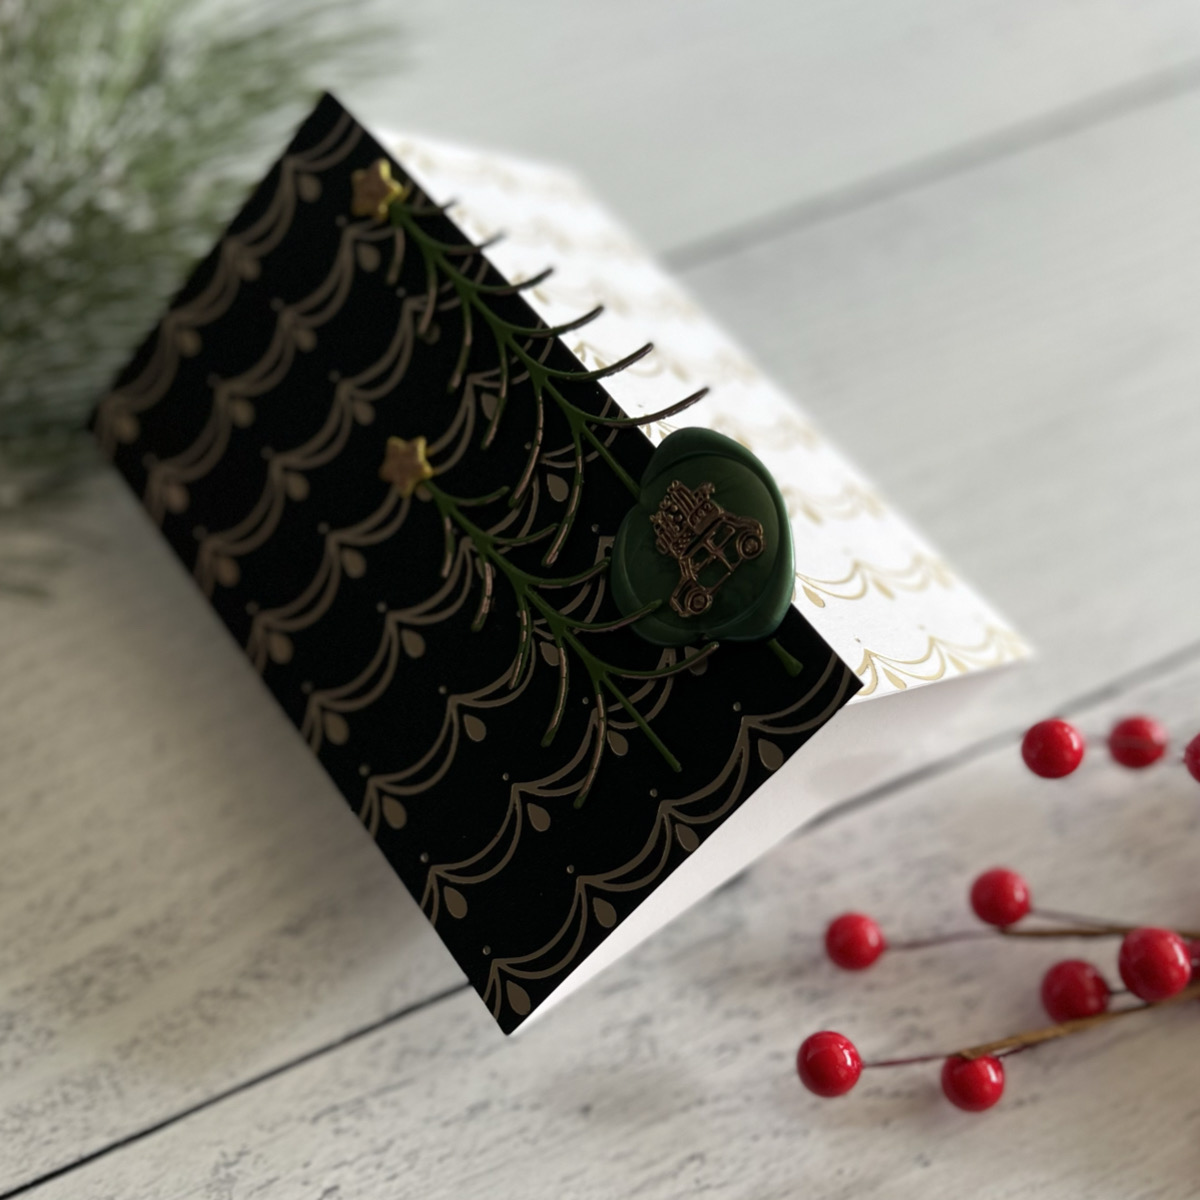
- While melting the Green Wax Beads, place the front card flap on the silicone mat, and pour wax over the tree and off the edge of the flap. Press the Gifts On Arrival Wax Seal in the wax.
- Once cool, remove from the mat and add rose gold metallic marker over the image. Adhere the small tree. Add rose gold metallic marker to the trees as well.
- Add a Gifts On Arrival Wax Seal in Green and Gold Wax Beads to a Brushed Black Envelope.
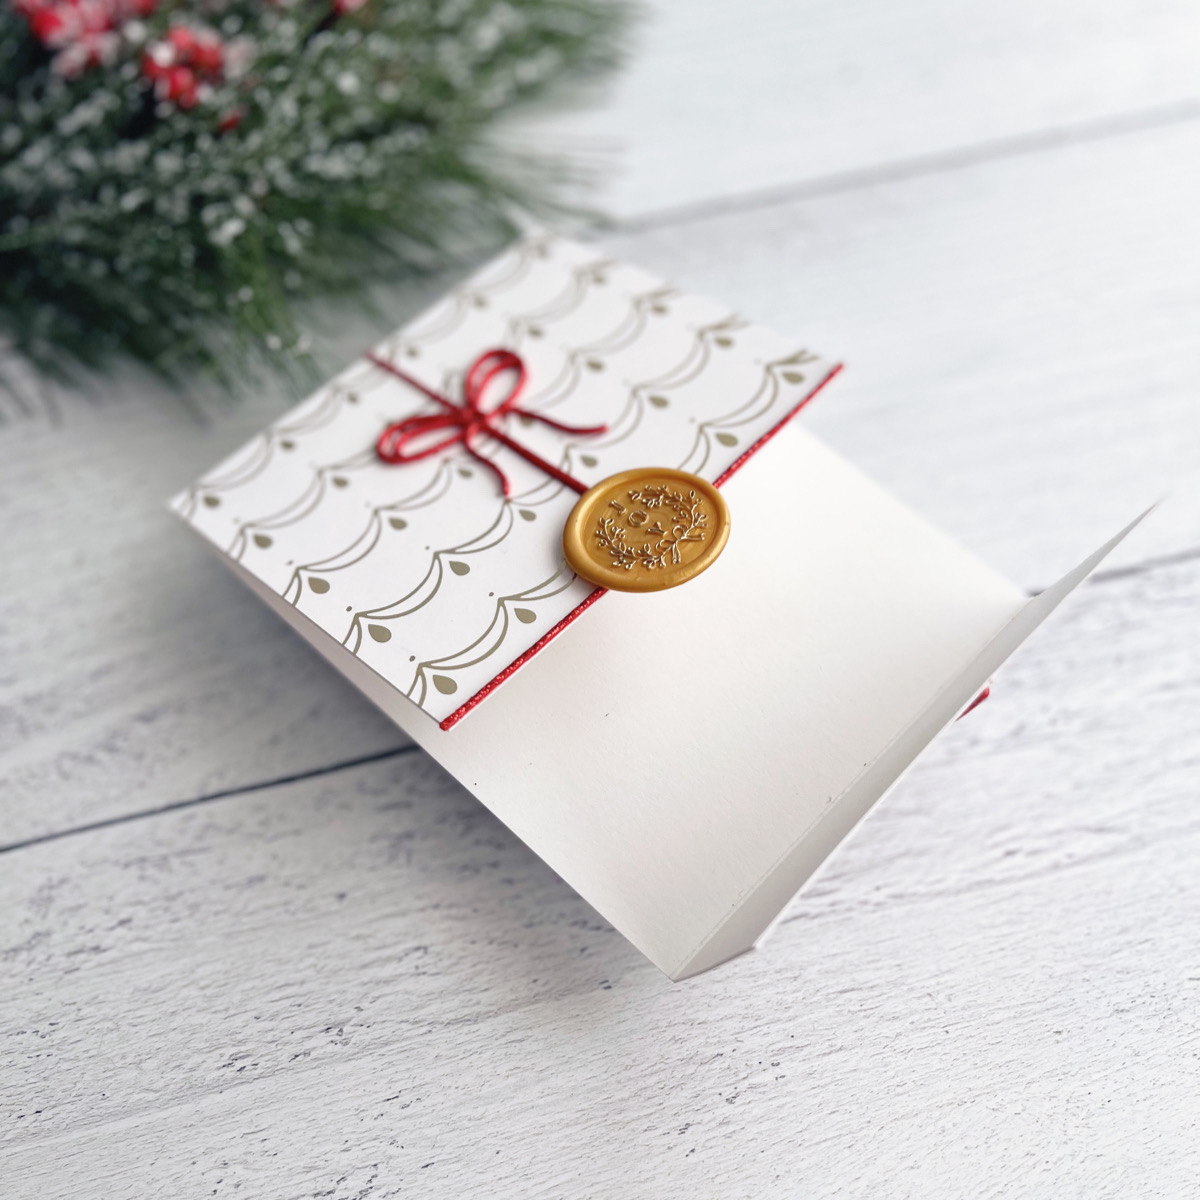
Joy Wax Seal Card
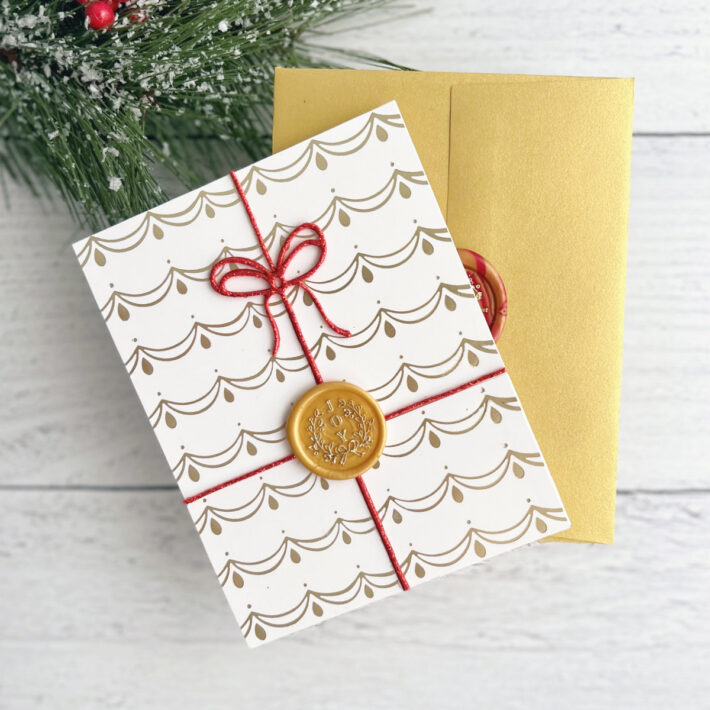
- Hot foil the Glimmering Swag Glimmer Hot Foil Plate on a white cardstock panel cut to 4 ¼” x 5 ½” using Satin Gold Hot Foil Roll from the Satin Metallics Variety Pack.
- Cut a piece of white cardstock to 4 ¼” x 11”, scoring at 2 ½” from one end and 3” from the other end. Fold flaps.
- Cut the panel from step one 2 ½” up from the bottom. Adhere both panels to the card flaps, making sure the panels line up where they meet.
- Die cut the Bow Squiggle from the Sealed Holiday Squiggle Etched Dies out of Red Glitter Foam. Cut the straight portion three more times.
- Adhere the bow in the top center of the card and the straight pieces above the bow, on the bottom flap, and across the edge of the top flap.
- Use the silicone mat to create the wax seal using the Joy Swag Wax Seal Stamp and Gold Wax Beads. Create a second wax seal with Red and Gold Wax Beads placed on a Gold Envelope.
Spellbinders Supplies:

Other Supplies
Neenah 110lb Cardstock, Bearly Arts Precision Glue, Decocolor Premium Gold Metallic Marker, Decocolor Premium Silver Metallic Marker
Another fun way to use the metallic marker is to run it along the edges of the cardstock. I didn’t do that today because I foiled the panels. You can see more card making tutorials on my blog, Who Stole My Glitter or visit my Instagram page for more inspiration. Thanks for visiting!
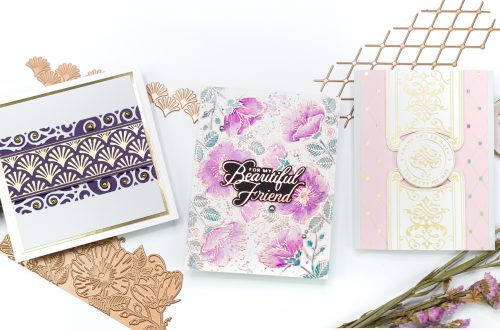
Delicate Impressions Collection – Cardmaking Ideas with Jenny
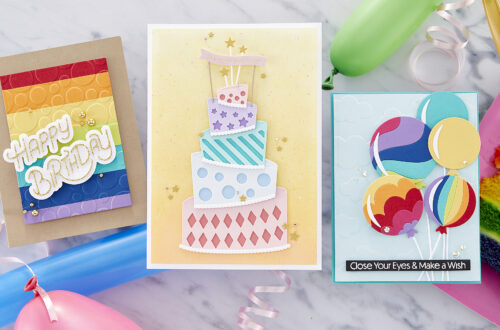
Topsy Turvy Cake with Vicky Papaioannou
