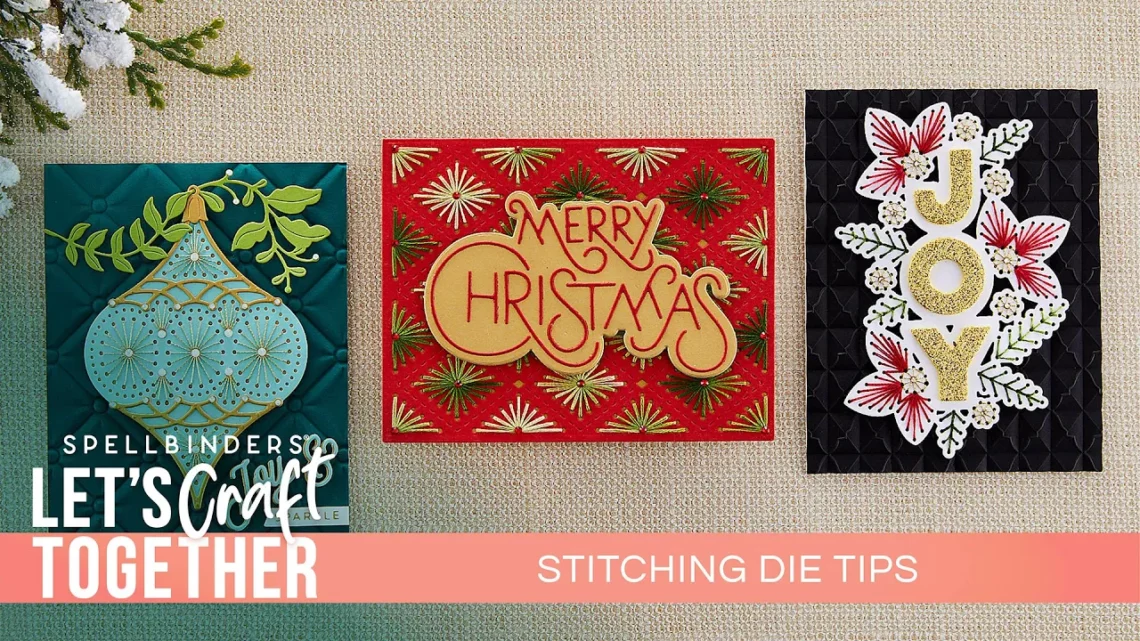
12 Stitching Die Tips with Robin Beam
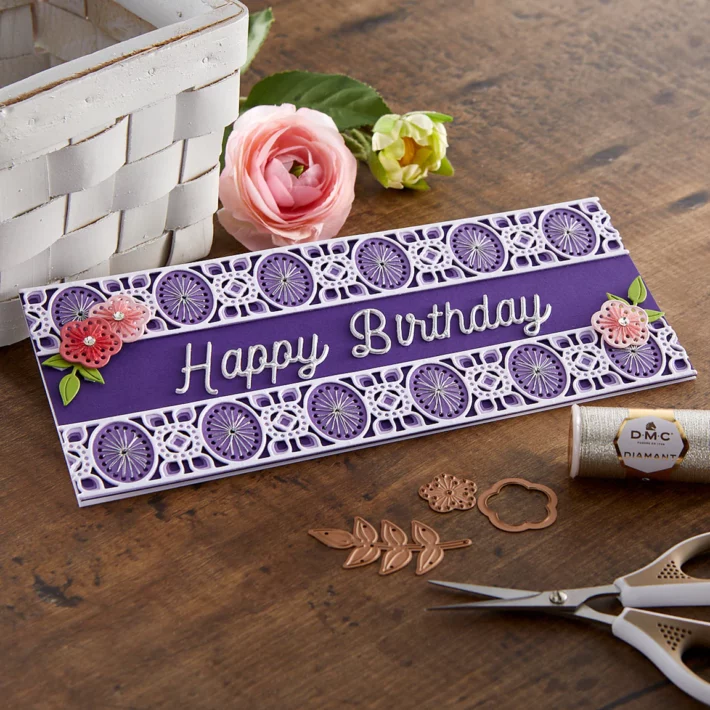
Give crafts the “wow factor” when you use stitching dies! Whether using our past collections such as Spring Into Stitching or our newer releases Stitched Alphabet and Stitchmas Christmas, stitching dies is a timeless craft to learn.
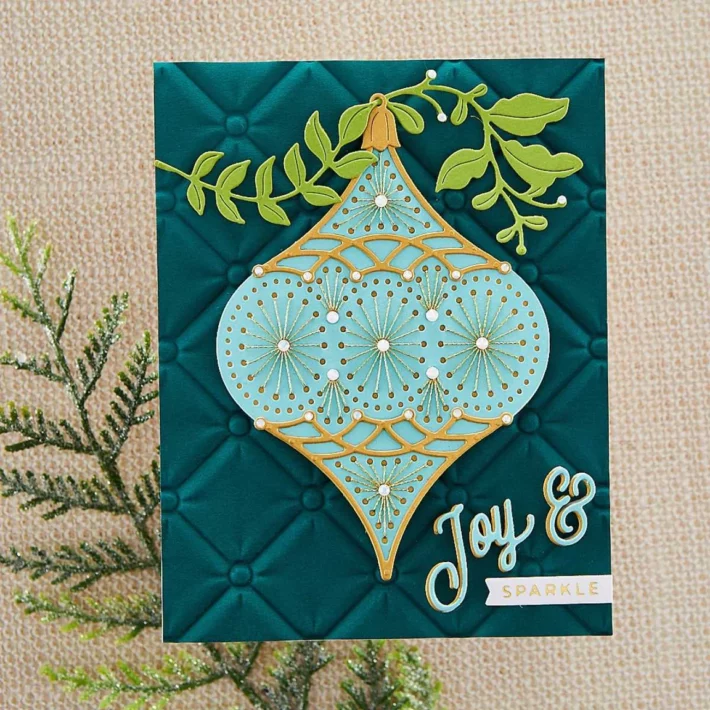
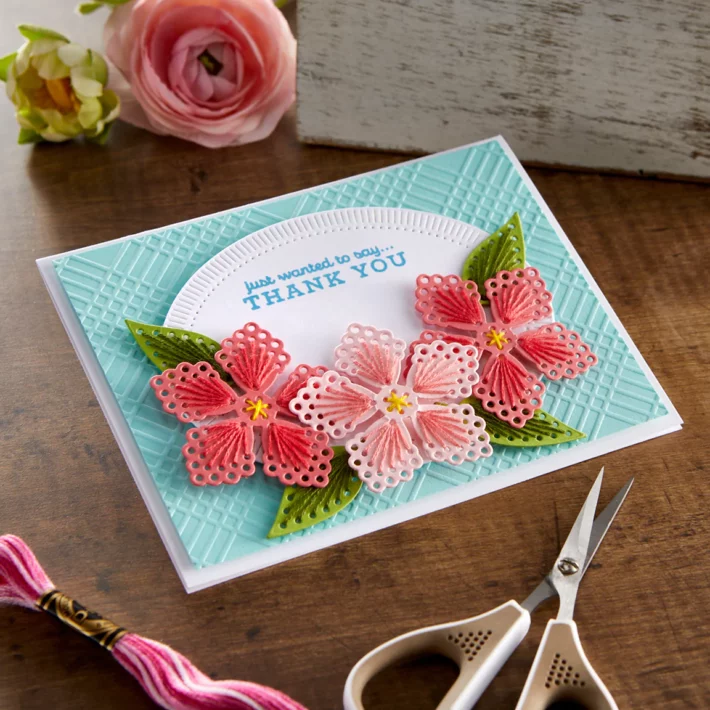
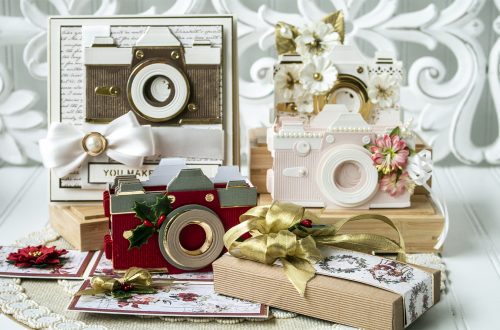
Create beautiful ornaments, home decorations, craft centerpieces, gifts, cards, and much more!
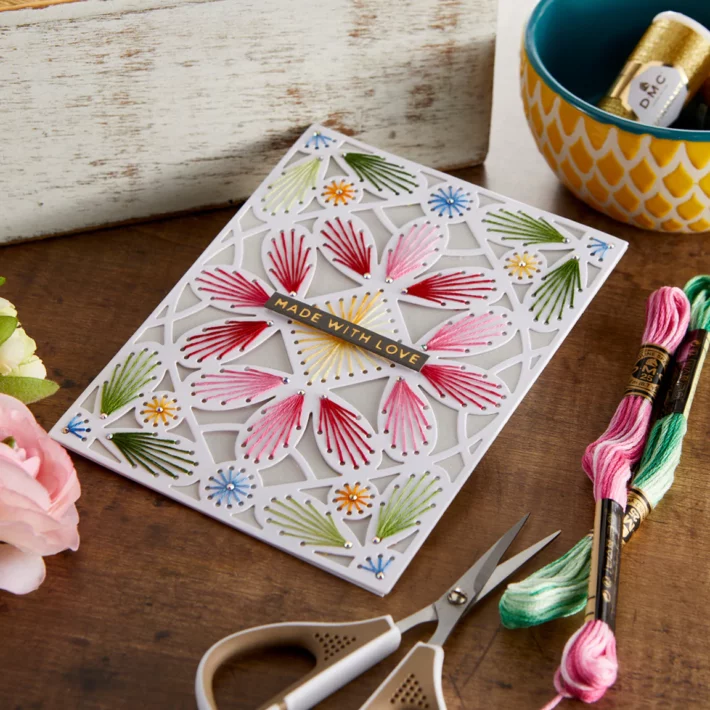
Whether you are new to stitching dies or are looking for some new tips to polish your skills, you’re in the right place. Robin Beam goes over her top tips and tricks using Stitched Ornament and Stitched Diamond Argyle. Read through the tips and then watch the video for an in-depth tutorial!
Robin Beam’s Stitching Die Tips:
Floss/Thread Tips Before You Begin to Stitch
- Cut Variegated Floss 3:05
- Variegated Floss has different shades blended together. Feel free to cut up the variegated floss according to different shades and have more variety of color placement on stitched dies.
- Split Strands Accordingly to Hole Sizes 3:42
- Each DMC Floss has six stands, the recommended number is 2 strands, and depending on hole size, 3 can work as well.
- Splitting the strands can help avoid a “bunched up” look when threading too thick of floss alongside each other.
- Always Split Up Strands 5:00
- Before you begin to lace, separate all of the threads then put them back together to “fluff it up.” This makes the floss lay down nicer.
Stitching Tips
- Tape it Down 5:37
- When starting, don’t knot the thread on the back. Instead, run the thread through, leaving a tail and tape it down on the back to keep it secure.
- Thread in the Same Direction 6:43
- Depending on how you initially tape the thread, you want to thread in the same direction and keep the hole “open.”
- Read Your Thread 7:33
- Make sure to thread in the same direction from hole to hole so there is no overlapping thread.
- Beware of Length 8:46
- The longer the thread is, the higher the probability that as you pull it through, it will knot on itself.
- Hold it on the Back 9:13
- By holding the floss taunt beneath the die cut as you go, everything stays in place as you thread.
- Anchor it First 9:55
- When finished with a section, don’t go to another area, this will make the thread loosen. Instead, on the back side of the die cut run the needle under a few threads.
- Then under different threads in the section, run the needle again to anchor everything tightly together, now move to another area.
- Avoid Crossing Thread 11:00
- When taping down floss on the back, tape strategically. Tape the floss so it will run between holes and will not show beneath holes meant to be empty.
- Back the Die Cut 12:02
- Line glue on the back side of the die. Avoid the holes but be sure to add glue on the thread.
- Pat it down lightly on scrap paper first, then line it up with the coordinating solid die cut.
- Customize the Finished Die 14:07
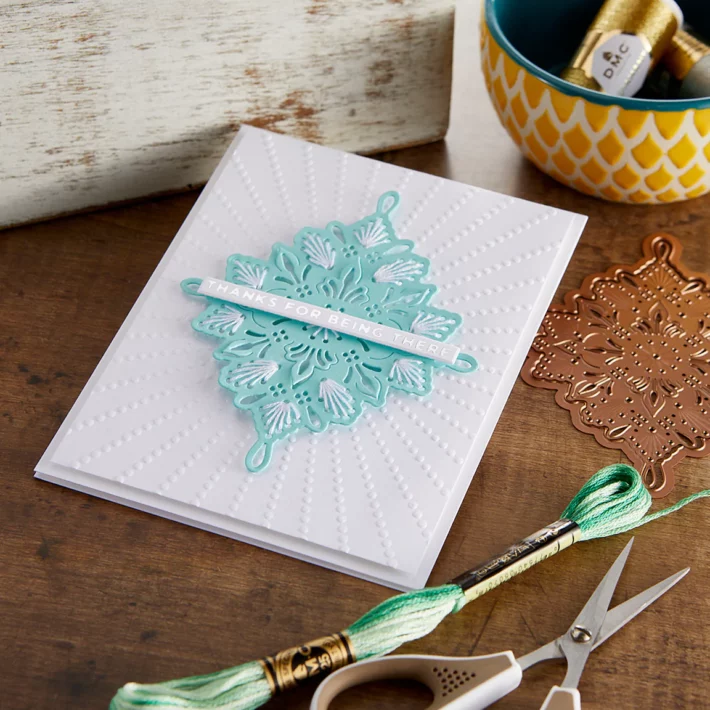
- Add gems onto the centerpiece areas or make another replica and attach them together to create a hanging ornament.
- Write a message on the back or attach a photo.
- Instead of white paper, use a brushed metal background or mirror metal background to add more shine and sparkle.
Watch video below or on our Youtube channel:
Thank you for joining us today!
Which stitched dies are you most excited to try out? Let us know in the comments!
Make sure to stay up to date with our new releases on the Spellbinders Paper Arts website where you can find all your card-making, scrapbooking, and crafting needs. For more inspiration and tutorials, visit our Instagram, YouTube, Facebook, and Pinterest.
Spellbinders Supplies:

8 Comments
Sheri Kempke
Gorgeous ornaments! I used to do cross stitch years ago, I’m definitely going to try this with paper. Thanks for reminding me of all the tips!
SherylH
Thank you for this great tip video. I have looked at these dies and your suggestions have made them more appealing.
Robin D. Beam
Glad you liked it…they’re so much fun. I don’t just work here, I’m a crafter and these are addictive!
divamom96
What a wonderful video and post. I love stitching on cards, but have not been happy with the results. These tips are very, very helpful – I can’t wait to try them out! Thank you for a great post!
Robin D. Beam
@Divamom96: glad you liked the tips. I think you’ll find it will go more quickly and you’ll be happy with the results!
Karen Brown
Thank you! You had some tips I didnt know about! I look forward to giving them all a try!
Robin D. Beam
Karen: Have fun; I hope they help!
James Walter
Robin you provided some excellent tips for working with stitching dies, such as splitting floss strands and taping down threads for neat stitching. Her recommendation to read threads carefully and anchor sections securely is helpful for avoiding knots. The variety of project ideas inspired by these dies, from cards to decorations, makes this tutorial useful for both new and experienced crafters exploring new techniques.