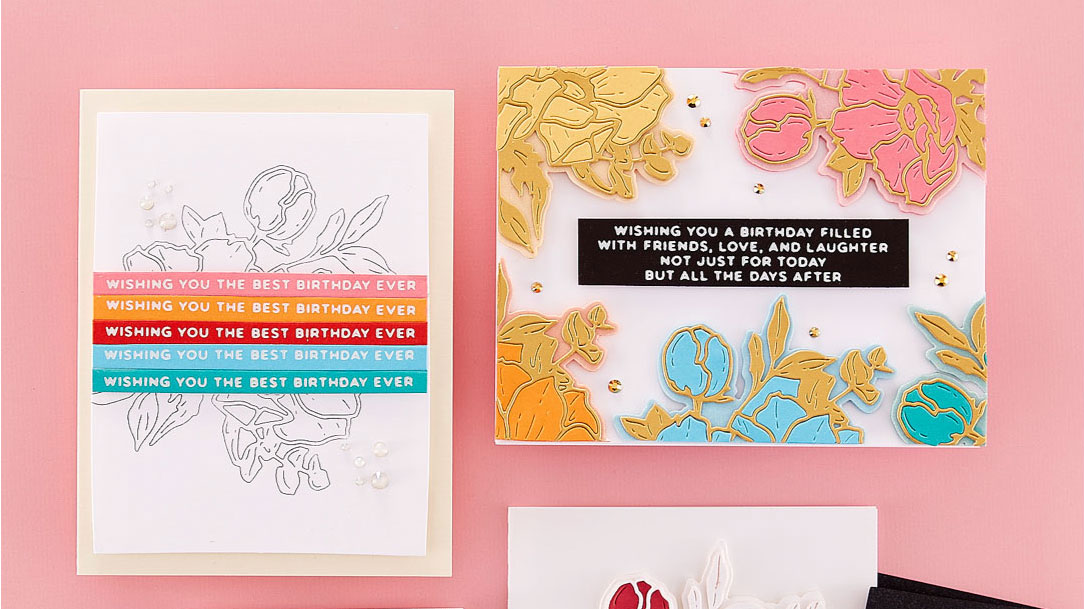
Color with Cardstock – Anemone Blooms Cardmaking Ideas with Joan Bardee
I am delighted to share 3 ways (plus 2 bonus cards) to use the Anemone Blooms Collection, designed by the amazing Yana Smakula. Is it intimidating to use Yana’s products on a Spellbinders blog post? You bet it is, but here it goes anyway!
I love big bold anything, so these flowers stole my heart. I wasn’t familiar with anemones and a quick online search revealed that they come in a huge variety of colors. So, use whatever colors you love; for me – pink is my first love.
Hot Foiled Anemone Blooms
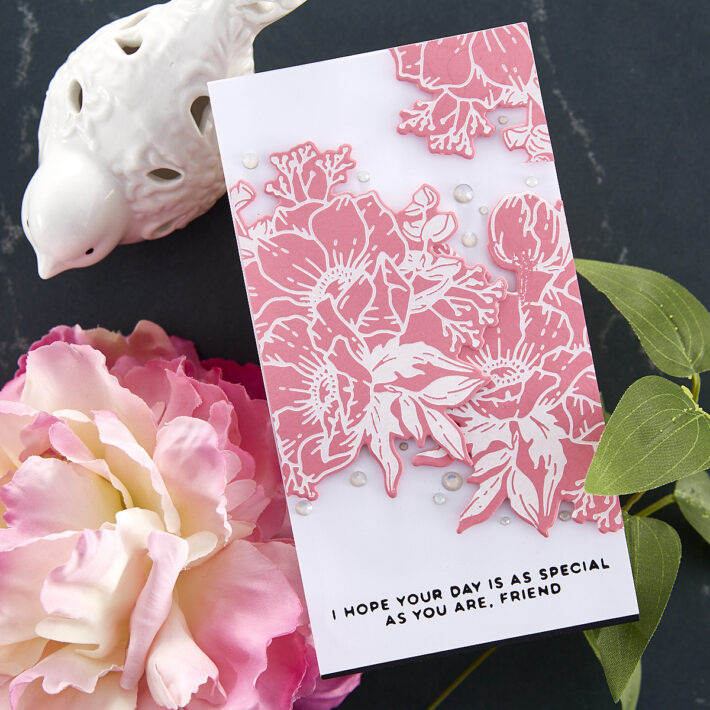
If you are looking for maximum impact with minimal effort, just hot foil the Anemone Glimmer Blooms Hot Foil Plate with opaque white foil (white foil is a game changer) on colored cardstock, and then sit back and let the magic happen. I used Fruit Punch cardstock on this card.
Tip: To get perfect results hot foiling on colored cardstock, use Spellbinders cardstock. Other brands of cardstock may work well, but I consistently get excellent results using Spellbinders.
Tip: If you’ve been reluctant to try hot foiling because it’s another thing, I felt the same way. However, once I started using my Glimmer Hot Foil System ALL the time, it became easier and easier and I fell in love with the gorgeous results.
See what I mean?
- Hot foiled a beautiful sentiment from Inside Card Glimmer Sentiments Hot Foil Plate on a panel of white cardstock, using black hot foil. This set of sentiments is perfect for the inside of cards, but I love them right up front.
- Trimmed ¼” off the bottom of the white panel and adhered a piece of Black cardstock to the bottom of the white panel. Why? Because I’ve seen Yana do it and it just adds a nice finish and helps move the eye down to the sentiment.
- Hot foiled 2 Anemone Blooms onto Fruit Punch cardstock using opaque white foil and die-cut them.
- Die-cut the image 4 more times so that each bloom has 2 sheets of cardstock behind it.
- Trimmed and adhered the Anemone Blooms onto the white panel with foam tape.
- Added a few Opal Color Essential Gems. These are self-adhesive (yes!).
- Adhered the panel onto a white mini slimline card (6” x 3 and ½”).
- Sat back and said, “I’m no Yana, but I love it!”
Tip: Put foam tape or dimensionals directly on the white panel, not on the back of the flowers. That way, when you trim the flowers, you aren’t cutting through foam tape.
Very Simple Die Cut Anemones
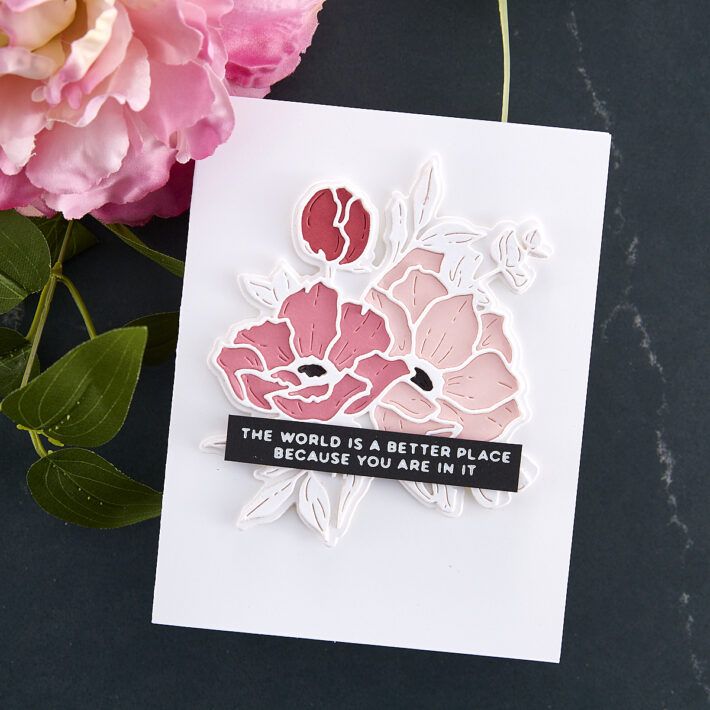
Here’s an easy-to-make card in a traditional A2 size; this time with the Spellbinders Anemone Blooms Etched dies rather than the Anemone Blooms hot foil plate.
Tip: The outline die, like all dies, is a potential stencil. I use vellum to make my own stencils.
- Pink again – Spellbinders Pink Sand, Fruit Punch, Wild Berry, and Black
- Die cut all the pieces – twice for everything, except the bottom layer. I cut the bottom layer three times.
- Hot foiled another sentiment from Inside Card Glimmer Sentiments Hot Foil in opaque white on Spellbinders black cardstock and then trimmed using my paper cutter.
- Adhered the flower and then the sentiment to an A2 white card base.
- Thought to add a few gems and then decided not to – I just loved keeping this card super clean.
Tip: If you want a different look, ink blend, stamp or die-cut background. Or better yet, dry emboss using one of Spellbinders Embossing Folders. I opted to keep it plain white, but I’m thinking an embossed black background would look fantastic here.
Tip: I finally broke down and bought a bunch of Spellbinders pre-cut and folded A2 card bases. I will never go back to cutting and scoring my own card bases. I always end up with an uneven card or one that is too small because I kept cutting… Can you relate??
Multi-Color Die Cut Anemones
Finally, here’s another take on the Spellbinders Anemones Etched die.
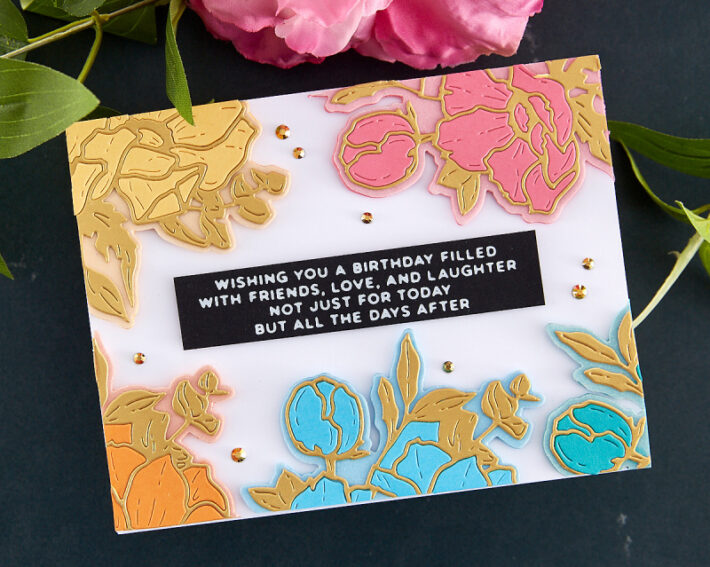
- After selecting 5 colors (yellow, pink, orange, blue, and teal) I die cut the bottom layer (twice) in the pale version of each color.
- Die cut twice the petals in a darker shade of the same colors.
- Die cut twice the outline die in Brushed Gold cardstock.
- Hot foiled another sentiment from Inside Card Glimmer Sentiments using black cardstock and opaque white hot foil. Trimmed.
- Took the bottom die cuts and the sentiment and temporarily placed them on an A2 card base using Best Ever Craft Tape (it’s removable), so that I would know where to trim the flowers.
- Put together each colored flower and adhered with Bearly Art Original Precision Craft Glue onto the die-cut backer pieces. Trimmed each flower before adhering them to the base card.
- Added some Gold Mix Color Essentials Gems.
Tip: Stacking up the dies cuts on this card made a huge difference in the look. If you are going to do this, use the same color cardstock as the top layer of your die cut. Otherwise, it detracts from the card.
Tip: Take photos of your cards as you make them. I find it easier to “see” a card when looking at a photo of it rather than the card itself. For this card, it is only now – when I no longer have possession of the card and can’t change it! – that I can see that I should have used black cardstock for the centers of the anemones. It would have tied in better with the sentiment and made those colors pop. Live and learn…
Bonus Cards
This post is getting long, so here is a quick look at some other ways to use this beautiful collection.
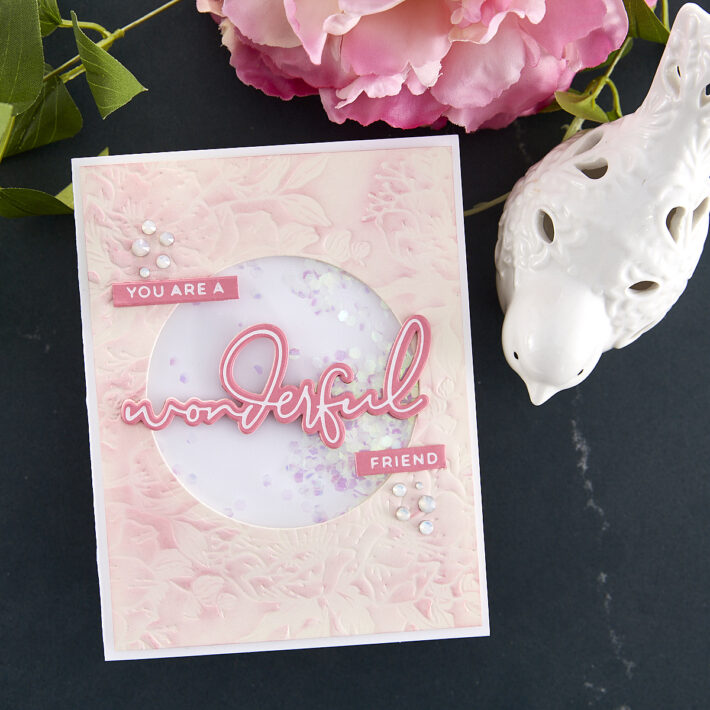
The top card uses the Anemone Glimmer Blooms Hot Foil Plate as an impression plate. I paired it with Hello Friends Sentiment Hot Foil and Wonderful Script Sentiment Etched dies.
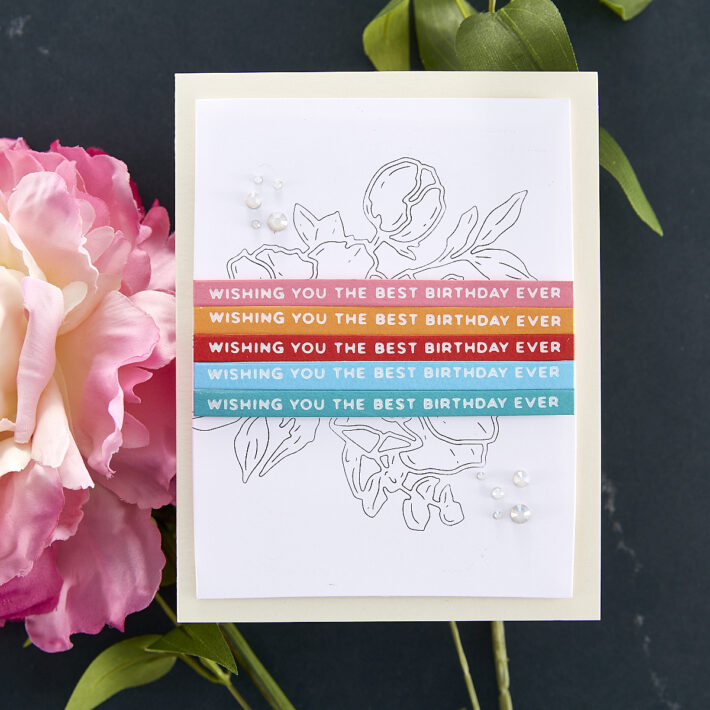
For the bottom card, I hot foiled the outline die from Anemone Blooms Etched dies and repeated one of the sentiments from Hello Friends Sentiment Hot Foil.
Thanks so much for checking out this post and thank you to Spellbinders! I would love to see anything you make with this gorgeous collection, so feel free to tag me on my Instagram account. I’m Dear Paperlicious if you are looking for me.
Spellbinders Supplies:

Other Supplies
Cardstocks, paper trimmer, scissors, shaker bits, ruler, pink ink, blender brush.

7 Comments
Sharon Brand
Fantastic blog, Joan, and some beautiful cards! You are
sure to get a slew of followers!
Joan Bardee
thanks so much
MaryH
Wow Wow Wow; love it all from the photo layouts to the lovely projects; and especially all those tips (which are succinct, easy-to-follow, and oh so useful)! You knocked it out of the park. And now I’m off to your blog…
Joan Bardee
Mary, thanks so much!!
jintyoo7
Exquisite cards, and so many tips! Thank you
Joan Bardee
Thanks!
Vikki H
I really enjoyed the blog post and only came here after reading on your blog site. Beautiful cards, wonderful tips, and you may get me to use my Glimmer machine again. It’s been months. I enjoy embossing more than foiling so far and yet the proof of its worth is on your cards!