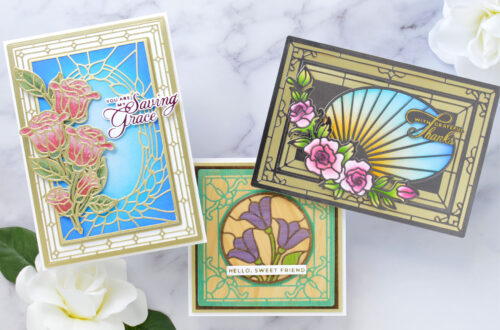
Anemone Blooms with Marie Nicole
Hello there, craft friends! Marie here from Marie Nicole Designs. I am in love with this new Anemone Blooms collection from Spellbinders and I have a few cards to share with you in today’s post.
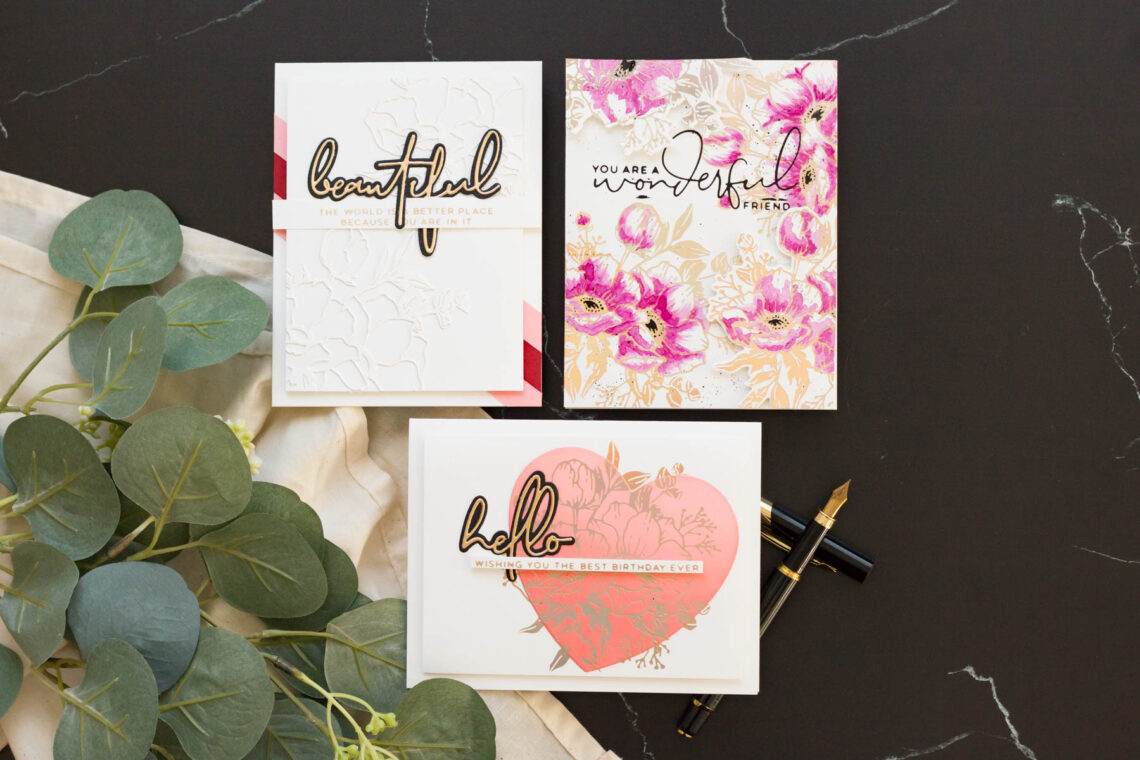
This collection has a great variety of dies, Glimmer plates, gorgeous bloom images, and sweet and snarky sentiments. There is so much variety in this collection that allows you to create so many beautiful cards. Let me share what I’ve created!
A GLIMMERED GARDEN
First of all, how gorgeous is this large Glimmer plate with these Anemones? They are a perfect size for creating a simple focal point or glimmering a number of them to layer over a card front.
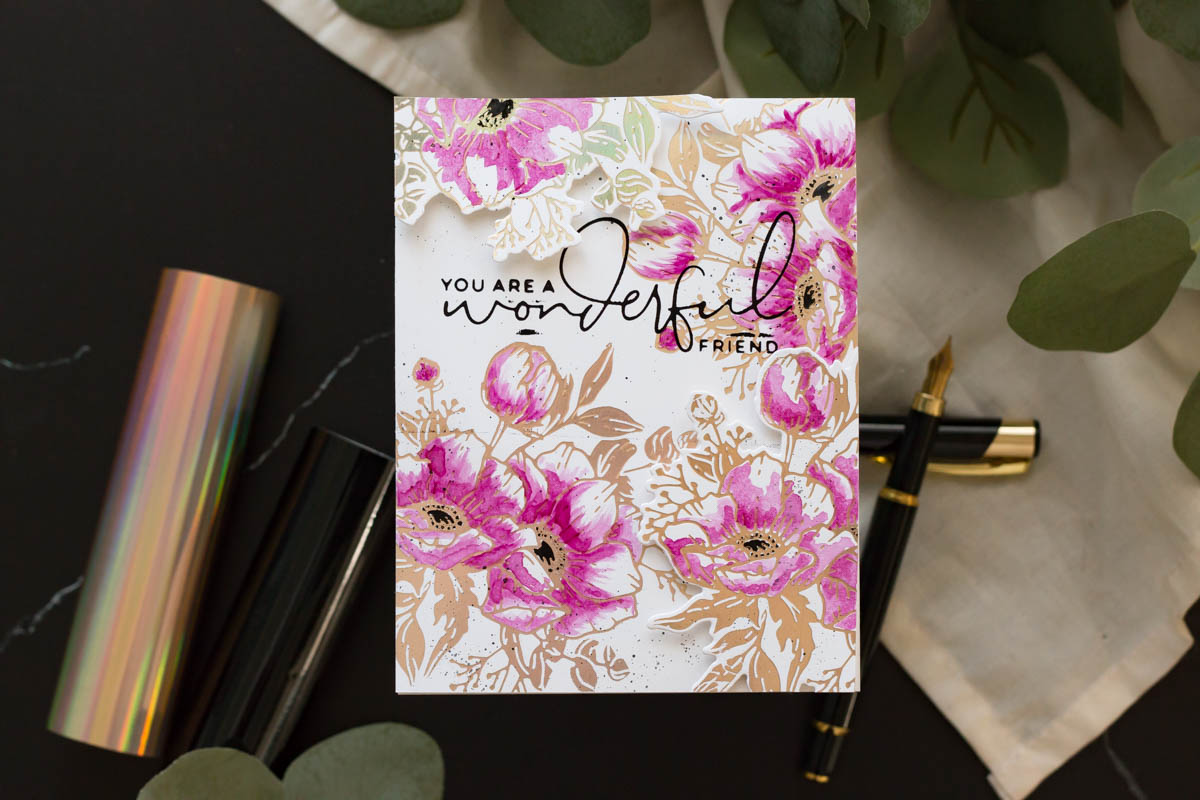
I used the Anemone Glimmer plate with the Aura foil on my card base. I placed one large bloom image in the lower left, and one in the upper right. Then, I glimmered the Anemones about two more times. I planned on layering these over the card base but first I wanted to add the sentiment on the bottom layer.
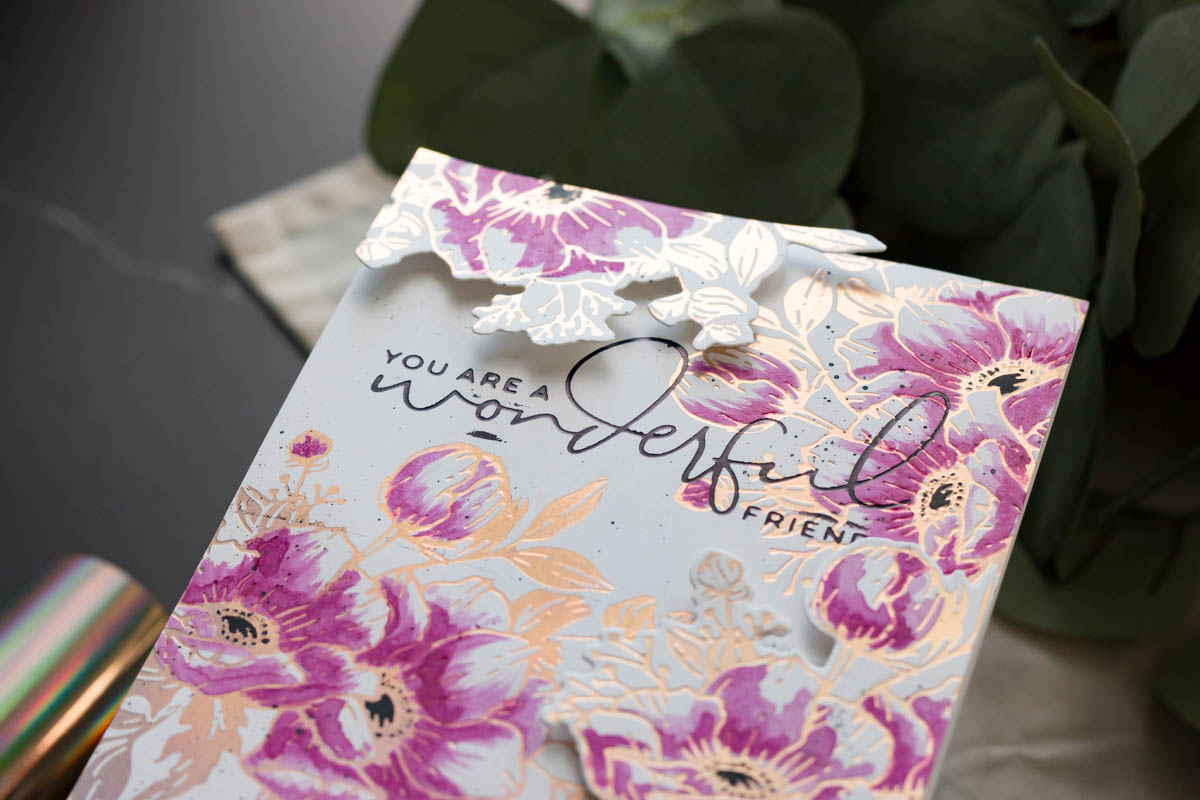
For the sentiment, I used the Hello, Friend Sentiments. These glimmer sentiments are such a lovely, scripty font and they have other little words that you can mix and match to build your sentiment. The glimmer plates are also designed so that you can align all the little pieces easily to ensure that it will be in the right place and straight. I love that.
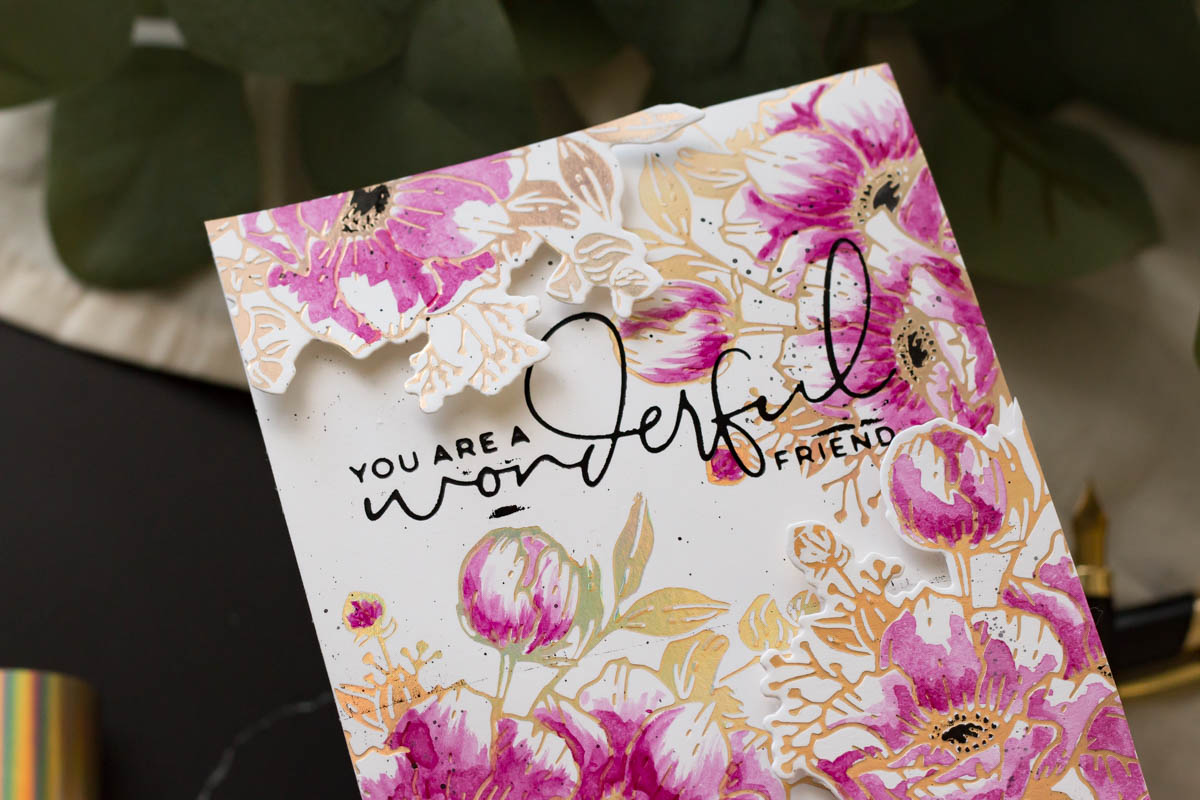
I glimmered the sentiment in black foil, and then used my glimmered Anemone blooms to fill in some areas that I wanted to cover with flowers. I popped these pieces up on foam adhesive for some dimension, and I colored all the blooms using some watercolor and a brush.
SUBTLE OUTLINES
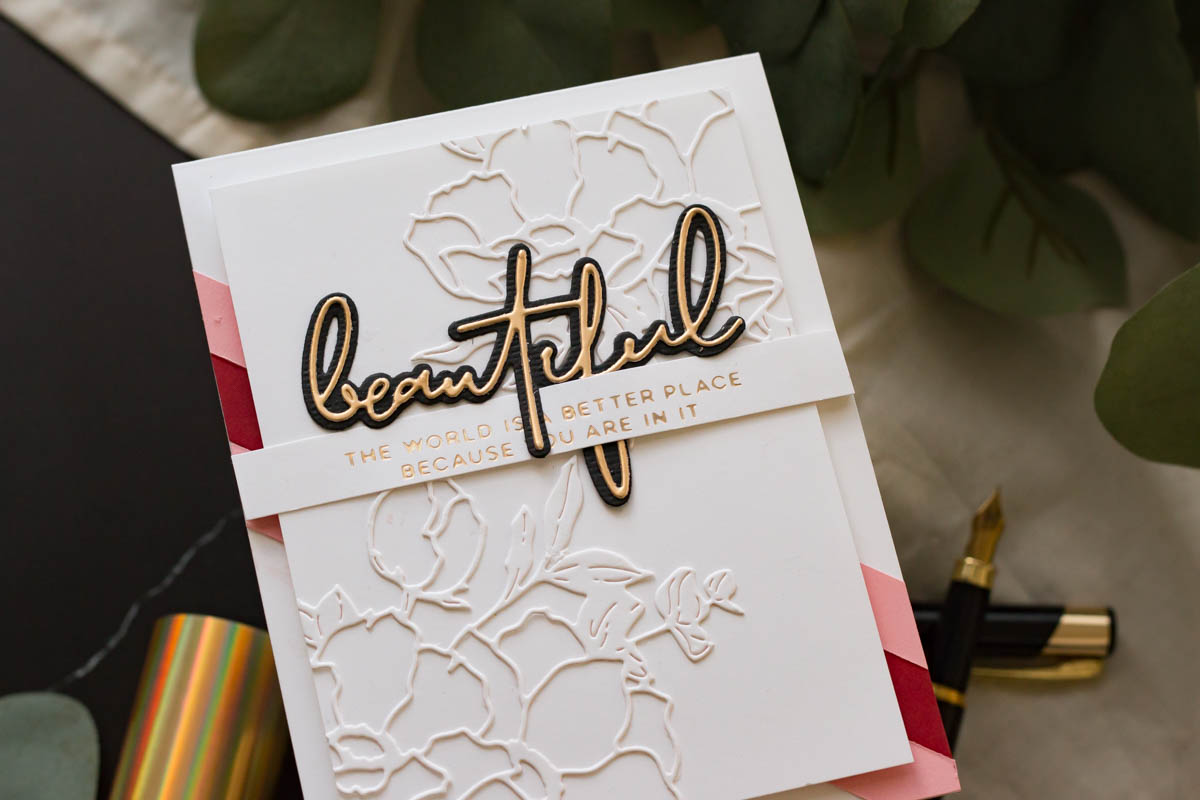
The Anemones Etched Dies from this collection are beautiful and there are so many techniques you could do with them! For this card, I decided to use the die-cut outline and adhere it to my white cardstock for a subtle tone-on-tone look. It almost gives the impression of an embossed background without an embossing folder.

You could cut this die out of several colors of cardstock and then piece it back together for a beautiful colored bloom if you chose to!
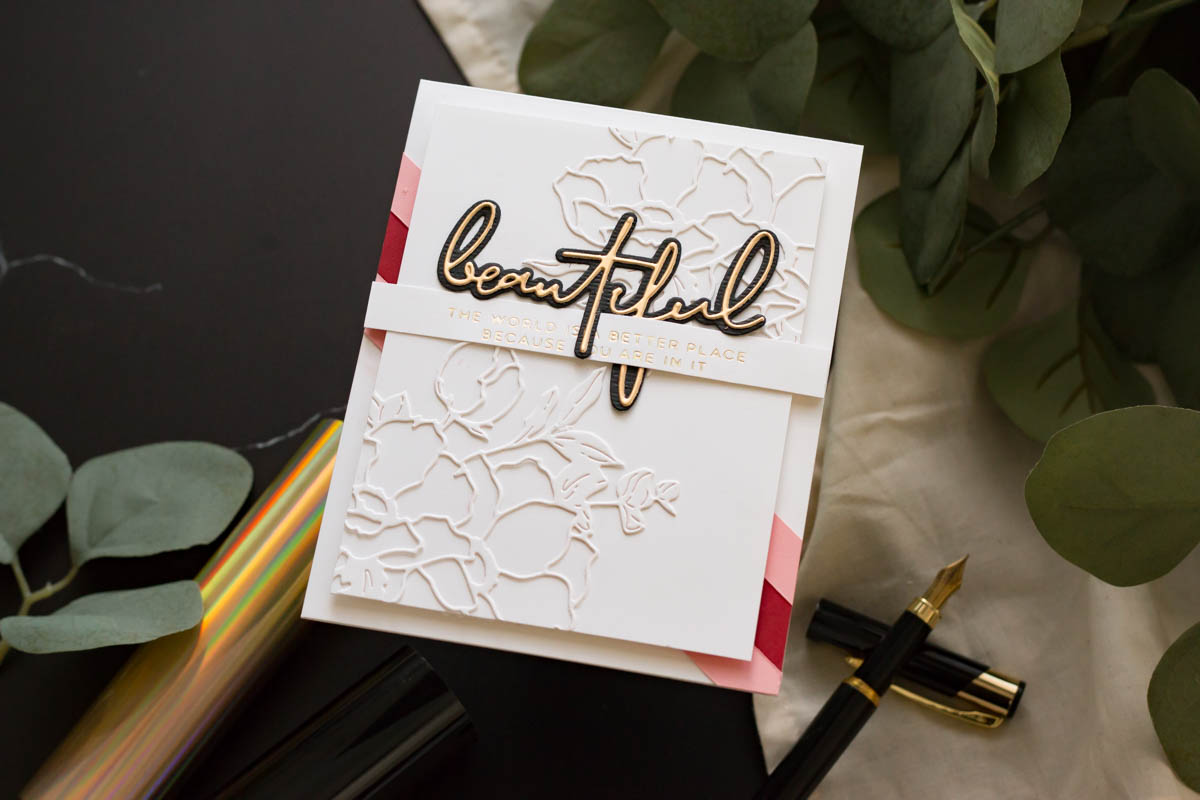
For this card, I simply popped up the panel with the die-cut outlines on it over a card front that I added a few strips of colored cardstock to. Then, I added the sentiment using the Wonderful Script Sentiments Dies and the Inside Card Glimmer Sentiments (which you can obviously use inside the card but I added it to the front).
SIMPLE SPOTLIGHT
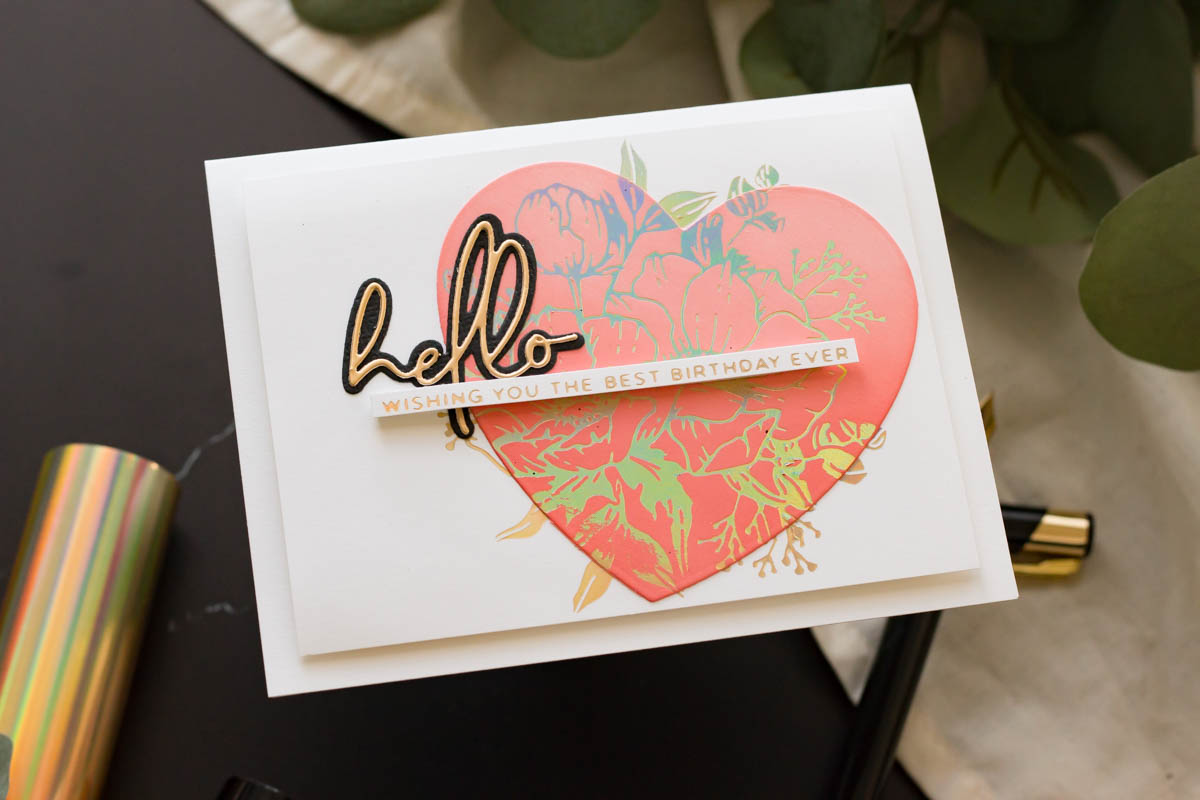
The last card for my post today features a clean and simple card. I glimmered the Anemone Blooms on a white card front again using the Aura foil. I then ink blended on a large heart and glimmered the same image over it. The whole image doesn’t quite fit on my heart, but I was able to line it up with the image on the card. This creates a heart-shaped spotlight on the front of my card and also gives the illusion of the glimmered image continuing off the sides of the heart. It’s simple, but I love the simplicity of it.
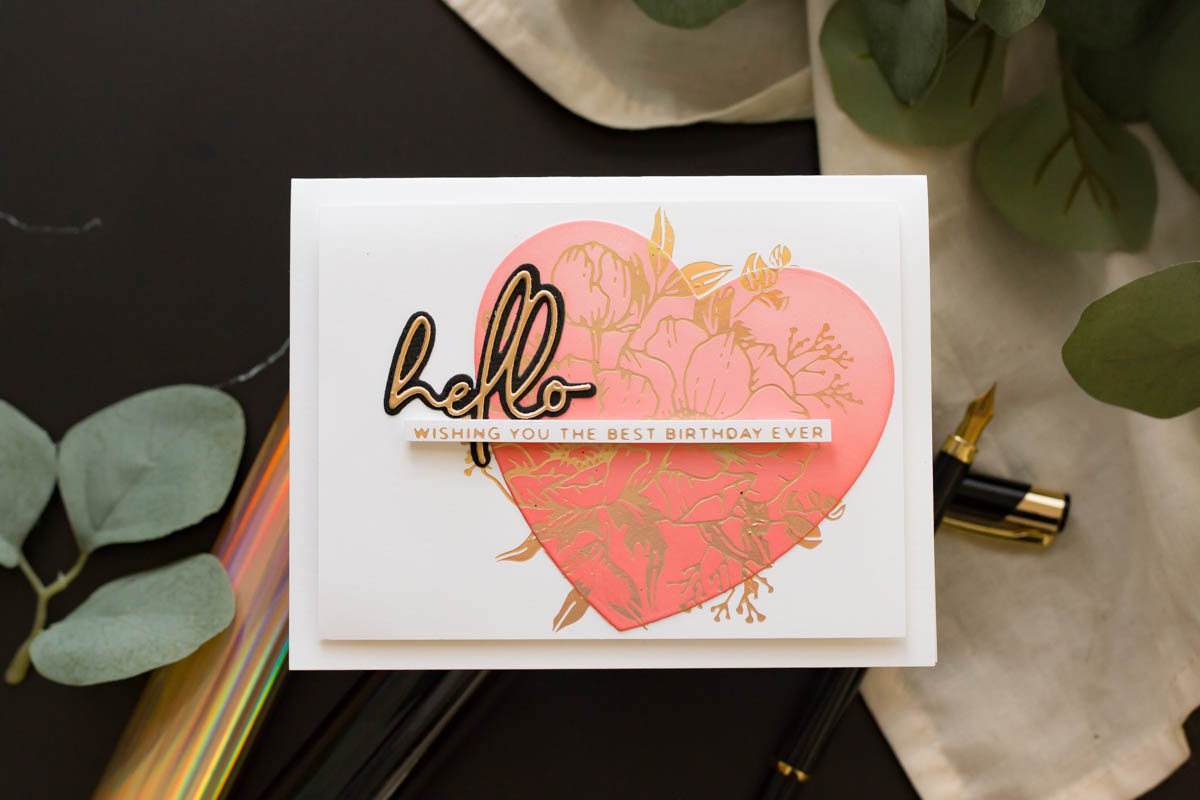
In keeping with the clean and simple theme of this card, I added the simple “hello” die-cut sentiment and added the glimmered sentiment strip over it. I then popped the whole front panel on foam adhesive to add to a card front.
There you have it, friends! Three cards using the Anemone Blooms collection. I hope this will help give you ideas on how you can use this collection in your own craft space! There really are so many different techniques you could do with these.

Thanks for joining me today,
Marie Nicole
Spellbinders Supplies:

Other supplies
Foam adhesive, liquid adhesive, white cardstock, colored cardstock, watercolors, paintbrushes

One Comment
Joan Bardee
they are all beautiful!