Layered Stencils 3 Ways with Jung AhSang
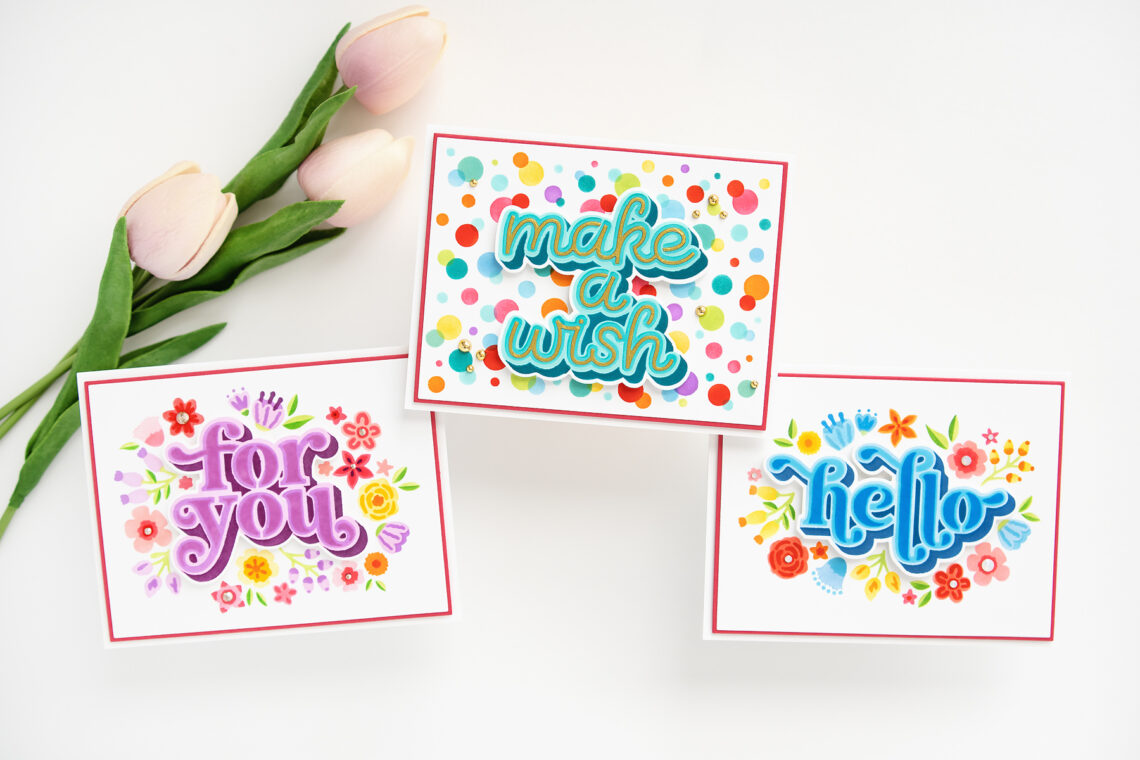
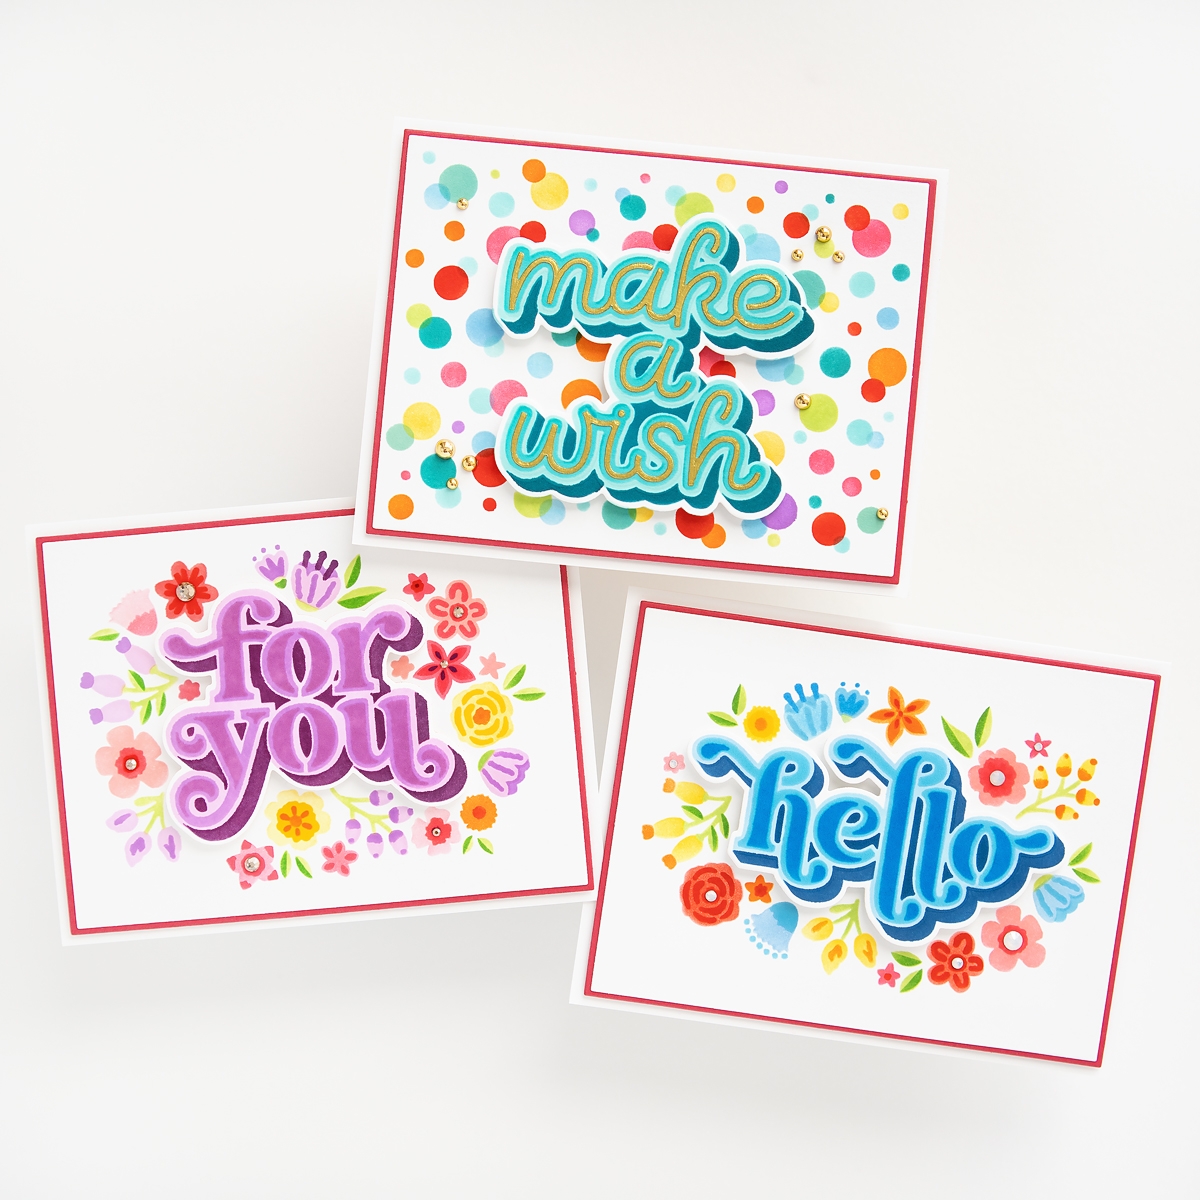
Hello crafty friends! It’s Jung here, and I am back with another guest post on the Spellbinders blog. Today, I made 3 cards using the Layered Stencils collection. I have been loving stencils for adding color, and this collection is stunning. Each of the sets comes with 4 layering stencils, as well as a solid sentiment mask. There are also coordinating dies that will die cut the large sentiment; some even have coordinating dies for a few of the florals.
I made all three of my cards in the same way. First, I started out by stenciling the sentiment. I masked off the motifs around it to work on the large sentiment. There are 4 layering stencils, and they are numbered in the bottom left-hand corner. For my inking, I started off stencil number 1 with the lightest color, working my way to the darkest on number 4. I used the coordinating die to die-cut the sentiment.
For the motif background, I followed the stencils in order. When I started with stencil number 1, I used the solid sentiment mask that comes with the set. I put a little bit of removable adhesive behind the mask, and kept it there on the background, even when moving to the next stencils. I used different colored inks for the flowers and confetti. I didn’t have any pattern, I just used the colors I liked, making sure to use the color that I used for the sentiment somewhere in the mix. Since the flowers and confetti are close together, and I didn’t want my ink to get blended to the next motif, I used a little bit of tape here and there to mask off different flowers.
Once the backgrounds were done, I trimmed them using an A2 precision layering die. Then, I adhered the sentiment with foam tape. I created a mat with wild berry cardstock for each of the cards using another A2 layering die. I adhered them to an A2 white card base with thin foam tape. To finish off the cards, I added gems to the centers of the flowers and gold embellishments to the confetti.
For the first card, I used the Layered Floral Hello set.
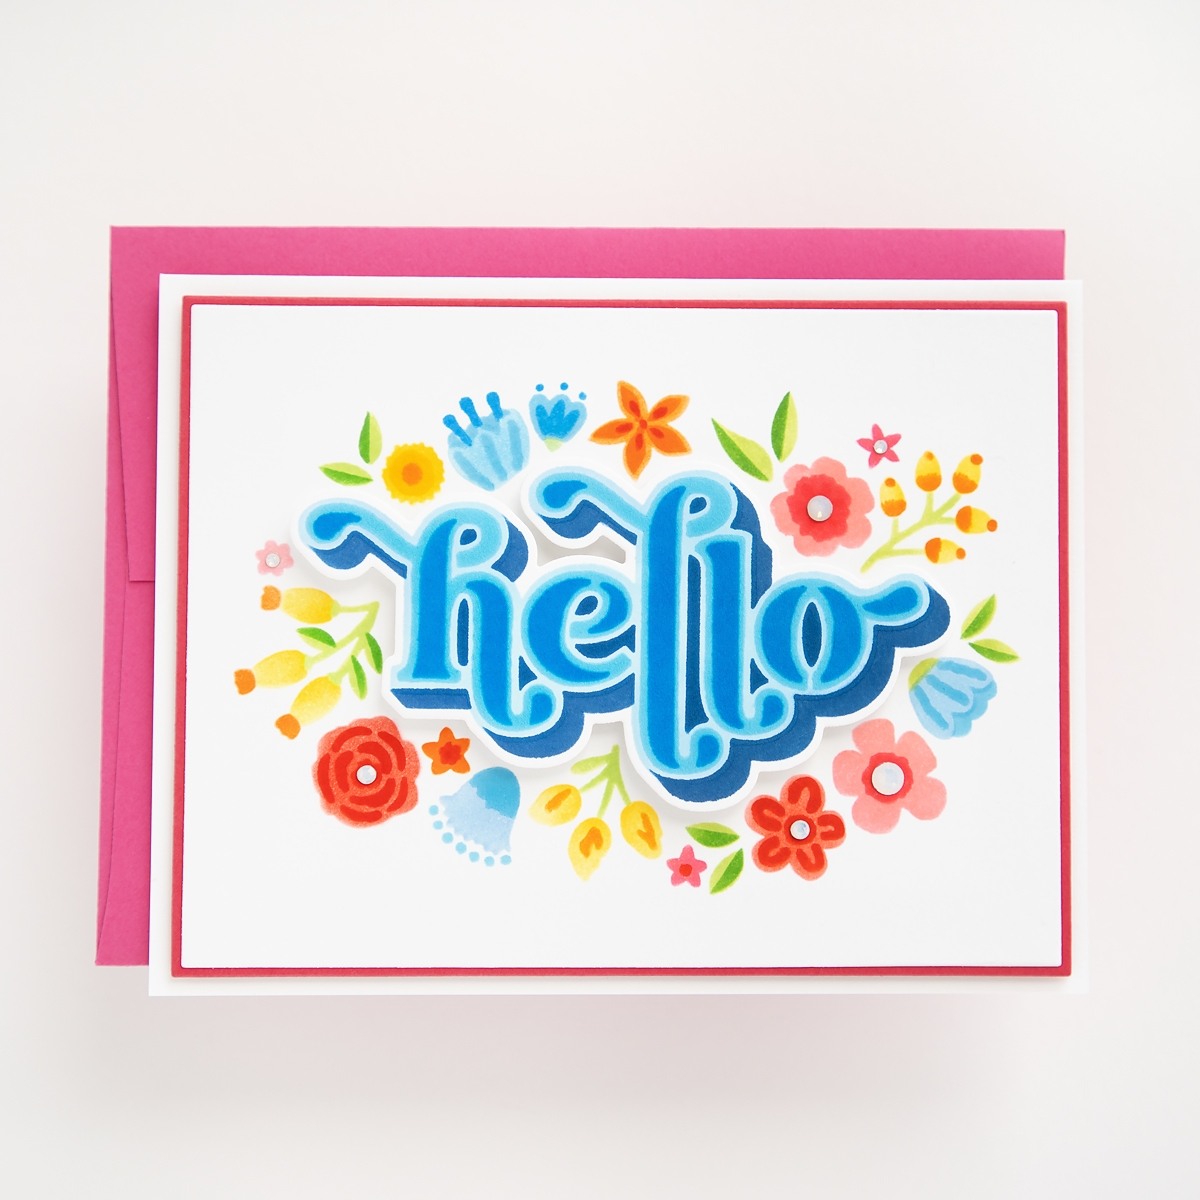
I used blue for this sentiment, for a pop of color. When I stenciled the floral background, I made sure to make a few of the flowers blue as well. The colors in this card remind me of Texas wildflowers in the springtime.

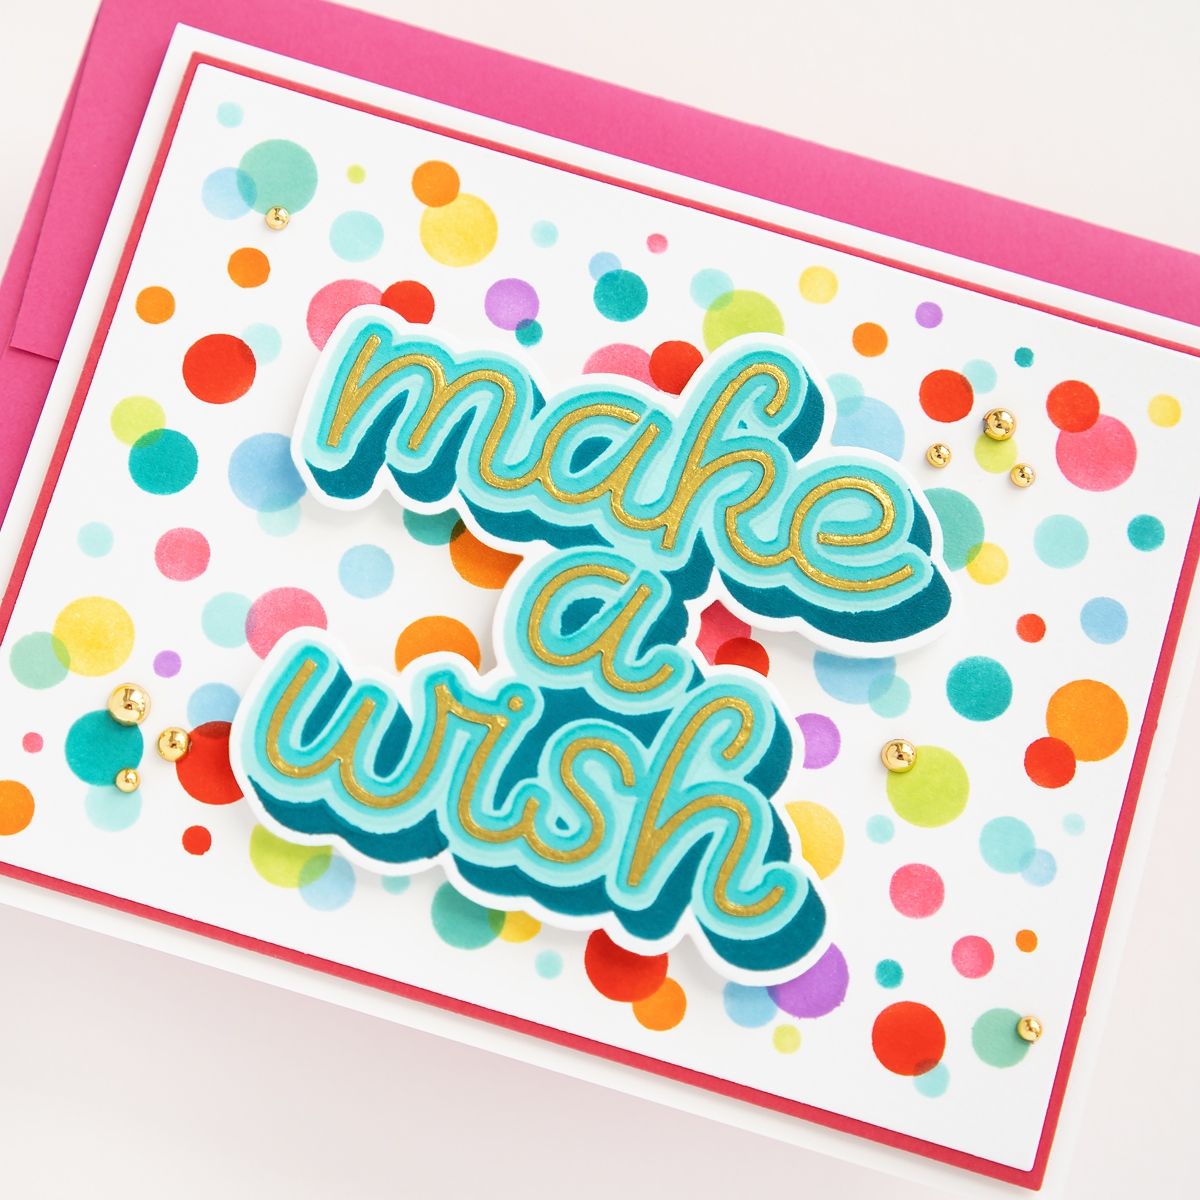
For my second card, I used the Layered Make a Wish confetti set.

I used aquas and teals for this sentiment. One thing I did differently with this card, is I used Lunar paste in the color sike! for one of the stencils instead of an ink color. I used a little art palette knife to smear the lunar paste over the stencil. I removed the stencil (cleaned it right away), and made sure to let it dry completely before die-cutting. I love the way the gold pops, and since it’s raised, it gives a bit of texture as well.
For my third card, I used the Layered Floral For You set.

I used pretty purples for the sentiment. I love this color palette for the flowers, and I wanted something bold for the sentiment. This set has a variety of layering flowers, which was so fun to see come together.

I absolutely loved working with these stencils and creating these cards. I made a tester card to get a feel for how the stencils fit and worked together. Once I got the hang of it, the only hard part was deciding which colors to choose! These Spellbinders layering stencils are so detailed, it makes it easy to put together a card.
I hope you got some inspiration from my cards and blog post today. Make sure to head over to the Spellbinders site to check out these beautiful products. Thanks so much for stopping by.
Spellbinders Supplies:

Other Supplies
Colored inks.
Four Petal Wonderful Tulips Foiling & Stenciling Step-by-Step
Susan’s Autumn Flora Collection – Relaxing the Rules