Stitched Numbers and Punctuation Inspiration With Jennifer Kotas
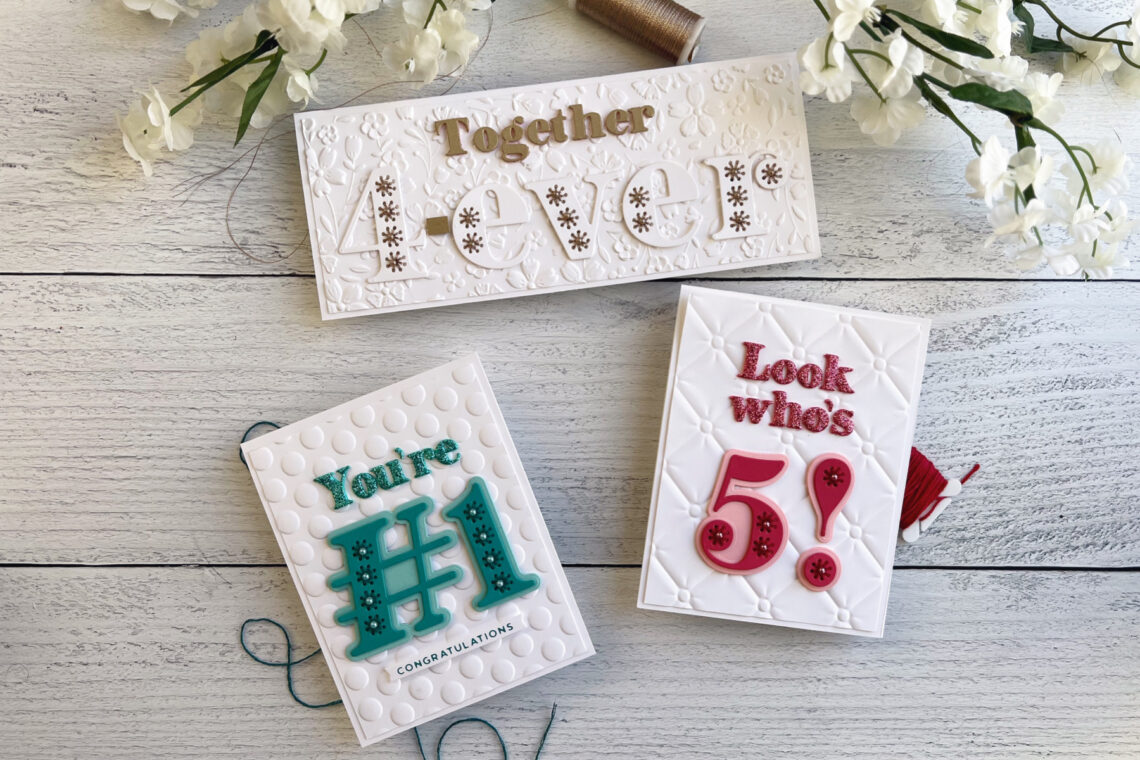
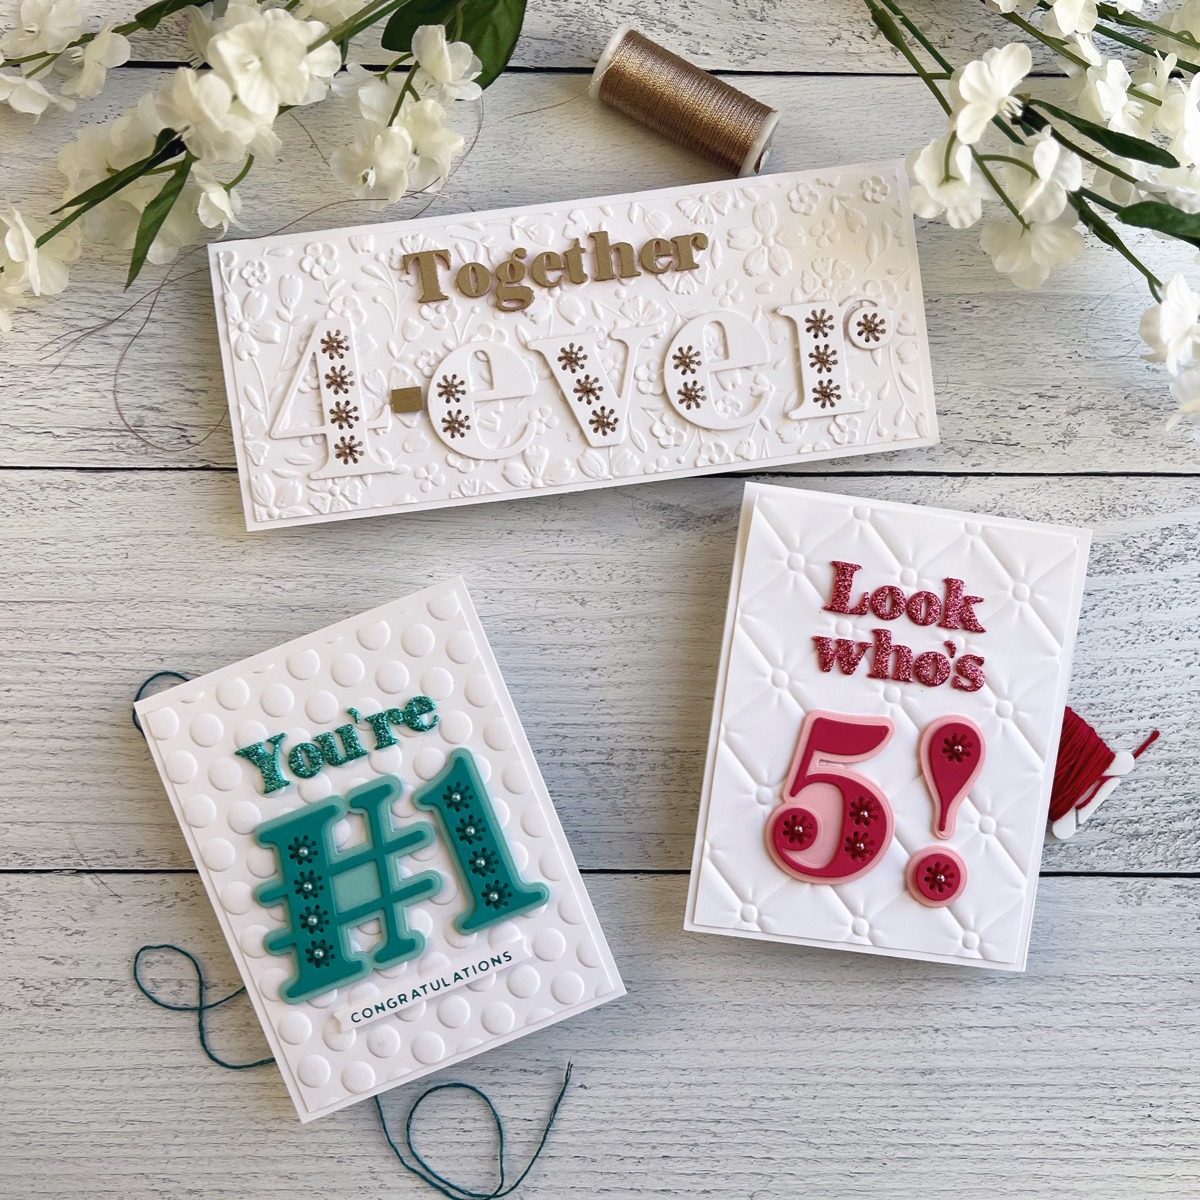
Hello! I’m Jen Kotas from Who Stole My Glitter and I’m happy to be here today to share three cards featuring the Stitched Numbers and More Collection. I absolutely love stitching on cards and these new numbers and punctuation complement the stitched letters and are a new favorite.
The instructions for each card are mostly the same so I’ve written them out only once, making note of differences.

- Die cut the stitched number, punctuation, and letter dies from Stitched Numbers and Stitched Punctuation and Symbols Etched Dies out of the desired color of cardstock twice and adhere them together. I used Snowflake, Wild Berry, and Lagoon.
- Stitch the die cuts with desired thread. I used three strands of floss at a time for the regular floss and two strands for the metallic.
- Die cut the shadows for two of the cards from a lighter shade of the same color. I used Pink Sand and Teal Topaz.
- Adhere stitched die cuts to shadows using a combination of strong adhesive tape placed over the cut ends to keep everything in place and liquid glue. Place something heavy on top while the glue dries.

- Die cut the words from Be Bold Uppercase and Be Bold Lowercase Etched Dies out of glitter foam using the dies. I used Glitter Bright Pink and Glitter Teal. I created an apostrophe by cutting off an end of the braces from the Be Bold Punctuation Etched Dies .
- Emboss white cardstock cut slightly smaller than the A2 and slimline card bases. Adhere to cards with strong adhesive tape. I used Flower Frenzy, Puff Dotty, and Tufted 3D Embossing Folders
- Use a straight edge to line up the letters for each word then hold them together with a piece of Best Ever Craft Tape 0.25”. Add liquid glue to the back and place on the card using a t-square to line everything up.
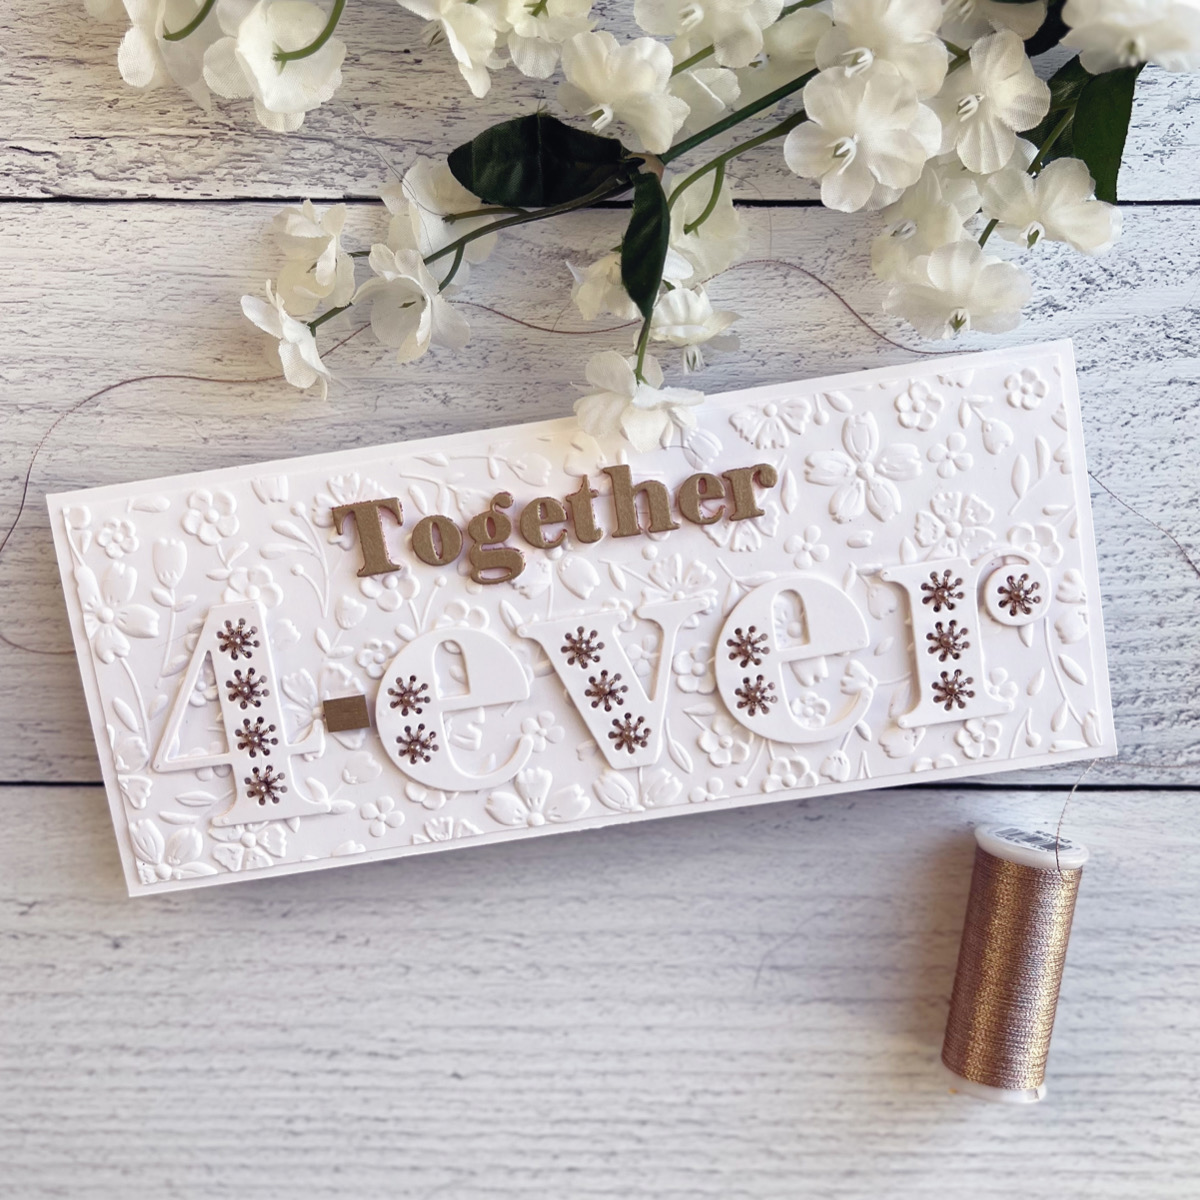
- Add the stitched letters to the slimline card using the instructions in step 4. Add the shadowed letters to the other cards with White Foam Adhesive Squares 1MM.
- Finish the cards with a Fashion Color Essential Pearl Dot in Taupe, Topaz and Rouge.
Spellbinders Supplies:

Other Supplies
Embroidery Floss, needle, 1/4” and 4” Adhesive Roll, Bearly Arts Precision Glue, T-Square.
You can see more card-making tutorials, including stitched cards on my blog, Who Stole My Glitter, or visit my Instagram page for more inspiration. Thanks for visiting!
Let’s Get Realistic … With a Modern Twist!
Card Club Kit Extras! February 2019 Edition