Hexi-Gems Collection – Card Inspiration with Annie Williams
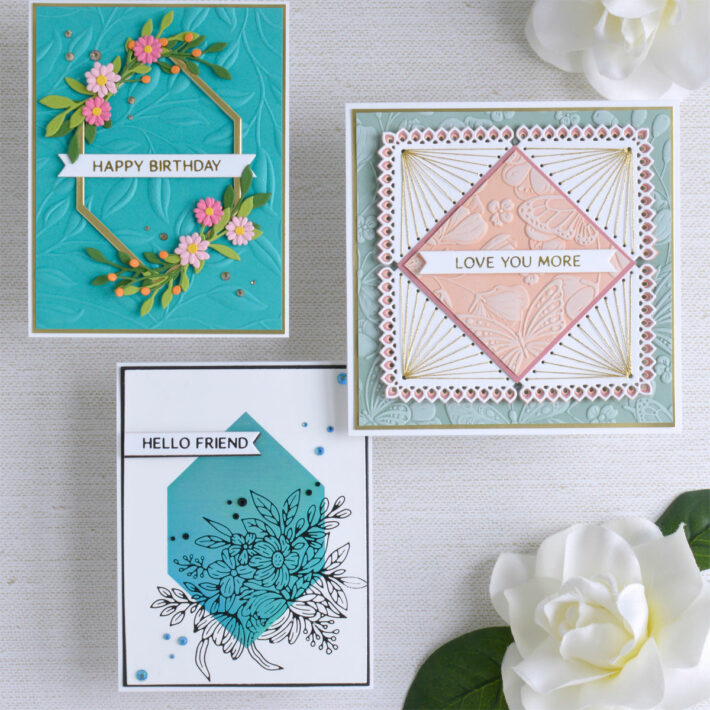
Hi there, this is Annie Williams and I’m excited to be back on the blog today to share a couple of projects using the new Hexi-Gems Collection from Spellbinders. I loved playing with different ways to use this fun new shape in my cardmaking and was inspired to create a couple of pretty cards in three different styles.
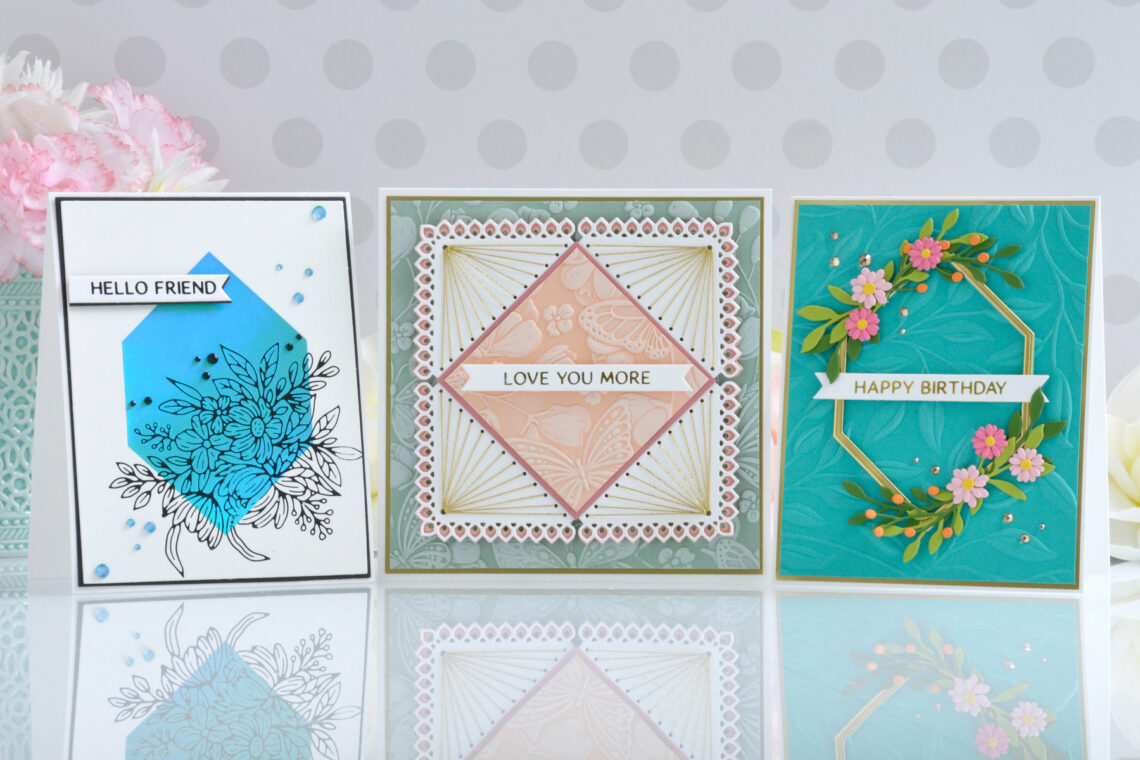
Sleek and Modern Friendship Card
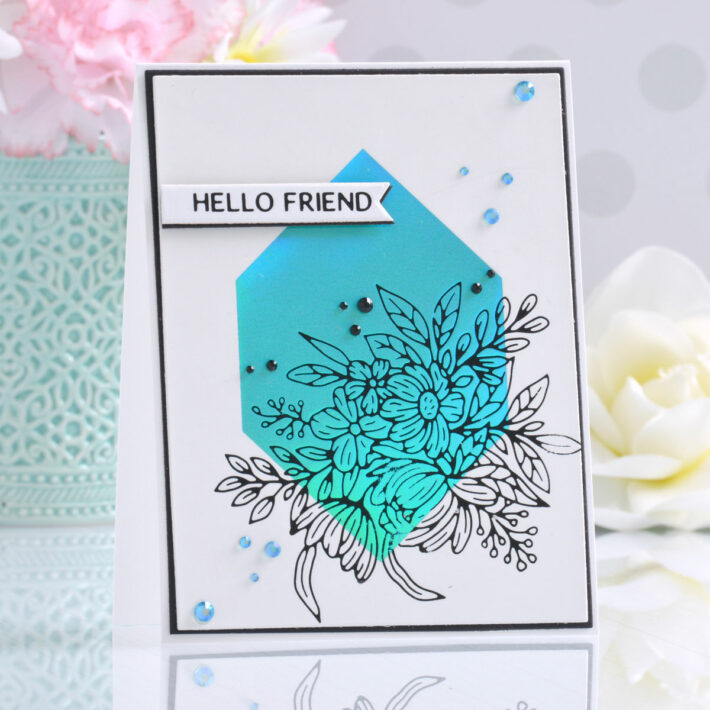
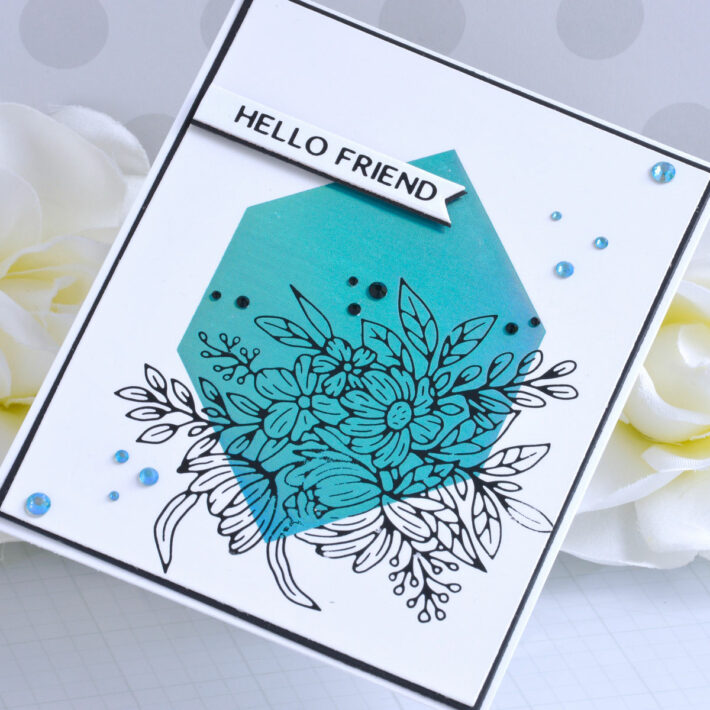
Since we’re working with “gems” here, I pulled out my favorite color of Glimmer Hot Foil to use with the new Hexi-Gem Glimmer Hot Foil Plate. Moondust Hot Foil creates an amazing iridescent finish that reminds me of blue topaz. Here I did some simple foiling for a sleek look perfect for sending a quick hello to a friend.
I started by applying Moondust Hot Foil to Glimmer Specialty Cardstock using the Hexi-Gem Glimmer Plate. Once cool, I added the floral design right on top using some Opaque Black Hot Foil and the Hexi-Gem Blooms Glimmer Plate. The foiled panel was trimmed to 4” x 5.25”, matted with Onyx Cardstock, and adhered to a top-folding A2-sized white card base.
For the sentiment, I applied Opaque Black Hot Foil to white cardstock using the Hexi-Gem Sentiments Glimmer Plate and cut them all out with the coordinating die. To create the shadow layer, I then cut some Onyx Cardstock using the coordinating die and adhered it behind the sentiment banner slightly offset. A mix of Aquamarine AB and Onyx Color Essentials Gems finish off this easy card.
Stitched Love Card
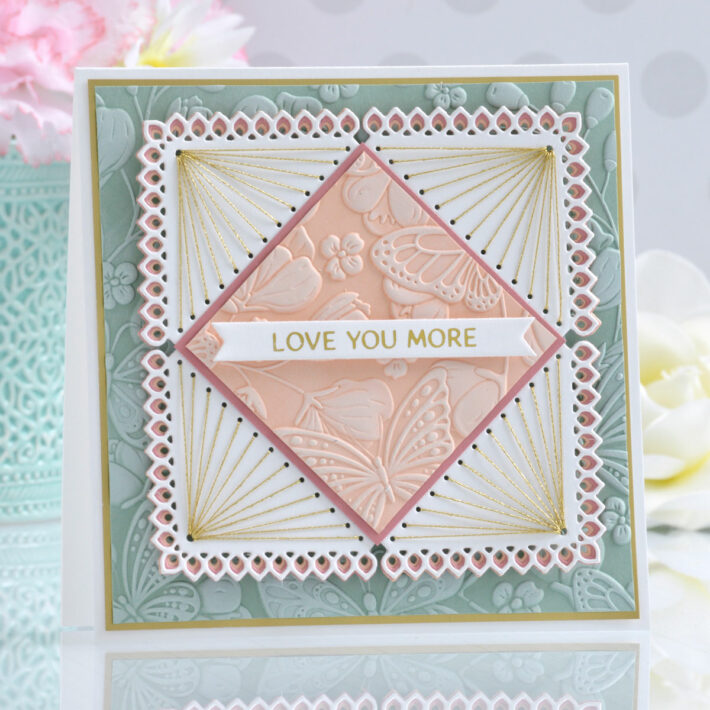
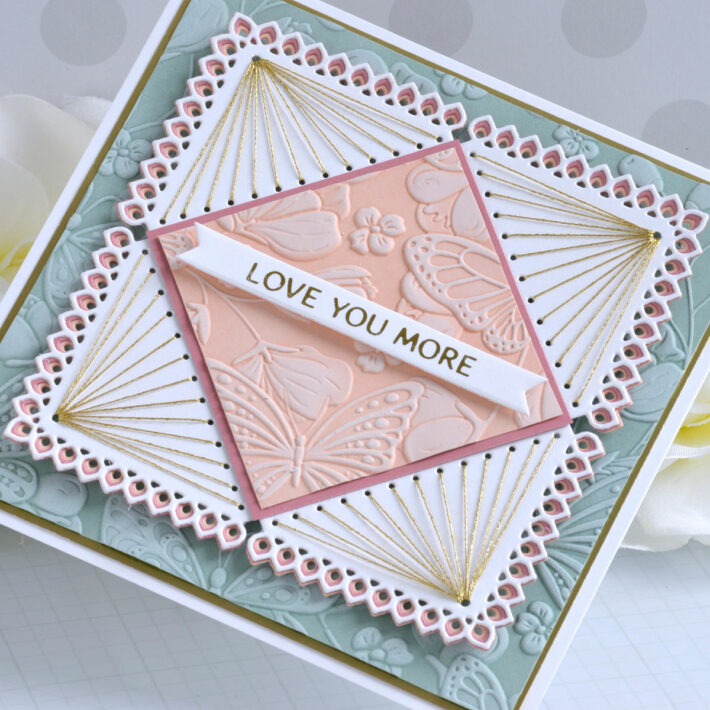
Next, I wanted to create a more shabby chic-inspired card, so I pulled out some muted cardstock colors and played around with the arrangement of my gem shapes for this soft and pretty stitched love card.
I started by cutting my four corners out of white cardstock using the Stitched Kaleidoscope Hexi-Gem Die Set and stitched the top portion only with gold metallic thread. Then I added the kaleidoscope layers behind each corner cut out of Velvet Rose and Peach Sorbet Cardstock. A 2.75” square of Velvet Rose Cardstock holds each of the stitched corners in place, creating a fun decorative square panel.
To build the rest of the card, I trimmed a piece of Sage Cardstock to 5.25” square, embossed it with the Beautiful Butterflies 3D Embossing Folder, rubbed a white ink pad over the raised surfaces, matted it with Mirror Gold Cardstock, adhered it to a top-folding 5.5” square white card base. I repeated this process to create the center square out of Peach Sorbet Cardstock. A pretty sentiment foiled in gold using the Hexi-Gem Sentiments Glimmer Plate Set finishes off this pretty love card.
Floral Frame Birthday Card
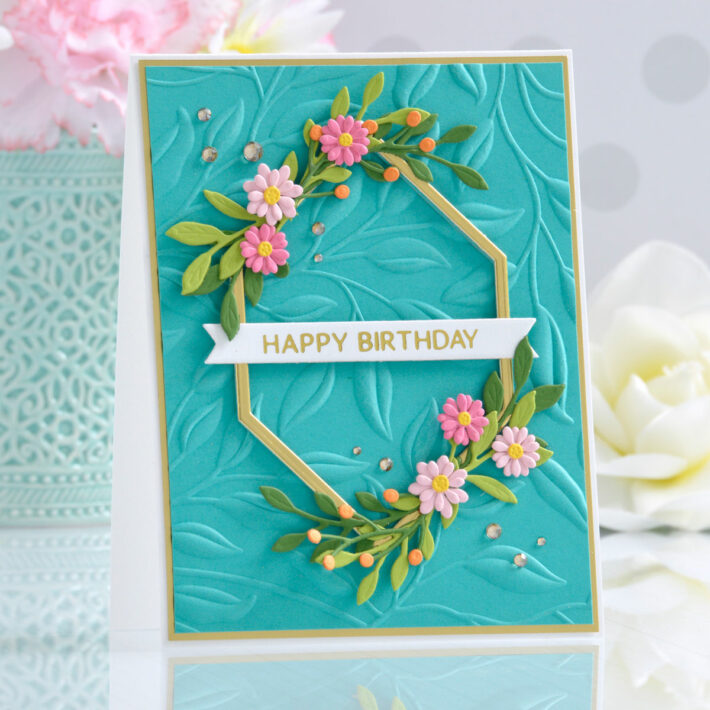
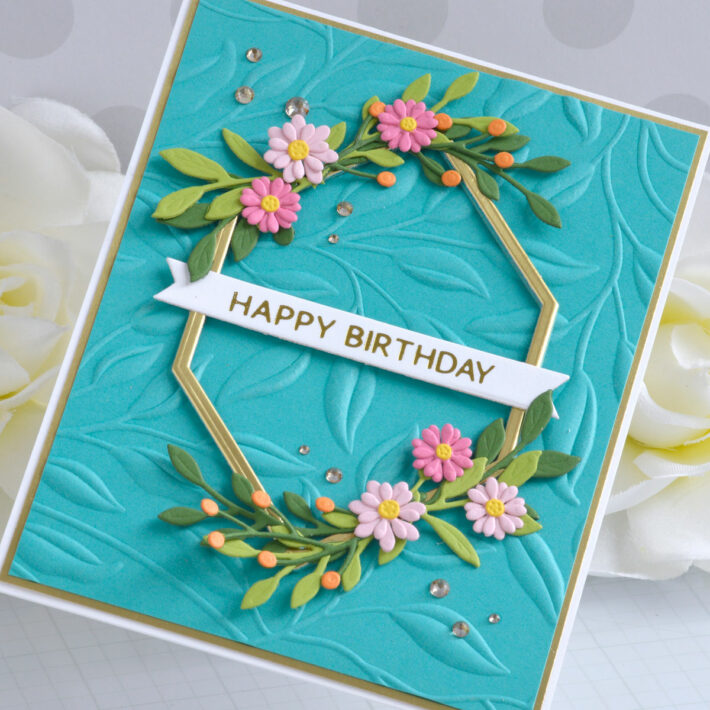
Lastly, I created a pretty floral frame for this sweet contemporary birthday card with tons of color and gold accents!
Using two of the dies from the Essential Hexi-Gems Die Set, I cut Mirror Gold Cardstock once and Teal Topaz Cardstock three times, stacking them with liquid glue to form a sturdy golden frame. I adhered the frame in the center of my card front, which was created by embossing a piece of Teal Topaz Cardstock with the Leafy 3D Embossing Folder and matting it with Mirror Gold Cardstock before adhering it to a top-folding A2-sized white card base.
Another pretty sentiment was foiled in gold using the Hexi-Gems Sentiments Glimmer Plate Set and popped up in the center of the frame with foam adhesive. Then I added bright floral sprigs, cut in shades of pink, orange, and green with the Garden Builder Die Set, to two corners of the frame and embellished with a few Gold Mix Gems.
Spellbinders Supplies:

Other supplies
White heavyweight cardstock, white pigment ink, tape runner, foam adhesive.
I hope you enjoyed these pretty gem-inspired cards and thanks so much for stopping by today. You can find more inspiration over at my blog AnnieBWills.com.

