-
Fabulous Florals with the Fresh Picked Collection
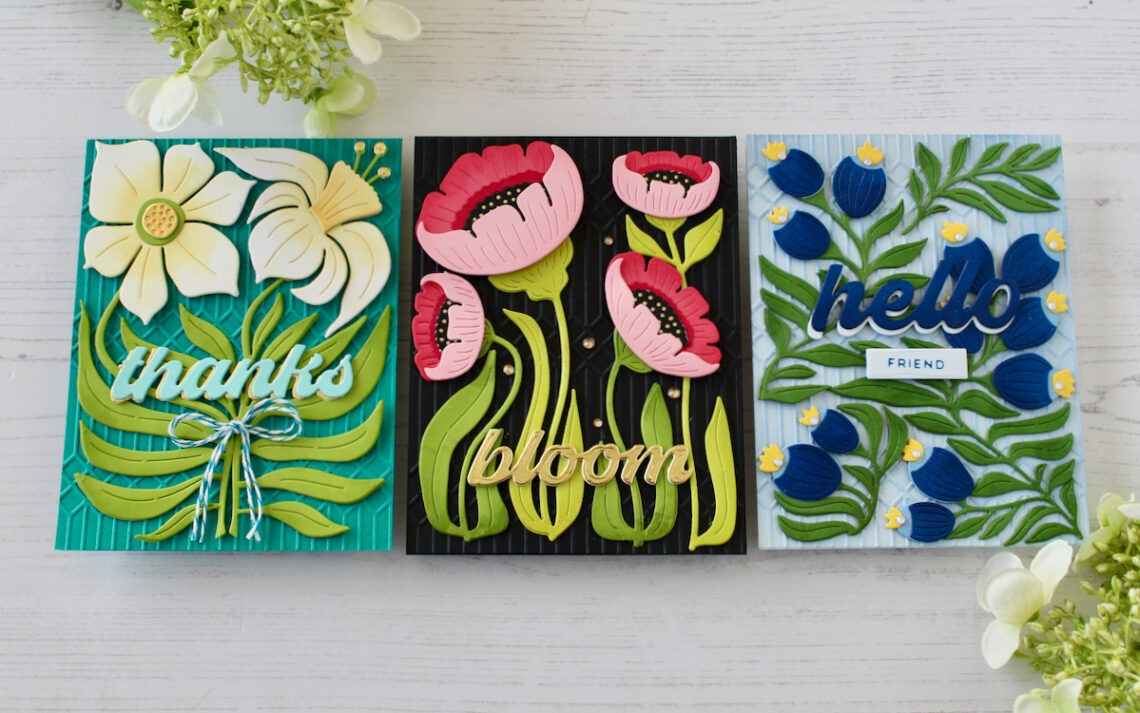
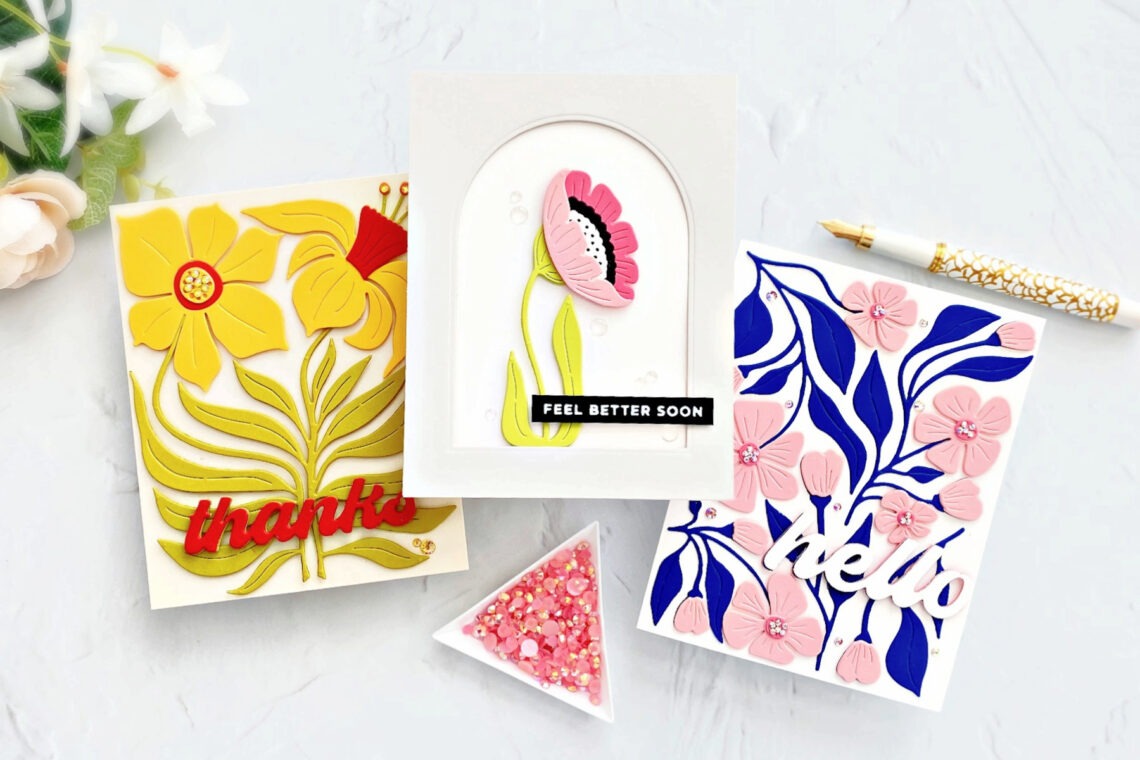
Hello Crafters! It’s Melody Rupple here and I’m excited to be on the blog today to share a few cards I have created with the new Fresh Picked Collection. I love the modern, contemporary feel of this collection. The Fresh Picked Collection includes 4 floral dies, a sentiment die set, and an embossing folder. I have created three cards with the collection. So let’s get started. My first card features the Fresh Picked Anemones Etched Dies. You can create four different Anemones with the die set and you can use them separately or together for different looks. I die-cut the flowers from Pink Sand, Dahlia, and Wild Berry Cardstocks and…
-
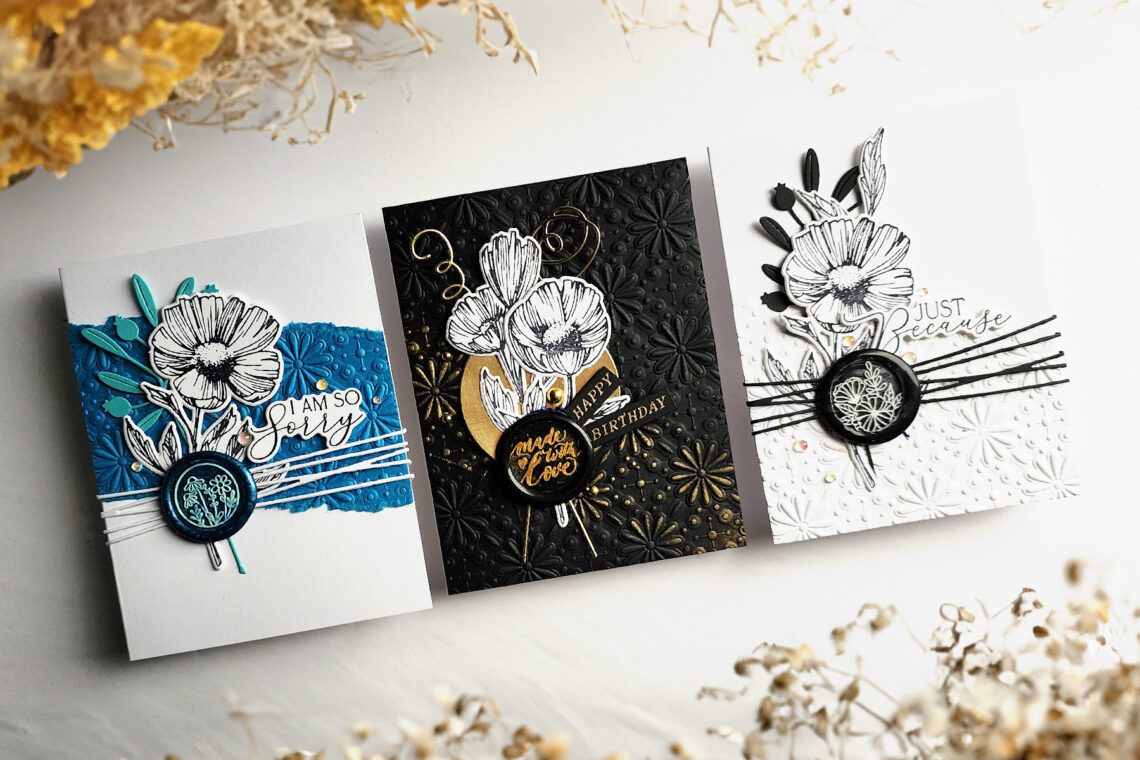
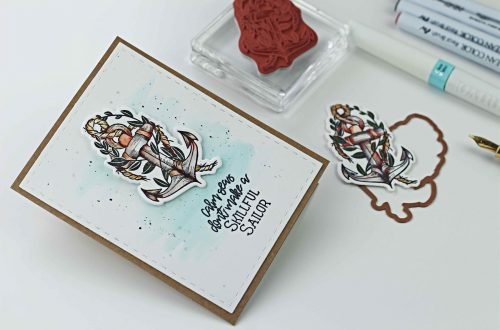
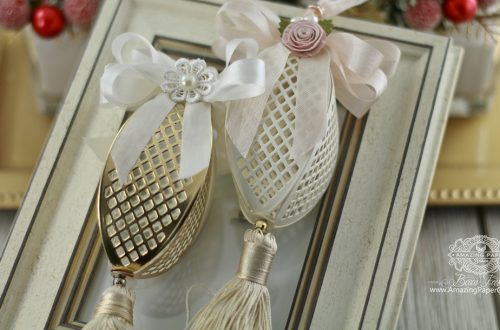
Mixing and Layering Wax Beads to Level Up Your Seals
Hey there! Daniel West, here, with some great tips on mixing and layering wax beads to take your seals to the next level. If we graded this tutorial for difficulty, I would say it ranks a 5 out of 10. I prefer this method of layering seals to coloring them with a marker because it makes for a very sharp and clear seal impression with contrast. It also is permanent and won’t wipe off with your finger. Later in January, I will have a YouTube tutorial on my channel. Instructions for layering waxes on seals: Warm your seal a bit over the flame of your votive candle or just let…
-
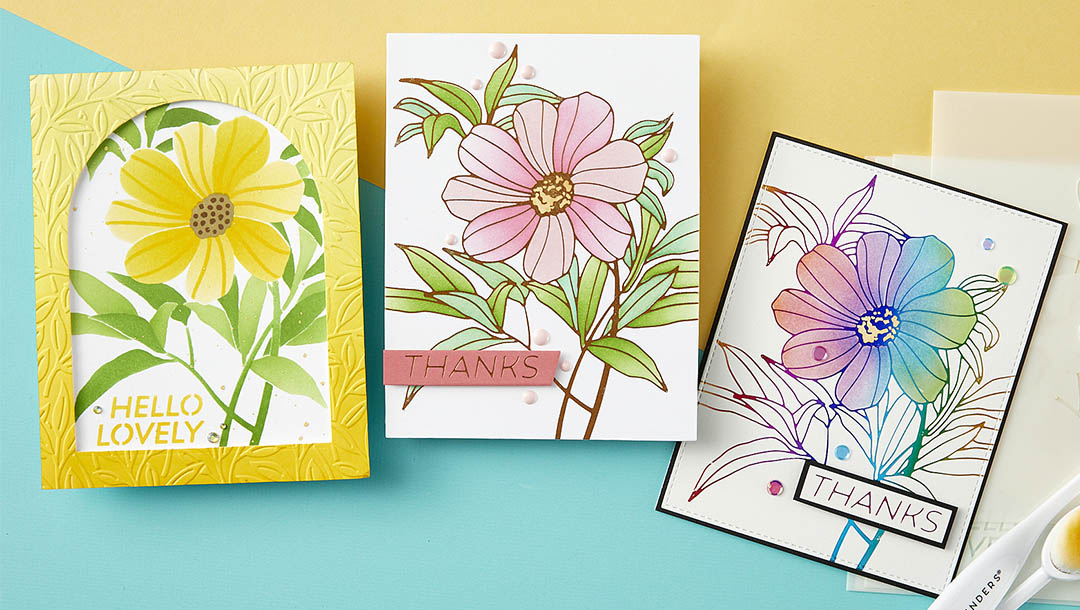
Graphic Stylized Design with The Fresh Picked Collection
Hello crafters! Joan Bardee here to share some fun colorful cards made with the Fresh Picked Collection. Recently I’ve seen a lot of graphic stylized designs – large florals, fruits, or other images – manipulated so that they fit into a rectangle or other shape like a puzzle. Some describe this design as mid-century modern. You can see examples by checking out my Pinterest page here. In addition, the November Large Die of the Month Towering Blooms is also in that style. The Fresh Picked Collection has that bold aesthetic and I absolutely love it. The collection consists of 4 die sets – Buttercups, Daffodils, Berries, and Anemones. There is…
-
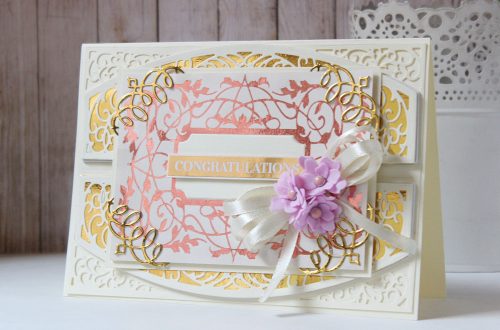
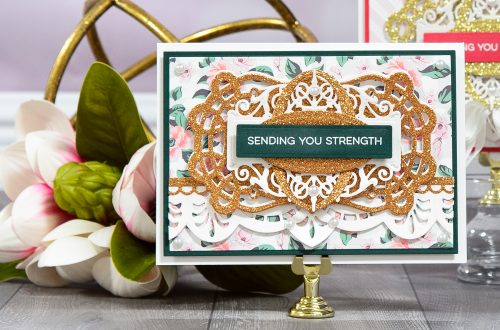
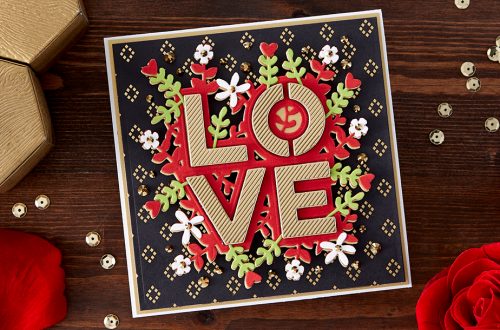
One Collection Three Ways
Hello, crafty friends!! Brenda Noelke here from My PaperCut Creations! I’m so excited to be a guest on the Spellbinders blog again today! I’m sharing three cards featuring the From the Garden Collection designed by Wendy Vecchi!! There are stamps, dies, stencils and shaped dies in this amazing collection!! I LOVE it!! THANKS Layering stencils are all the rage right now and the Garden Party Stencil is absolutely beautiful!! I layered die inks onto two panels of white cardstock through the Garden Party Stencil with blending brushes, then stamped the outline with black dye ink using the Garden Party Clear Stamp & Die Set. I used the Coordinating Die included…
-
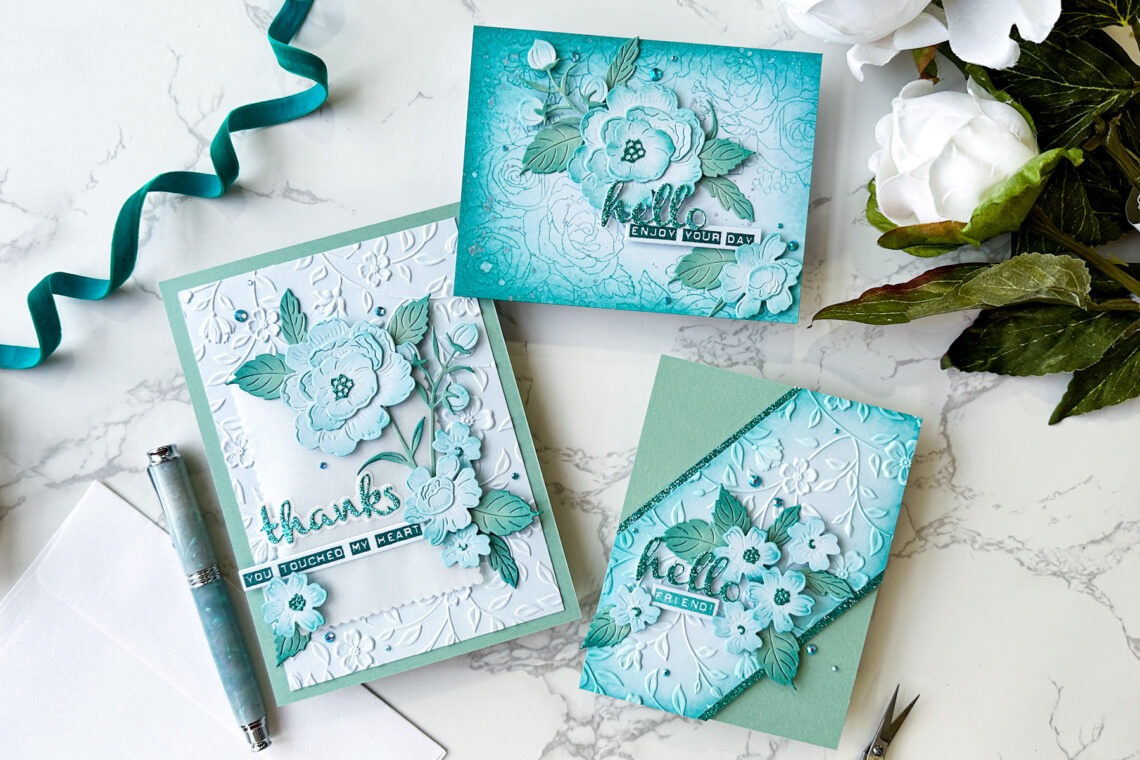
Beat the Winter Blues with Flowers From the Garden
Hi friends! Emily Midgett here on the Spellbinders Blog today, and I’m super excited to be sharing some soft and elegant inspiration using the stunning new From the Garden collection by Wendy Vecchi. I am a sucker for anything floral, and these beautiful floral images from this collection have stolen my heart! Let’s get started with the details. Whenever I am working with a group of coordinating products, I find it such fun to create a coordinating card set using similar colors but tweaking the layout and products used. Keeping the color scheme the same throughout the set helps keep everything cohesive! Blue is one of my favorite colors, in…
-
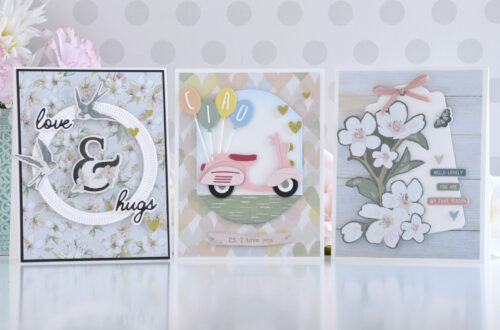
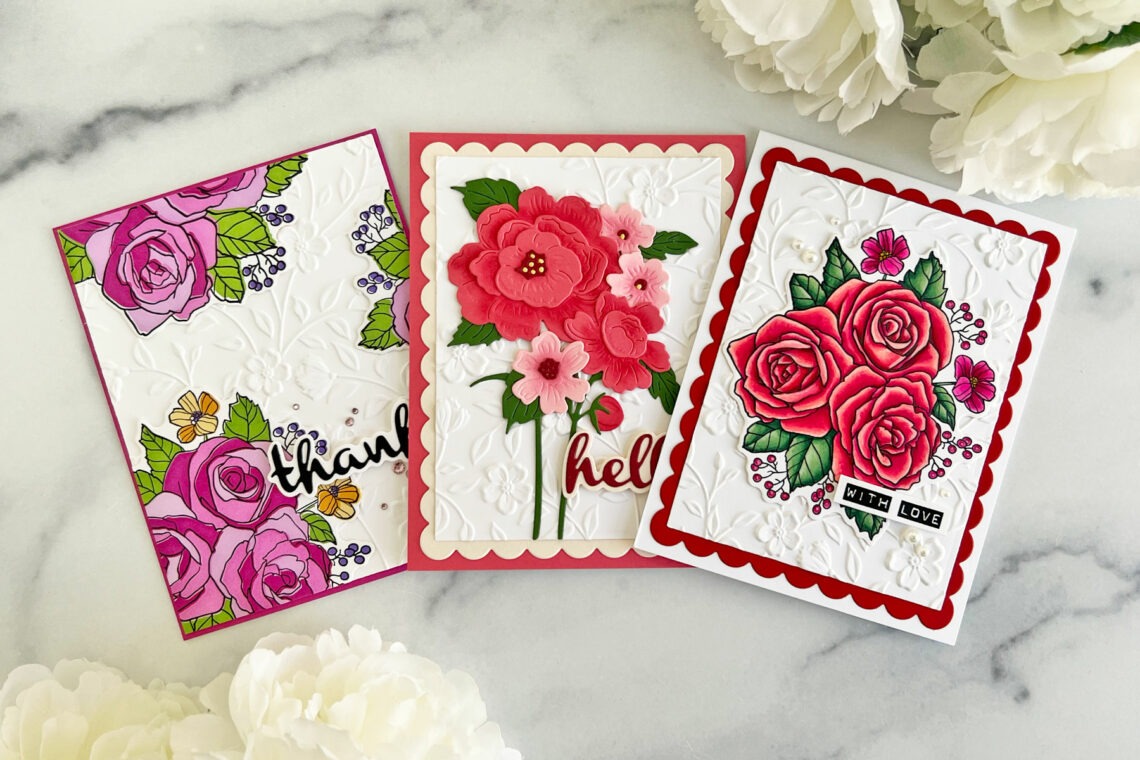
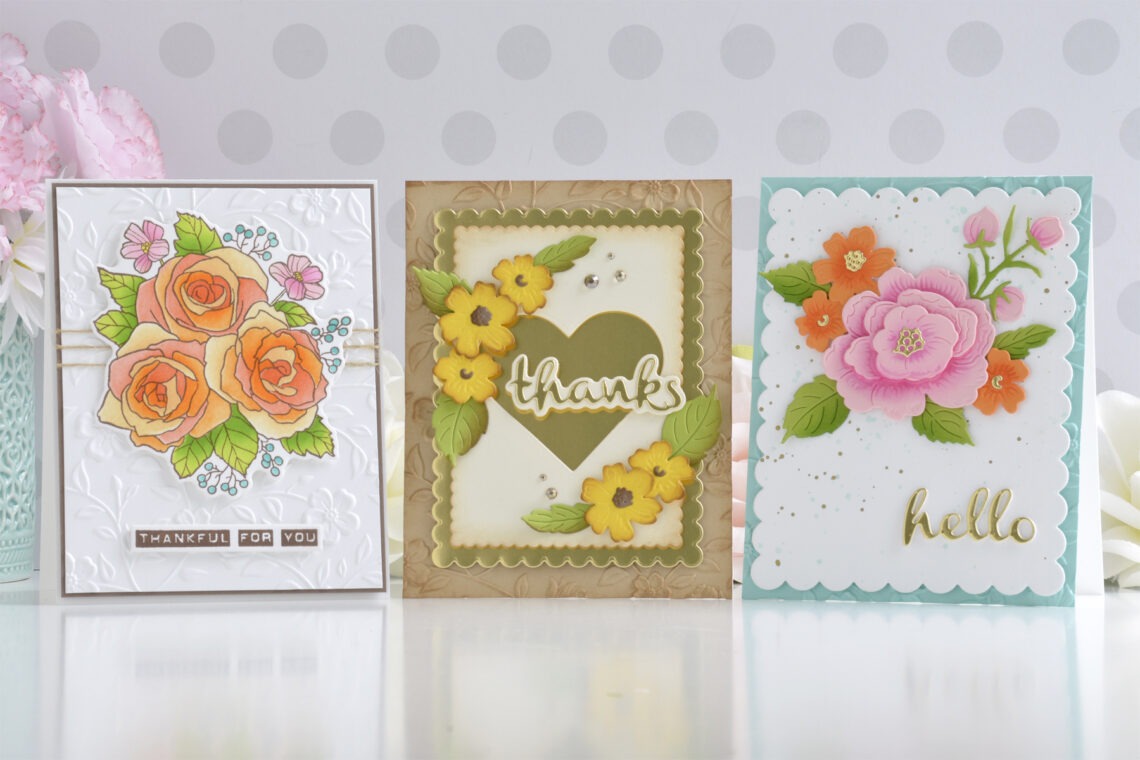
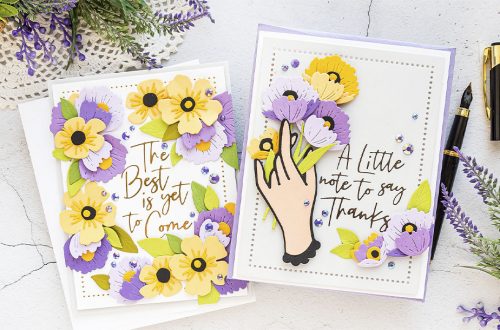
Fresh Florals with the From The Garden Collection by Wendy Vecchi
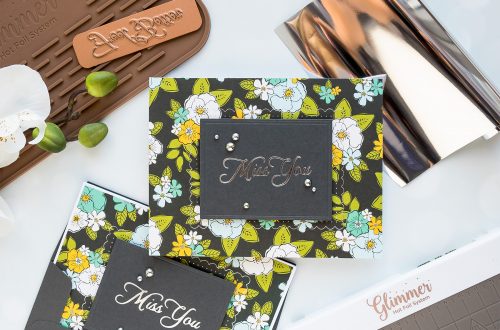
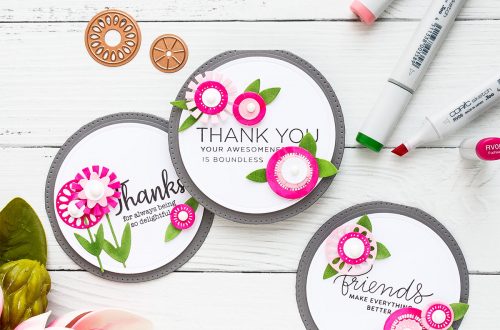
Hi there, this is Annie Williams and I’m excited to be back on the blog today to share a couple of cards made with the new From The Garden Collection by Wendy Vecchi. The beautiful floral designs and fun sentiments in this collection inspired me to create three bright and pretty cards perfect for sending a springtime hello. Floral Thanks Card I love the classic shapes and sentiment included in the Heartfelt Thanks & Scallops Die Set, so I decided to play with this first. Here I stacked up lots of layers and added some pretty die-cut florals for this thank-you card with a slightly vintage style. Trim a piece…
-
Adding Sprays and Inks to Textured Backgrounds
Hi everyone. Alanna Moses from EmbellishCraftLove.com and I’m super happy to be guesting again on the Spellbinders blog. I will be sharing with you three different projects using products from the new January 2024 Exclusive collection. This is an exclusive collection to Spellbinders with just two items which include the Kaleidoscope Garden Press Plate and the Colorful Burst Flower die set. For my first card, I started by taking a piece of the Porcelain BetterPress A2 Cotton Card Panels and I lightly misted it with some water. I then took two colors of Distress Oxide Sprays, in Salty Ocean and Peeled Paint and added some color to the background. Once…
-
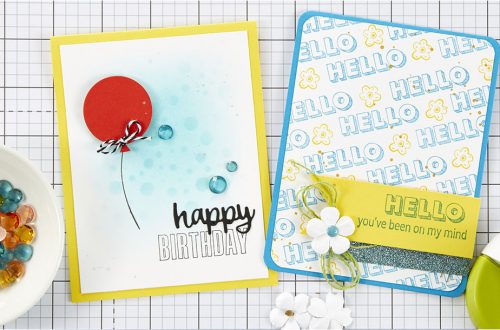
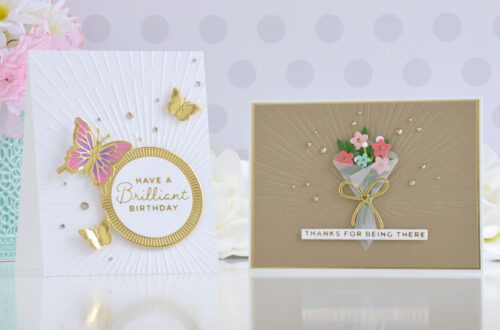
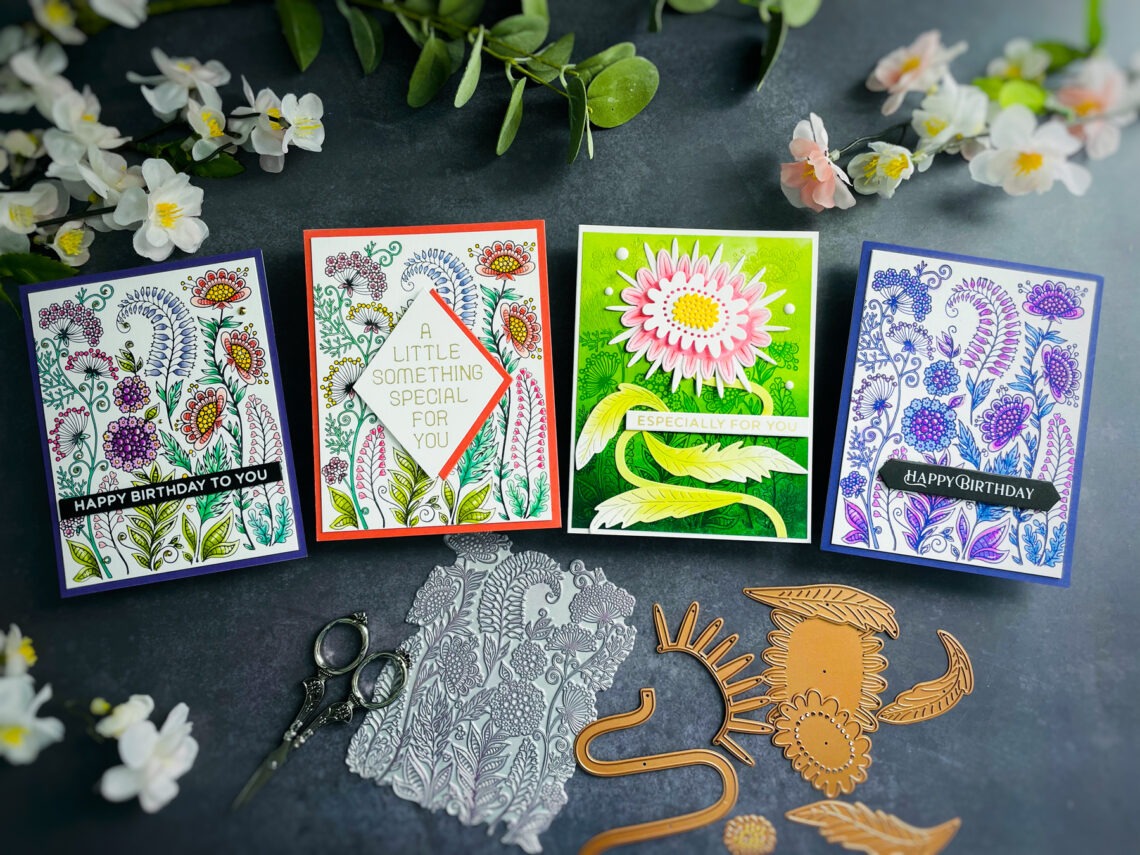
Spellbinders Exclusive Collection Inspiration!
Hello, crafty friends! I am Heejung Hunsberger, excited to be a guest designer again this month. If you want to know me better, visit my blog or Instagram. I also have a YouTube channel where I post a lot of video tutorials. Today, I am sharing four cards that feature the Kaleidoscope Garden BetterPress Plate and the Colorful Burst Flower Dies from the Spellbinders Exclusive Collection. These products are available exclusively on the Spellbinders website. Colorful Happy Birthday Cards I enjoyed coloring the Kaleidoscope Garden design with markers so much that I did it multiple times! Black BetterPress ink was used to press the Kaleidoscope Garden BP Plate onto BetterPress cotton paper. I colored…
-
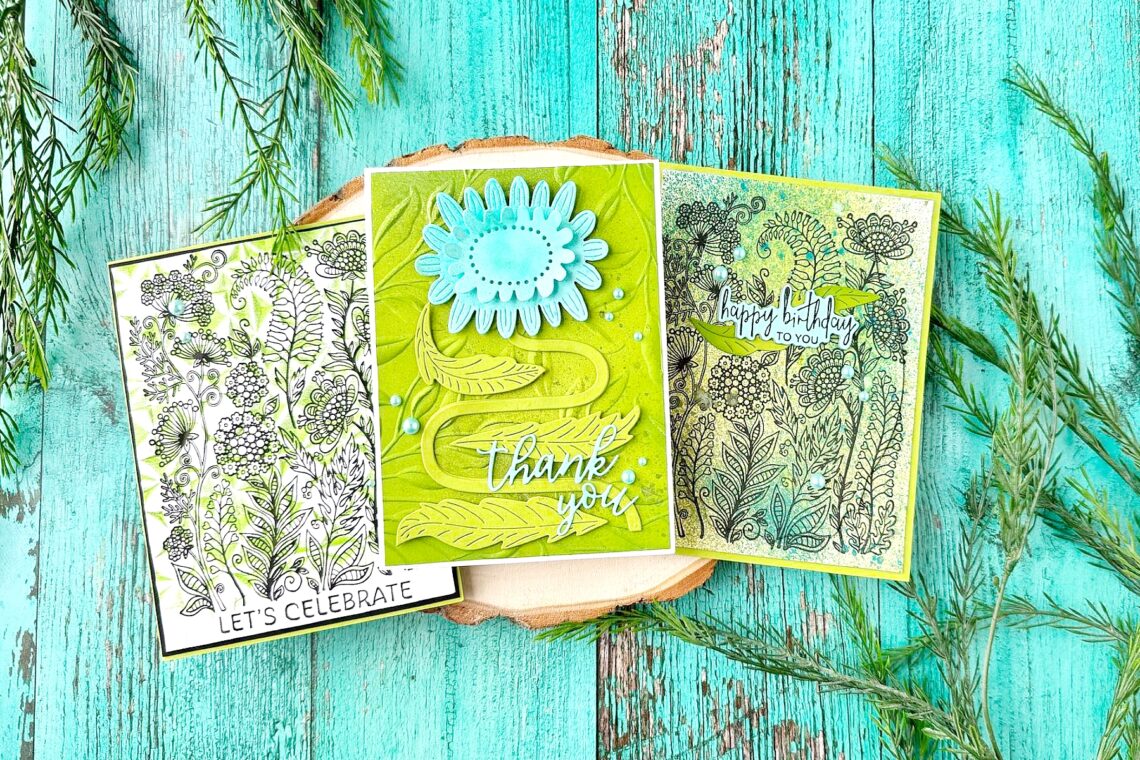
January 2024 Stencil of the Month Preview & Tutorials – Lively Floral
Our January 2024 Stencil of the Month Club preview & tutorials are here! Here’s a look at the January 2024 Stencil of the Month – Lively Floral: JOIN THE CLUB January 2024 Stencil of the Month – Video Tutorial Watch video tutorial using this month kit below or on Youtube: Additional inspiration Here’s a closer look at the projects we created using our January 2024 Stencil of the Month: January 2024 Value Clubs – Join & Save! Join the Deluxe Caboodle Value Club and receive expertly designed kits, complete with inspiration each month. Plus, members get store savings, extra deals, gifts, and more. The Deluxe Caboodle Club Value Club Membership includes ALL TEN…
-
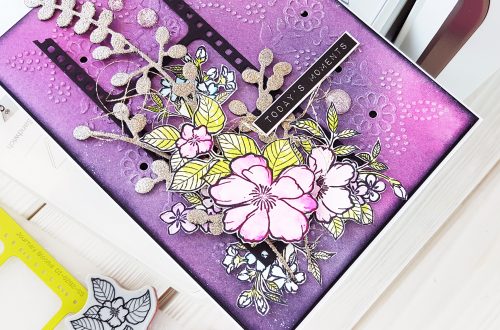
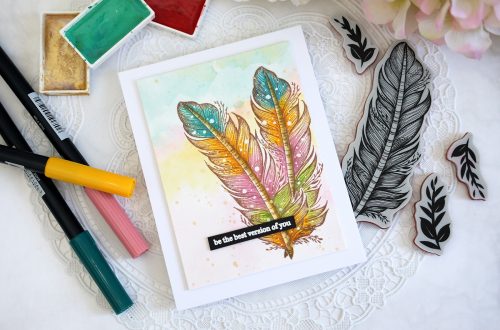
Three Ways To Use Cosmic Shimmer
Hello everyone! I’m Mindy Eggen from Mindy Eggen Design and I’m excited to be back on the Spellbinders blog to share with you three different ways to use cosmic shimmer in your card projects. Before I begin, if you haven’t worked with Cosmic Shimmer Polish before it is kind of like a creamy paste that has tons of shimmer and shine. The top of the lid contains a flat sponge applicator and the jar contains the polish. TECHNIQUE 1: Backgrounds One of the easiest ways to use the polish is to apply it directly to your cardstock. You can use colored cardstock or white for this technique. One thing to…