-
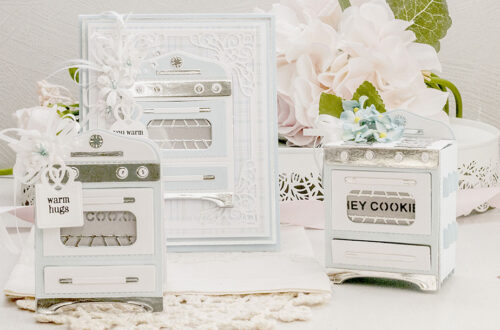
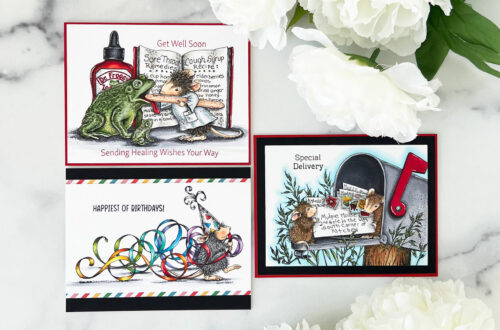
A Fresh Look At Your Dies Using Old Techniques
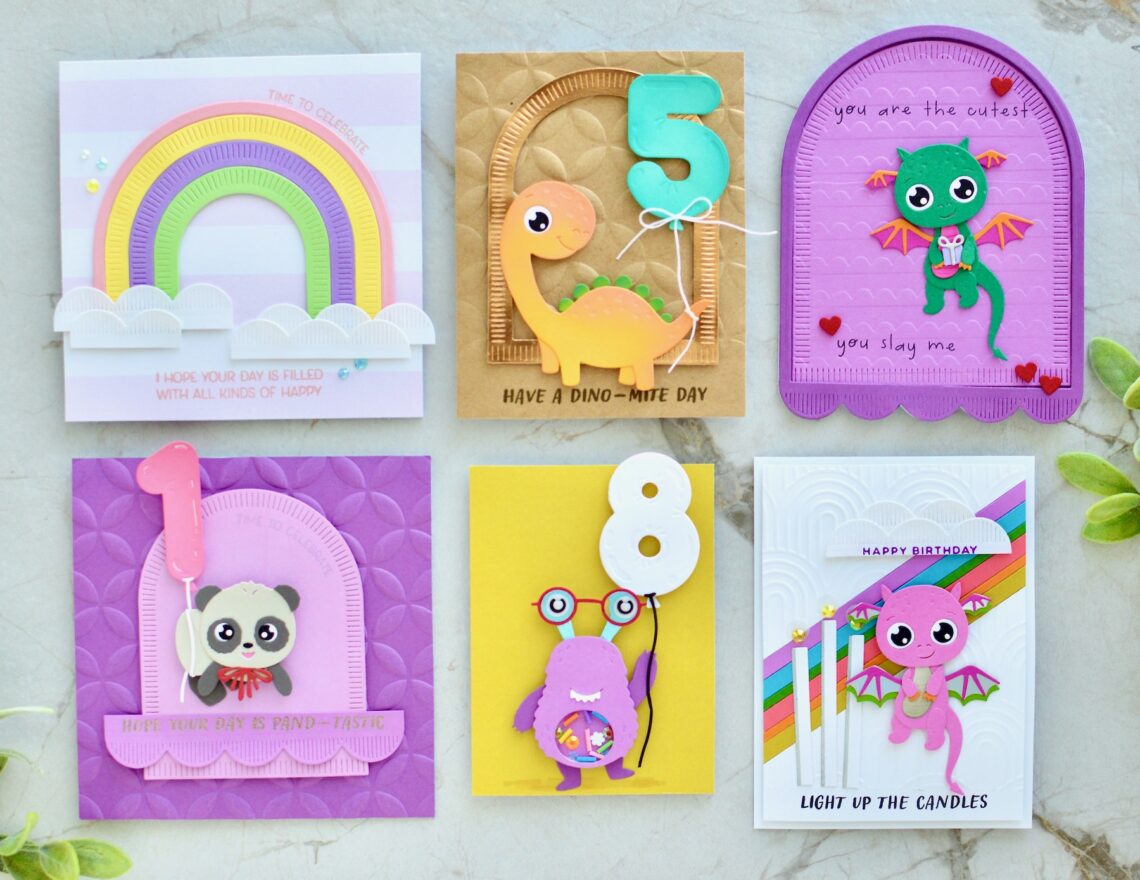
Hello, friends! It’s Savannah O’Gwynn from Savannahland2. I’m honored to be sharing some of my ideas using the Spellbinders Monster Birthday collection die sets. #SAVfact: If you know me, then I have MORE ideas to share than I can fit in one blog post!! In hopes to keep this post short, I have decided to use some OLD craft/cardmaking techniques to create FRESH card designs. We will see how “short” this post will be! Either way- be sure to scroll and read through for lots of inspiration, several tutorials, and lots of tips and tricks! Grab this collection and join me in making some interactive and fun cards for just…
-
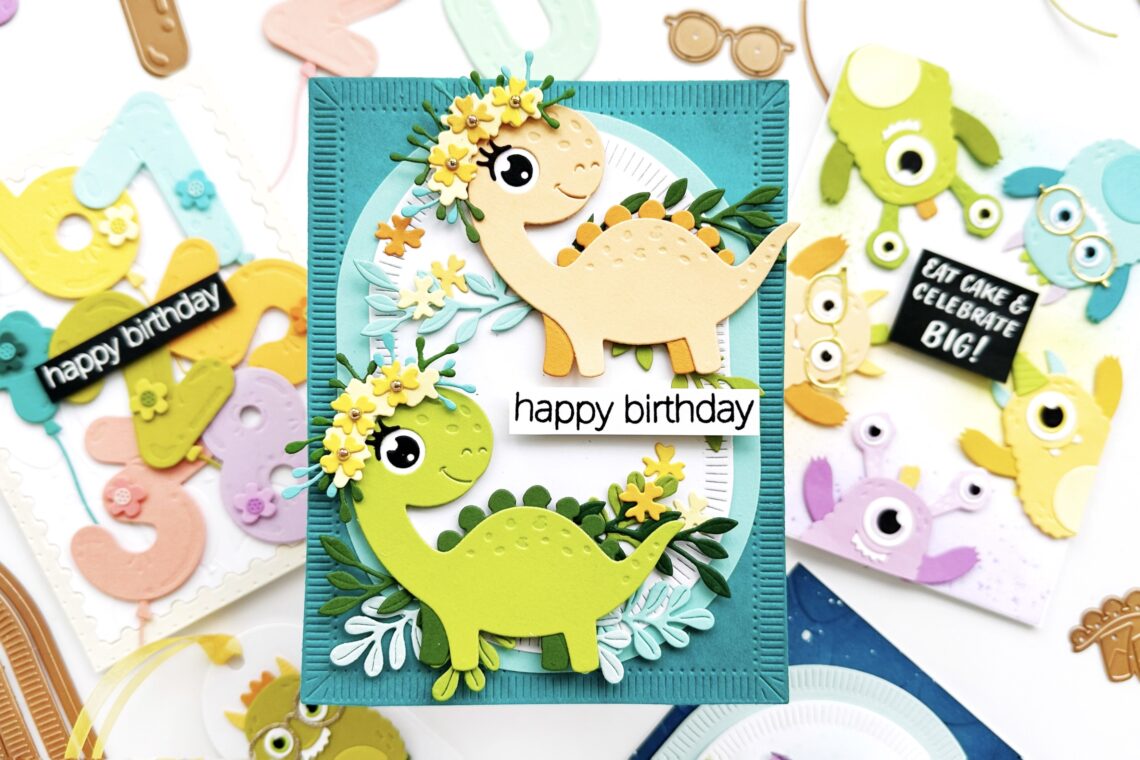
Sending Monster-ous and Playful Birthday Wishes
Hello Friends! It´s Raquel here again sharing some colorful fun ideas with the super adorable Monster Birthday Collection. The moment I saw these critters I couldn’t help but smile and think of fun and playful scenes with lots of color. These projects can be used for birthday celebrations or just for a fun surprise card for both children and adults. Some of these little whimsy and fun creatures even dance with its moving legs so there is also that additional surprise. My first project features the super cute Birthday Dinosaur Etched dies. This adorable lady dinosaur stole my heart with her captivating eyes and her gorgeous flower crown. One dinosaur…
-
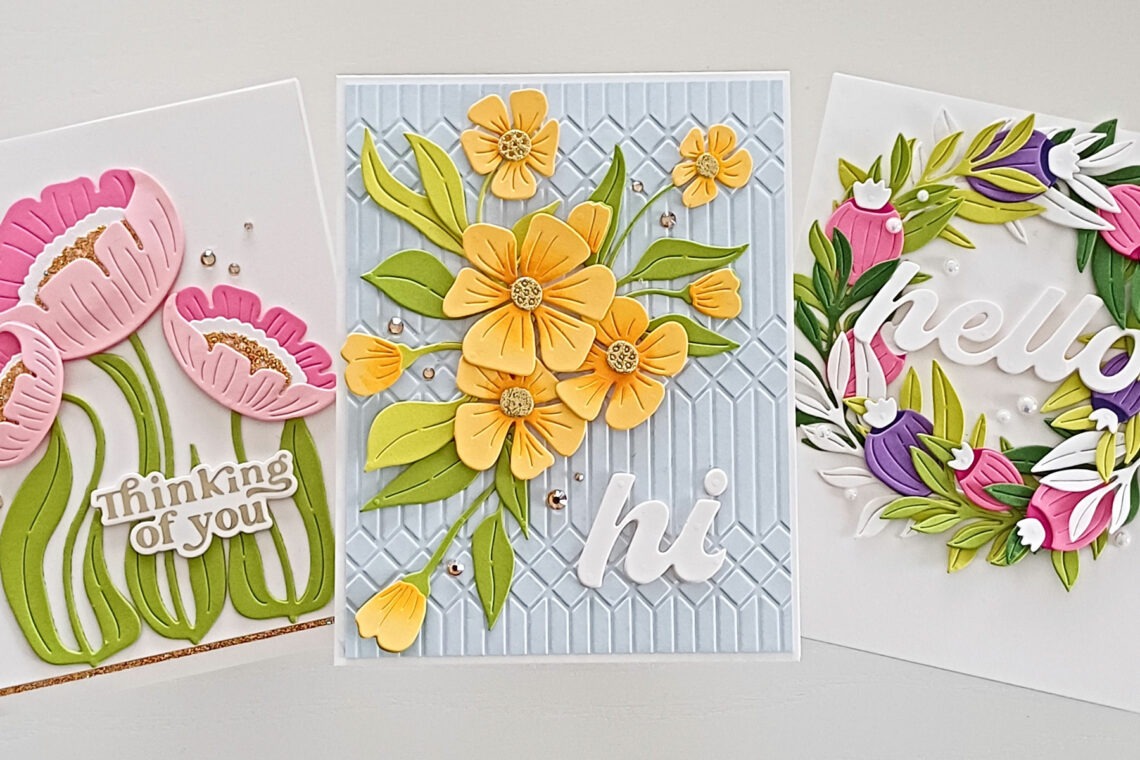
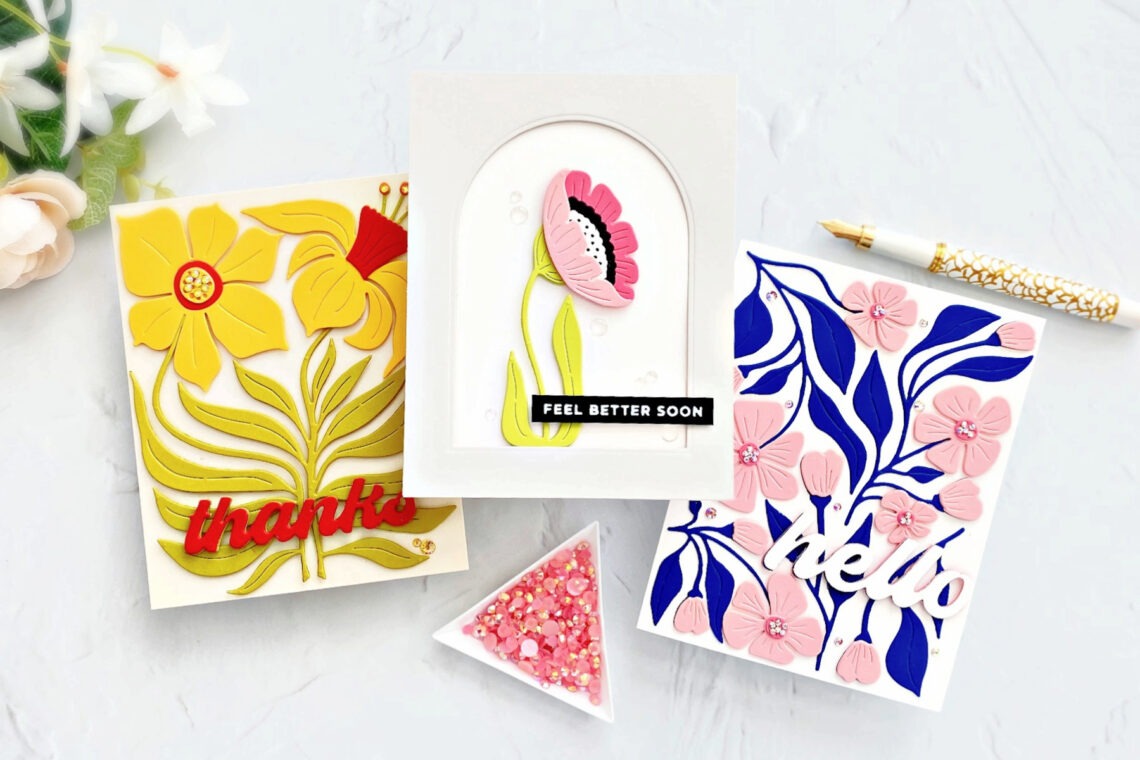
Fresh Picked Florals on Your Cards!
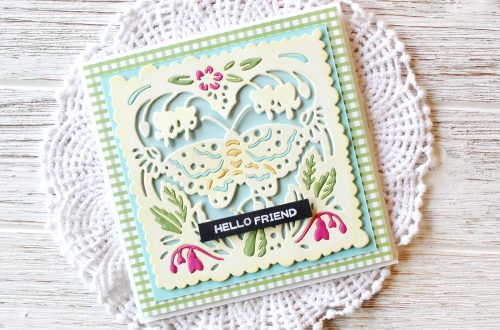
Hello there! This is Lisa from My Card Trip and I am thrilled to be a guest here on the Spellbinders blog. Today I am sharing some inspiration with the newly released Fresh Picked Collection. This is such a beautiful collection – modern, contemporary floral and berry designs along with a super sentiment set and a stylish versatile embossing folder. I live in the southern part of England and this collection makes me want to skip the next few grey months and dive straight into Spring and Summer. So, let’s get started with my cards! Hello Whenever I see a leaf die, I am always tempted to make a wreath!…
-
Fabulous Florals with the Fresh Picked Collection
Hello Crafters! It’s Melody Rupple here and I’m excited to be on the blog today to share a few cards I have created with the new Fresh Picked Collection. I love the modern, contemporary feel of this collection. The Fresh Picked Collection includes 4 floral dies, a sentiment die set, and an embossing folder. I have created three cards with the collection. So let’s get started. My first card features the Fresh Picked Anemones Etched Dies. You can create four different Anemones with the die set and you can use them separately or together for different looks. I die-cut the flowers from Pink Sand, Dahlia, and Wild Berry Cardstocks and…
-
Graphic Stylized Design with The Fresh Picked Collection
Hello crafters! Joan Bardee here to share some fun colorful cards made with the Fresh Picked Collection. Recently I’ve seen a lot of graphic stylized designs – large florals, fruits, or other images – manipulated so that they fit into a rectangle or other shape like a puzzle. Some describe this design as mid-century modern. You can see examples by checking out my Pinterest page here. In addition, the November Large Die of the Month Towering Blooms is also in that style. The Fresh Picked Collection has that bold aesthetic and I absolutely love it. The collection consists of 4 die sets – Buttercups, Daffodils, Berries, and Anemones. There is…
-
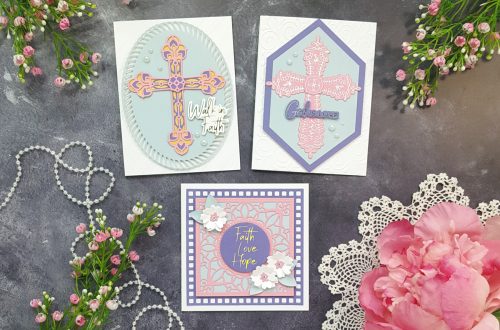
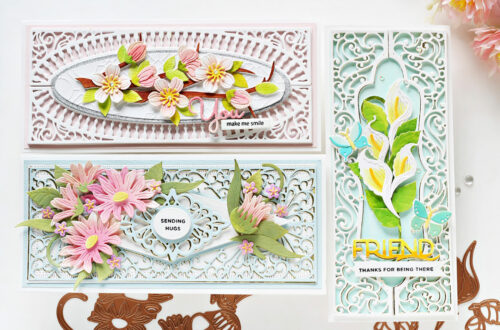
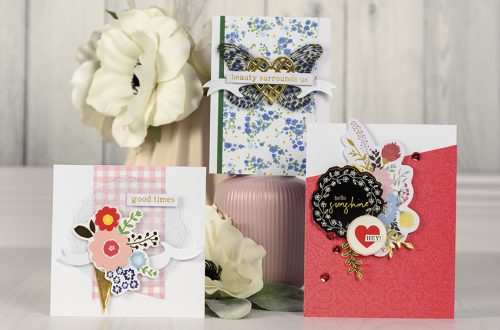
One Collection Three Ways
Hello, crafty friends!! Brenda Noelke here from My PaperCut Creations! I’m so excited to be a guest on the Spellbinders blog again today! I’m sharing three cards featuring the From the Garden Collection designed by Wendy Vecchi!! There are stamps, dies, stencils and shaped dies in this amazing collection!! I LOVE it!! THANKS Layering stencils are all the rage right now and the Garden Party Stencil is absolutely beautiful!! I layered die inks onto two panels of white cardstock through the Garden Party Stencil with blending brushes, then stamped the outline with black dye ink using the Garden Party Clear Stamp & Die Set. I used the Coordinating Die included…
-
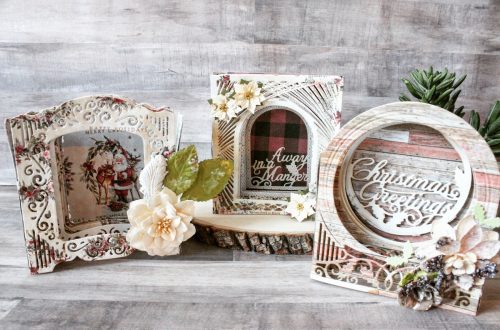
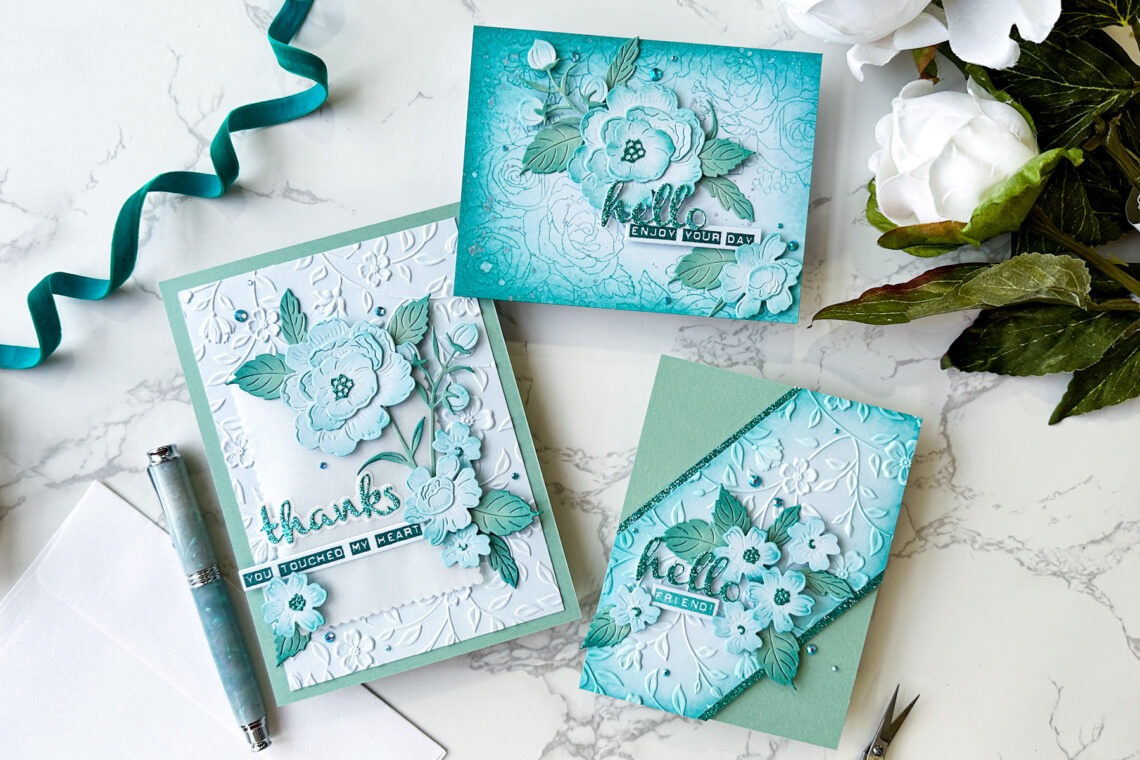
Beat the Winter Blues with Flowers From the Garden
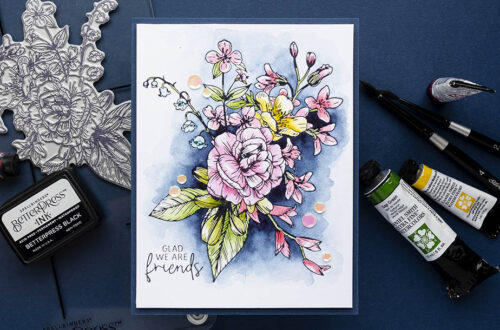
Hi friends! Emily Midgett here on the Spellbinders Blog today, and I’m super excited to be sharing some soft and elegant inspiration using the stunning new From the Garden collection by Wendy Vecchi. I am a sucker for anything floral, and these beautiful floral images from this collection have stolen my heart! Let’s get started with the details. Whenever I am working with a group of coordinating products, I find it such fun to create a coordinating card set using similar colors but tweaking the layout and products used. Keeping the color scheme the same throughout the set helps keep everything cohesive! Blue is one of my favorite colors, in…
-
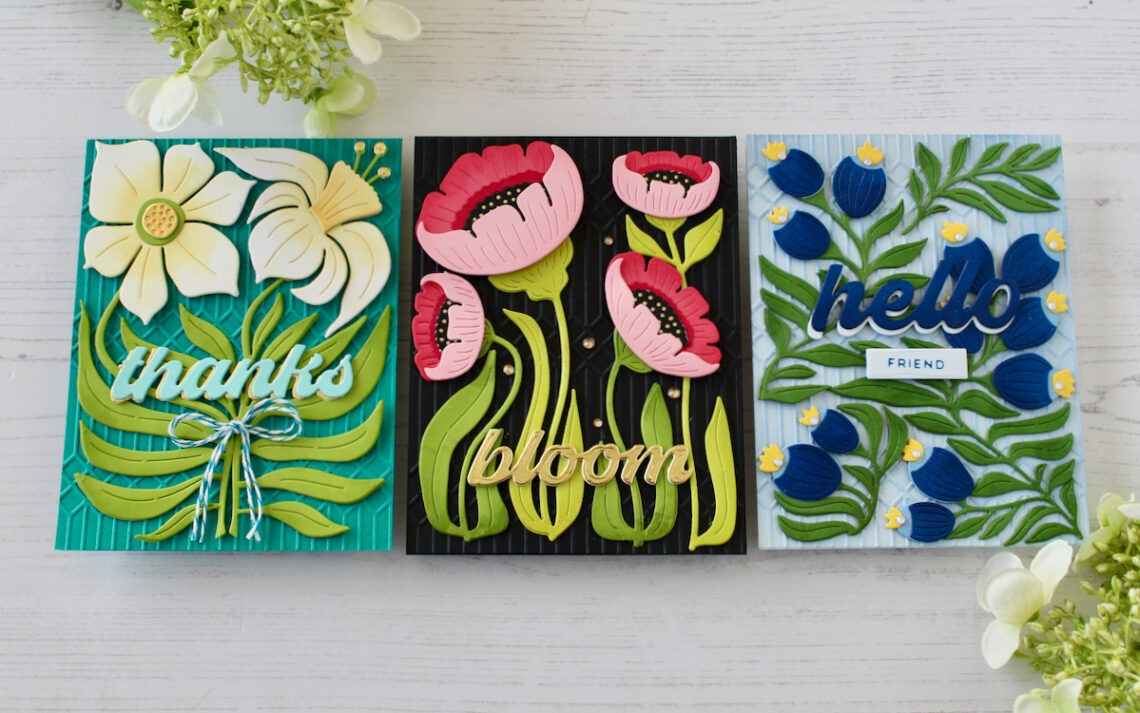
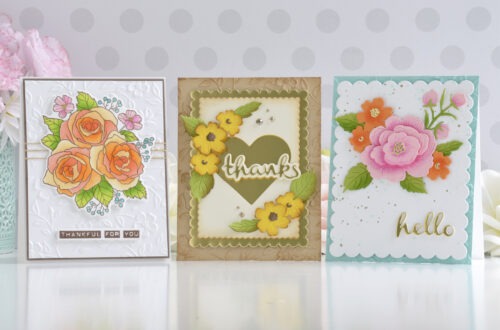
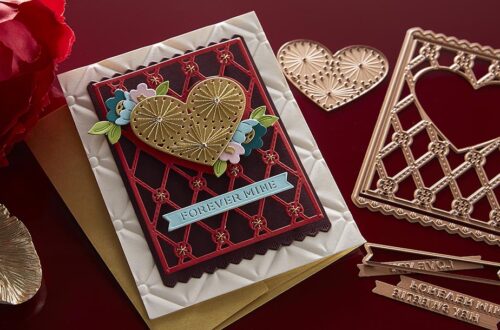
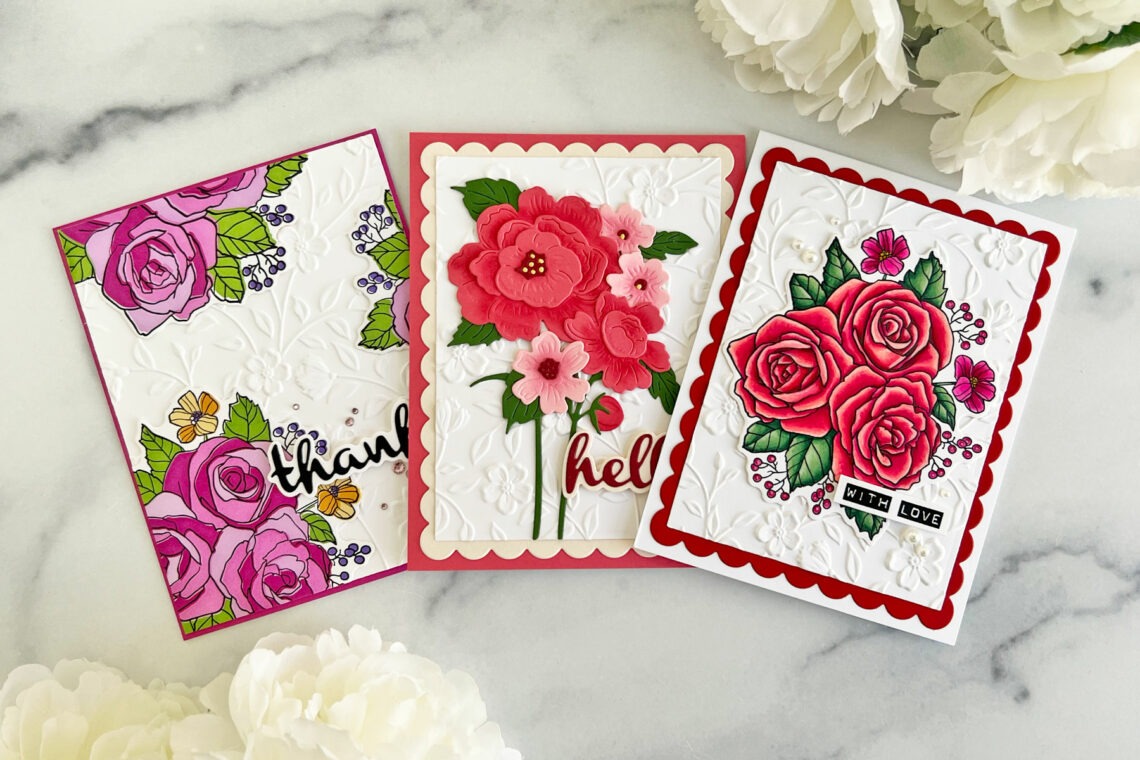
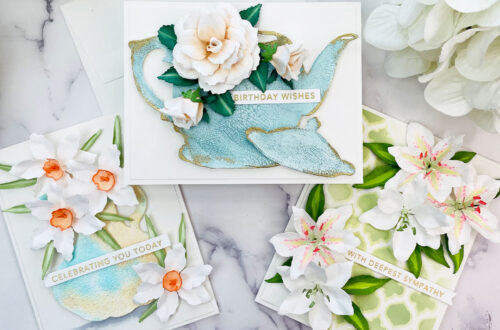
Fresh Florals with the From The Garden Collection by Wendy Vecchi
Hi there, this is Annie Williams and I’m excited to be back on the blog today to share a couple of cards made with the new From The Garden Collection by Wendy Vecchi. The beautiful floral designs and fun sentiments in this collection inspired me to create three bright and pretty cards perfect for sending a springtime hello. Floral Thanks Card I love the classic shapes and sentiment included in the Heartfelt Thanks & Scallops Die Set, so I decided to play with this first. Here I stacked up lots of layers and added some pretty die-cut florals for this thank-you card with a slightly vintage style. Trim a piece…
-
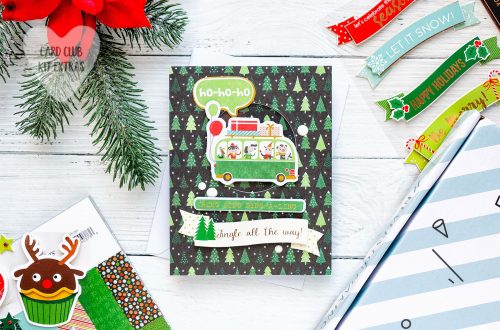
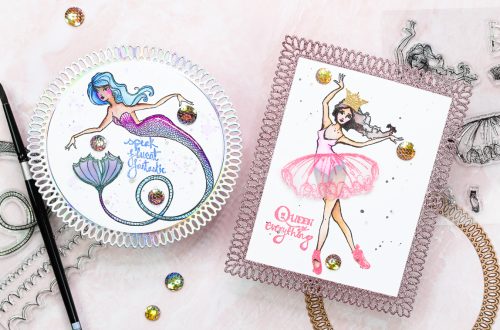
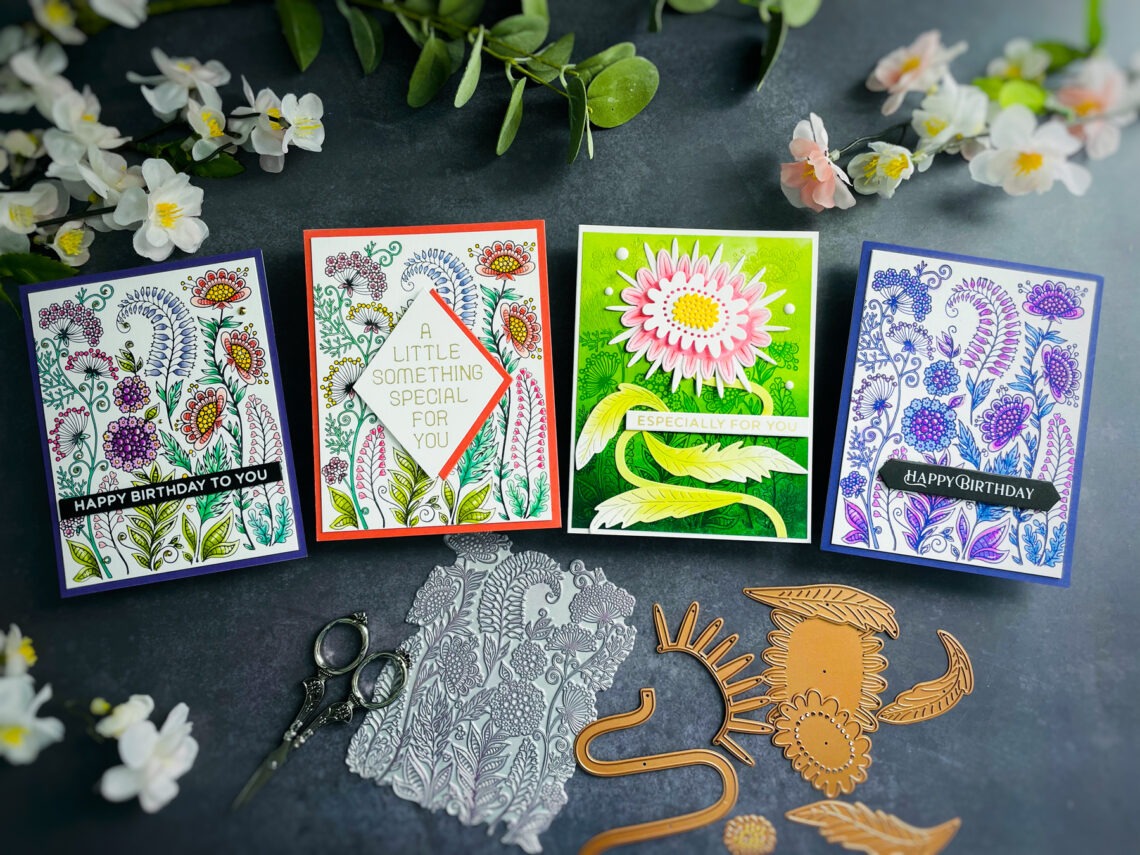
Spellbinders Exclusive Collection Inspiration!
Hello, crafty friends! I am Heejung Hunsberger, excited to be a guest designer again this month. If you want to know me better, visit my blog or Instagram. I also have a YouTube channel where I post a lot of video tutorials. Today, I am sharing four cards that feature the Kaleidoscope Garden BetterPress Plate and the Colorful Burst Flower Dies from the Spellbinders Exclusive Collection. These products are available exclusively on the Spellbinders website. Colorful Happy Birthday Cards I enjoyed coloring the Kaleidoscope Garden design with markers so much that I did it multiple times! Black BetterPress ink was used to press the Kaleidoscope Garden BP Plate onto BetterPress cotton paper. I colored…
-
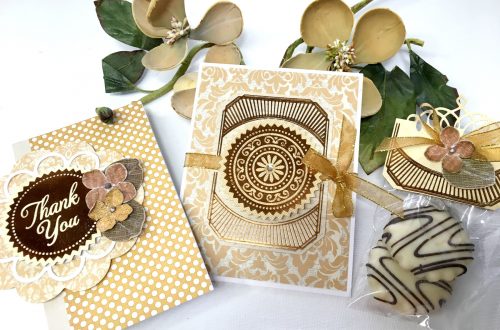
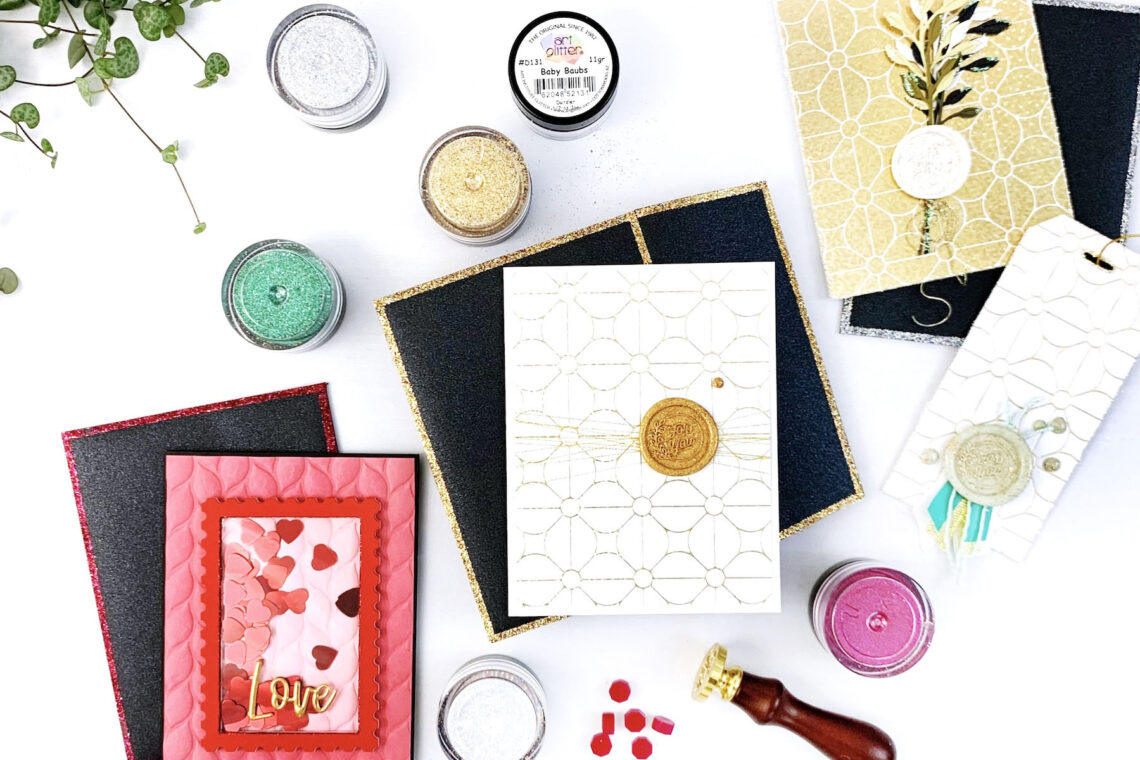
Add Sparkling Details to Your Projects with Art Glitter
Hello, Spellbinders’ friends Angela Tombari here from I Need Confetti blog. I had the chance to play with Art Glitter and it’s great sparkling fun! I love to use them in many ways and on different kinds of surfaces but today I’ll stay stuck to Art Glitter in paper craft. Keep reading for some examples. Add Art Glitter to Wax Seals It is sufficient to add a pinch of art glitter to make the wax seal shine like a star! There’s a good range of Art Glitter colors with different shining effects and huge shades of wax so it’s great to experiment with different color combinations. From classy to more…