-
Celestial Zodiacs Collection – Inspiration with Marie Heiderscheit
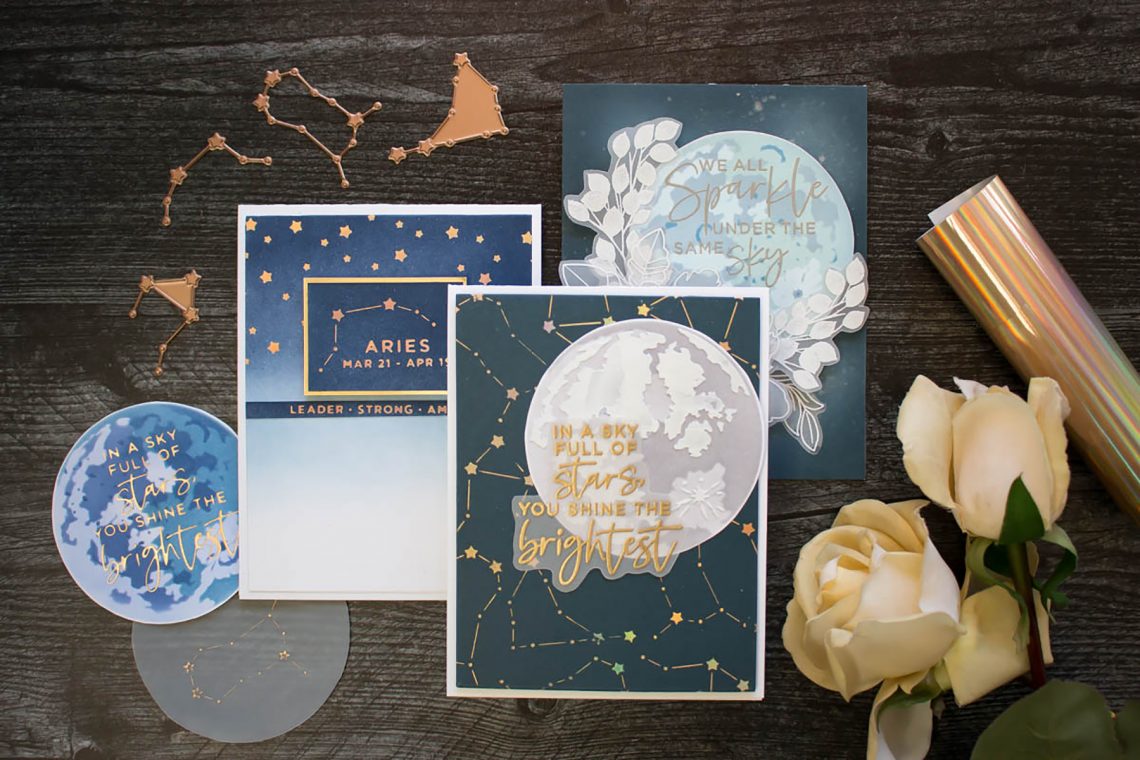
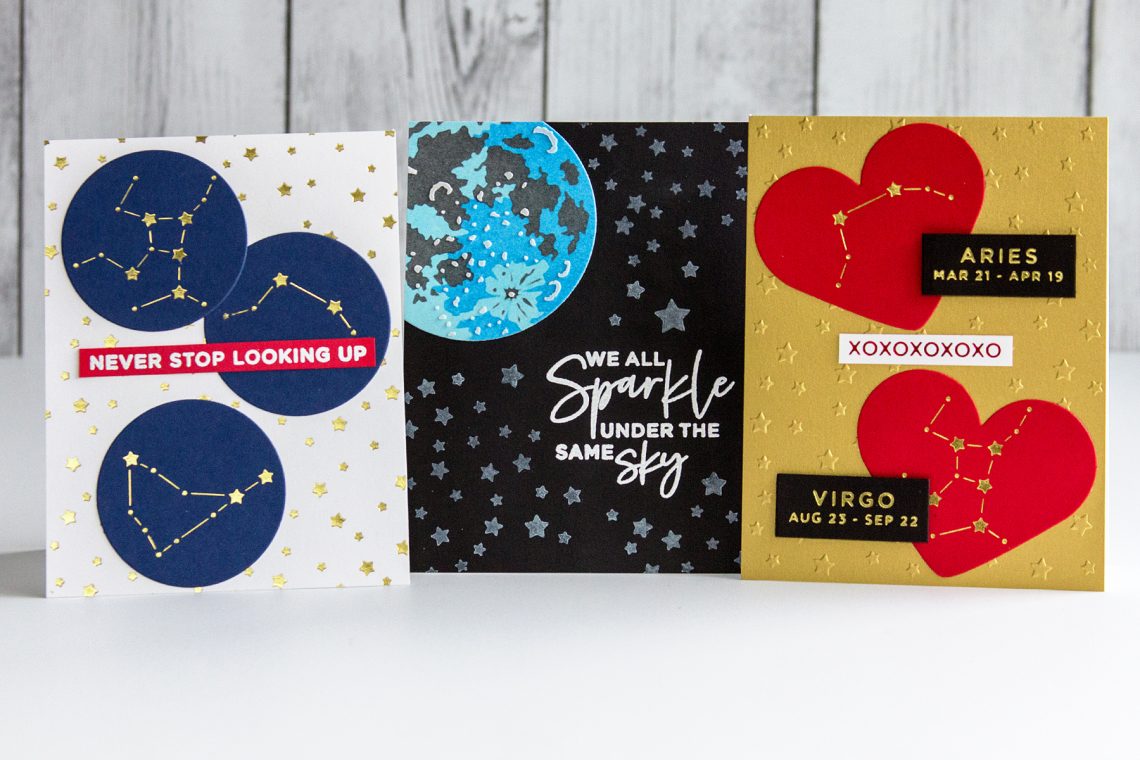
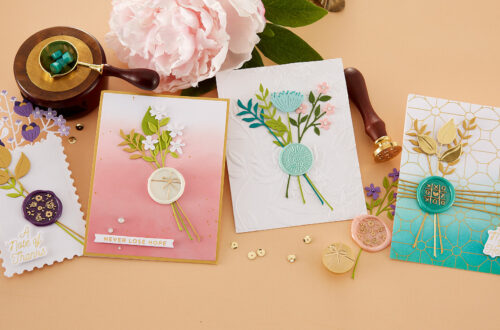
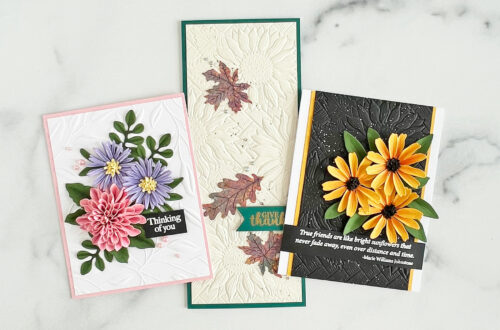
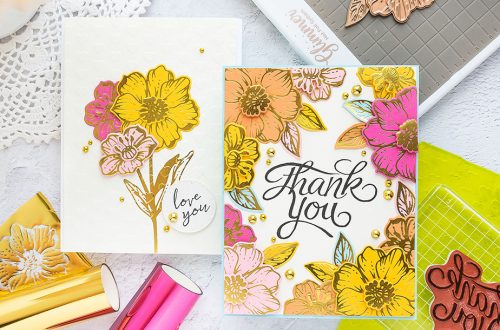
Hello, crafty friends! Its Marie here from the blog, MARIE NICOLE DESIGNS. I was so excited to see the new Celestial Zodiac collection. It is full of starry, sparkly craft supplies that you can use to create gorgeous cards or other projects. I created a set of three cards with this collection and I’m excited to share them with you today! I wanted to create a set of cards that coordinate, but with each one being unique. I have found that the easiest way to make cards together that look like a set is to choose a few colors and stick with them. This way, they look like they all…
-
Under the Stars – the Celestial Zodiacs Collection
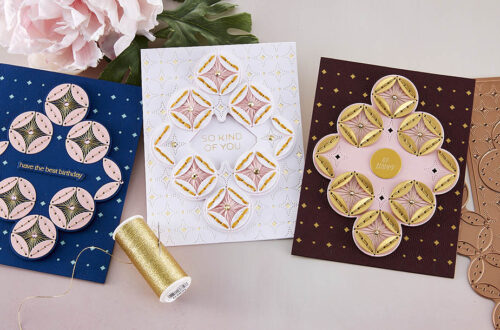
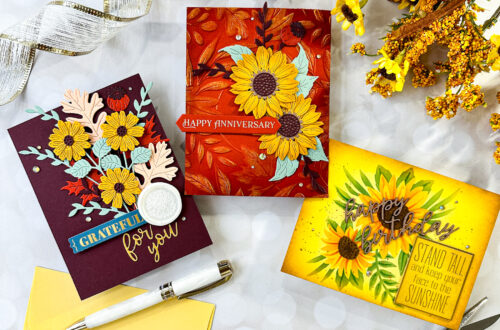
Hello crafty friends! Jean here sharing three cards created with the Celestial Zodiacs Collection that feature glimmer foiling, stamping, and stenciling. This versatile collection can be used to craft for any number of occasions, including birthdays, friendship, anniversary, engagement, and encouragement. Love-Themed Zodiac Card As they say, “it’s written in the stars”; this personalized, love-themed card features two zodiac constellations set against a dry-embossed star background. Dry-emboss Brush Gold cardstock with the Stargazer embossing folder. Glimmer foil the zodiac symbols (Aries and Virgo shown) in Gold on red cardstock. Cut the symbols with the outline heart in the Forever Love Hearts. Glimmer foil the zodiac names in Gold on black…
-
Buzzworthy Project Kit | Cardmaking Inspiration With Jenny Colacicco | Video
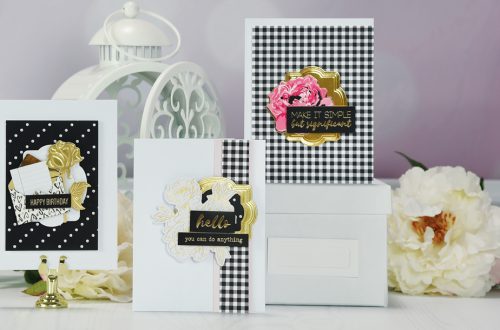
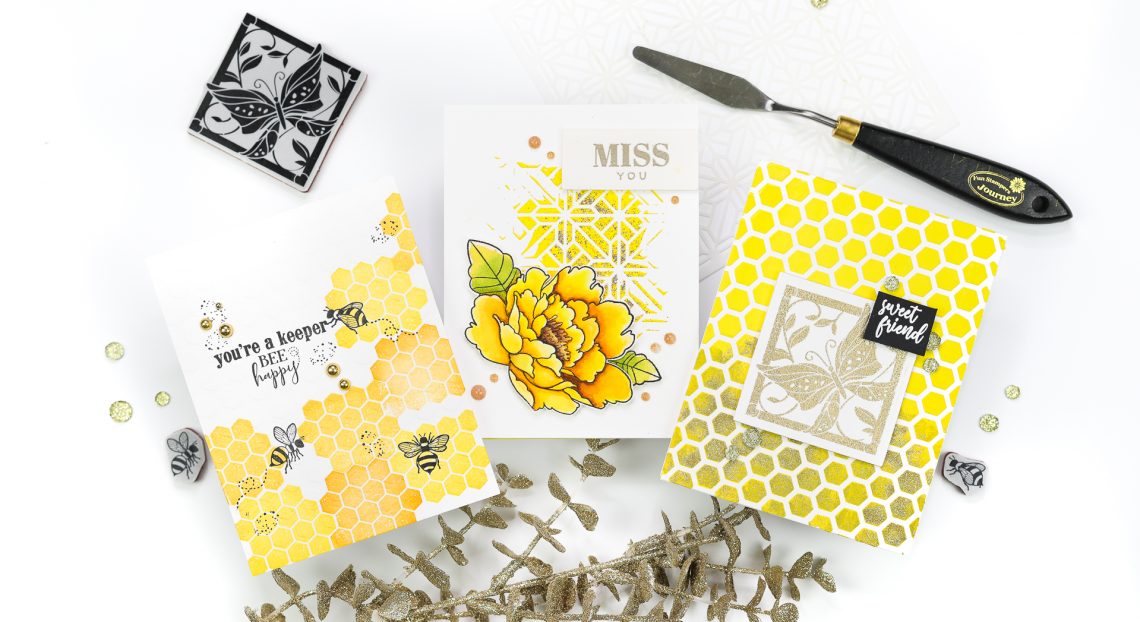
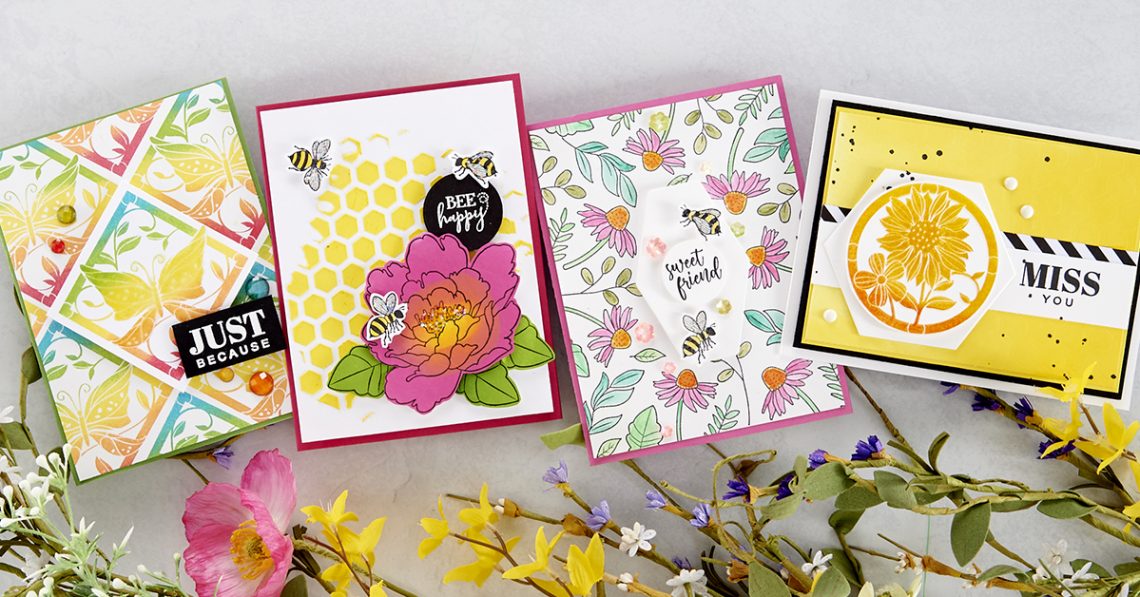
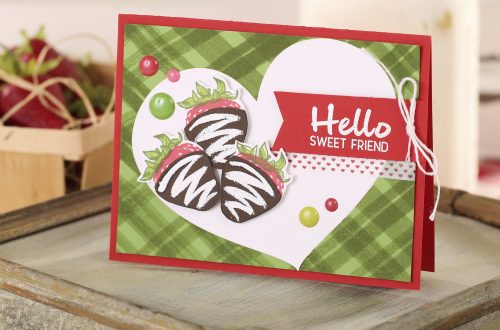
Hello Spellbinders’ and FSJ fans! Our FSJ Buzzworthy Project Kit is here! The Buzzworthy Project Kit is the perfect way to snag select products from the collection a bit early. This kit features TWO Stamp Sets, a Stencil, Paint, Modeling Paste, and a Spatula. This kit also includes the supplies to create FOUR fun cards. The kit is a $73.70 Value for just $48.00! BUY KIT NOW Join designer Jenny Colacicco as she shares 3 beautiful cards created using this kit. Watch video below or on Youtube: Sweet Friend Trim a panel of 110lb white cardstock to 25” x 5.5”. Affix Honeycomb stencil over the the top with tape. Mix Lemon…
-
FSJ Buzzworthy Project Kit is Here!
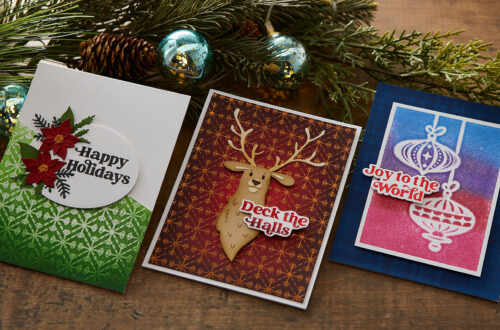
Hello Spellbinders’ and FSJ fans! Our FSJ Buzzworthy Project Kit is here! The Buzzworthy Project Kit is the perfect way to snag select products from the collection a bit early. This kit features TWO Stamp Sets, a Stencil, Paint, Modeling Paste, and a Spatula. This kit also includes the supplies to create FOUR fun cards. The kit is a $73.70 Value for just $48.00! BUY KIT NOW Unboxing Video Watch video below or on our Youtube channel: Miss You Card Finished Size: 5 1/2” x 4 1/4” Instructions: Fold Whip Cream cardstock in half to create card base, adhere Black Licorice panel to card front with foam adhesive, adhere Lemon Drop…
-
FSJ Kindness Matters Project Kit is Here!
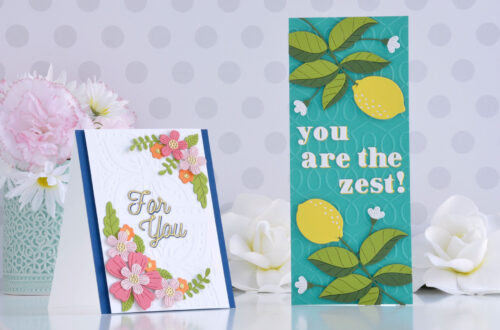
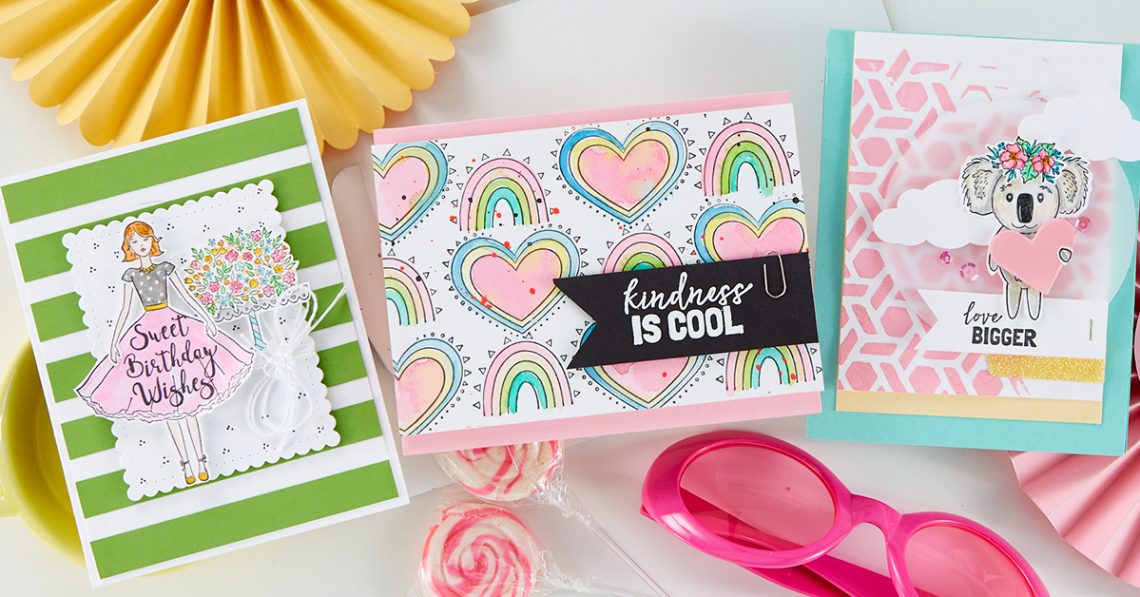
Hello Spellbinders’ and FSJ fans! Our Fun Stampers Journey Kindness Matters Project Kit is here! Kindness Matters Project Kit is an awesome way to get your hands on the NEW Kindness Matters Collection from Fun Stampers Journey. It includes a selection of coming soon products, along with a project kit to create four unique cards – we’ve done the hard work, all you have to do is stamp, color and assemble! Each card is 4.25” X 5.5” and feature Encouragement, Kindness and Birthday greetings; your friends will love receiving your beautiful handmade cards! An online Video Tutorial filled with tips and techniques will ensure your cards turn out perfectly. BUY KIT…
-
3 Ways to Use Stencils and Modeling Paste on Handmade Cards
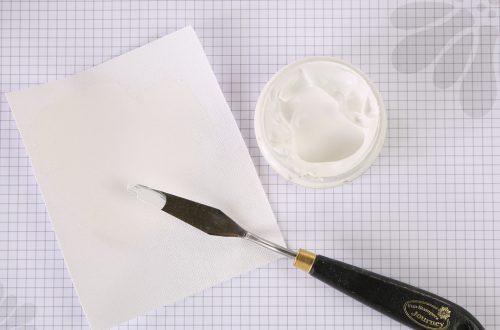
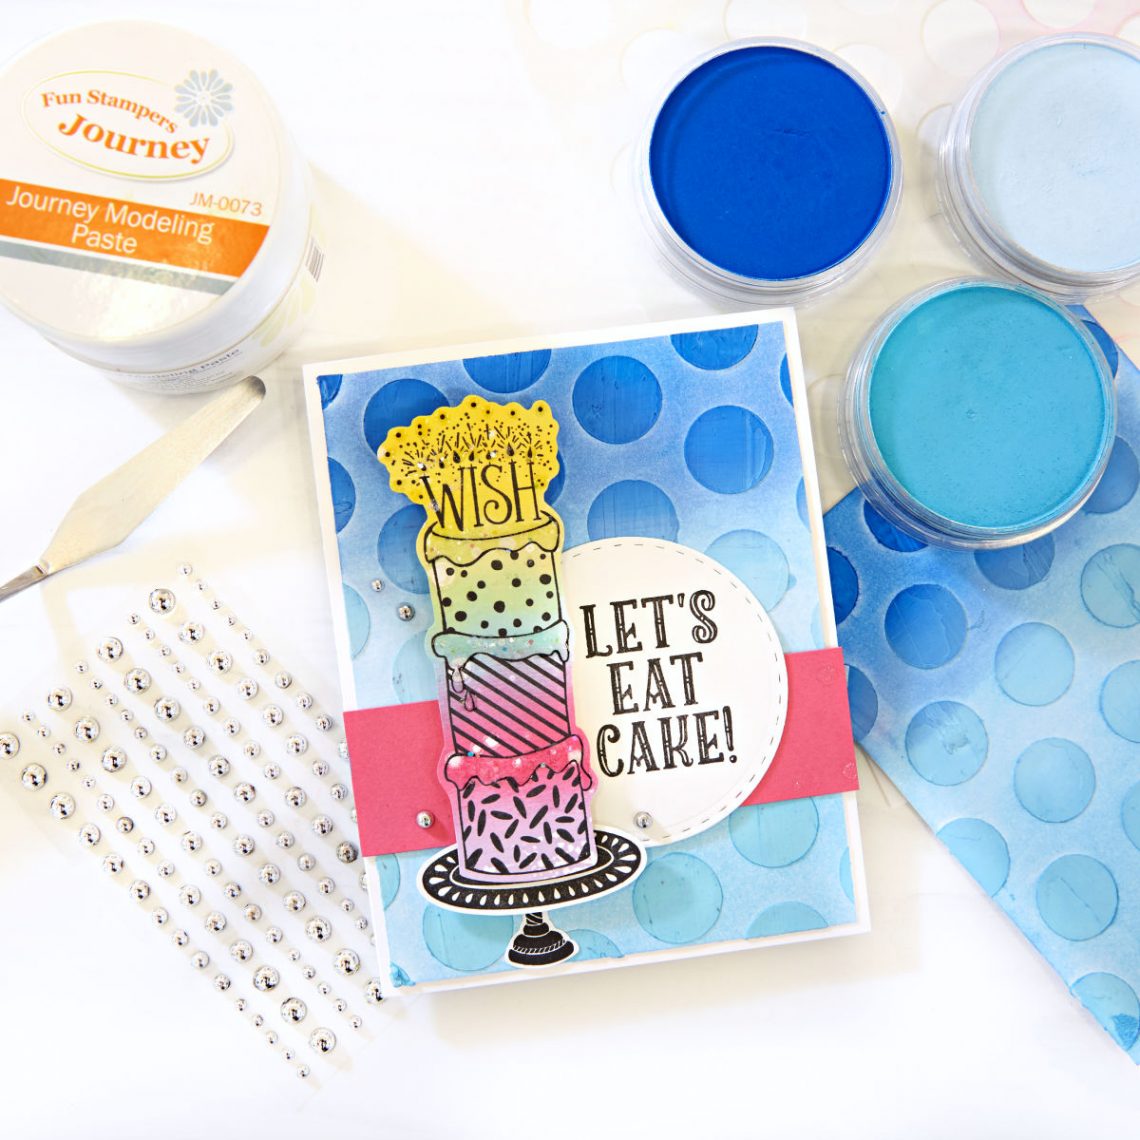
Have you been keeping up with FSJ’s weekly video tutorials on YouTube? Each week we come to you live from the FSJ studio to share cardmaking ideas and tutorials that are sure to jumpstart your creativity – and we bet you’ll learn something new too! Today, let’s take a look at one of our recent Tips, Tools and Techniques videos which focuses on using stencils and modeling paste. Kim started off this tutorial by adding modeling paste to the Polka Dot Wall stencil, on three different panels of cardstock. Then, she added color in three different ways. You are going to learn so much during this video, so we hope…

