-
4th of July DIY Party Ideas
With the 4th of July about two weeks away, I thought I might inspire you to start a little early by sharing my three piece ensemble. Grabbing my Contour™ Steel Rule Dies, I created a banner, matchbox party favor and utensil holder to make my set. I’ll break down instructions for each piece so that you can recreate them too! Let’s get started… USA Banner Instructions: Cut both sizes of the fish tail banner with patterned papers using Three’s A Crowd Contour™ Steel Rule Die and Platinum™ Machine. Layer the die cuts and adhere with E-Z Runner® Grand. Repeat this step two more times for a total of three…
-
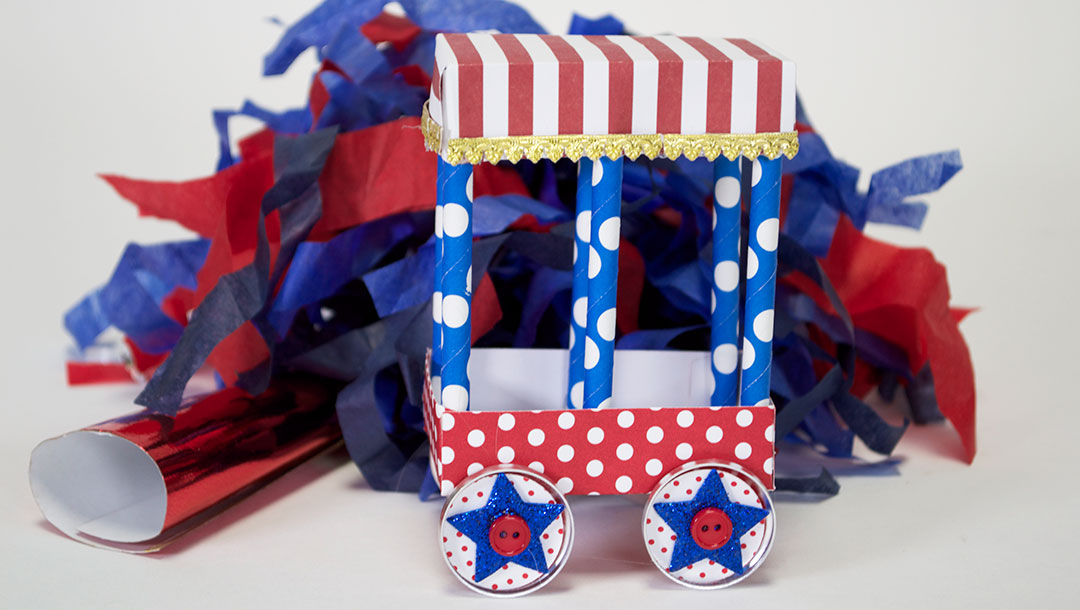
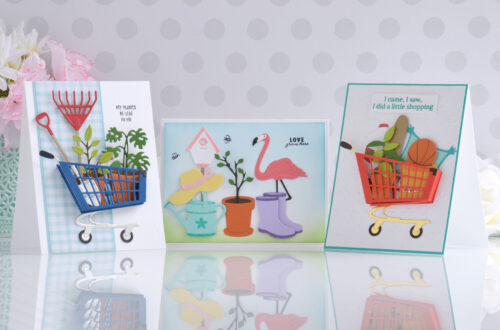
Fourth of July Parade Decor with My Little Red Wagon
With school out and summer in full swing, there is no better time to start creating. The Fourth of July will be here before you know it. Are you ready? I am bringing you several ideas to add the celebration to your table. Although my new line “My Little Red Wagon” was designed around young children, it can be translated into a variety of different styles for different occasions. I thought it might be fun to show this line with a Fourth of July flair. It certainly was easy to create the look merely by changing up the papers. Hope you will try your hand with any one of these…
-
Dressing Drinks 4th of July Party Tags
Hi everyone! It’s Alli Roth here to show you how you can dress up your 4th Of July drinks this year in a few easy steps! If you’re familiar with me over on Partyography, you know that dressing up drinks is one of my favorite party tricks. Not only does it make your drinks look cute, but it also serves as even more decorations to make your party all the more festive. Whether you’ve got big plans for the 4th of July or are keeping it low key, these party drinks are sure to be a hit! Instructions: Start by printing out your free 4th of July printable (download here)…
-
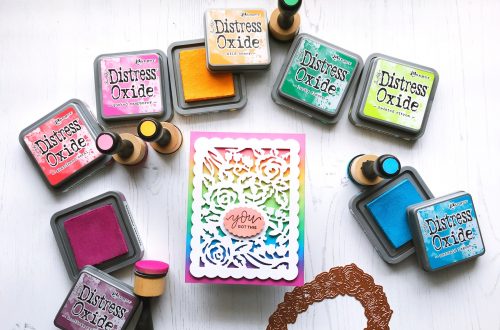
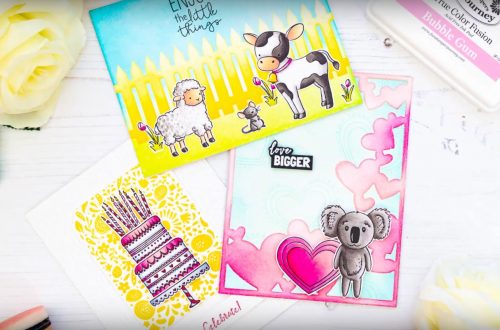
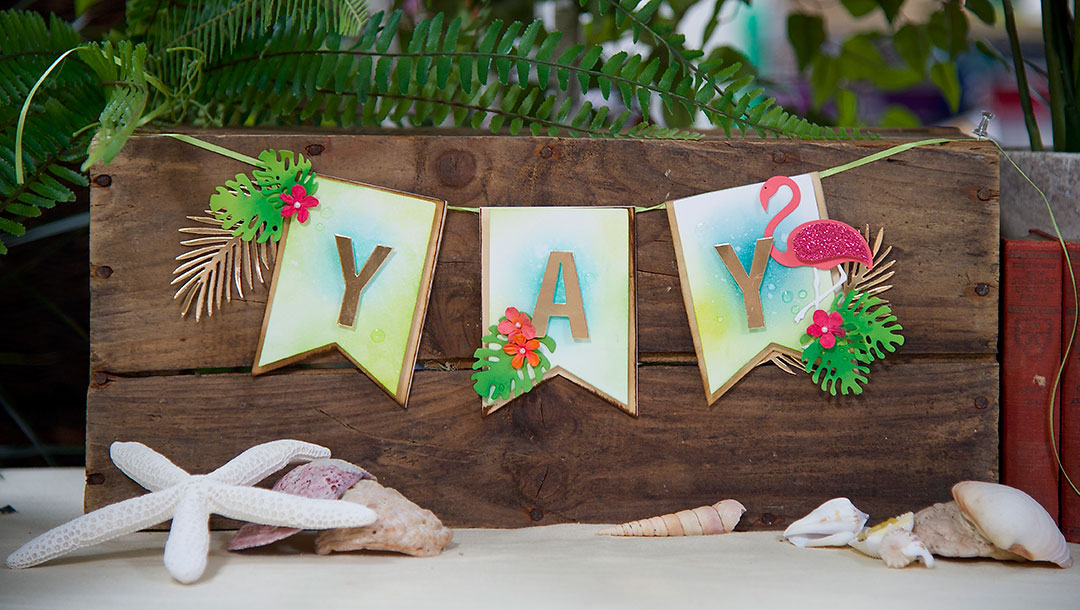
All Strung Out Summer DIY Party Banner
It is always summer here in Arizona, but summer is also just around the corner for everywhere else. What better way to celebrate, but with flamingos, palms and a party! Create this easy DIY party banner for your next summer shindig, follow the simple steps below to create yours: Die-cut mat board and wood paper from larger Banner die. Die-cut mixed media paper from the same-shaped, smaller Banner due. Adhere wood paper to mat board. Use a Tool ‘N One with the sponge applicator to apply distress ink to die-cut mixed media paper. Mist paper lightly with water. Blot with paper towel. Die-cut sentiment from gold poster board. Adhere sentiment…
-
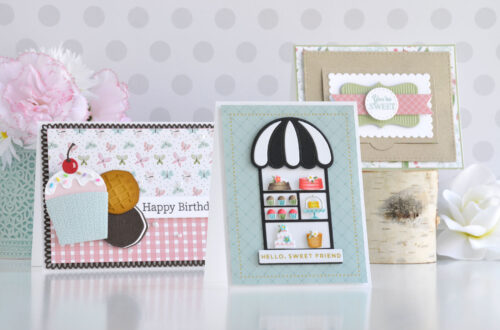
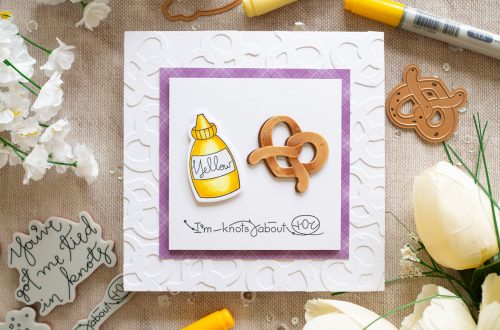
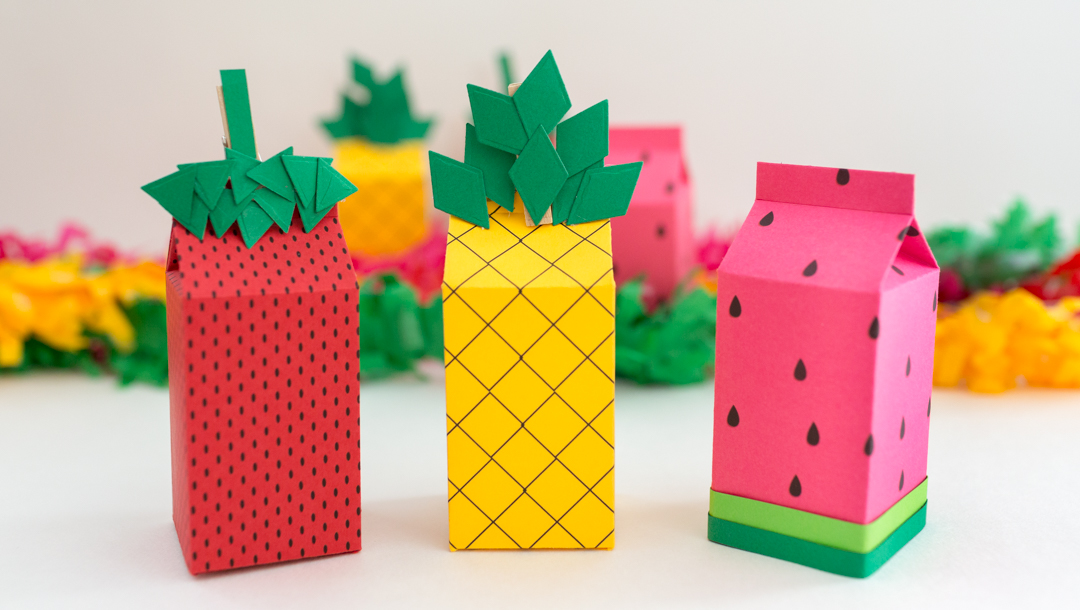
Fruit Themed Party Favors
Hi everyone! It’s Alli Roth here to show you how to create some fun, fruity party favors to bring a little extra sweetness to your summer gatherings this year. I love using the S6-104 More Than Milk Carton Die (discontinued, similar product available – SR-0011 Milk Carton Steel Rule Die) for party favors because you can create them to match any theme and fill them with candy, confetti, etc… They’re so versatile and so easy to put together! Instructions: Print patterns onto appropriate colored paper. Red for strawberry, yellow for pineapple, pink for watermelon. If you are using a marker instead of a printer, draw seeds/pineapple pattern onto paper instead. Then, using…
-
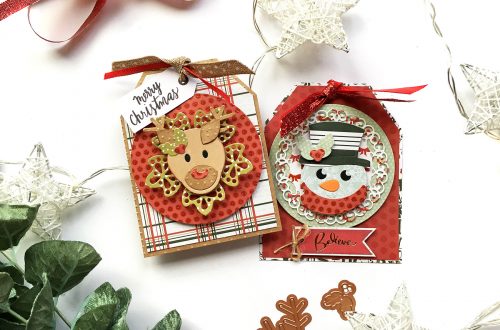
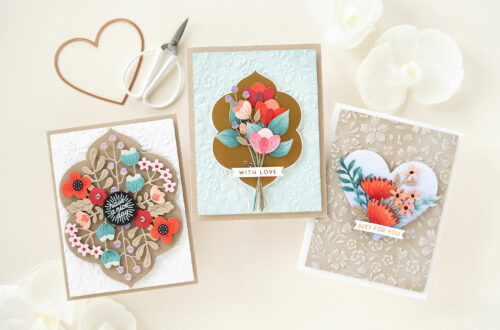
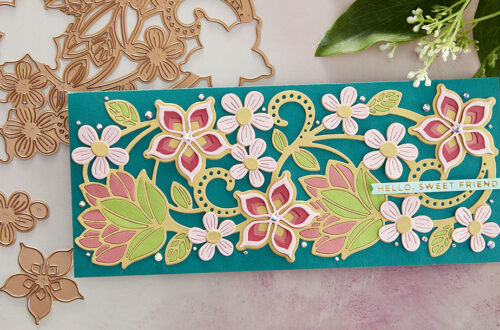
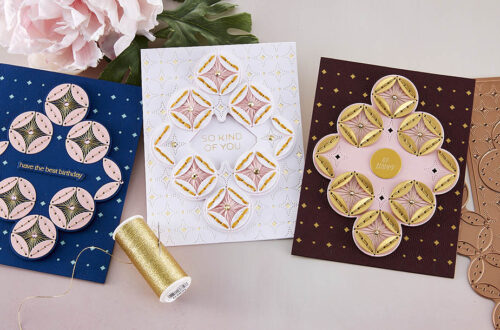
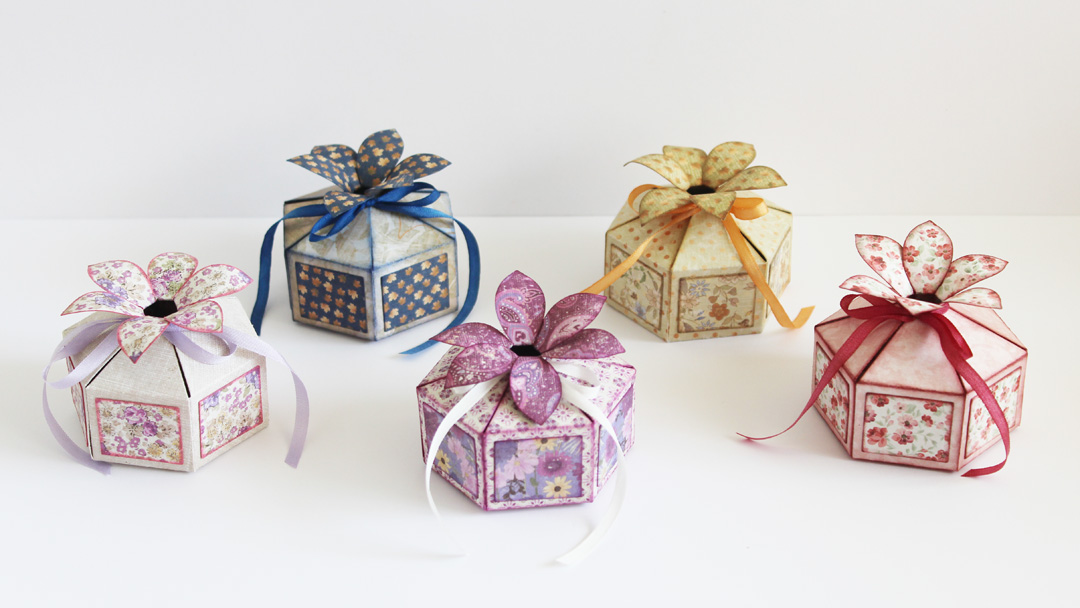
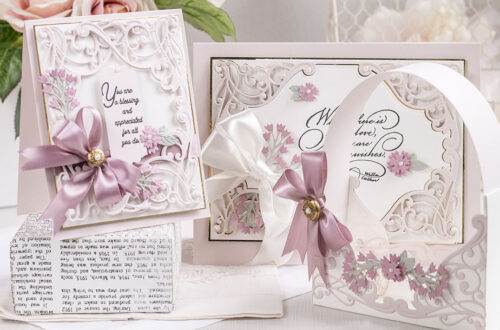
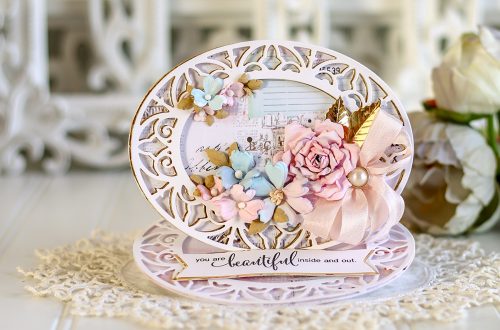
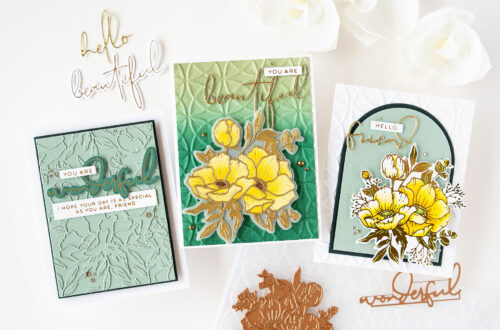
Special Occasion Flower Top Gift Boxes
Hello friends! Today I have these gift boxes to share with you created with Spellbinders Flower Top Box Die Set from my Celebrate the Day Collection. You can also use these boxes as party favors for special occasions like bridal showers, birthday parties and holidays. They are really easy to make, all the cutting and scoring lines are in the die ready for you to assemble the box in no time. Instructions: 1. Die cut gift box with Flower Top Box Die Set. You need to die cut 2 pieces from 2 sided design paper. Die cut 6 small square top layers and then adhere to box…
-
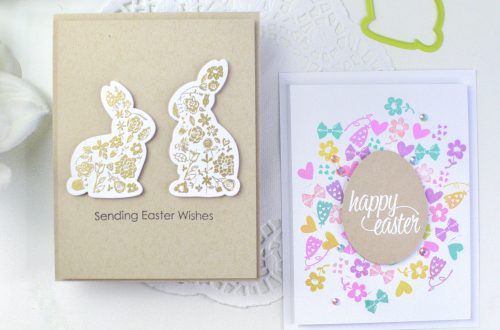
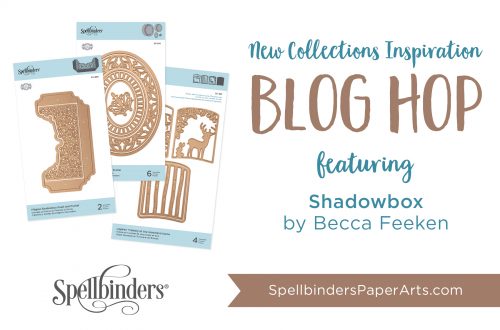
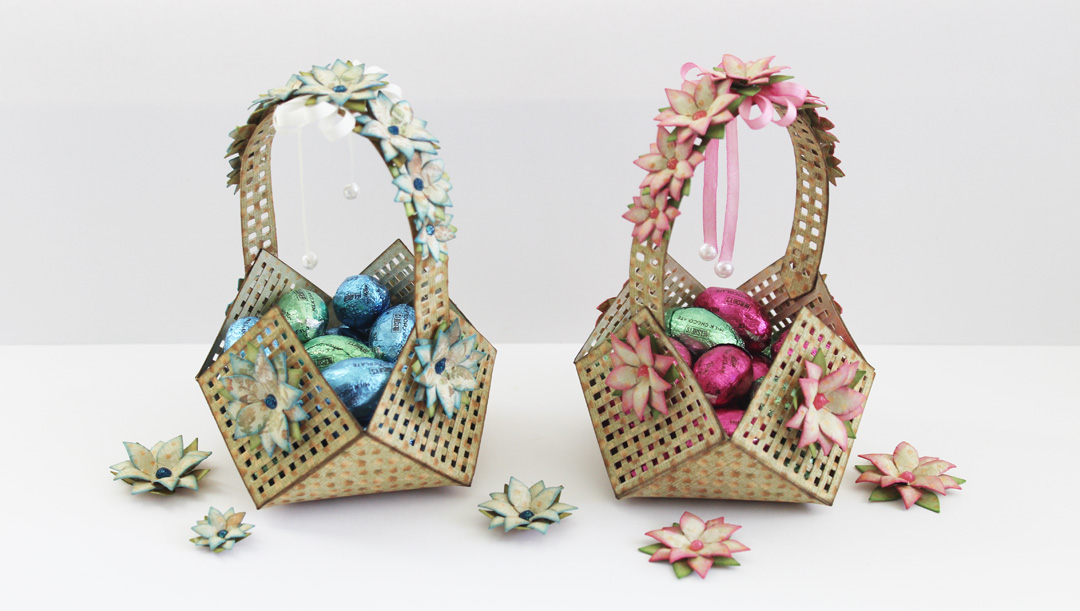
Easter Lattice Floral Basket by Marisa Job
Hello friends! Today I have this vintage Easter basket to share with you created with Spellbinders Lattice Floral Basket die set from my Celebrate the Day Collection. This basket is quite simple to assemble, all the work is in the die. The flower dies and handle are also included in this die set. Instructions: To create basket base, die cut 2 pieces with Lattice Floral Basket die set from designer cardstock. Apply double sided adhesive tape on tabs and attach both pieces together at the base of basket. You can also use glue. Apply 1/8” wide double sided adhesive tape around right square on 4 sides as pictured below. Fold…