-
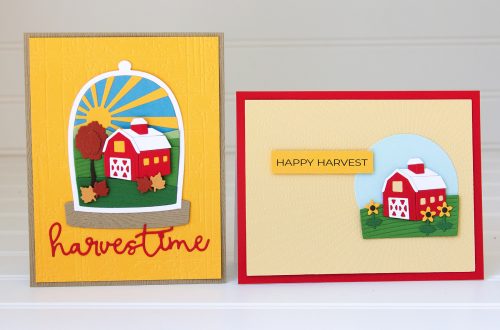
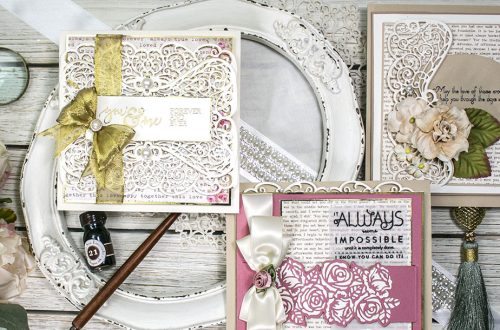
Noteworthy Scrapbooking Page Ideas: Framed Layout and Hyper Detailed Layout
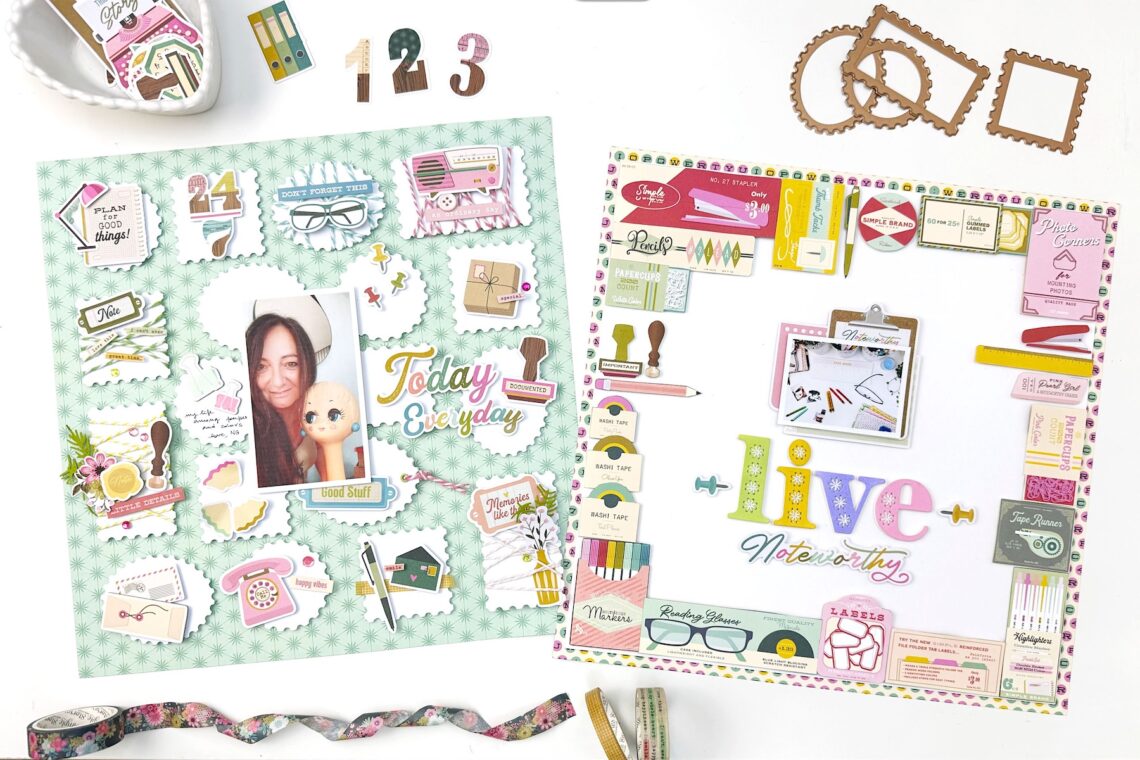
Hey friends! It’s Angela Tombari here and today I would like to share with you two layout ideas I created with the brand new Noteworthy paper collection by Simple Stories and some of the Spellbinders products. Noteworthy is the perfect collection for paper crafters to document our daily life and much-loved hobby and it perfectly pares with Spellbinders items. I am a huge fan of 12-inch scrapbooking pages. I think square is the format where I can achieve more balance so, this is the size I went for my two layouts. The first page I am showing you is a Framed layout. The name comes from all the pieces glued…
-
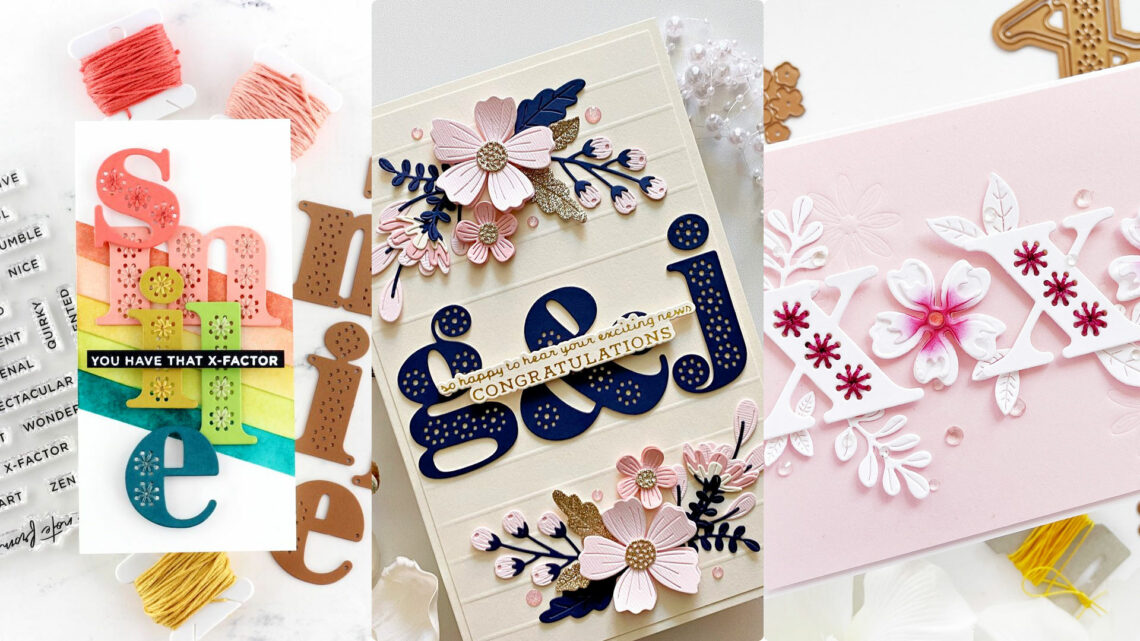
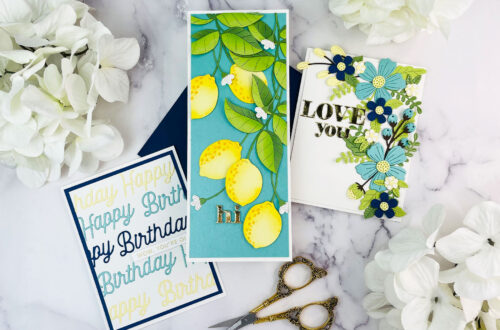
Stitched Alphabet Cards We Love
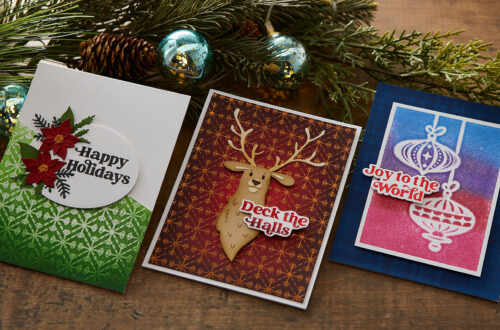
Our Stitched Alphabet Collection is a delightful way to add personalization and sentiments to cards and crafts. Over the past months we’ve seen so many marvelous projects by you and want to see more! Today, we’ve gathered some cards and projects to inspire you. Keep reading to find more ways to use the Stitched Alphabet Collection in your crafting. Hey Be Bold Card Deepa Robbins creates a beautiful teal card that can be read in many ways. From “Hey, be bold” to “Hey You,” this card is a lovely, stitched die example. We especially love the alphabet die background and diagonal stitching in the letters. G for Greetings Card Debbie-van…
-
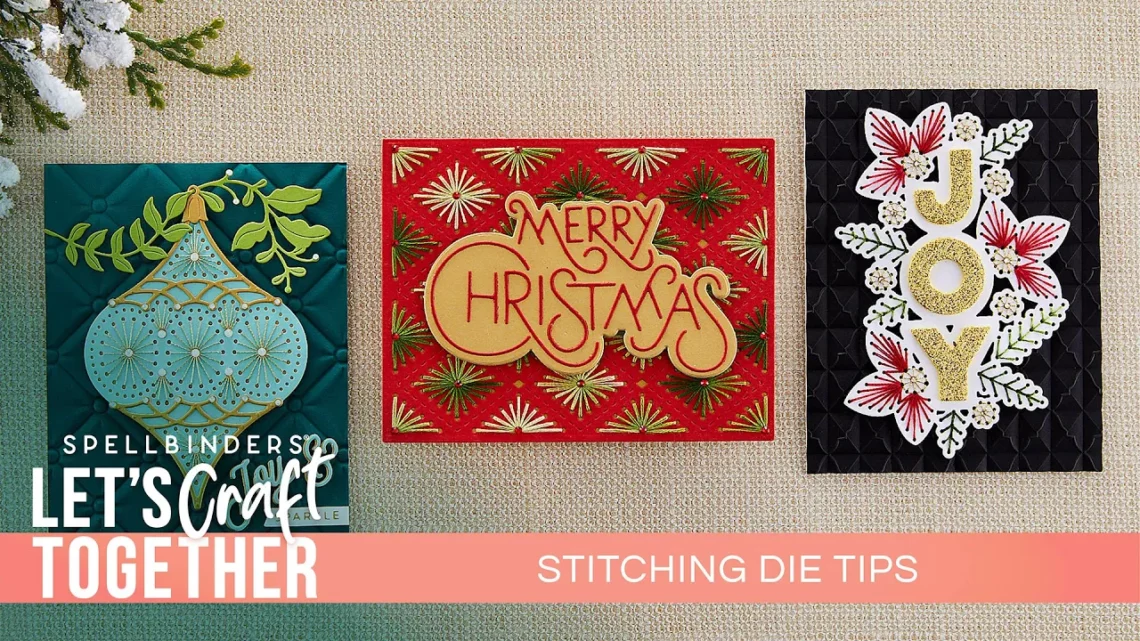
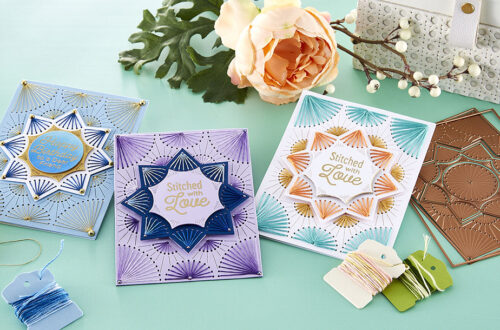
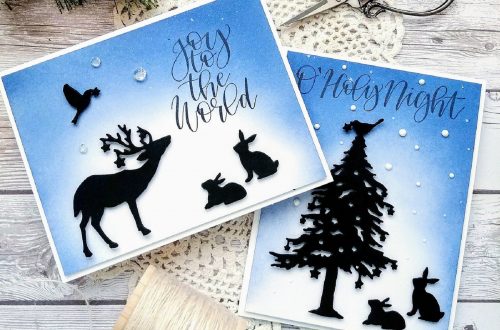
12 Stitching Die Tips with Robin Beam
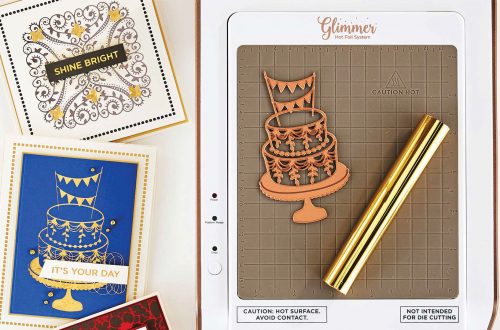
Give crafts the “wow factor” when you use stitching dies! Whether using our past collections such as Spring Into Stitching or our newer releases Stitched Alphabet and Stitchmas Christmas, stitching dies is a timeless craft to learn. Create beautiful ornaments, home decorations, craft centerpieces, gifts, cards, and much more! Whether you are new to stitching dies or are looking for some new tips to polish your skills, you’re in the right place. Robin Beam goes over her top tips and tricks using Stitched Ornament and Stitched Diamond Argyle. Read through the tips and then watch the video for an in-depth tutorial! Robin Beam’s Stitching Die Tips: Floss/Thread Tips Before You Begin…
-
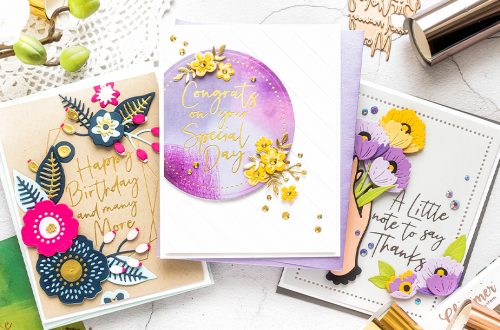
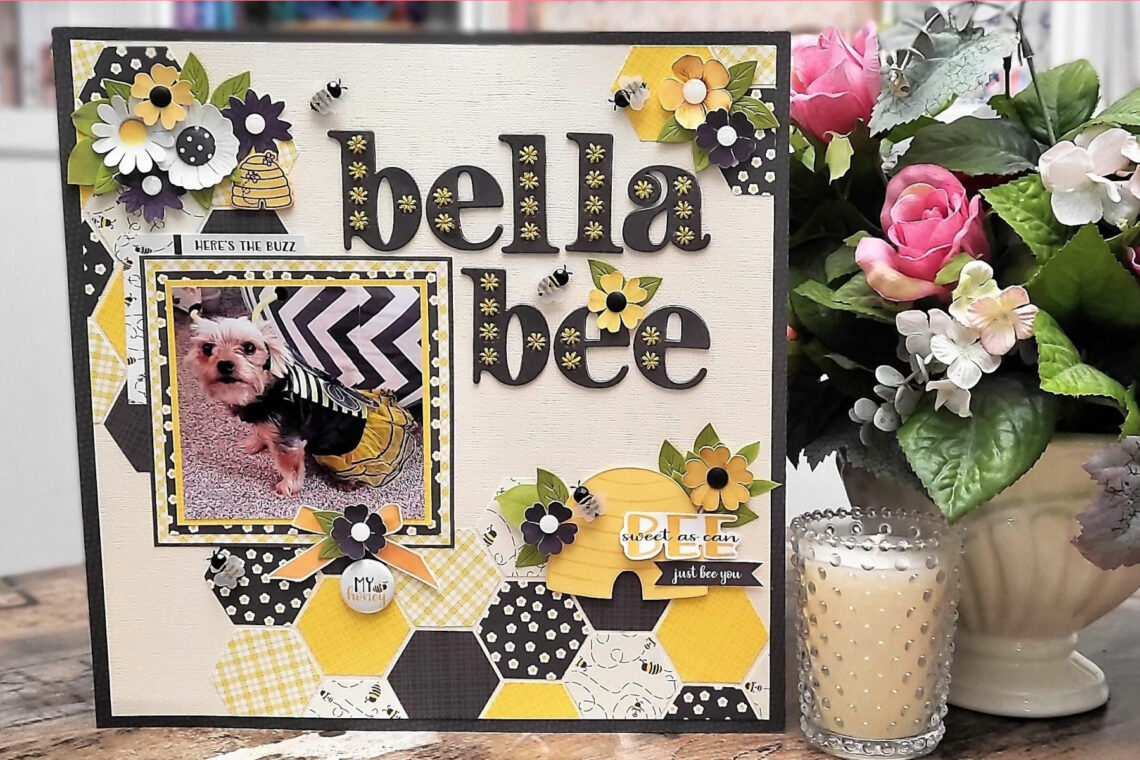
Stitched Alphabet Inspiration with Karen Yagel
Hello crafty friends! My name is Karen Yagel from Yes Please Papercrafts. I’m excited to be back on the Spellbinders blog for the new Spellbinders Stitched Alphabet collection. For my project today, I created a super cute 12×12 scrapbook layout featuring pictures of my dog Bella. The Stitched Alphabet dies are the perfect size to create titles for scrapbooking. The dies are very pretty without stitching but just so stunning with the added stitching. The pictures of Bella that I used for my layout are from a few years ago when I dressed her up in a Bee costume. It was Easter weekend and I bought a super cute bunny costume…
-
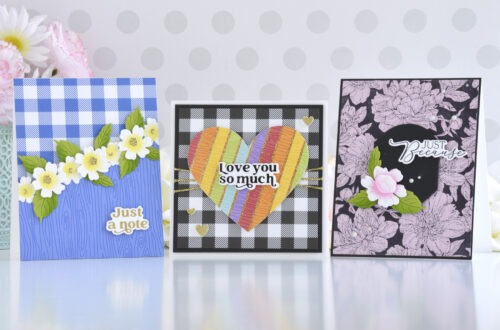
Stitched Alphabet Education and Inspiration
Our new Stitched Alphabet Collection allows for endless possibilities in card creating! You can find individual letter dies, sentiments, and the Stitched Alphabet Bundle (BD-0691) in this release to add to your craft collection. Keep reading to learn more about the collection and our favorite card creations! A great way to utilize the etched dies is to spell out words in your crafts. You can customize them for holidays, special events, a special someone, and other occasions. The etched dies were designed to fit on all card sizes from A2 (5.5 x 4.25”), slimline (3.5 x 8.5”), 5 x 7”, and 6 x 6”. Not only can the dies be…
-
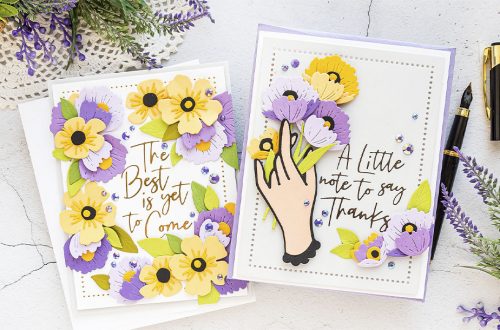
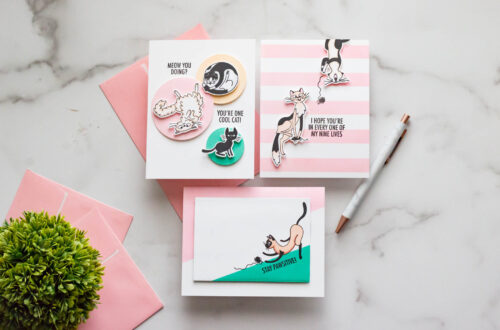
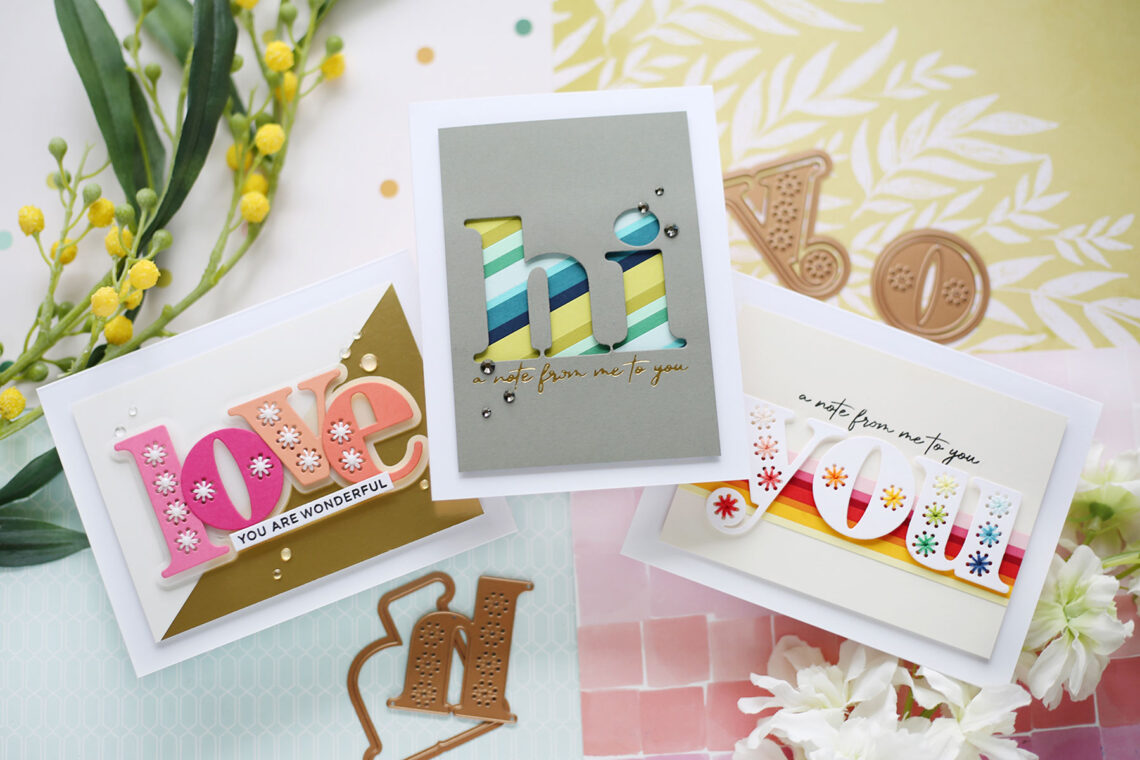
Stitched Alphabet Cards with Laura Bassen
Hi there! Laura here, and today I am honored to share a few cards featuring the fun, new Stitched Alphabet Collection. Stitched You Card For my first card, I spelled out “you” using the Stitched Alphabet Dies. I added colorful stitching with embroidery floss to each letter. I adhered thin strips solid colored cardstock behind the die-cut letters and stamped a coordinating sentiment from the Stitched Alphabet Descriptors Sentiments Stamp Set. Stitched Love Card For my second card, I spelled out “love” using solid colored cardstock. I added white stitching to each letter using white embroidery floss followed by tiny white adhesive gems stickers. I die-cut the shadow layer for…