-
Fun Ways to Use Patterned Paper in Your Cardmaking Projects
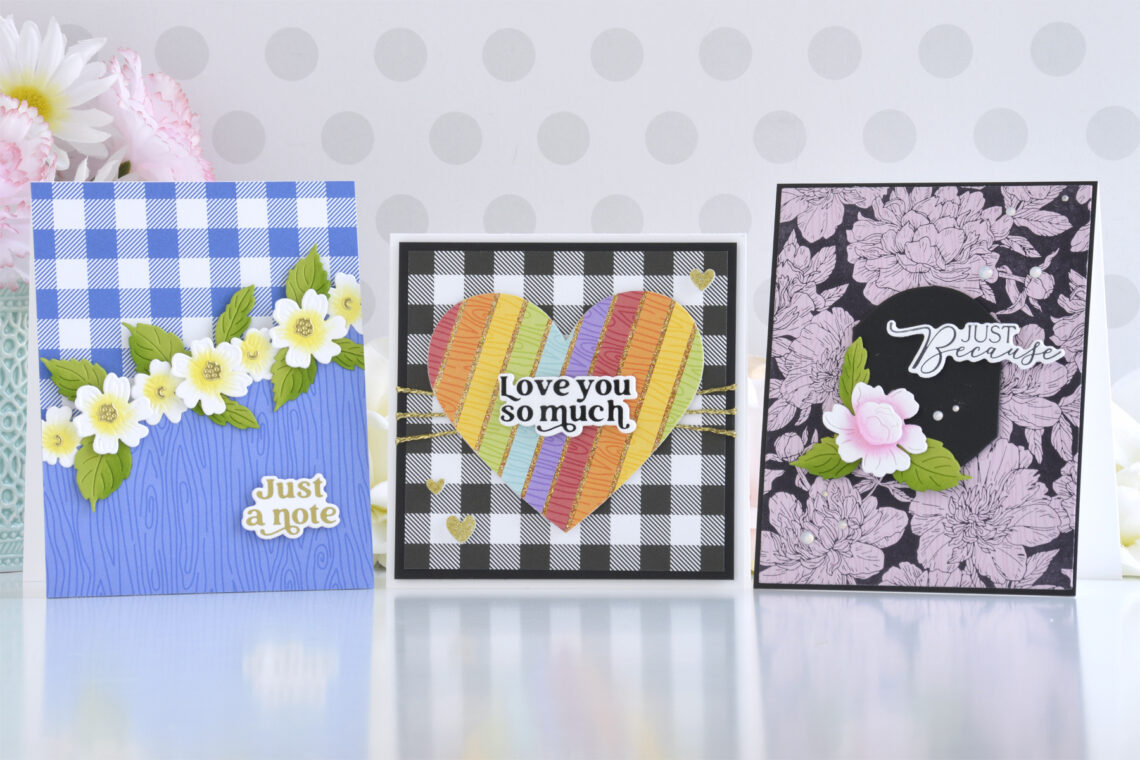
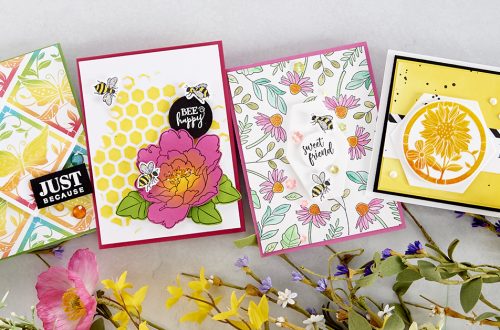
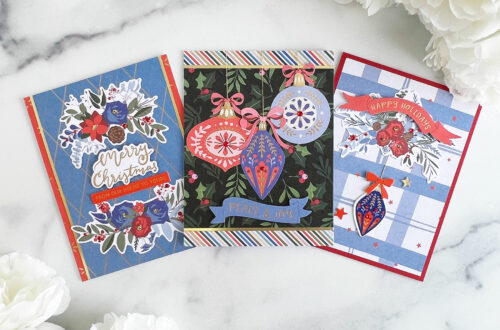
Hi there, this is Annie Williams and I’m excited to be back on the blog today to share a couple of easy and fun ways to use patterned paper in your cardmaking projects. Patterned papers can be a little intimidating to some due to busy patterns or bright colors, but I hope these techniques can help to show how easily they can add texture and color to an otherwise plain card. Pretty Floral Hello Card I love buffalo plaid, but it can be a very bold look and draw too much attention away from your focal point sometimes. Here I toned this blue plaid pattern down a bit by splitting…
-
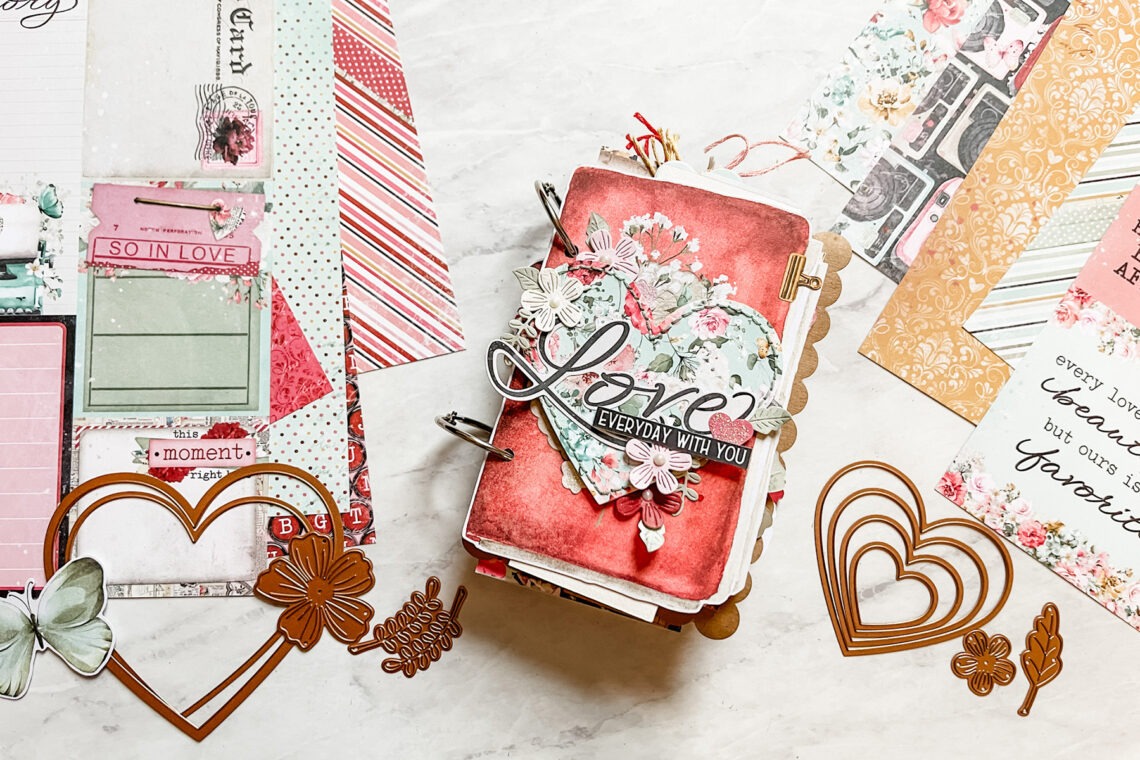
Mini-album With Simple Stories Simple Vintage Love Story Collection + Spellbinders Dies
Hello crafty friends! My name is Allison Davis and I am a scrapbooker and sketch artist for my family’s scrapbook store located in Springfield, MO, and also the sketch artist for Scrapbook & Cards Today magazine. I am absolutely thrilled to be a guest on the Spellbinders blog today sharing a mini-album I created using the Simple Stories Simple Vintage Love Story collection along with some Spellbinders cutting dies. One of the things I have always loved and appreciated about Simple Stories collections is the amount of cut-apart papers they include. That was what inspired the design of this album. I used a mix of cut-apart pieces, tags, pockets, and…
-
Two Wreath-Style Layout Designs With Simple Stories Simple Vintage Love Story Collection
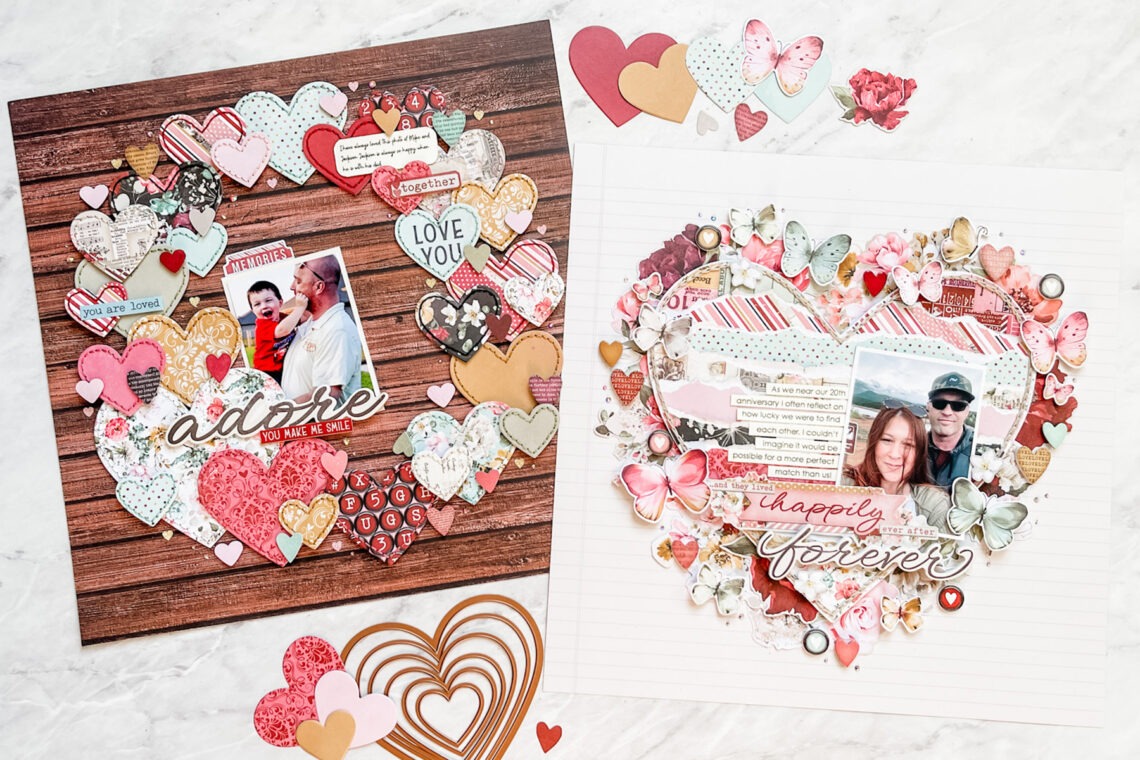
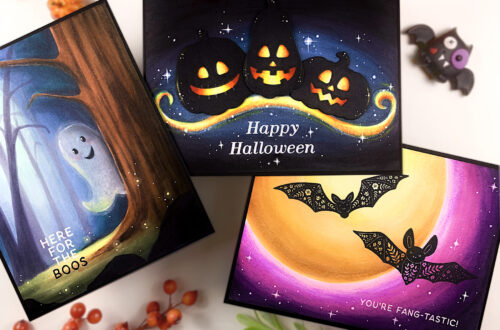
Hello everyone! My name is Allison Davis and I am a scrapbooker and sketch artist for my family’s scrapbook store located in Springfield, MO and also the sketch artist for Scrapbook & Cards Today magazine. I am so grateful and excited to be a guest on the Spellbinders blog today sharing two layouts I created using the Simple Stories Simple Vintage Love Story collection. Watch video tutorial for these on our YouTube channel or below: I don’t know about you, but to me, wreath designs are a classic concept that I love to use over and over. There are so many unique ways you can create and customize a wreath…
-
Adding Dimension to Cards with the Photosynthesis Collection with Joan Bardee
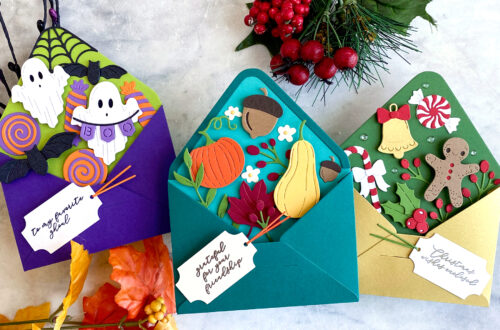
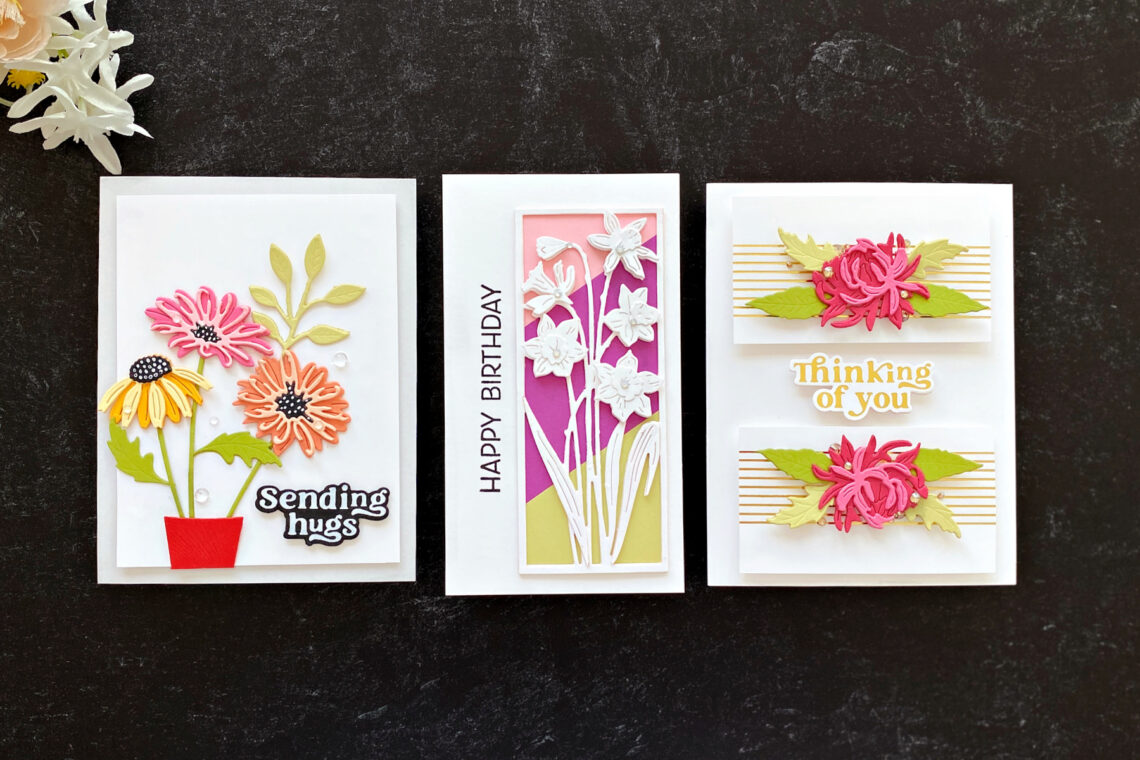
Hello crafters! Joan Bardee here and I’m delighted to share 3 cards chock full of color and dimension using the beautiful Photosynthesis Collection by Simon Hurley. If you love floral cards, you will love this collection. And adding dimension to these cards literally takes them to the next level! Rather than detail all the steps I took for each of these cards, I’m sharing several tips for adding dimension to cards. Sending Hugs This colorful bouquet of flowers uses Ceramic Vases, Floral Stems, and Must Have Sentiments, all part of the Photosynthesis Collection. I added dimension and heft to this card in 4 ways: Stacked die cuts – adhering multiple…
-
Stampendous Hello Spring Collection with Jennifer Kotas
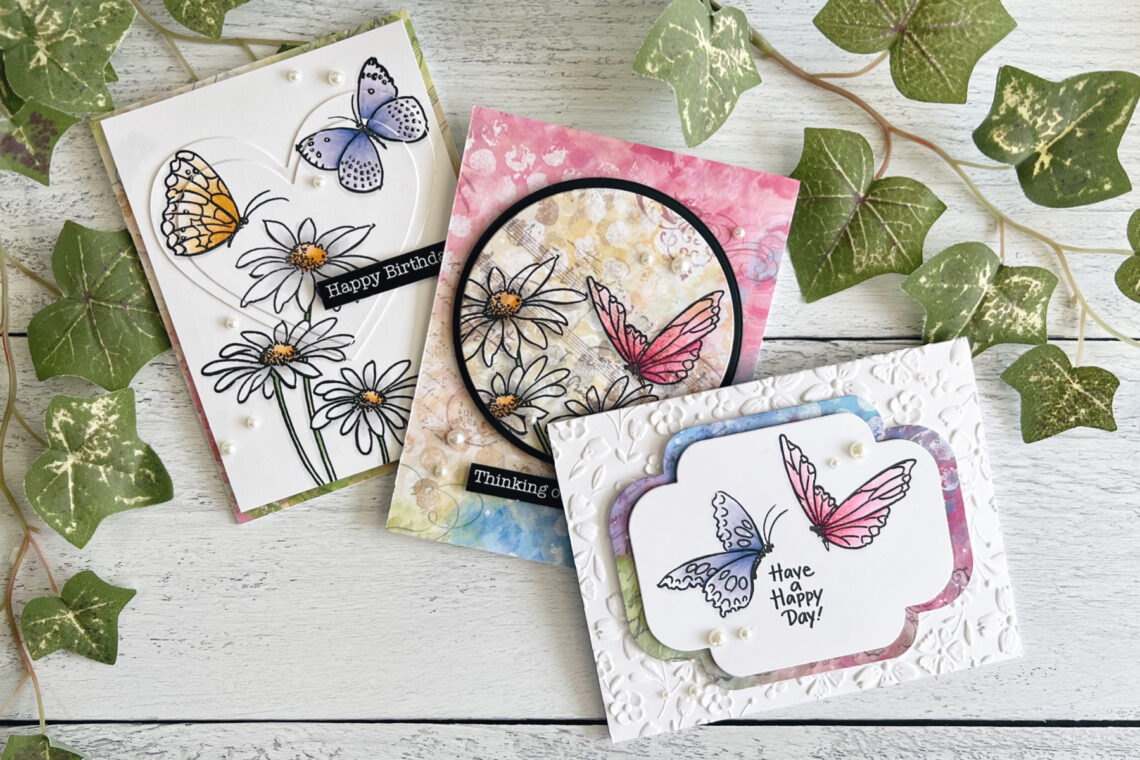
Hello! I’m Jen Kotas from Who Stole My Glitter and I’m happy to be here today to share three cards featuring the Hello Butterfly Stamp Set from the Stampendous Hello Spring Collection. All of the products in this collection are beautiful. I enjoyed pairing the Quick Card Backgrounds up with these stamps as well. I sometimes struggle when I don’t have dies for my stamps so, for these cards, I tried to find other ways to add interest and dimension without coordinating dies. Die cut the Essential Four Petal Labels dies from white cardstock and slightly larger from Joy of Spring Quick Card Backgrounds. Stamp two butterflies and the sentiment…
-
Inspired by the Sentiments in the Showered with Love Collection by Joan Bardee
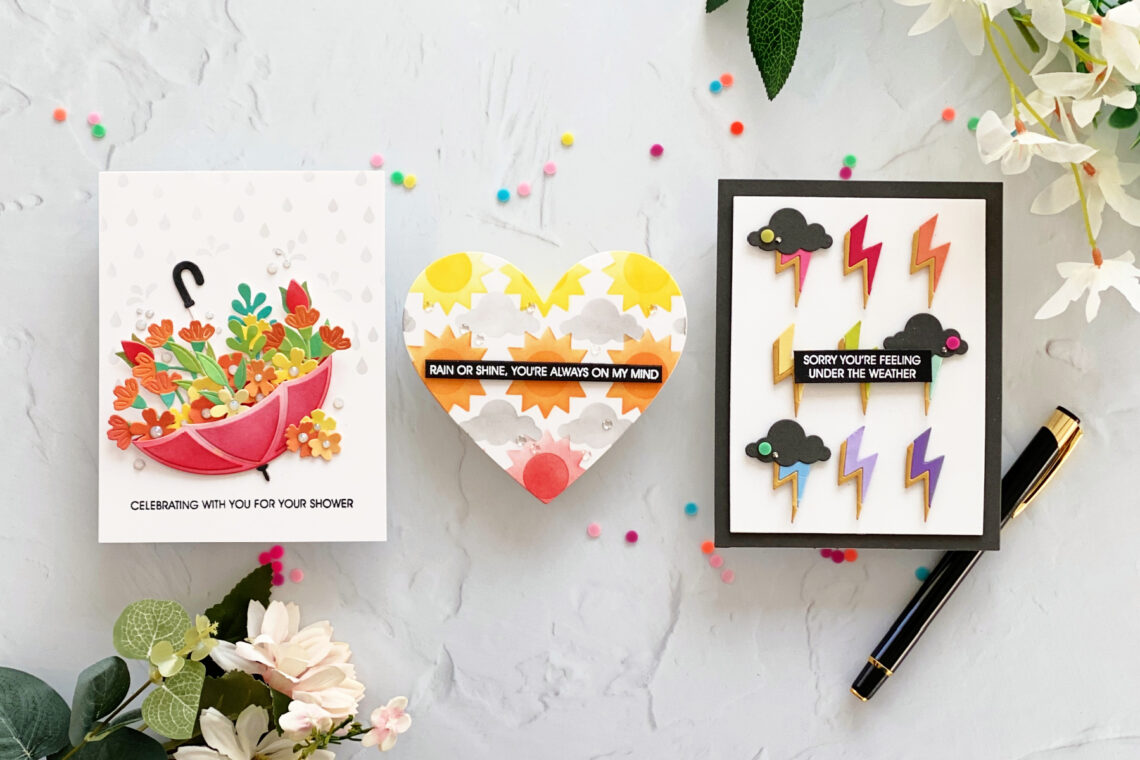
Hello and welcome! I’m Joan Bardee and if you want to see what else I’m up to, you can find me on Instagram as Dear Paperlicious. Today I’m featuring 3 fun and colorful cards using products in the Showered with Love Collection designed by the super-talented Vicky Papaioannou. The design of each card was inspired by the sentiments in the I’ve Got You Covered Clear Stamp and Die set, which is part of this collection. The collection is full of clever open and closed umbrellas, weather symbols, flowers, a duck, etc. – all evoking spring. I took my cue from that season and used softer sherbet colors for each of…
-
Floral Reflection Collection | Various Occasion Cards Inspiration with Heejung Hunsberger
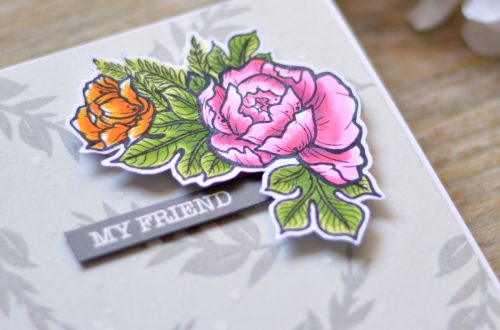
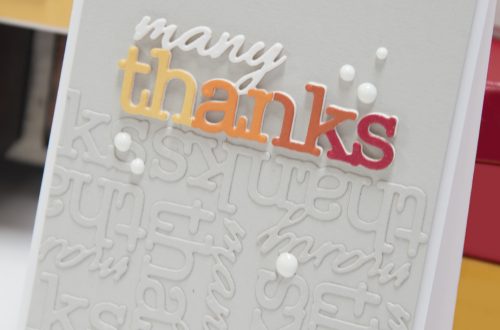
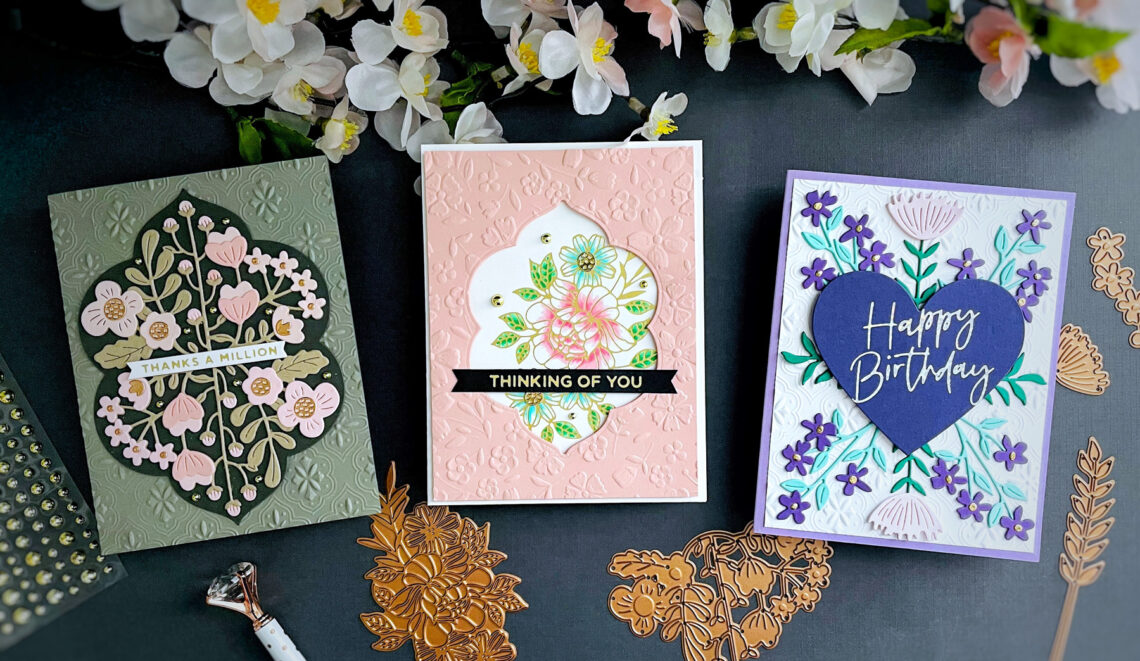
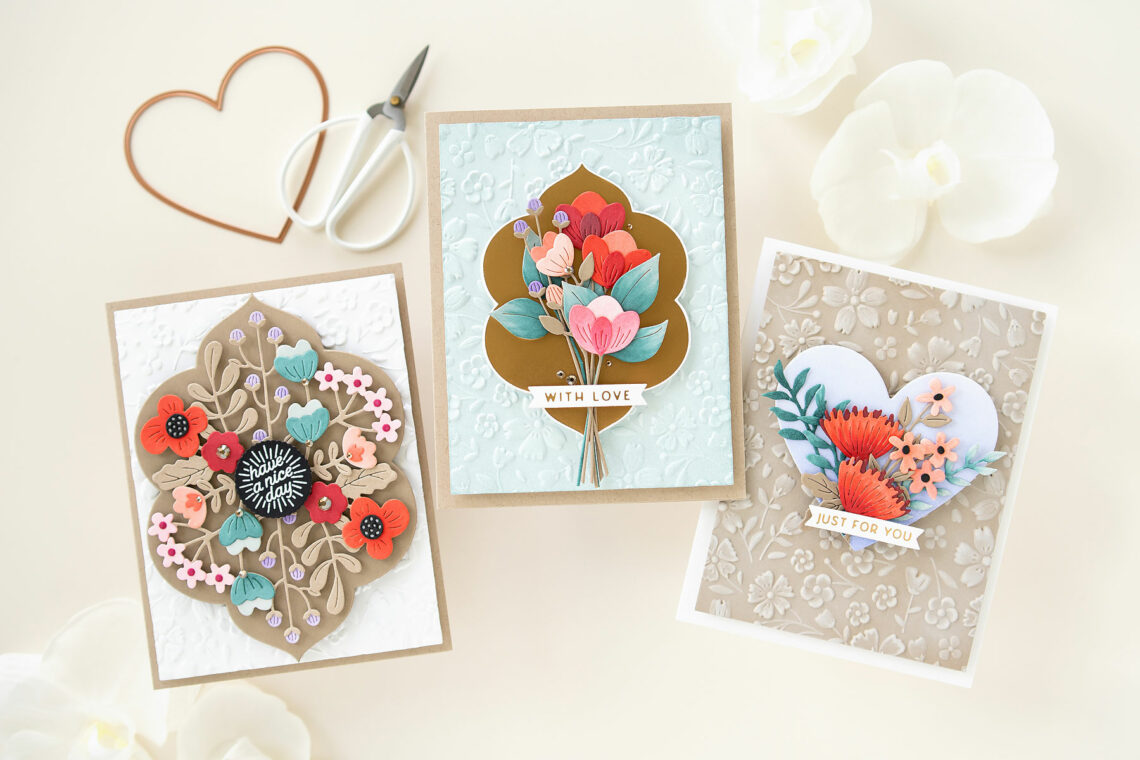
Hello crafty friends, this is Heejung Hunsberger and I am thrilled to be a guest designer this month. I share a few of my projects using the Floral Reflection Collections from Spellbinder. If you want to know me better, you can visit my blog or Instagram. I also have a YouTube channel, where I post a lot of video tutorials. FLORAL REFLECTION THANKS CARD My favorite part of this collection is the variety of stems, and flowers it offers. I combined the Floral Reflection die and the Essential Floral Reflection die on this thank you card. CARD RECIPE: Trim a piece of Lunar Gray Cardstock to 4.25” x 5.5, and emboss it with the Tile…
-
Trio of Floral Reflection Collection Cards with Jung AhSang
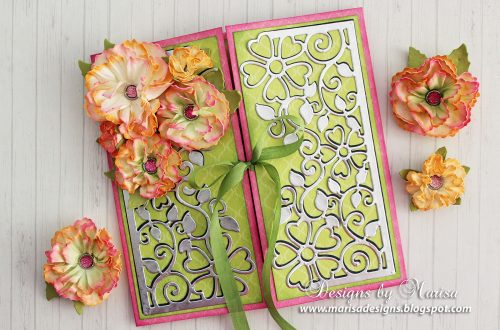
Hello crafty friends! It’s Jung here, and I am so happy to be returning for another guest post on the Spellbinders blog. For my projects today, I’m working with some products from the Floral Reflection collection. I love all the florals in the collection, and especially the heart dies! For my first card, I started with the Floral Reflection dies, along with the Essential Floral Reflection die. First, I die-cut all the dies in the Floral Reflection die set on white cardstock for the flower pieces, and craft cardstock for the larger foliage piece. I die-cut everything twice since you need 2 of the floral pieces to cover the shaped…
-
Floral Reflection Collection Easel Cards with Jen Kotas
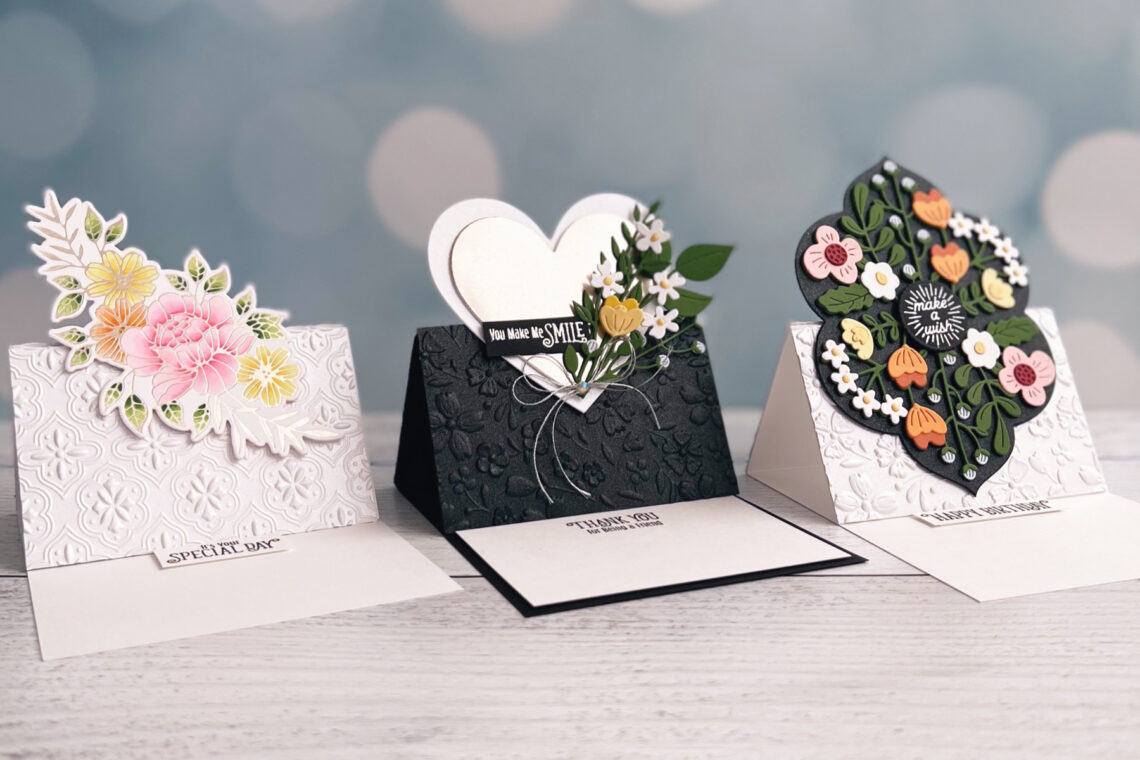
Hello! I’m Jen Kotas from whostolemyglitter.com and I’m happy to be here today to share three Floral Reflection Collection easel cards. Easel cards are simple to make and the size of the dies and glimmer plate meant not much else would be needed. To create the easel card base, cut a piece of cardstock 4 ¼” x 11”. Score at 2 ¾” and again at 5” then fold on score lines. Cut the 4 ¼” x 5 ½” embossed cardstock in half at 2 ¾”. Adhere the pieces above and below the 2 ¾” score line on the card base. Anything you wish to pop up when open can only…

