Handmade Cards using Be Bold Color Block Collection by Hussena Calcuttawala
Hello, crafty friends!
This is Hussena from Quill and Punch Works and I’m so honoured to be guest posting today on the Spellbinders blog! I’m sharing a set of two cards today using dies from the new Be Bold Color Block Collection. I have made my cards in two different sizes – Slimline and Square and used varied colour schemes for making them too!
The large letters from the Be Bold Color Block Collection stand out and add color for a fabulous colour block design. These dies are truly one a kind and so fun to create a variety of card designs!
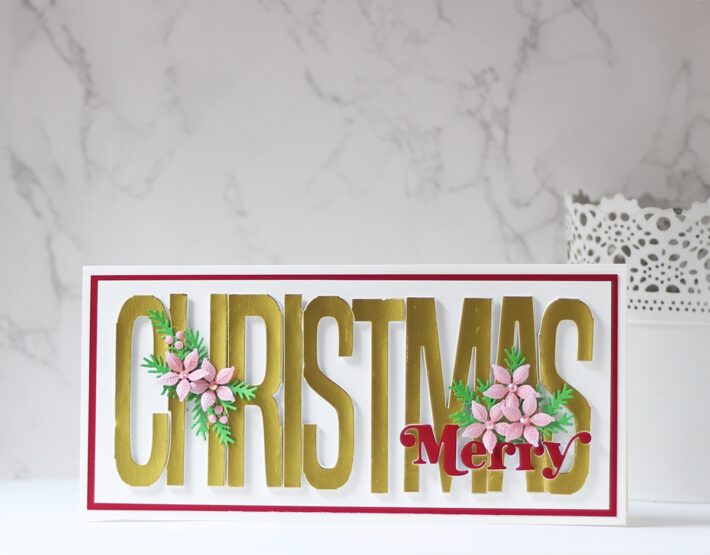
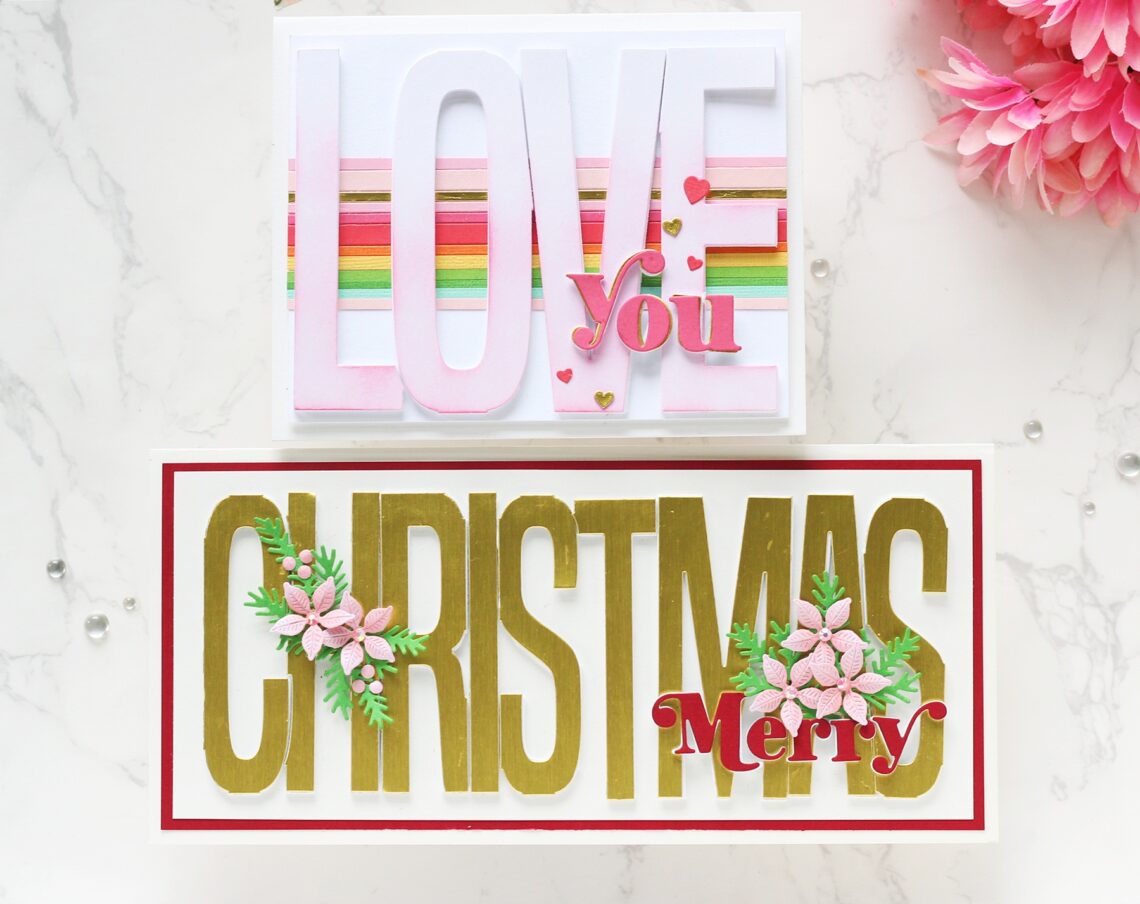
I LOVE Slimline Cards and it’s been a while since I made one, so I reached for the Merry Christmas Etched Dies first to create this bold and bright Christmas card.
To begin, I trimmed a piece of Alabaster Cardstock to 9.5″ X 4″ and matted the entire panel with a piece of Pomegranate Cardstock. Then, I went ahead and adhered it to a top-folding slimline-sized white card base with tape runner.
I die cut the word ‘Merry’ from Pomegranate Cardstock, while the coordinating sentiment was die cut from Brushed Gold Cardstock using the Merry Christmas Etched Dies. I also cut out the words from White Foam Sheets to adhere beneath the paper die cuts for dimension.
Next, I die cut Pink Sand Cardstock using the small poinsettia die included in the Pop Up 3D Vignette Poinsettia Sleigh Set. I blended Worn Lipstick ink in the centre of each petal using a blending tool and embossed the petals using the 2mm ball stylus from Susan’s Garden Ultimate Tool Kit. I also die cut Olive Green Cardstock using the evergreen sprig die included in the same die set. I adhered the different die cut pieces to my card front using the Bearly Art Precision Craft Glue. To finish, I adhered some Crystal Jewels to the flower centers for a bit of sparkle.
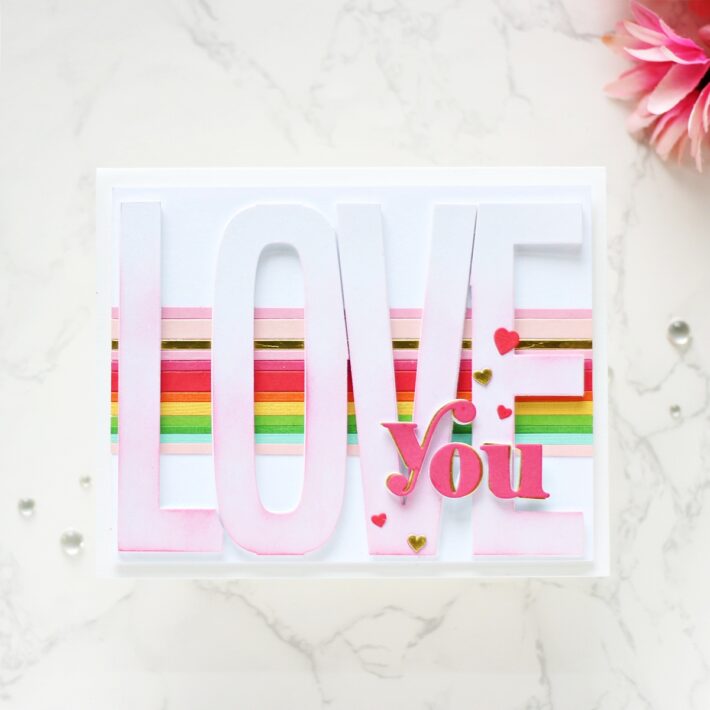
My next project features the Love You Etched Dies from the Be Bold Color Block Collection. I really love the clean, simple, and modern look of this die set. It has so many possibilities!
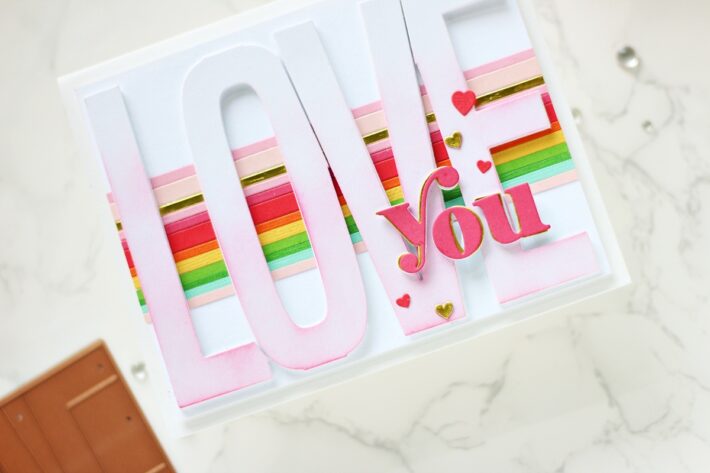
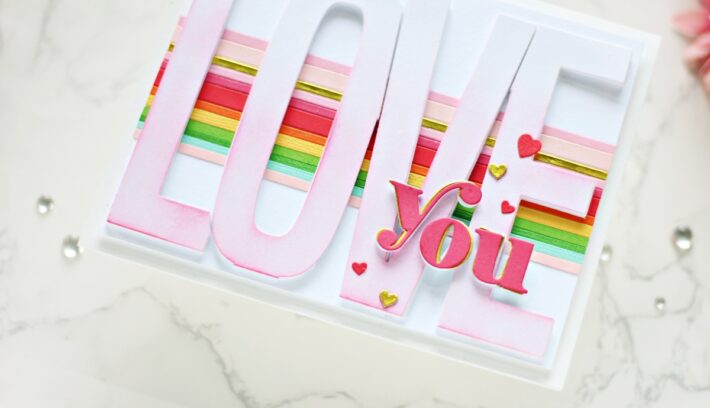
To create my card, I first trimmed a piece of Snowdrift Cardstock to 5.75″ X 4.25″. Then, I cut paper strips of varying sizes out of Pink Sand, Brushed Gold, Wild Berry, Poppy Field, Persimmon, Beeswax, Rainforest, Fern, and Waterfall Cardstock using a paper trimmer to create my card background. I adhered the strips down on to my card panel using the Bearly Art Precision Craft Glue.
I die cut the sentiment pieces from Snowdrift, Wild Berry, and Brushed Gold Cardstock using the Love You Etched Die Set. I also cut them from White Foam Sheets to adhere beneath the paper die cuts for dimension. I wanted the sentiment to stand out from the rest of the card, so I ink blended Picked Raspberry Distress ink around the bottom two-thirds and edges of the letters with a blending brush to help define the edges more. Then, I popped up the sentiment on the panel using liquid adhesive.
I adhered the gold die-cut sentiment on top of the pink die-cut with liquid glue, offsetting them a bit to form a shadow. I die cut few hearts from Wild Berry and Brushed Gold Cardstock and adhered it to my panel using the Bearly Art Precision Craft Glue. Finally, to complete, I adhered the panel to a top-folding white card base with tape runner.
Spellbinders Supplies:

Other Supplies
Light Pink Cardstock, Olive Green Cardstock, Raspberry Cardstock, Picked Raspberry and Worn Lipstick Distress Ink, Blending Tool, Tape Runner, Foam Adhesive, Crystal Jewels
I hope you enjoyed this set of bright and bold cards featuring the Be Bold Color Block Collection and are inspired to give it a try.Thank you so much for stopping by today!
You can find more inspiration over at my blog visit my Instagram page and Blog.

