-
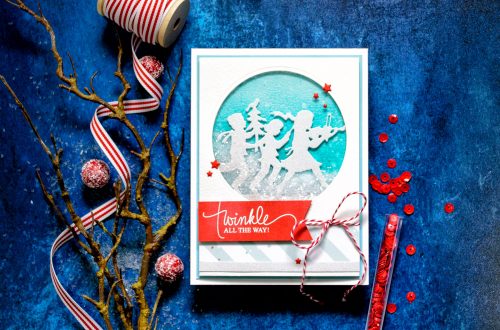
April 2024 Glimmer Hot Foil Kit of the Month Preview & Tutorials – Sew Amazing
Our April 2024 Glimmer Hot Foil Kit of the Month Club preview & tutorials are here! The Glimmer Hot Foil membership subscription includes an exclusive Glimmer Hot Foil Plate Set + One Roll of Foil (colors may vary). Please note, new Subscription Sign-Up Window will now open on the 6th of each month and close on the 27th (once existing club members subscriptions have been processed.) If there is additional inventory remaining, then they will be made available for new subscriptions and will have limited availability. Continuing Subscriptions will charge on the 5th of each month. This means existing Club Members will still be able to cancel subscriptions or make…
-
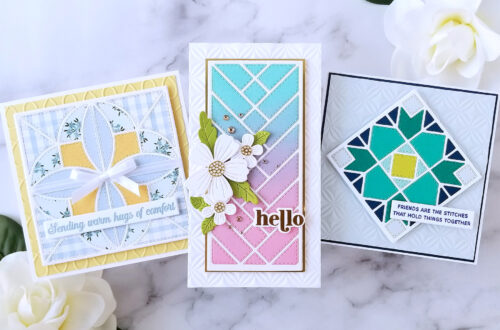
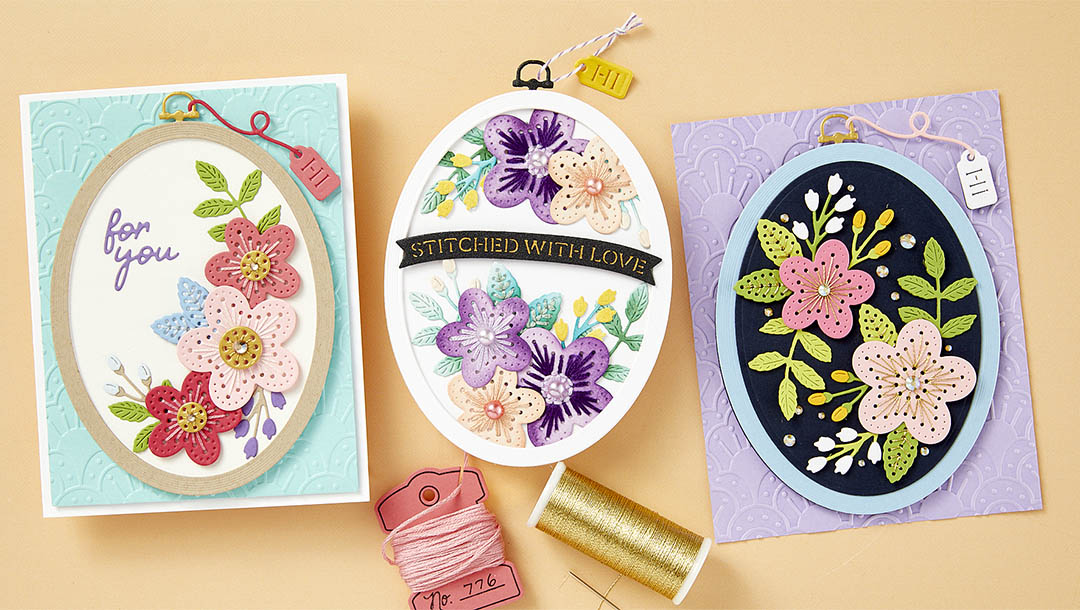
April 2024 Stitching Die of the Month Preview & Tutorials – Stitched Wall Hanging
Join the Stitching Die of the Month Club and receive an expertly designed die set each month, complete with inspiration. The April 2024 Stitching Die of the Month preview & tutorials are here! This “Stitched Wall Hanging” die set features 18 cutting dies. Enjoy the step-by-step tutorial below as well as the video tutorial to get you started with this month’s kit! Make sure to show us what you create by tagging #SpellbindersClubKits on social media! Please note, new Subscription Sign-Up Window will now open on the 6th of each month and close on the 27th (once existing club members subscriptions have been processed.) If there is additional inventory remaining,…
-
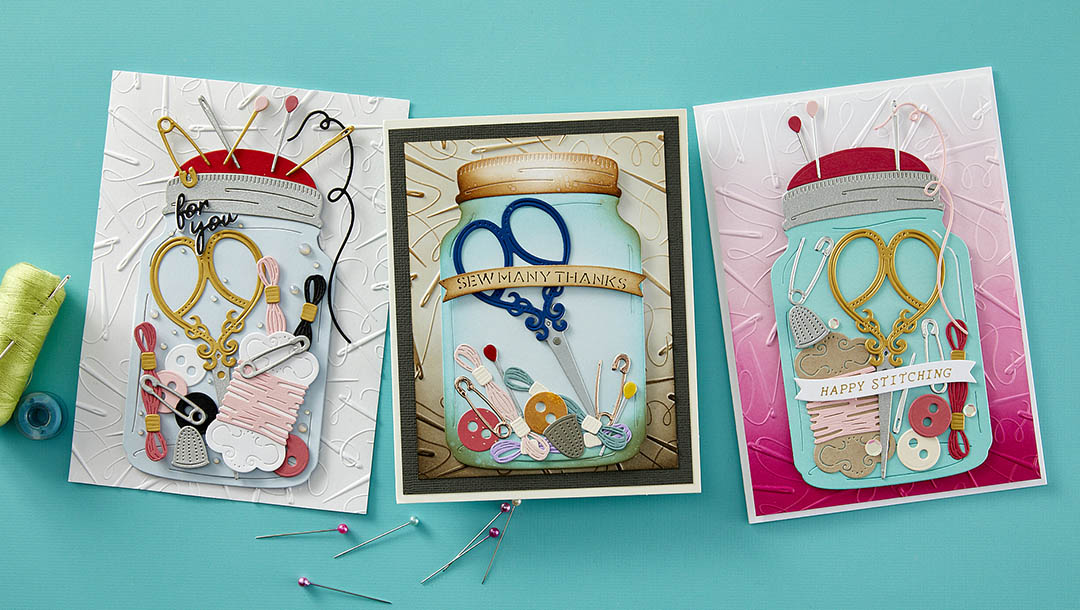
April 2024 Large Die of the Month Preview & Tutorials – Pins & Needles Jar
The April 2024 Large Die of the Month preview & tutorials are here! This “Pins & Needles Jar” die set features 14 cutting dies. Enjoy the step-by-step tutorial below as well as the video tutorial to get you started with this month’s kit! Make sure to show us what you create by tagging #SpellbindersClubKits on social media! Please note, new Subscription Sign-Up Window will now open on the 6th of each month and close on the 27th (once existing club members subscriptions have been processed.) If there is additional inventory remaining, then they will be made available for new subscriptions and will have limited availability. Continuing Subscriptions will charge on…
-
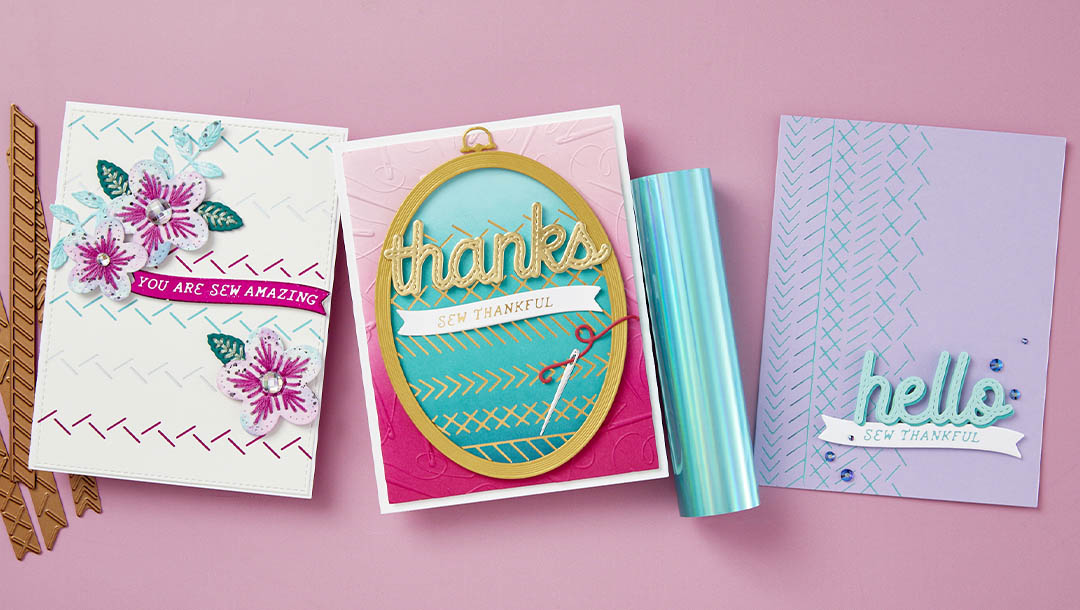
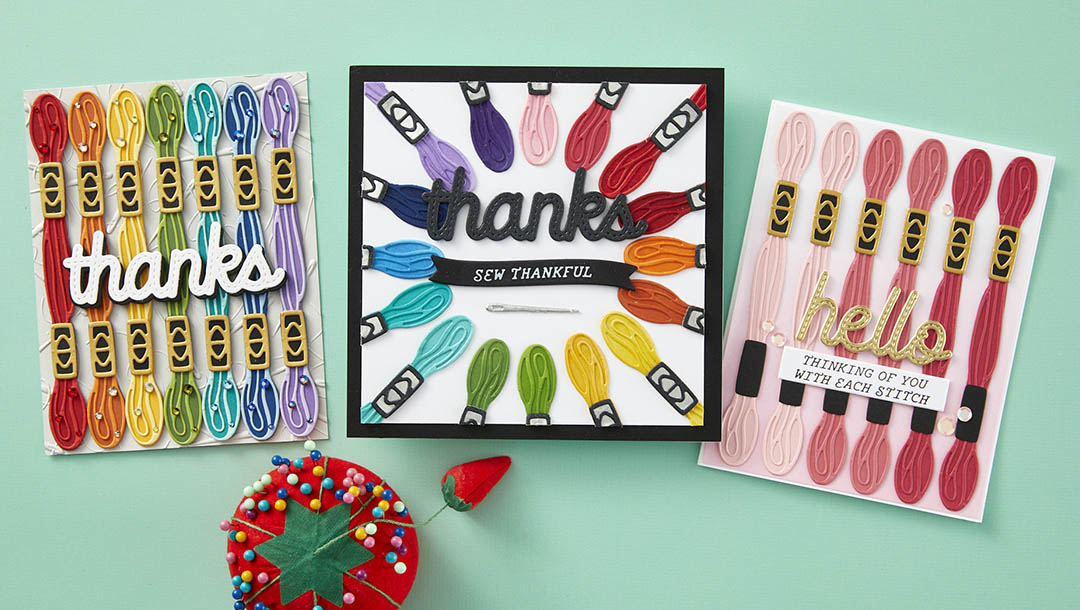
April 2024 Small Die of the Month Preview & Tutorials – Faux Stitched Sentiments & Floss
Our April 2024 Small Die of the Month preview & tutorials are here! This “Faux Stitched Sentiments & Floss” die set features 9 cutting dies. Enjoy the step-by-step tutorial below as well as the video tutorial to get you started with this month’s kit. Make sure to show us what you create by tagging #SpellbindersClubKits on social media! Please note, new Subscription Sign-Up Window will now open on the 6th of each month and close on the 27th (once existing club members subscriptions have been processed.) If there is additional inventory remaining, then they will be made available for new subscriptions and will have limited availability. Continuing Subscriptions will charge…
-
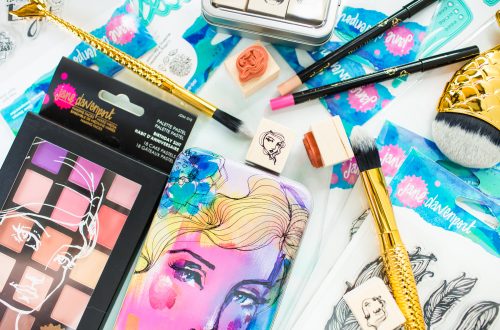
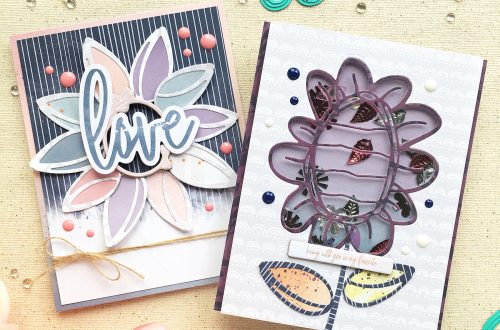
Coloring With Strong Pastels
Hi everyone! This is Jennifer Rustioni from @armieritagli! I’m so happy to be back on the Spellbinders Blog! Today I share with you a step-by-step tutorial of the card I realized featuring the Uchida Le Pen Neon! These pens are so fun to use! I chose to use the Uchida Le Pen Neon to create a CAS card. I realized an easy coloring different from my usual, and I had so much fun to do it! For my project, I used the Stampendous Little Monsters Perfectly Clear Stamp Set. These monsters are so fun and cute, aren’t they?? Well, I stamped a monster on a white card stock using the…
-
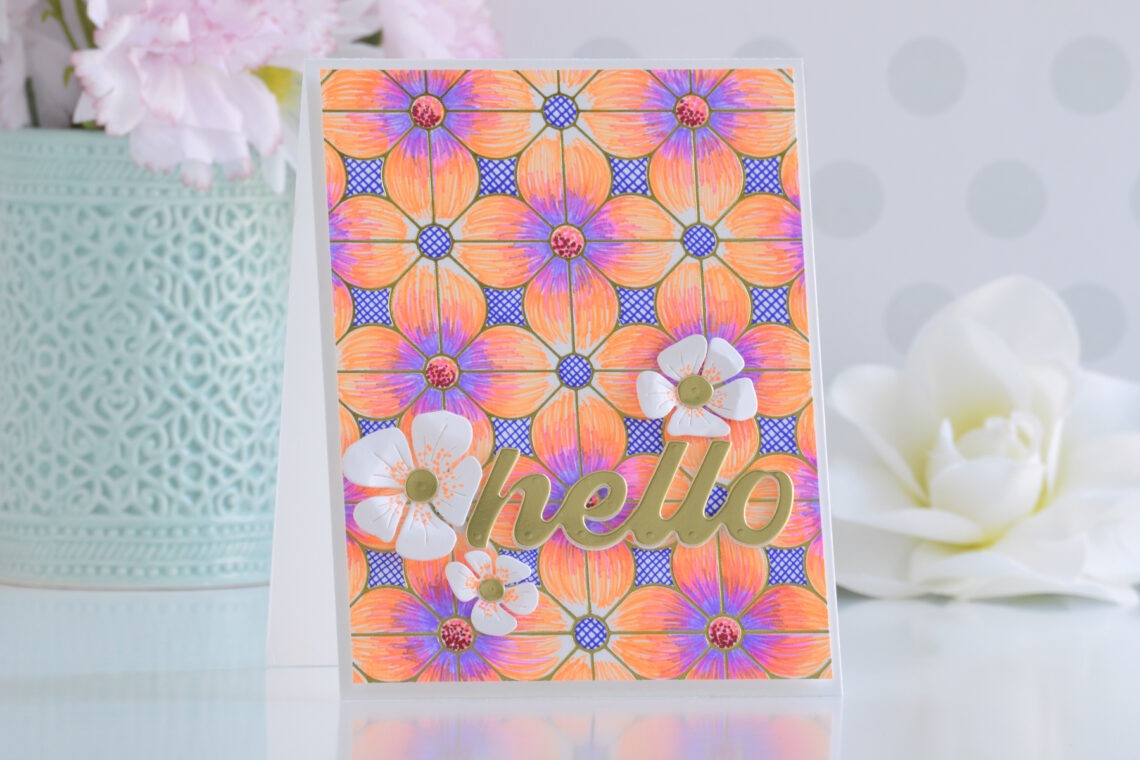
Creating Eye-Catching Cards with Fine Tip Neon Pens
Hi there, this is Annie Williams and today I’m excited to share a couple of ways to add eye-popping color and the look of texture to backgrounds and die-cuts using Uchida Le Pen Neon Pens. Colors this bright can be a little intimidating to use on cards, but I promise you’ll have fun when you try it! I wanted a large canvas to play with the beautiful colors in the Uchida Le Pen Neon Pen set, so I started by applying Gold Hot Foil to white cardstock using the Geometric Flower Background Glimmer Plate. Then I colored the petals of the flowers using a flicking motion with the pens. Since…
-
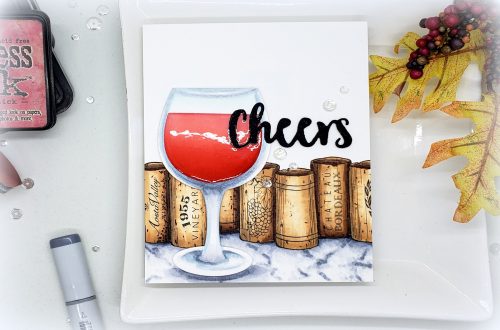
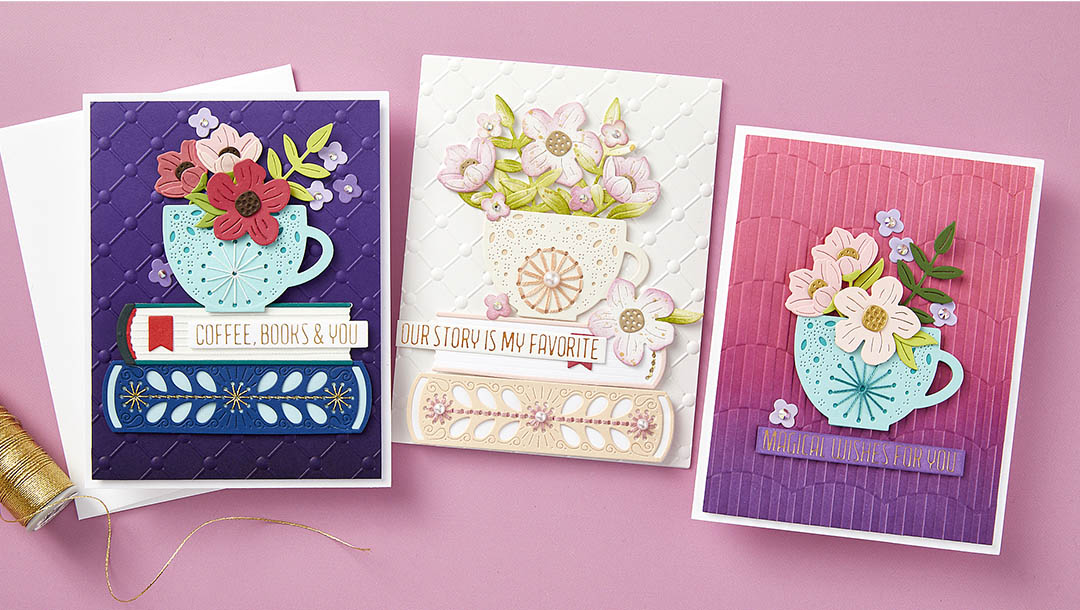
March 2024 Stitching Die of the Month Preview & Tutorials – Stitched Read & Sip
Join the Stitching Die of the Month Club and receive an expertly designed die set each month, complete with inspiration. The March 2024 Stitching Die of the Month preview & tutorials are here! This “Stitched Read & Sip” die set features 17 cutting dies. Enjoy the step-by-step tutorial below as well as the video tutorial to get you started with this month’s kit! Make sure to show us what you create by tagging #SpellbindersClubKits on social media! Please note, new Subscription Sign-Up Window will now open on the 6th of each month and close on the 27th (once existing club members subscriptions have been processed.) If there is additional inventory…
-
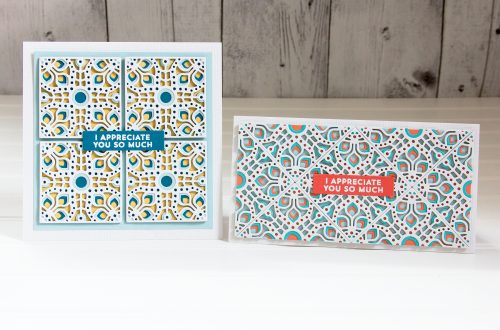
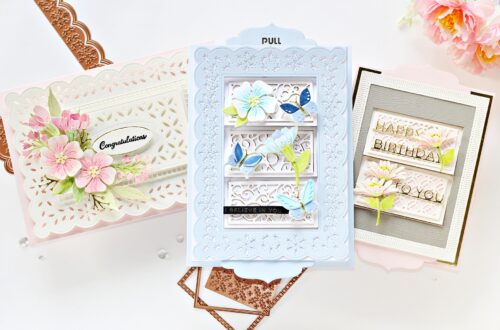
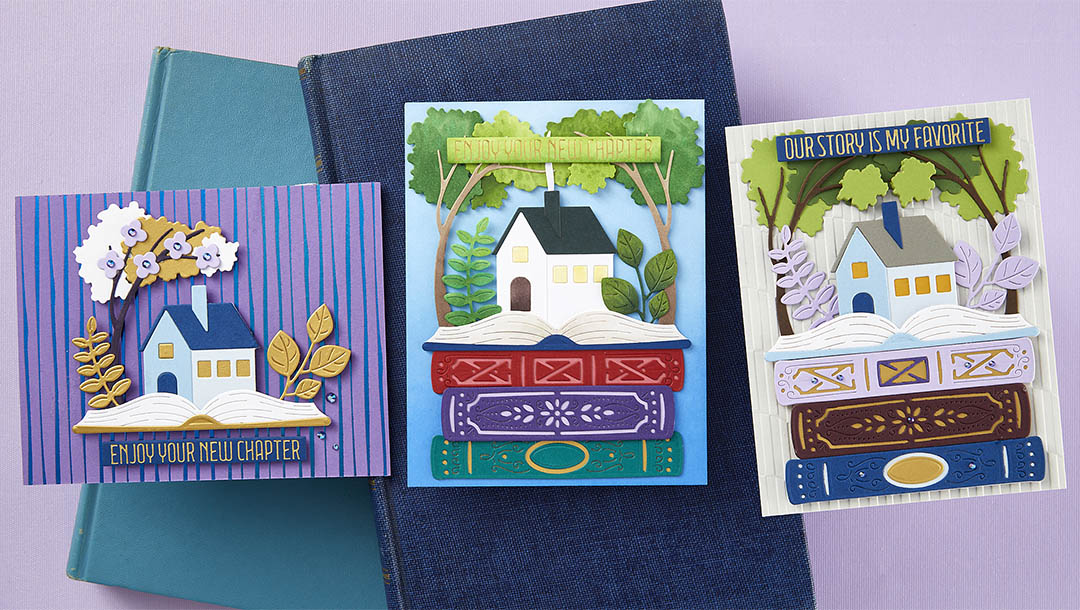
March 2024 Large Die of the Month Preview & Tutorials – Classic Tales
The March 2024 Large Die of the Month preview & tutorials are here! This “Classic Tales” die set features 19 cutting dies. Enjoy the step-by-step tutorial below as well as the video tutorial to get you started with this month’s kit! Make sure to show us what you create by tagging #SpellbindersClubKits on social media! Please note, new Subscription Sign-Up Window will now open on the 6th of each month and close on the 27th (once existing club members subscriptions have been processed.) If there is additional inventory remaining, then they will be made available for new subscriptions and will have limited availability. Continuing Subscriptions will charge on the 5th…
-
March 2024 Small Die of the Month Preview & Tutorials – Wise Owl
Our March 2024 Small Die of the Month preview & tutorials are here! This “Wise Owl” die set features 15 cutting dies. Enjoy the step-by-step tutorial below as well as the video tutorial to get you started with this month’s kit. Make sure to show us what you create by tagging #SpellbindersClubKits on social media! Please note, new Subscription Sign-Up Window will now open on the 6th of each month and close on the 27th (once existing club members subscriptions have been processed.) If there is additional inventory remaining, then they will be made available for new subscriptions and will have limited availability. Continuing Subscriptions will charge on the 5th…
-
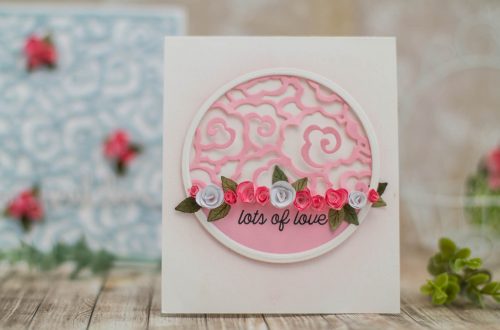
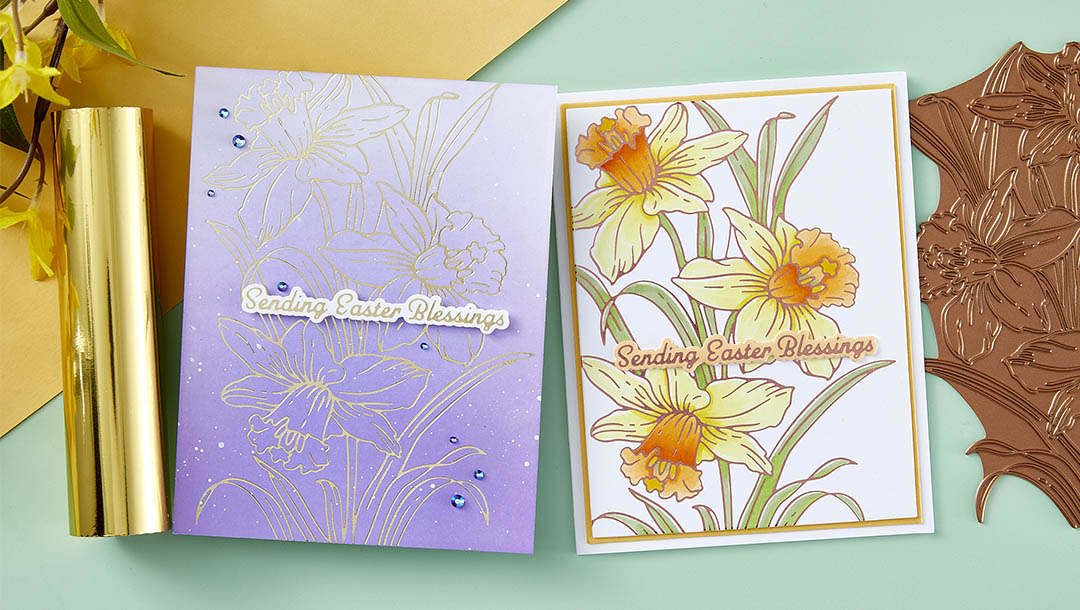
February 2024 Glimmer Hot Foil Kit of the Month Preview & Tutorials – Daffodil Spray
Our February 2024 Glimmer Hot Foil Kit of the Month Club preview & tutorials are here! The Glimmer Hot Foil membership subscription includes an exclusive Glimmer Hot Foil Plate Set + One Roll of Foil (colors may vary). Please note, new Subscription Sign-Up Window will now open on the 6th of each month and close on the 27th (once existing club members subscriptions have been processed.) If there is additional inventory remaining, then they will be made available for new subscriptions and will have limited availability. Continuing Subscriptions will charge on the 5th of each month. This means existing Club Members will still be able to cancel subscriptions or make…