-
Double Up Your Focal Points
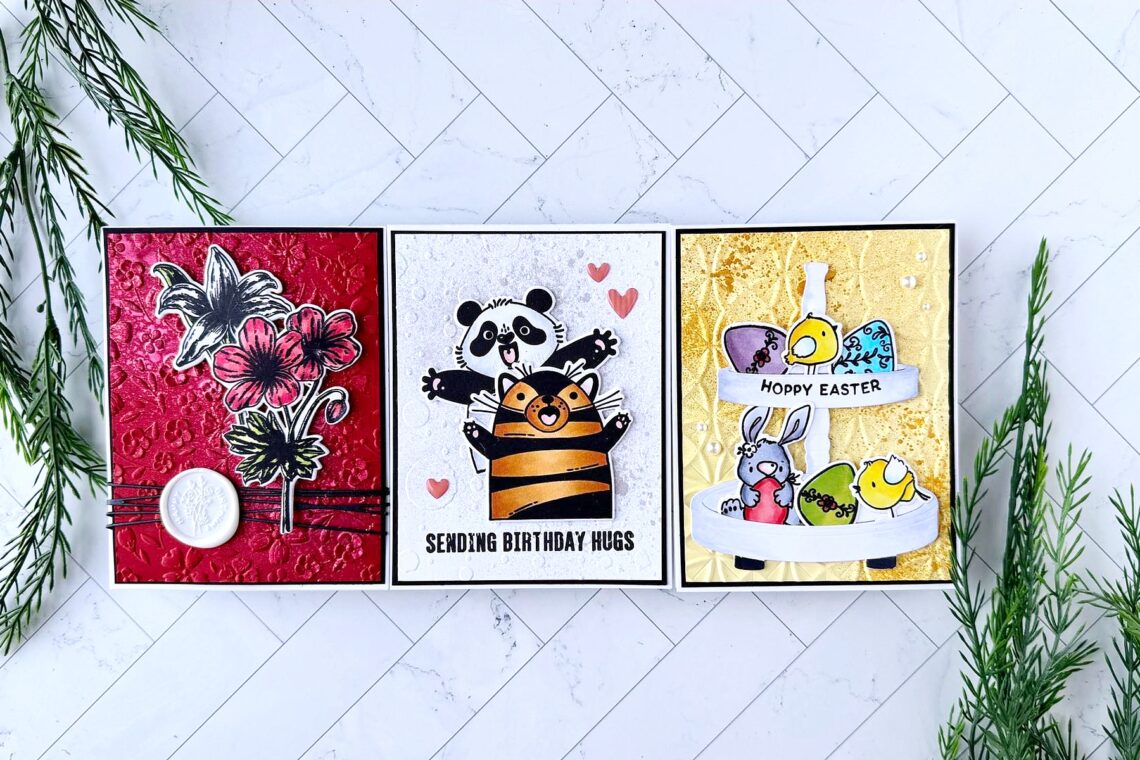
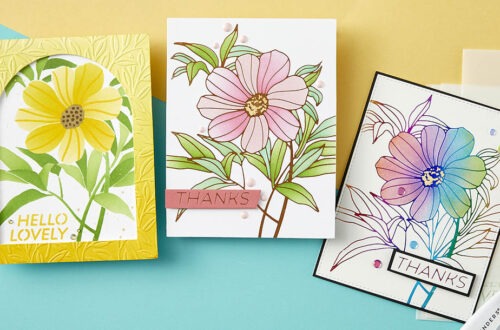
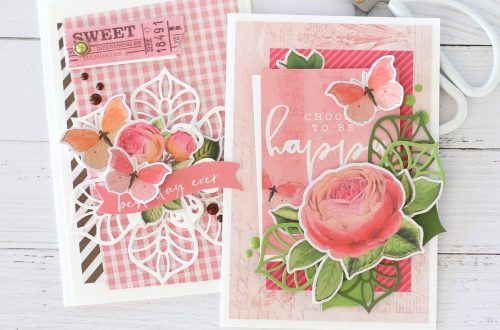
Hi everyone. Alanna Moses from EmbellishCraftLove.com and I’m happy to be back on the Spellbinders blog. I have three super fun cards to share with you today using the new Simon Hurley stamp and die collection for January 2024. This collection has three large stamp sets and coordinating dies are available for them. You will see repetition in each of my cards using embossing folders, Mica Stains, and a doubled-up focal element. SENDING BIRTHDAY HUGS For my first card, I used the new Monster Hugs stamp set and coordinating dies. I stamped out two of the cute animals with Copic-friendly ink and then colored them in with my Copic markers.…
-
Simple and Sweet Love Cards with the House Mouse Winter Collection
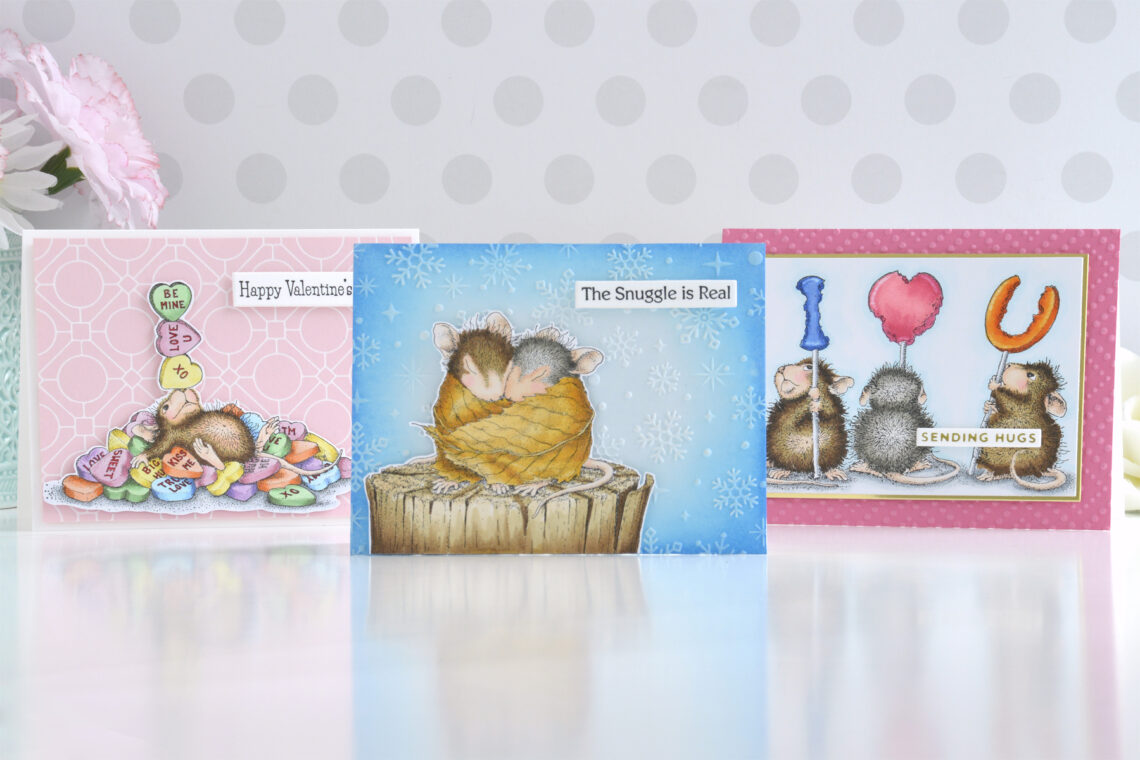
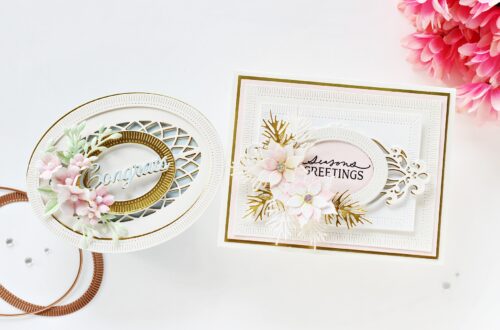
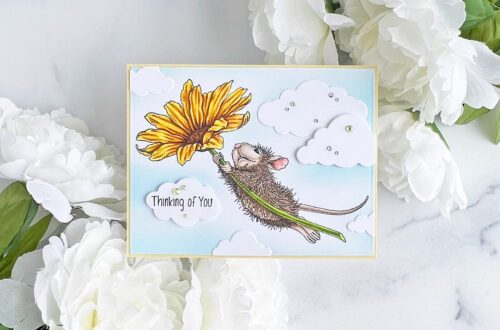
Hi there, this is Annie Williams and I’m excited to be back on the blog today to share a couple of sweet love cards made with the new House Mouse Winter Collection. With such detailed and adorable images in this collection, you can keep the other elements of your card pretty simple and still create eye-catching projects! I started by stamping the image and one of the sentiments from the Snuggle Up Stamp Set onto white cardstock using black alcohol-friendly ink. After coloring the image with Copic markers, I fussy-cut it out with scissors and trimmed the sentiment out into a strip. To create the background, I trimmed a piece…
-
House Mouse Winter Inspiration
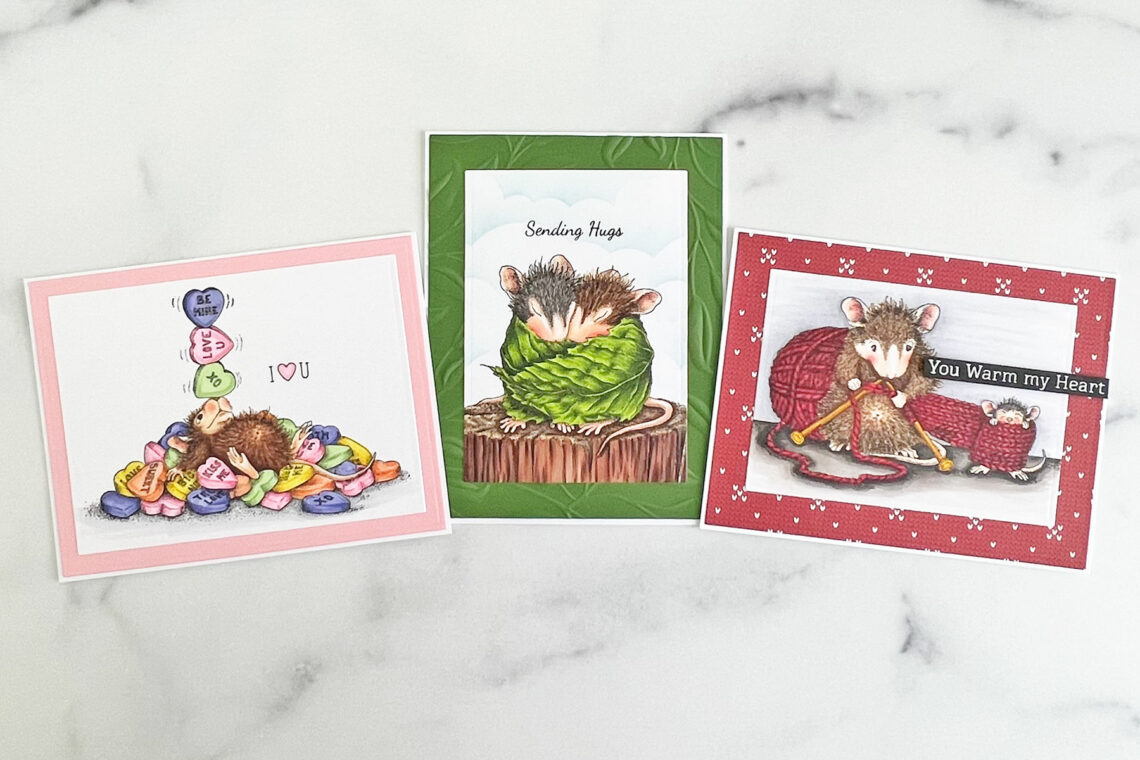
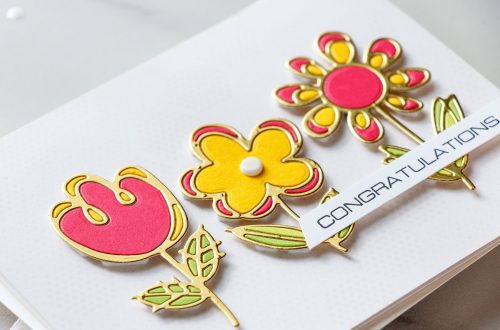
Hello, crafty friends!! Brenda Noelke here from My PaperCut Creations! I’m thrilled to be a guest on the Spellbinders blog again today! I’m sharing three cards featuring the House Mouse Winter Collection!! All of the mice in the House Mouse Collections are just darling and this one is no exception!! I LOVE YOU How perfect is this set for Valentine’s Day? I stamped the adorable mouse and the sentiment from the Candy Hearts stamp set onto white cardstock with Copic-friendly black ink and colored it with Copic markers. The way these stamps are illustrated makes it so easy to color them! The panel was die-cut with the second largest die…
-
Coloring House-Mouse Everyday Collection With Prismacolor Pencils
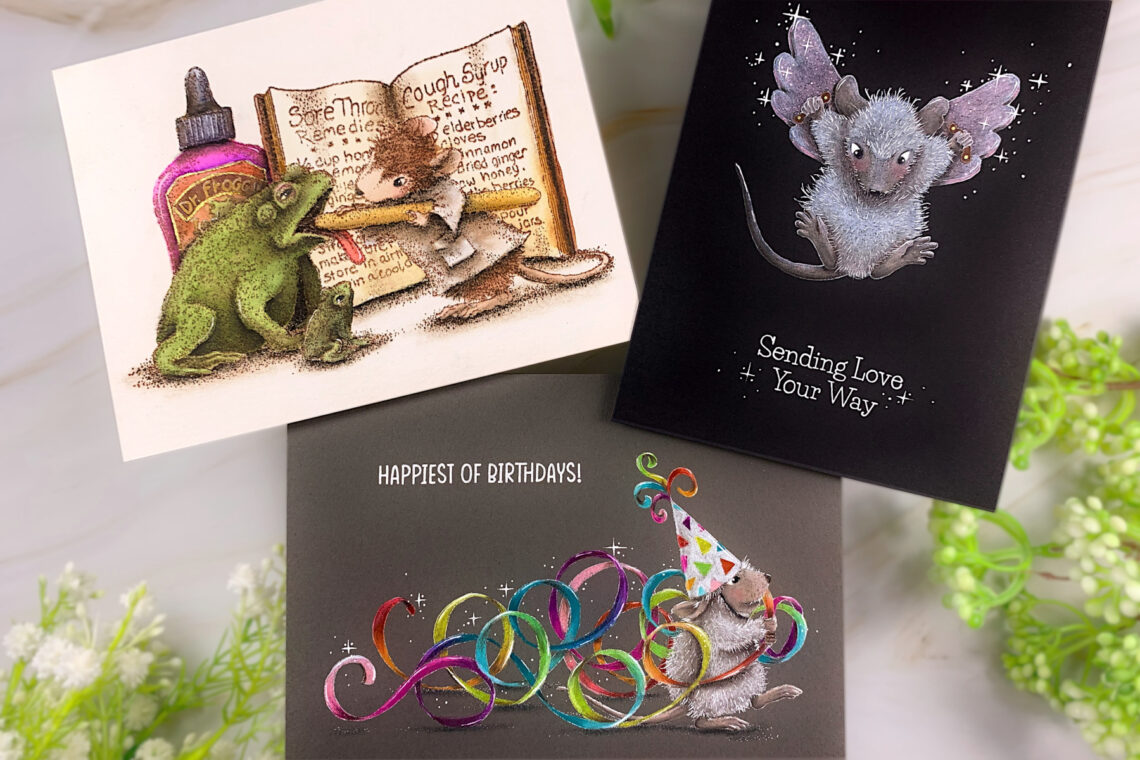
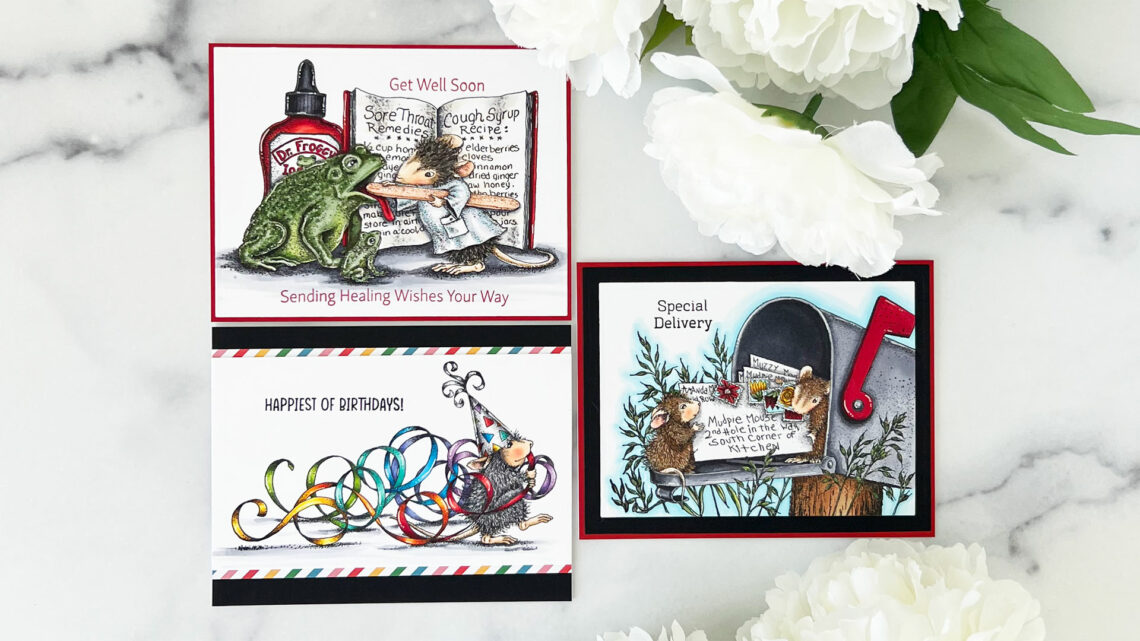
Hello everyone! This is Jennifer Rustioni from @armieritagli! Today I share with you three cards I created featuring the super cute and fun House-Mouse Everyday Cling Rubber Stamps Collection! These mice are the cutest, aren’t they?? CHRISTMAS MAGIC The first card I realized features the Flying to See You Cling Rubber Stamp. I stamped the mouse on a black cardstock with the Distress Ink Picket Fence. I colored it with Prismacolor Premier Colored Pencils and then added the details of the fur with a white fine-point gel pen. At last, I realized the highlights, the stars and stamped the sentiment at the bottom of my card. FROGGY THROAT For my…
-
Trio of One-Layer Wonder House-Mouse Cards
Hello crafty friends. This is Amanda from Twiddler’s Nook today. I have a trio of cards I created with the Spellbinders House-Mouse Everyday collection. More of those sweet images that we all love, touching on the everyday celebrations and moments that we most enjoy making cards for. Today I’m sharing one-layer cards that showcase and make those beautiful images pop. I started by trimming Bristol Smooth Cardstock panels to A2 size. Then I stamped all of my images with VersaFine onyx black ink because I wanted to watercolor them with my Zig Clean Color Real Brush markers. This paper/marker combo is perfect for a relaxed and forgiving watercolor experience. After…
-
Cardmaking Ideas with House Mouse Everyday Collection
Hello, crafty friends!! Brenda Noelke here from My PaperCut Creations! I’m so excited to be a guest on the Spellbinders blog today! I’m sharing three cards featuring the House-Mouse Everyday Collection!! I absolutely adore all the House Mouse Collections and couldn’t wait to get my hands on this new collection!! This set would be perfect to box up and give to someone as a gift, as it includes get well, birthday, and all occasion cards!! GET WELL SOON How darling is this scene? I stamped the Froggy Throat stamp set onto white cardstock with Copic-friendly black ink and colored it with Copic markers. Both sentiments, from the same set, were…
-
Cool Fransformers Inspiration
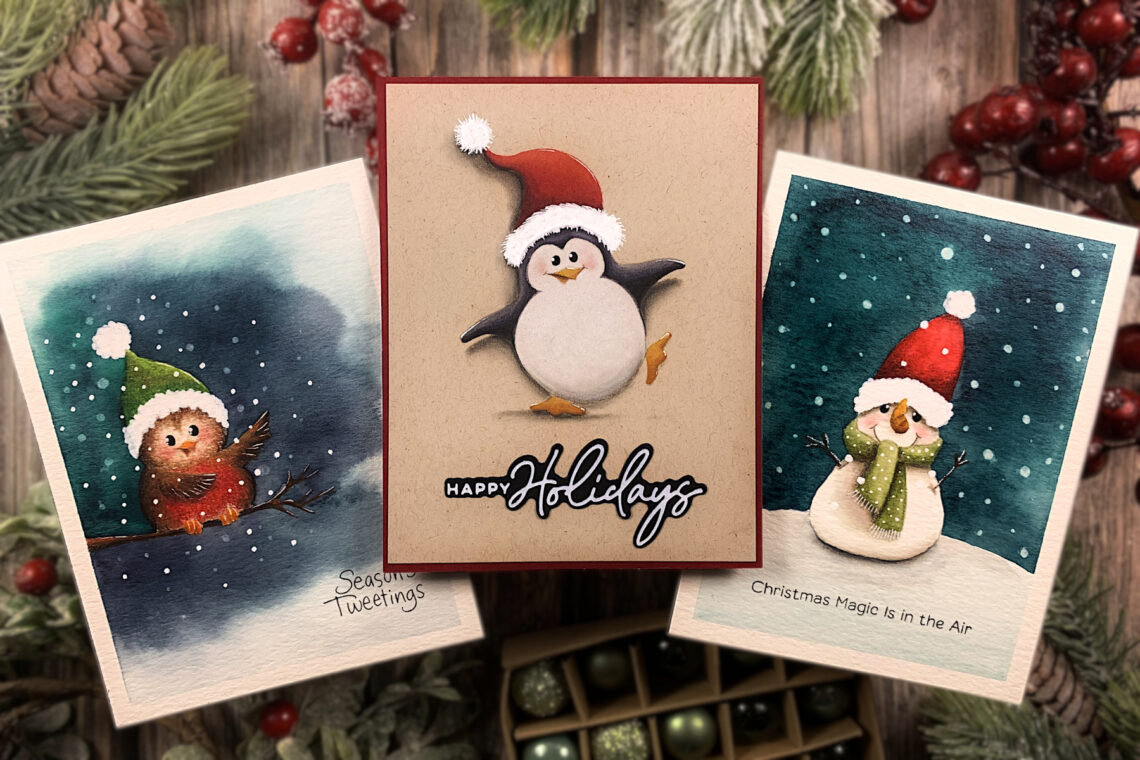
Hello crafty friends! This is Jennifer Rustioni from @armieritagli! Today I share with you three Christmas cards I created featuring the new super cute and fun Stampendous Cool Fransformers Stamps Collection! These critters are the cutest, aren’t they?? CHRISTMAS MAGIC The first card I realized is featuring the Stampendous Fransformers Snowy Friends Stamp Set. I stamped the snowman on a watercolor paper, using the Distress Oxide Pumice Stone, to have a delicate effect. I realized the background using the Sakura Koi Watercolors in the shades of blue with the wet-on-dry technique, to have a more intense effect. After that, I continued to watercolor the snowman and then I used…
-
Simon Hurley Purrfect Cats
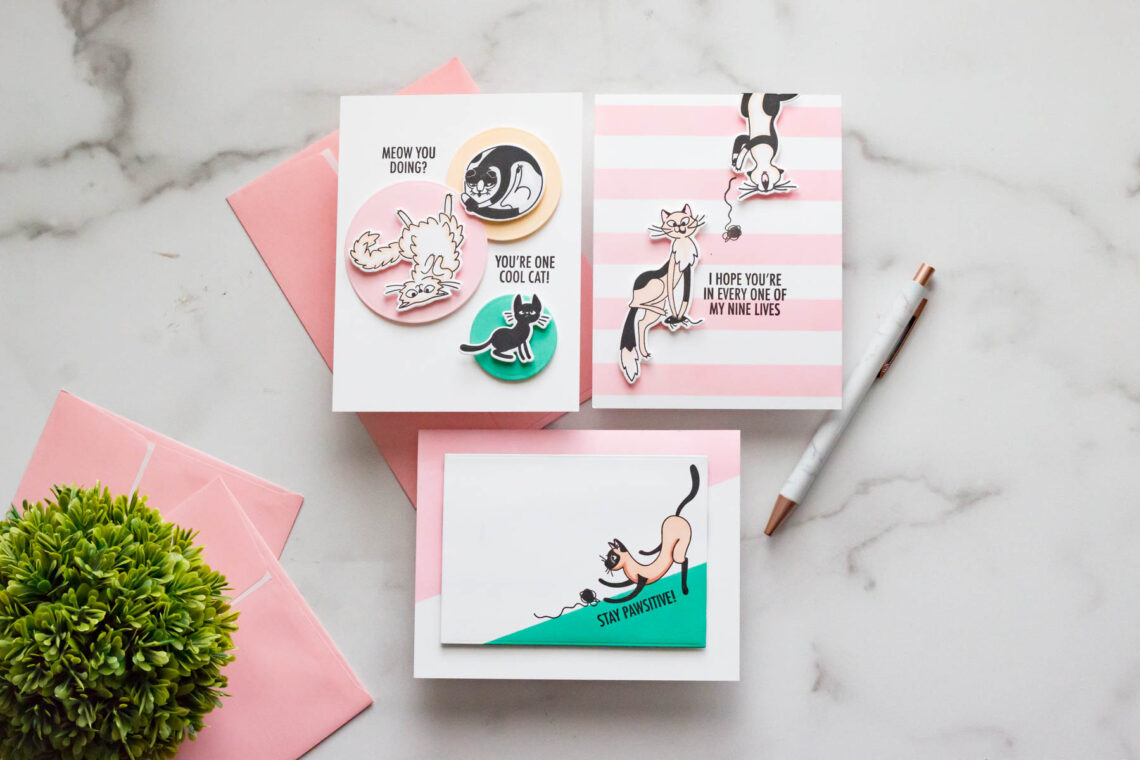
Hello, crafty friends! Welcome back to the Spellbinder’s blog. Marie here from Marie Nicole Designs with a post featuring the Purrfect Cats stamp set by Simon Hurley! There are SO. MANY cute kitties in this set. My kids were impatient for me to finish some cards so they could get their hands on the stamps, as well. I made three cards with this set, so let’s take a look at each one! ON AN ANGLE I decided to go for some fun geometric designs on these cards, while also sticking with a certain color palette. I used pinks, some blue-greens, and light peach colors. Keeping all three cards in the…
-
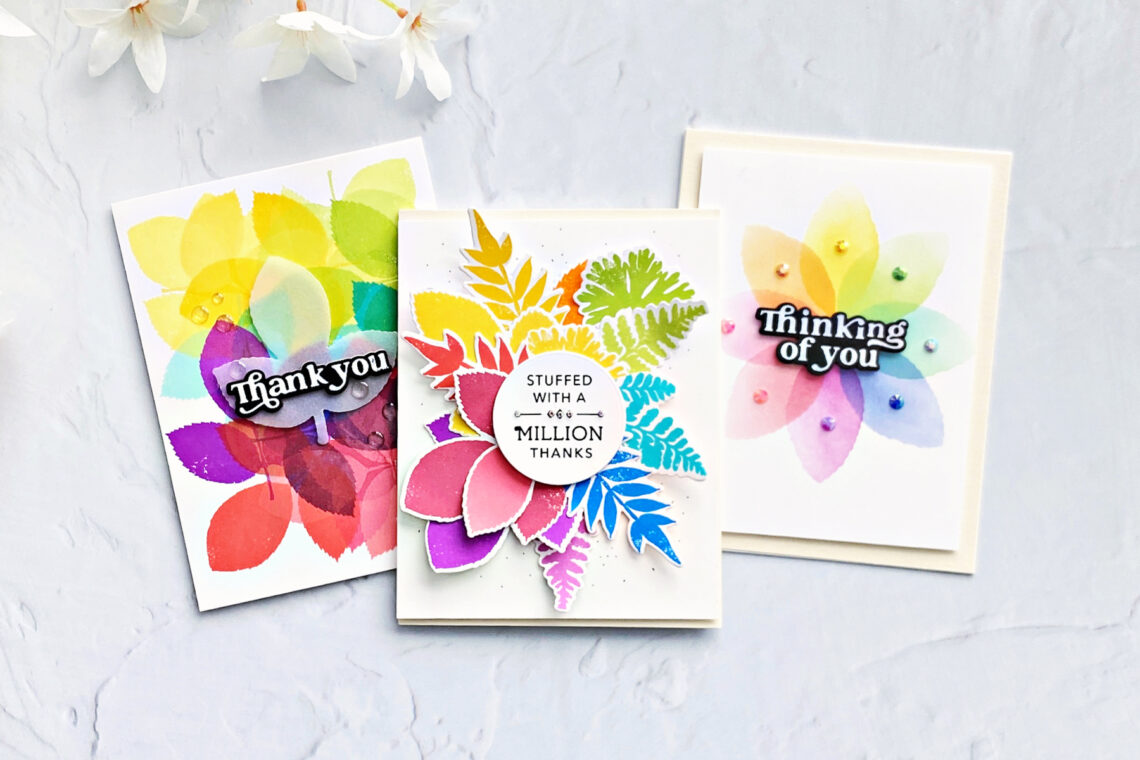
Vibrant Rainbow Palette Using Simon Hurley’s Leaf Prints
Hello crafters! Joan Bardee here and I’m happy to be back on the Spellbinders blog sharing 3 bright, colorful cards using Simon Hurley’s Leaf Prints stamps and dies. Leaf Prints is a set of beautiful solid (no coloring!!) red rubber stamps of leaves and there is a coordinating set of dies available. Leaf Prints is perfect for fall cards, and normally I would go with a typical autumn color palette, but I used a vibrant rainbow palette instead and I love how they came out. Although, when you get to the 3rd card, you’ll see I’m second-guessing myself. Let me know what you think. RAINBOW BOUQUET This card packs a…
-
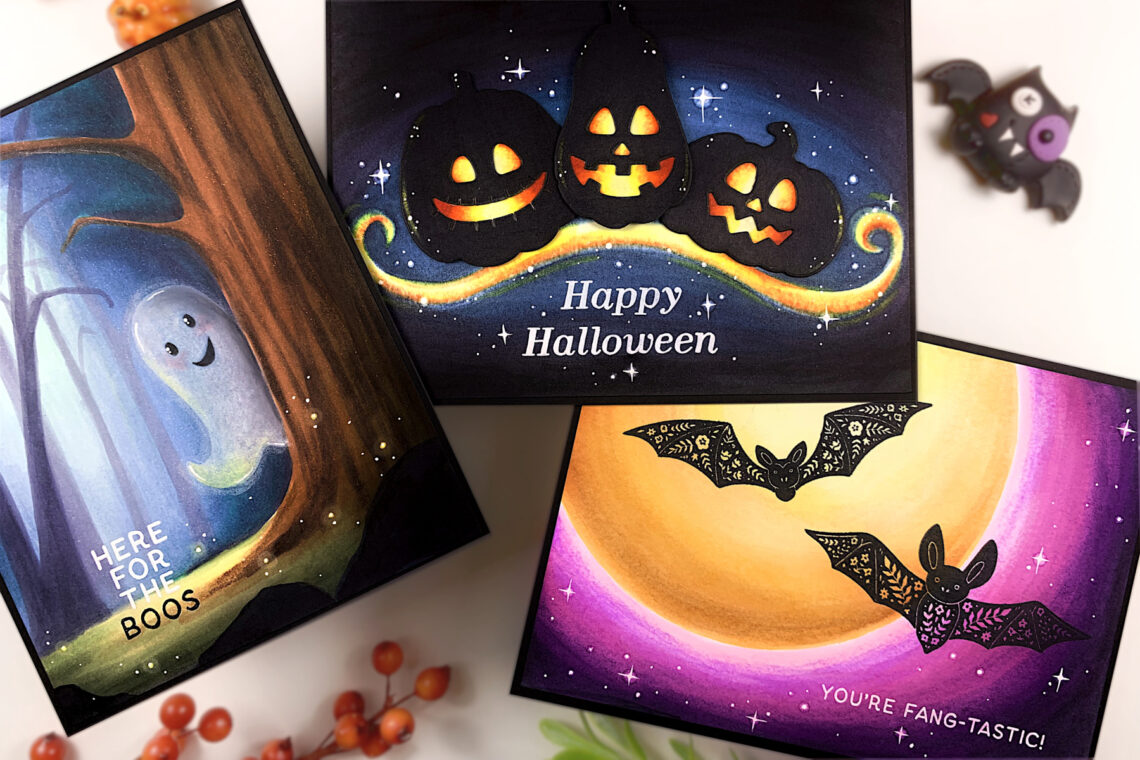
Ready for Halloween! Card Ideas for You to Try!
Hello crafty friends! This is Jennifer Rustioni from @armieritagli! I’m very happy to be here again as a guest on the Spellbinders Blog! Today I share with you three Halloween cards I created featuring the new amazing Simon Hurley’s Fall Sampler Stamp & Dies Set! This set is really amazing and perfect for creating cards for Halloween and Thanksgiving as well! HERE FOR THE BOOS For my first card, I chose to create an illustrated card with the super cute little ghost from Simon Hurley’s Fall Sampler Stamp Set. I started drawing the tree on the right with a Copic marker in a light shade. After that, I colored the…