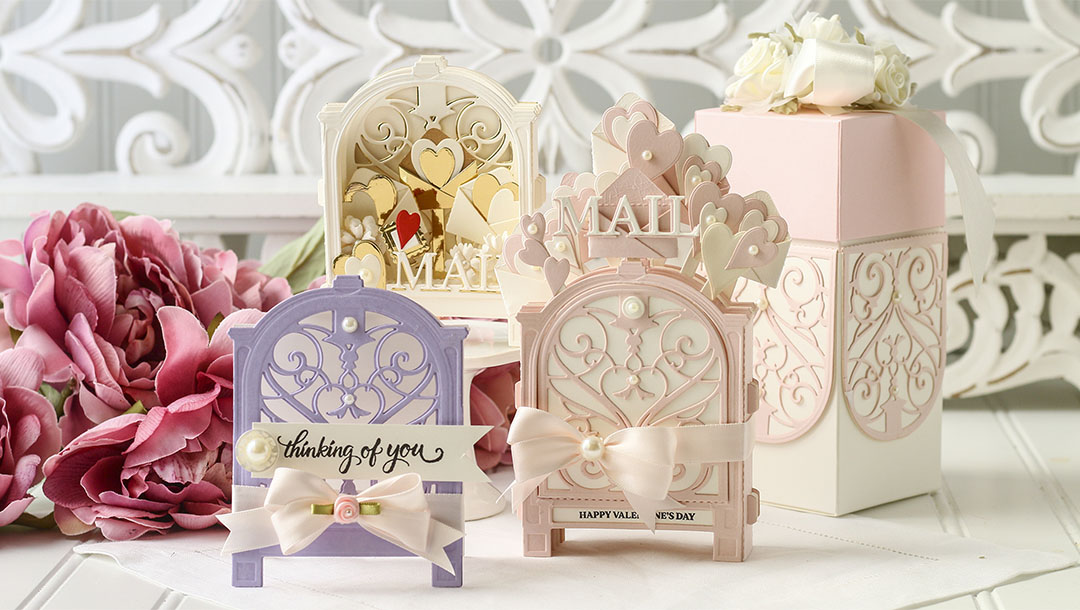
January 2021 Amazing Paper Grace Die of the Month is Here – Mini 3D Vignette Valentine’s Mailbox
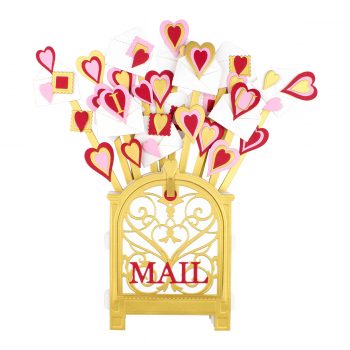
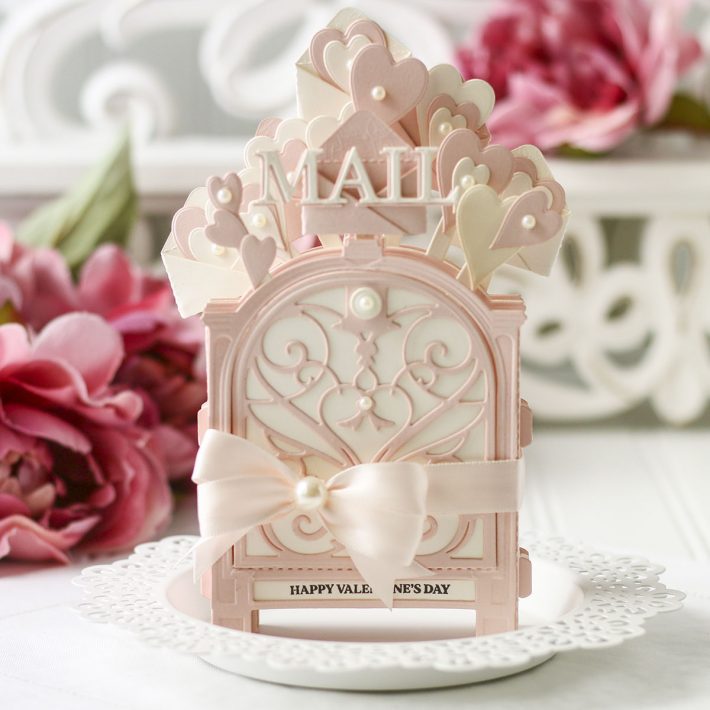
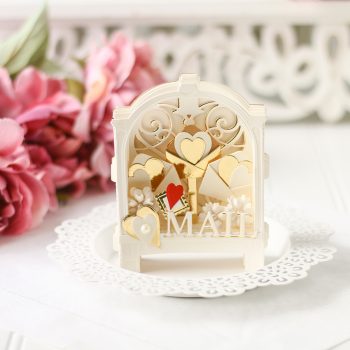
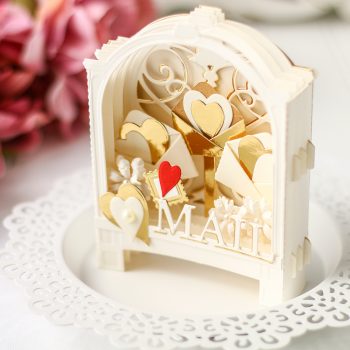
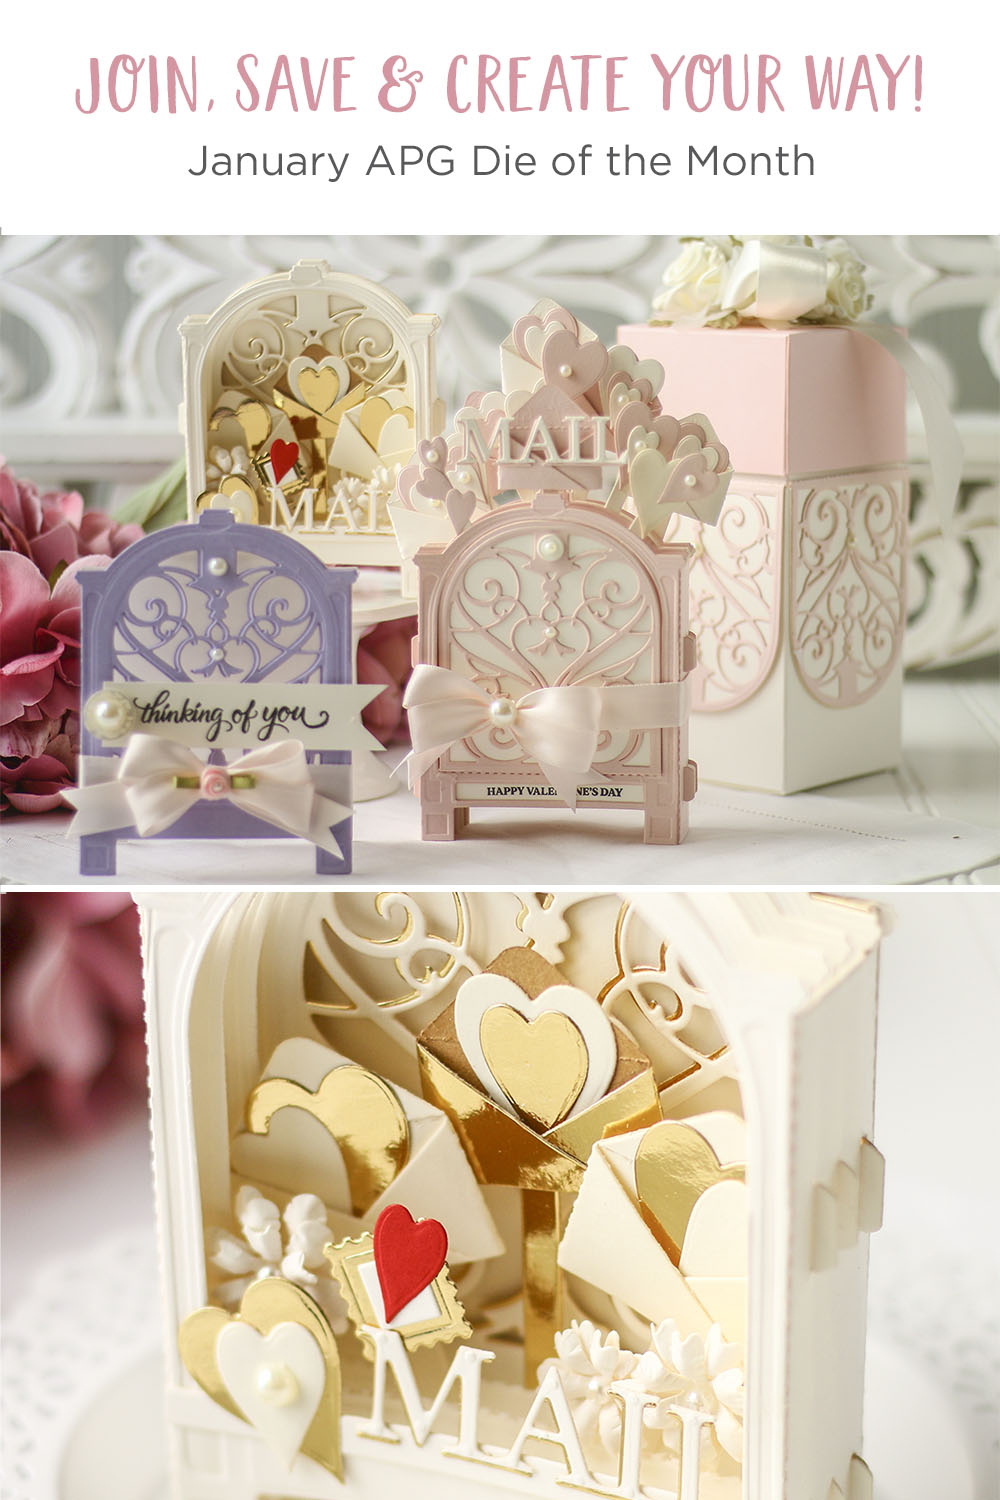
Our January 2021 Amazing Paper Grace Die of the Month is here! Designed by Becca Feeken from Amazing Paper Grace this “Mini 3D Vignette Valentine’s Mailbox” die of the month will have you creating gorgeous layered projects in no time! Versatile, elegant, and timeless. This die set features 17 dies.
Enjoy the step by step tutorial below as well as the video tutorial to get you started with this month’s kit. Make sure to show us what you create by tagging #AmazingPaperGraceClubKit & #SpellbindersClubKits on social media! This kit is available on January 1st, 2021, make sure to get yours!
Instructions:
Catch step by step instructions for this project below. Click photos to enlarge:
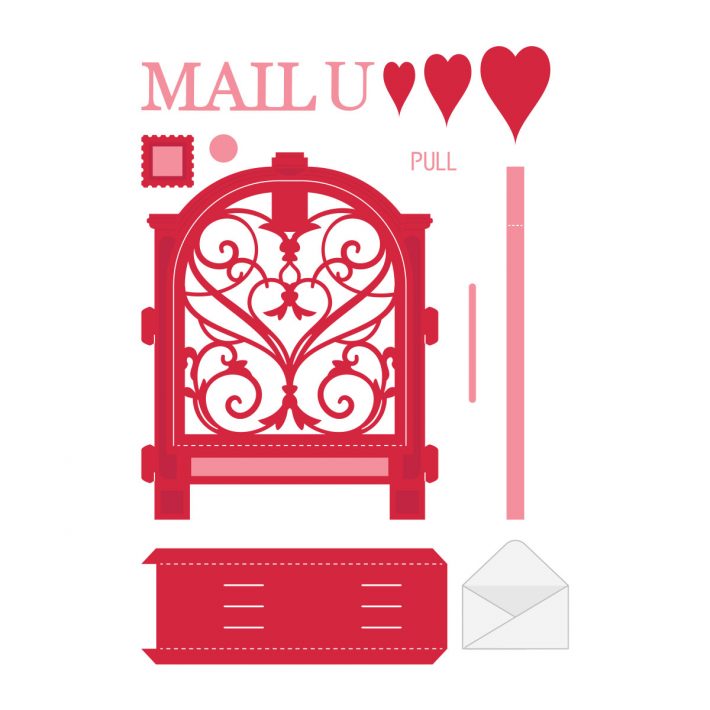
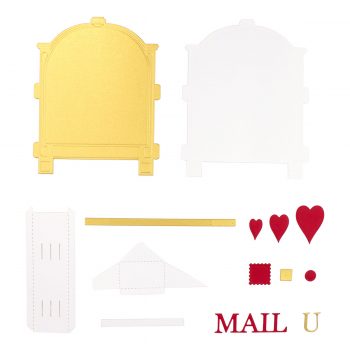
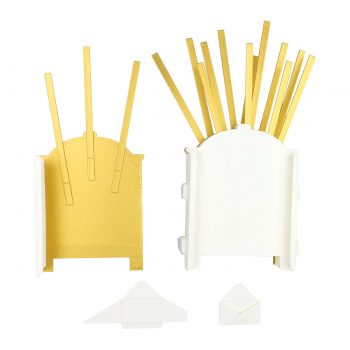
- Die-cut pieces as shown. For the front of the Mailbox, see next step. Option: For added stability, use heavier cardstock for the stems or double the die-cut stems and glue together.
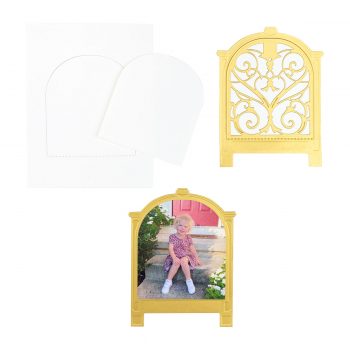
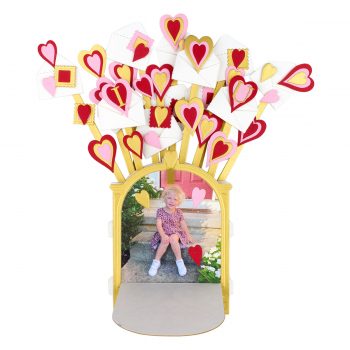
- The front of the mailbox has a door! You can layer with a second die cut of the mailbox front and add a surprise message or photo.
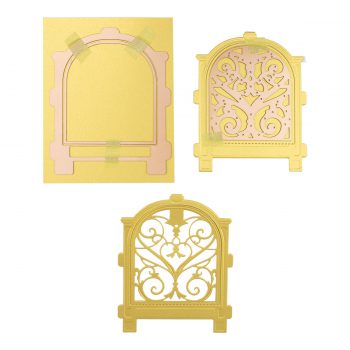
- Die-cut mailbox with door insert. For best die-cutting results, after die cutting the mailbox with door outline, place detailed insert over the door and die-cut and remove chads. To create a backing for the die-cut door, die-cut door by itself. Use scissors or trimmer to cut off at perforations. Glue to the back of die-cut door. Option: Die cut mail slot to front of the door.
- Die-cut Mailbox front again, without any inserts. Stamp or add photo (use die-cut door to cut the photo to size!). Adhere the 2 mailbox front pieces together by only adding glue/adhesives to the outer areas so as to not glue the door down. Finish decorating the front of Mailbox, as well as the back piece (optional).
- For front and back pieces of 3D Vignette, trim off tabs.
- Adhere stems to the three inner and back layer of mailbox, staggering placement as well as height on each layer (option: decorate stems before or after assembly). Fold 3D Vignette pieces on perforations. Attach one side of Vignette piece to back layer of mailbox. Place inserts into slots. Repeat with other side. Add front of Mailbox last.
- Attach as many of the decorative elements as you’d like. For the envelopes, fold up bottom piece, fold and glue down short “wing”, followed by folding and gluing down “long” wing. You now have a real envelope!
- Die cut as many hearts, stamps and letters (cut out the I from Mail and use a heart and U to spell “I ❤ U”!). Stagger placement of envelopes, hearts and stamps on stems.
- Option: To add a tab to keep door closed, cut one stem at perforation. Adhere to top of mailbox. Hide where glued down with heart or other embellishment, or die cut “Pull” and attach to door.
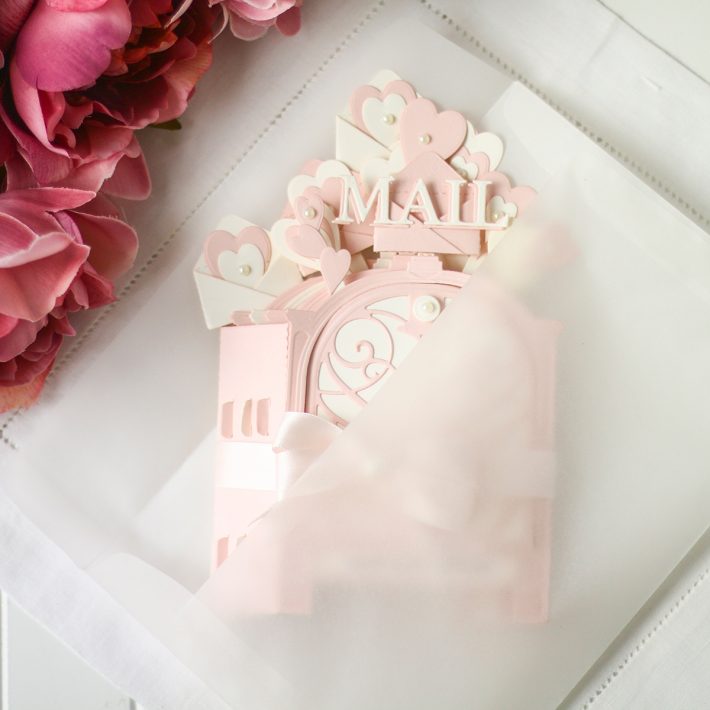
- Will fold for mailing, but recommend a padded envelope.
January 2021 APG Die of the Month – Video Tutorial
Watch the video tutorial using this month kit below or on Youtube.
Additional inspiration
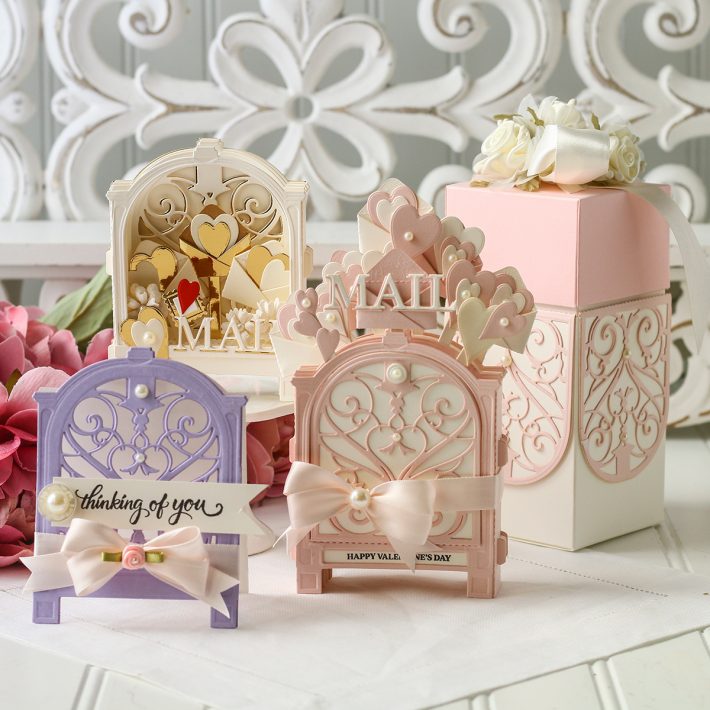
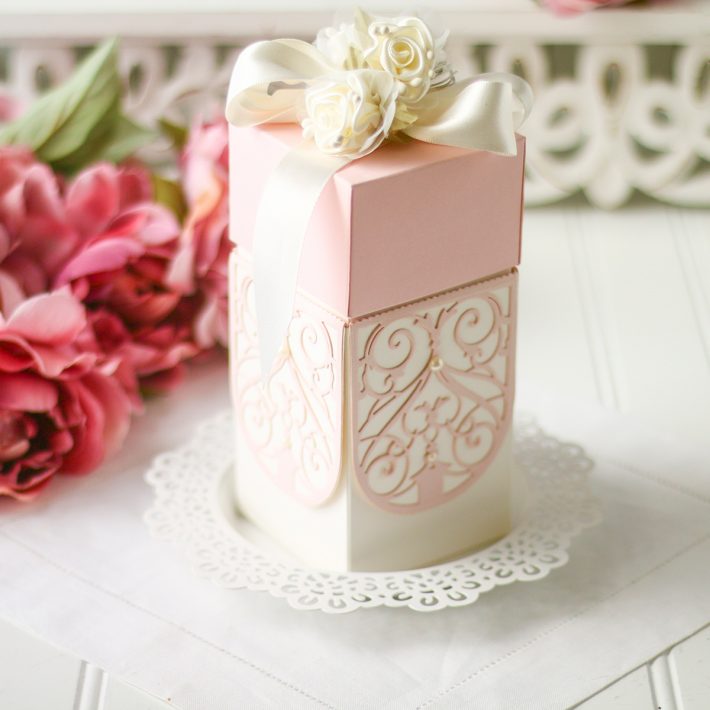
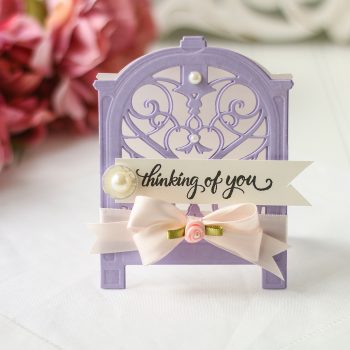
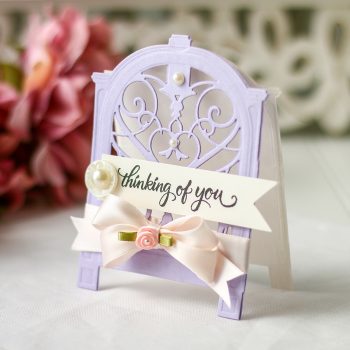
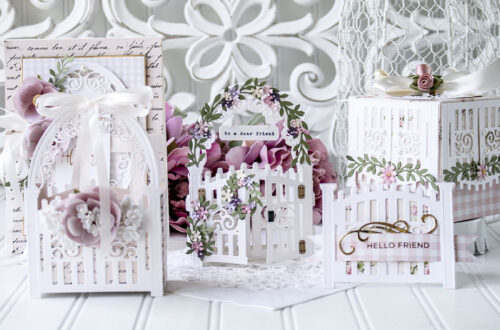
Here’s a closer look at the other projects created using January 2021 Amazing Paper Grace Die of the Month:
Value Clubs
We have several Value Clubs available!
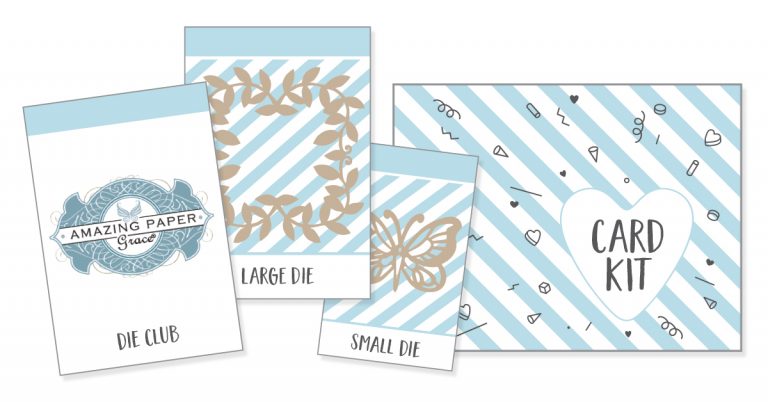
Die Hero Club (includes Small, Large and APG Dies of the Month) and The Works Club (includes Small, Large, APG Dies of the Month + Card Kit of the Month) and other Value Clubs. See all Value Club options here.

7 Comments
Andre M.
This design is so exquisite and dainty! Thanks for sharing the video.
Becca Feeken
Thank you so much!! Happy Crafting!
Cindy
Absolutely beautiful! I joined the total package club everything is so gorgeous this month. Where can I find the box die cut that is featured here using the panels from the mailbox?
Annette Reed
These are beautiful!! Another great design by Becca.
Becca Feeken
Thank you so much Annette!! So glad you like!
Cindy
I love the sweet, old fashioned fancy feel of this collection, I cannot wait to make the mailbox for my mom & mother in law, they will swoon! Please tell me where to get instructions for the box shown in the pictures here, would love to make a few of those for friends as well. Thank you so much! Thanks for the inspiration 🙂
Patricia Casal Bowles
Thank you Becca, Amazing project!!