Fluted Classics Collection – Card Inspiration with Annie Williams
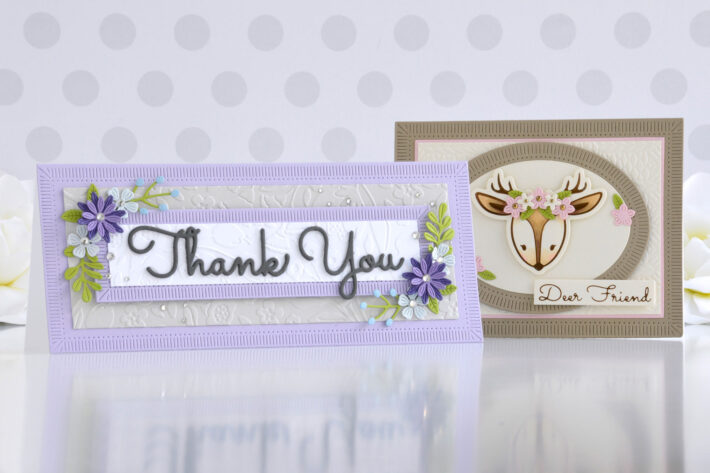
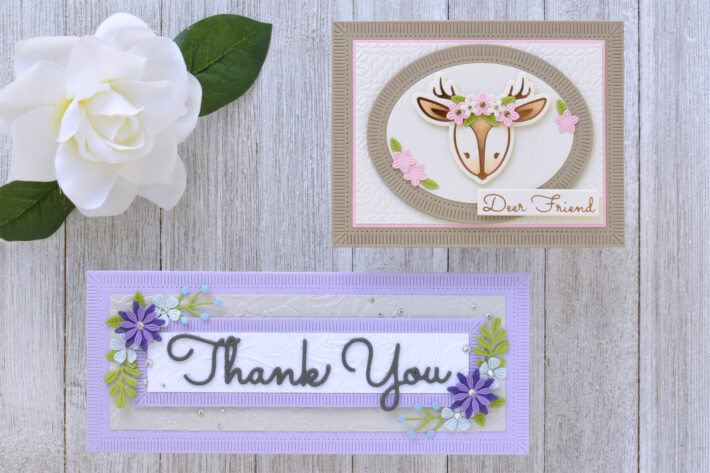
Hi there, this is Annie Williams and I’m excited to be back on the blog today to share a couple of projects using the new Fluted Classics Collection by Becca Feeken. The beautiful blanket stitch-inspired edging on all of the many shapes in this collection inspired me to create two cards perfect for sending a sweet hello.
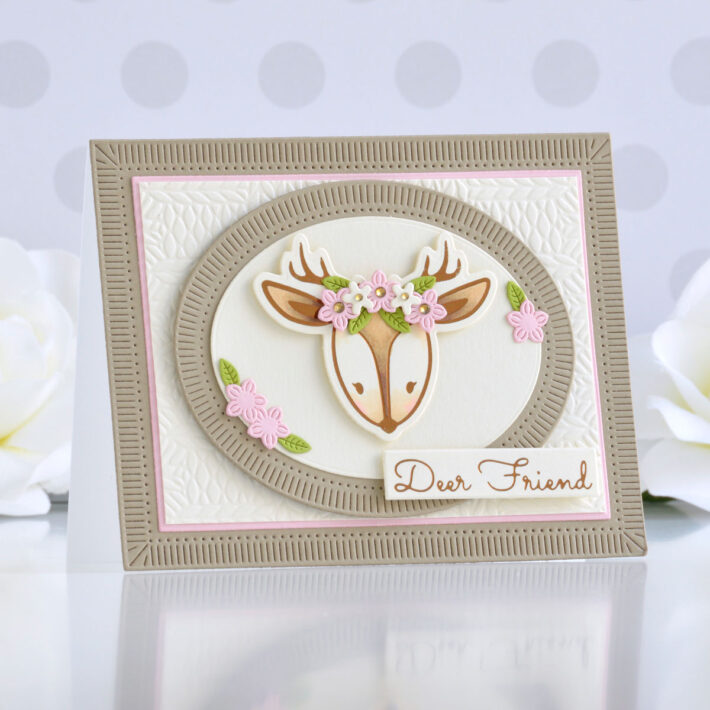
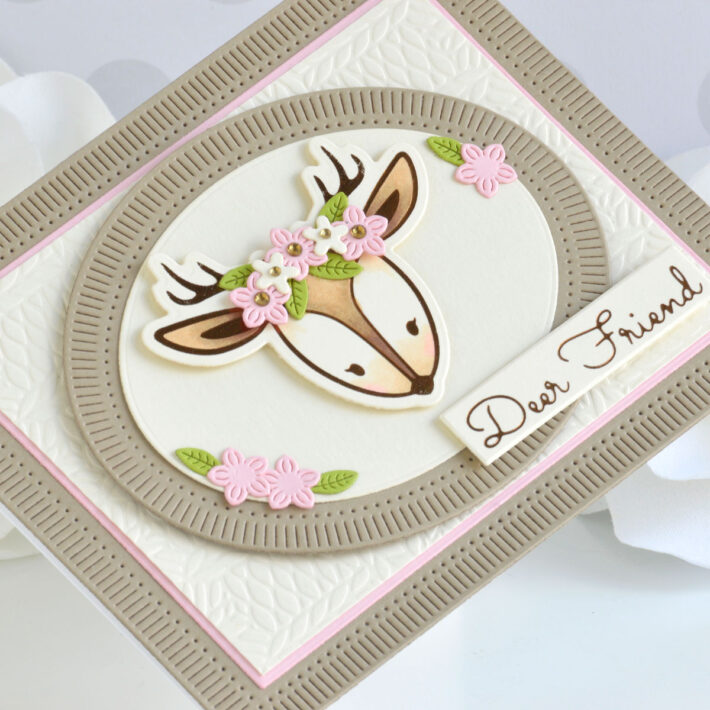
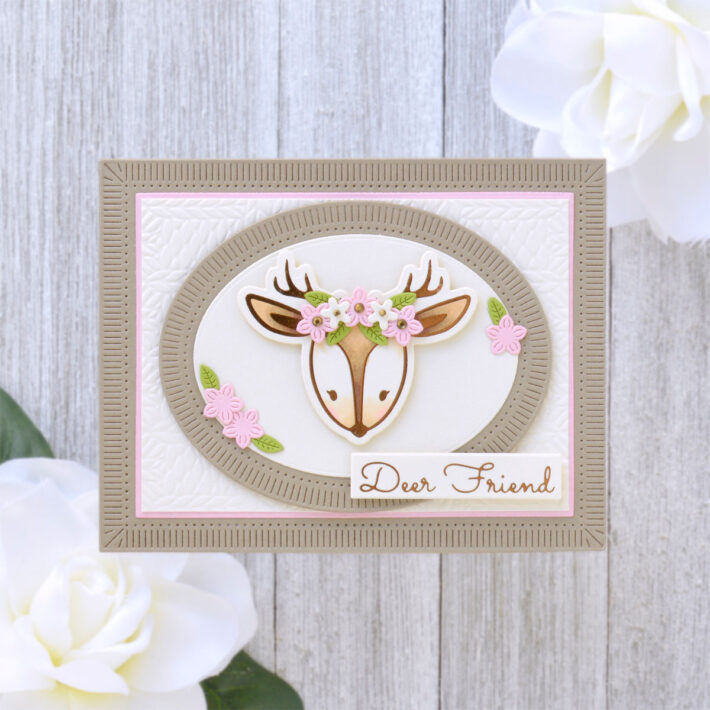
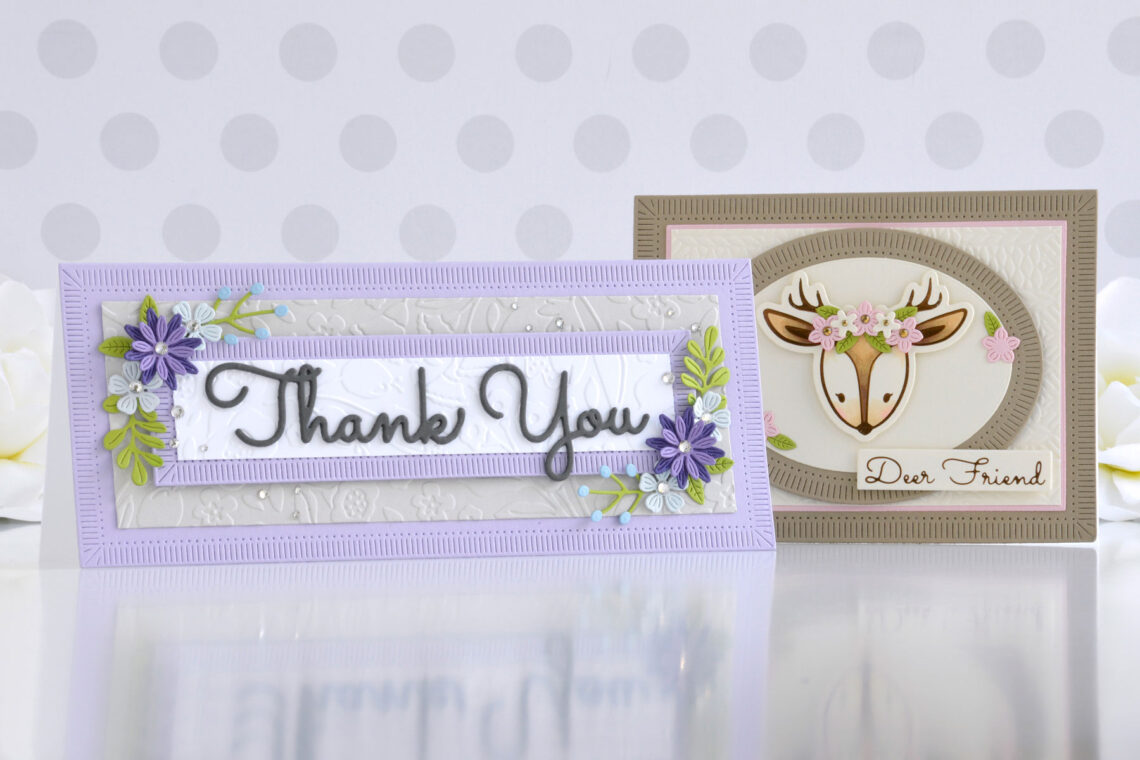
With the weather getting colder in my area lately, I thought the gorgeous edging detail on these dies was perfect as an accent on a warm and cozy card. Pairing it with a chunky cable-knit pattern and a cute deer, I created this simple and sweet card for a friend.
- Die cut Portobello Cardstock using the Large Rectangle Outer Rim and Insert dies from the Fluted Classics Rectangles Die Set. Die cut Pink Sand Cardstock using the Large Rectangle Inner Rim die.
- Trim a piece of Alabaster Cardstock to 3.374” x 4.625” and emboss is using the Sweater Weather Embossing Folder.
- Die cut Portobello Cardstock using the Medium Oval Outer Rim and Insert dies from the Fluted Classic Ovals Die Set. Die cut Alabaster Cardstock using the Medium Oval Inner Rim die.
- Apply Copper Hot Foil to Alabaster Cardstock using the deer and sentiment plates from the Deer Friend Glimmer Plates Set and the Glimmer Hot Foil Machine.
- Color the deer image in with Copic markers and cut it out using the coordinating die.
- Trim or die cut the sentiment out into a small strip.
- Die cut Pink Sand, Alabaster, and Rainforest Cardstock using the flower dies from the Bouquet of Flowers Die Set and the leaf dies from the Mini Blooms & Sprigs Die Set.
- Mat the embossed panel with the pink panel and the large rectangle die-cut panel before adhering it all to a top-folding A2-sized white card base.
- Adhere the oval layer to the oval die-cut with tape runner, then pop it up in the center of the card front with foam adhesive.
- Add the deer and sentiment to the card front with more foam adhesive and embellish the deer with a floral wreath, adding Gold Mix Gems to the flower centers.
Spellbinders Supplies:

Other Supplies
Heavyweight white cardstock, Copic markers, tape runner, foam adhesive
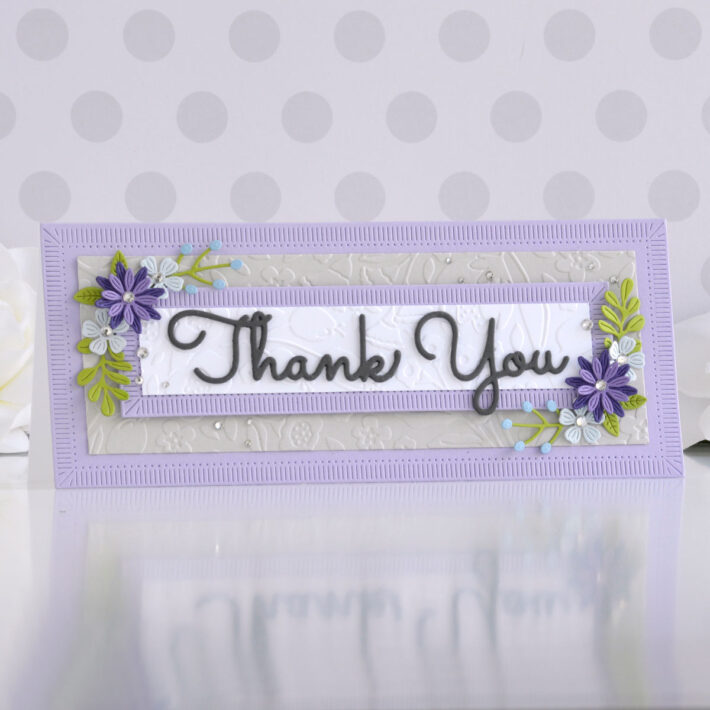
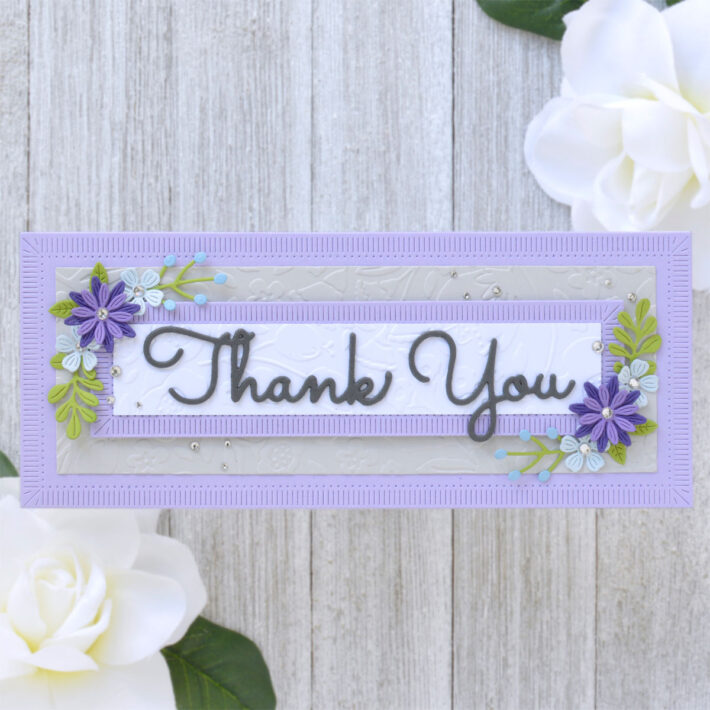
I love that Becca has been creating slimline versions of her beautiful edged shapes! With a few floral bunches and a big, pretty sentiment, this slimline thank you card comes together easily.
- Die cut Purple Mist Cardstock using the Large Slimline Rim and Insert and Medium Inner Rim and Small Insert dies from the Fluted Classics Slimline Die Set.
- Die cut Silver Fox Cardstock using the Medium Slimline Outer Rim die and emboss it using the Slimline Flora Embossing Folder.
- Trim a piece of Snowdrift Cardstock to 1.125” x 6.125” and emboss it using the Slimline Flora Embossing Folder, ensuring the panel is centered within the same area of the folder as the previous panel so that the pattern appears continuous.
- Die cut Royal Amethyst, Lilac Blossom, Glacier, Raindrop, and Rainforest Cardstock using the flower and leaf dies from the Mini Blooms & Sprigs Die Set. Assemble with liquid glue.
- Die cut Graphite Cardstock three times using the “thanks” and “you” dies from the Sweet Sayings Notecard Sentiments Die Set.
- Trim the “s” off of the “thanks” die-cuts and adhere all of the sentiment layers together to form a thick and bold greeting.
- Adhere the grey embossed panel on top of the largest purple die-cut with tape runner, then add it to a top-folding white card base measuring 3.5” x 8.5”.
- Add the white embossed panel on top of the smaller purple die-cut and then pop it up in the center of the card front with foam adhesive.
- Add the flowers and sentiment to the card front with liquid glue.
- Embellish with Silver Mix Gems.
Spellbinders Supplies:

Other supplies
Heavyweight white cardstock, tape runner, foam adhesive
I hope you enjoyed this duo of sweet cards and thanks so much for stopping by today. You can find more inspiration over at my blog AnnieBWills.com.

