-
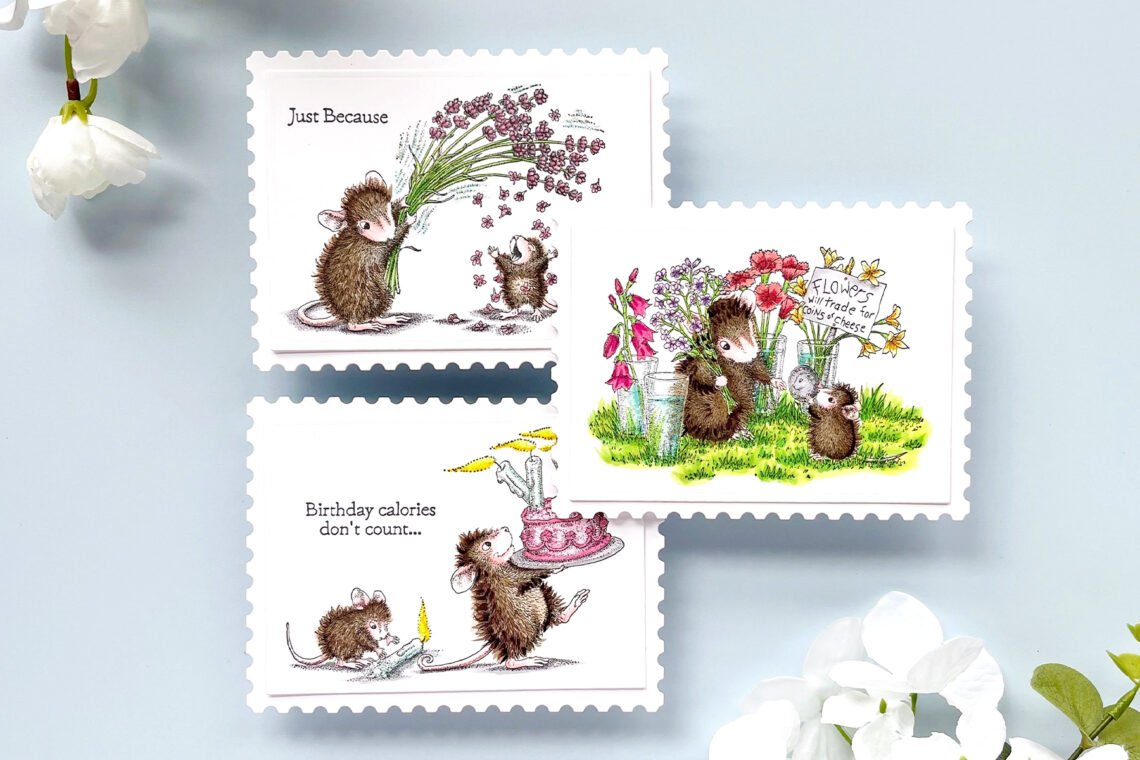
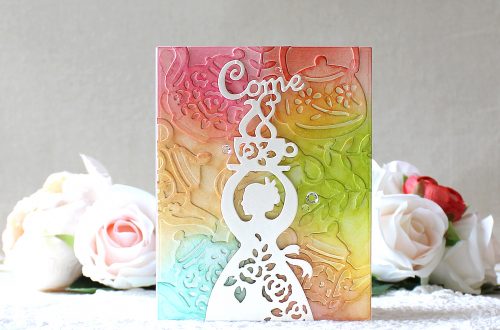
Spring Has Sprung Mini Notecards
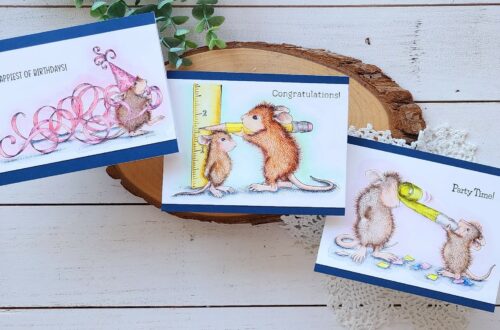
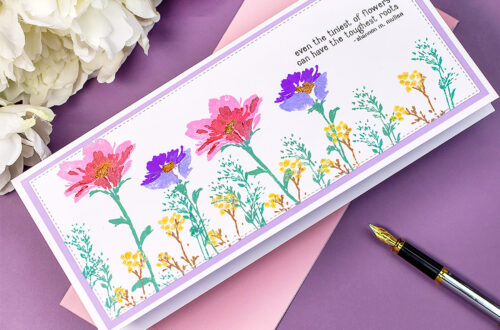
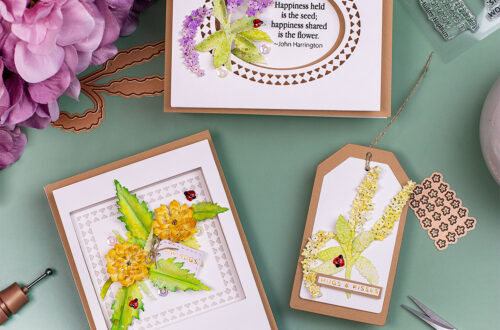
Hello friends! This is Mindy Eggen and I’m excited to be on the Spellbinders blog to share with you some inspiration using the House-Mouse Spring Has Sprung collection. These are such great sets where you can stamp out a bunch of images, pack a handful of markers, and color on the go! You don’t even need to do a lot of coloring as these are so artistically drawn. All of my images are stamped on Hammermill cardstock with alcohol marker-friendly ink. I followed the lines of the artist using my Copic markers to color in the image and enhance the look of texture with my darkest color of marker. This…
-
Unveiling Memories: Scrapbooking with Belleview – A Journey in Creativity
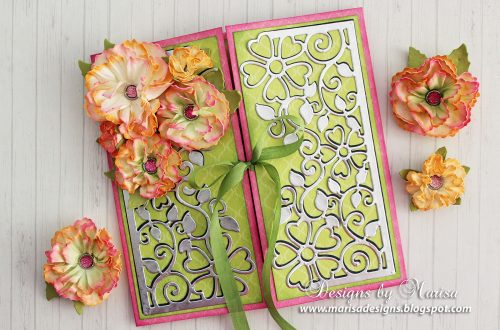
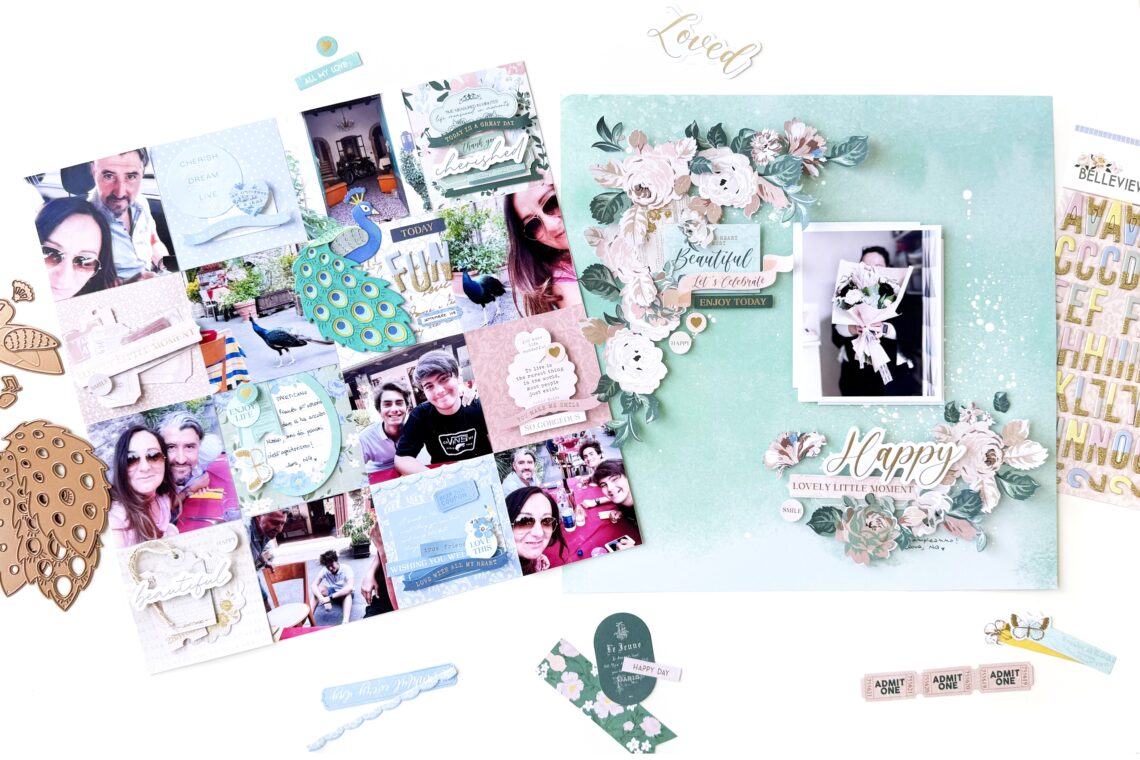
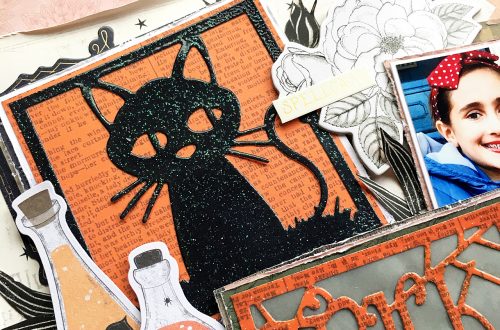
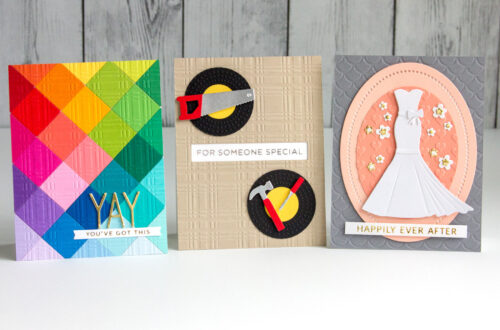
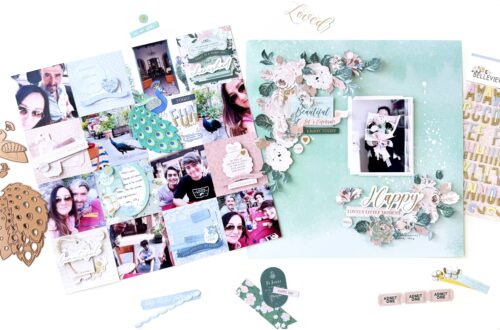
Hello, fellow crafters and scrapbooking enthusiasts! Angela here. I’m thrilled to be here as a guest on Spellbinders, sharing my passion by creativity and showcasing the beautiful Belleview paper collection by Rosie’s Studio. As an avid scrapbooker, I’ve always been drawn to the magic of preserving memories through art, and I can’t wait to share two of my latest layouts with you, each featuring the stunning designs and versatile patterns of the Belleview collection. Join me on this journey as we explore how these papers come to life in my scrapbook pages, and perhaps find some inspiration for your own crafting adventures along the way! On my first layout, blooms…
-
Softening BetterPress Backgrounds with Vellum
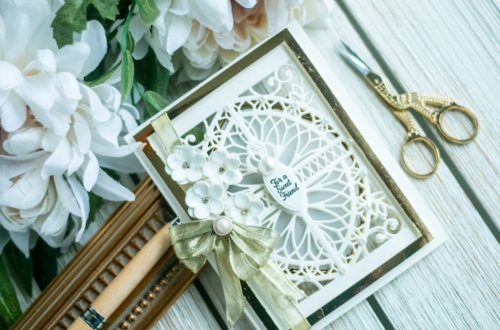
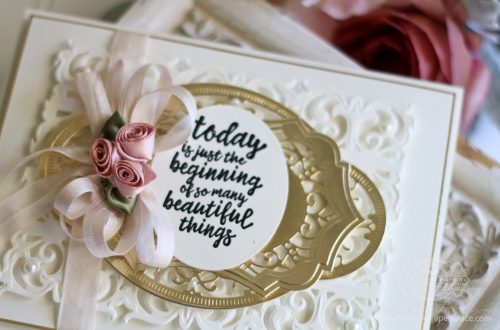
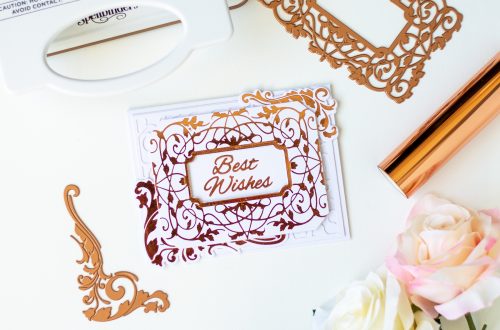
In the colorful world of paper crafting, where every hue and texture play a vital role in creating a masterpiece, one extra step can elevate your design to a whole new level of sophistication. Today, we’ll do that with the subtle elegance of vellum. For all our projects today, we’ll be the latest goodies from Spellbinders’ BetterPress. As a paper and stationery enthusiast, I’ve always been drawn to letterpress and BetterPress filled a huge need in our craft for truly achieving this look. The texture of the impression, the fine details of the images, and the growing versatility of the products now available make it an indispensable tool in my…
-
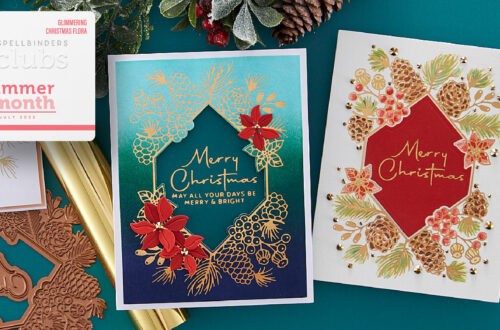
Creating Multi-Color Letterpressed Designs with the Cheers To You Collection
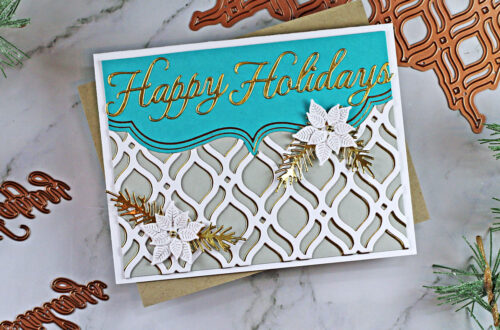
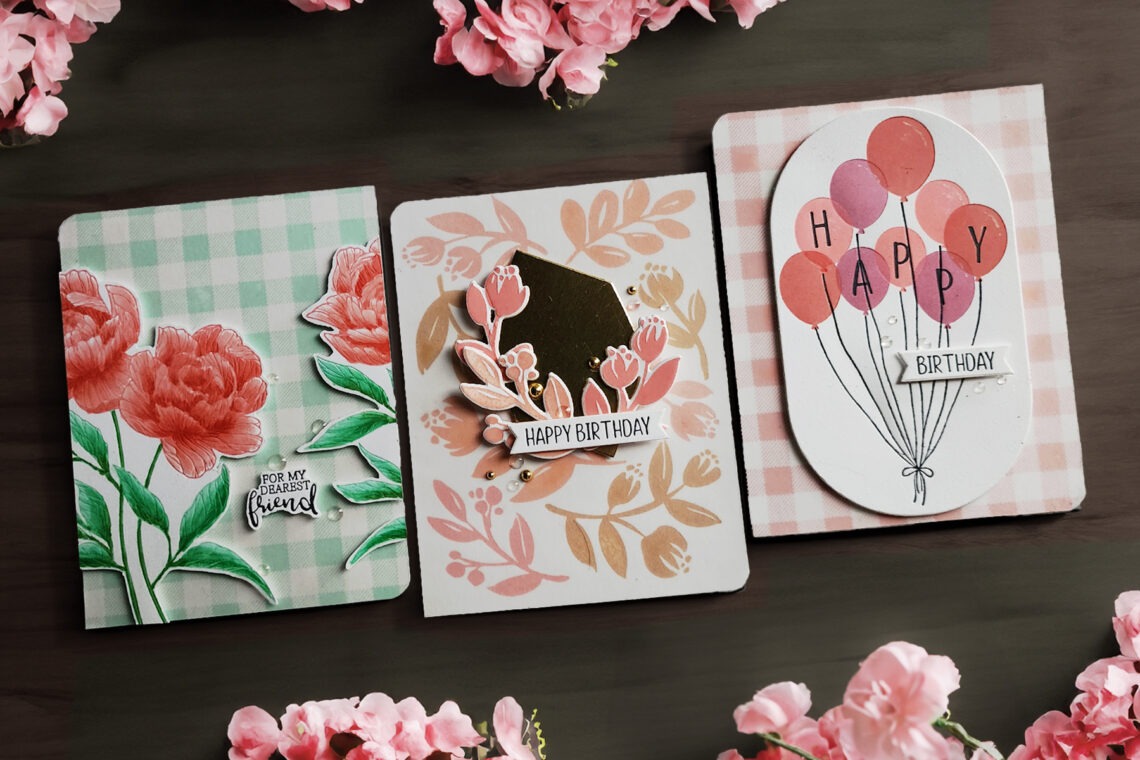
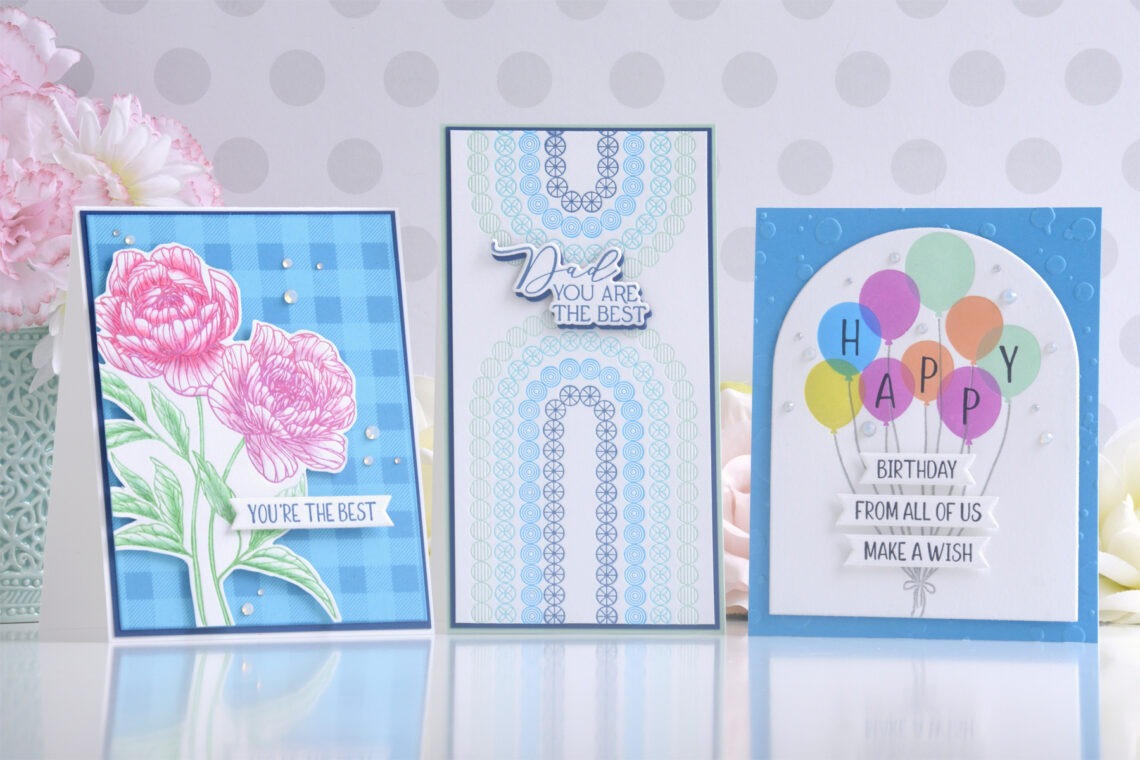
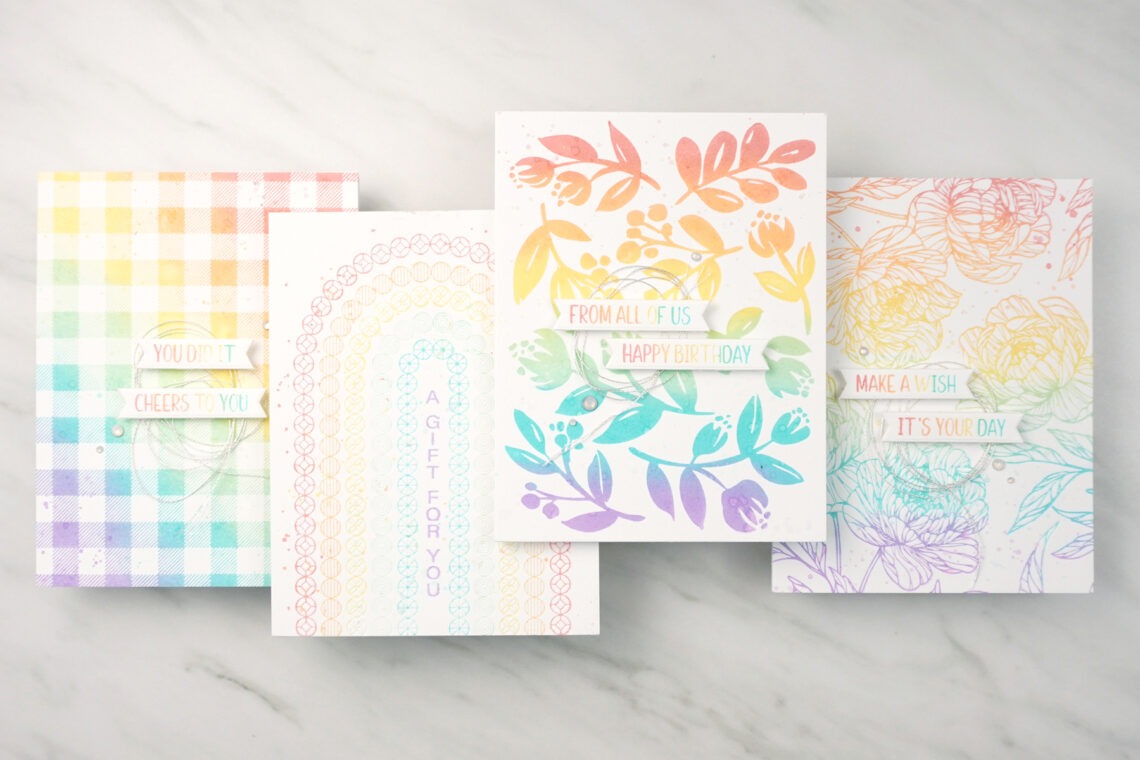
Hi there, this is Annie Williams and I’m thrilled to be back on the blog today to share a couple of colorful cards made with the new Cheers To You Collection from Spellbinders. The gorgeous new registration plate designs, versatile background, and classic sentiments in the collection inspired me to create three multi-color cards for various occasions. Peony Plaid Friendship Card Buffalo plaid holds a special place in my heart because my five year old, who refers to it as “squares”, will wear any and all clothing and accessories that boast this fun pattern. So naturally, the Buffalo Plaid Press Plate was the first piece in the collection I pulled…
-
Ink and Impress: Crafting Dynamic Backgrounds with BetterPress Plates
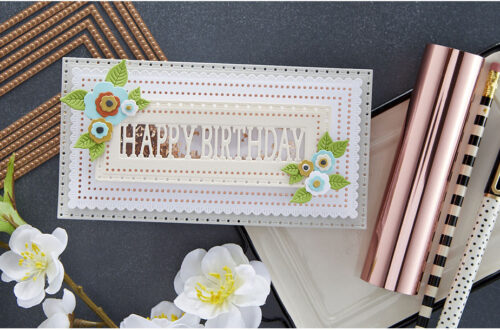
Hi there my Spellbinders’ friends! My name is Jaycee Gaspar and I’m so excited to share four cards featuring the Cheers to You BetterPress Collection. This collection features a mix of BetterPress Press Plates, standard-size Ink Pads, and replacement BetterPress materials. If you have been waiting for a chance to get started with the BetterPress system, now is your chance to get almost everything you need! My main focus on these card projects was making a multitude of dynamic backgrounds. These backgrounds perfectly frame the easy-to-make sentiment banners from Cheers to You Sentiments. All you have to do is pick your favorite palette. In the case of these cards, I…
-
Fun Ways To Add Beautiful Sparkle To Your Cards
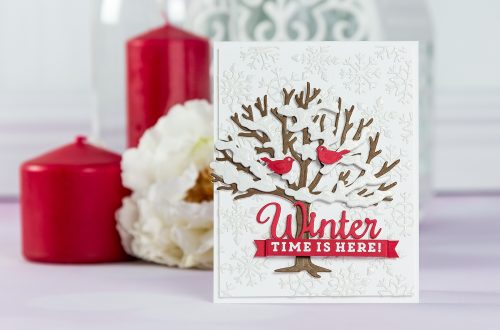
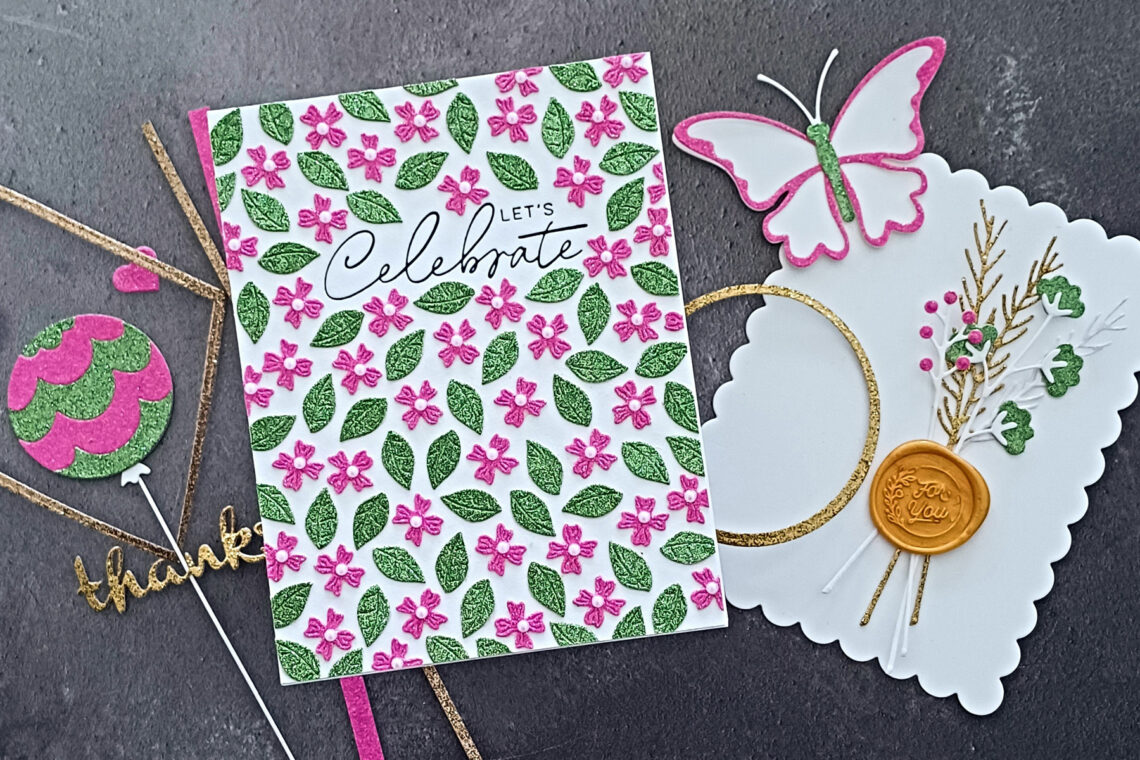
Hello there Spellbinders friends! Lisa Tilson is here with you today on the Spellbinders blog. Today we are going to be playing with glitter cardstock! I have lots of examples and ideas for you and some great tips to help you get the most out of your cardstock. I love to add glitter cardstock to my cards, often in fairly subtle ways, but there are also many ways of really showcasing the beautiful texture and sparkle. So first let’s take a look at the cardstock itself. Included in the picture are Champagne, Silver, Gold, followed by the five Spring Tones Glitter Cardstock colors, and then the five Jewel Tones Glitter…
-
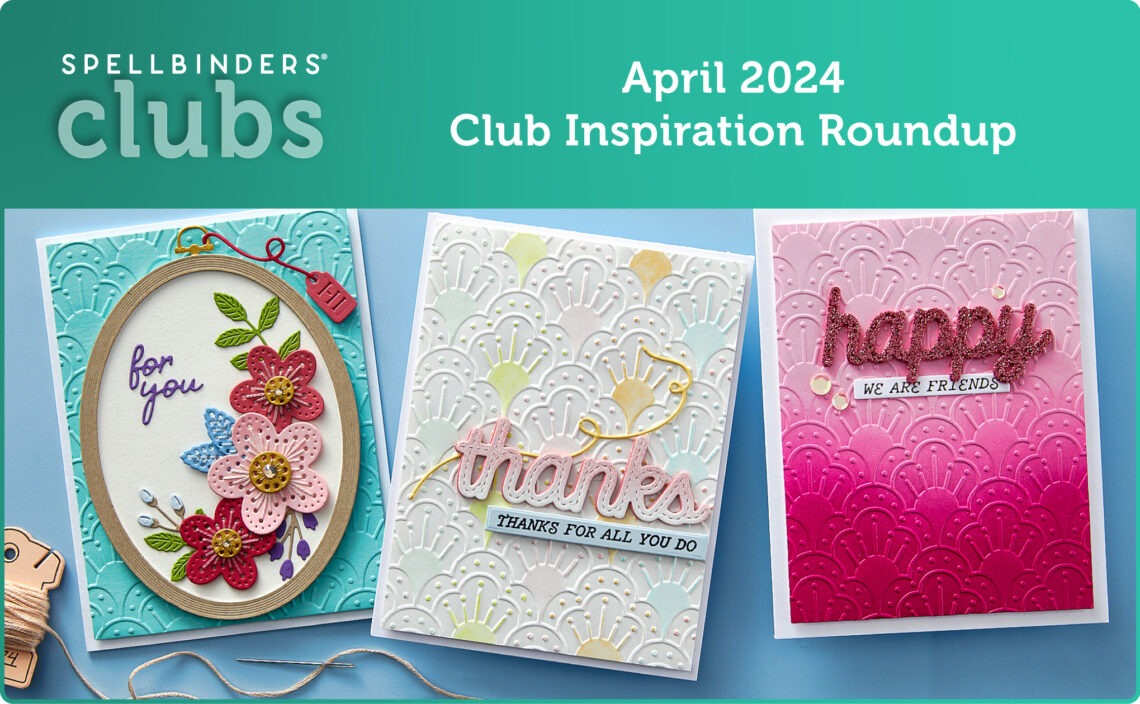
April 2024 Clubs Inspiration Roundup!
Hello Spellbinders’ fans! We hope you are excited to receive or maybe have already received your Apri 2024 Club packages in the mail! To bring you even more inspiration and spark your creativity using products from our Small Die of the Month, Large Die of the Month, Quick & Easy Card Kit of the Month, Stitching Die of the Month, Glimmer Hot Foil Kit of the Month, Clear Stamp of the Month, Embossing Folder of the Month, 3D Embossing Folder of the Month, BetterPress of the Month and Wax Seals Kit of the Month for April 2024 we put together this post linking to inspirational projects by our guest designers! Be sure to visit their blogs to see/read more about the…
-
Fabulous Florals with the Fresh Picked Collection
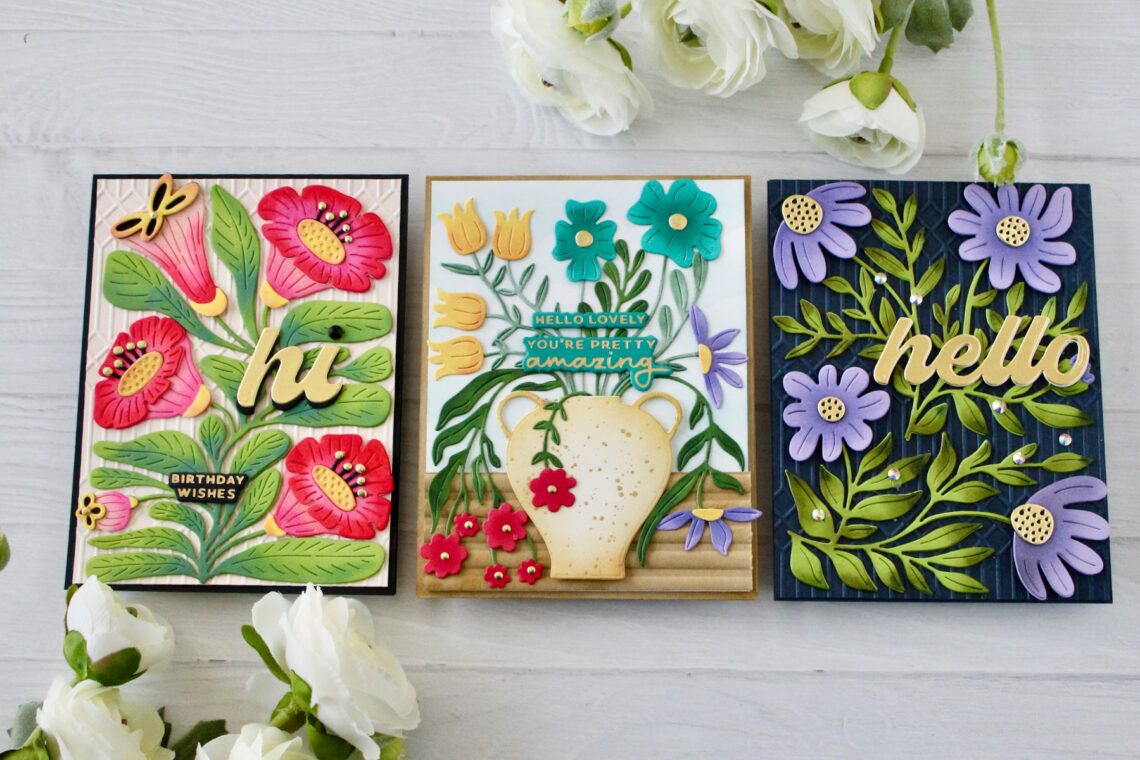
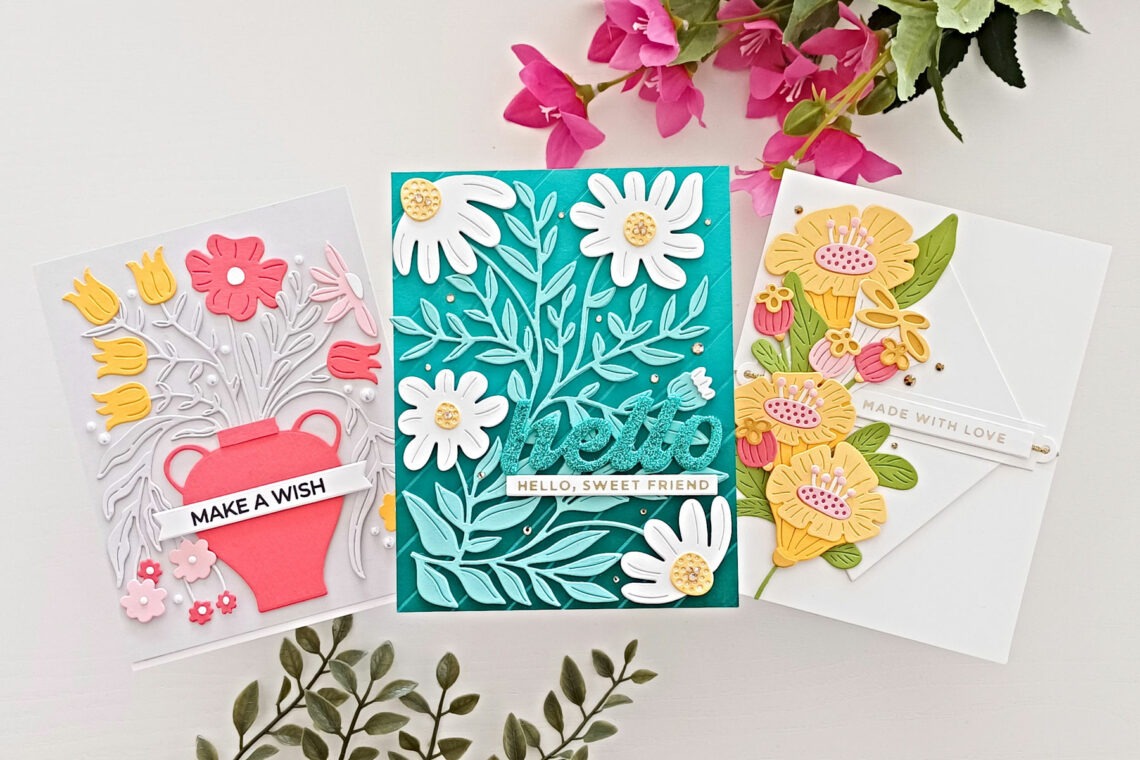
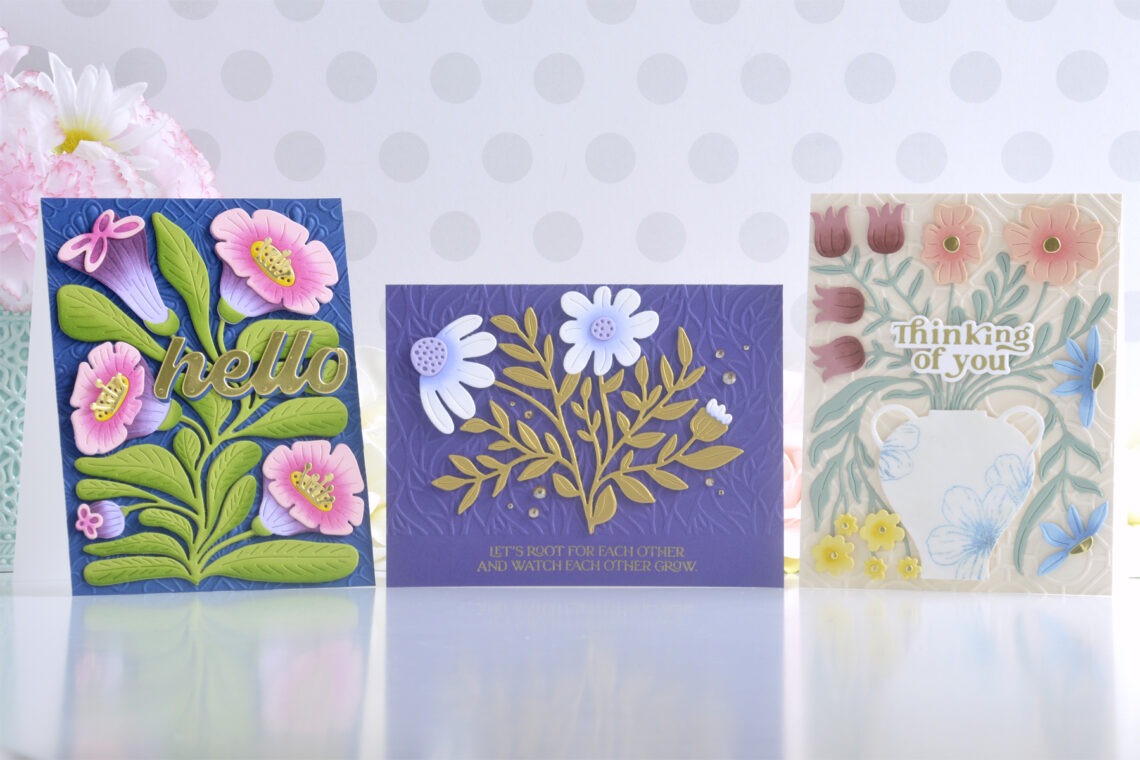
Hello Crafters! It’s Melody Rupple here and I’m excited to be on the blog today to share a few cards I have created with the new More Fresh Picked Collection. I love the newest additions to the Fresh Picked Collection. The modern, contemporary feel of the collection is so fun for cardmaking. The More Fresh Picked Collection includes 3 floral dies set that work perfectly with the previously released Fresh Picked Sentiments Etched Dies and the Columns Embossing Folder. I have created three cards with the collection. So let’s get started. My first card features the Fresh Picked Angel Trumpets Etched Dies. You can create four different Angel Trumpets with…
-
Brighten Up Your Day and Create Three Simple Floral Cards
Hello there Spellbinders friends! Lisa Tilson here from My Card Trip and I am excited to be back here with you on the Spellbinders blog. Today I have some cards to share using the More Fresh Picked Collection. I really loved the first Fresh Picked Collection so I was delighted to be asked to make some more cards for you using the latest release. There are three new floral sets and they are all super pretty. I think they are very simple to use and they definitely come together pretty quickly if you follow the intended design. The new sets have the same style as the first collection – big,…
-
Playing with Color and the More Freshed Picked Collection
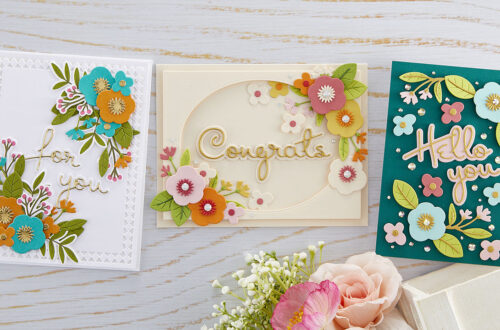
Hi there, this is Annie Williams and I’m excited to be back on the blog today to share a couple of colorful cards made with the new More Fresh Picked Collection from Spellbinders. I love the bold floral designs in the Fresh Picked line, so I tried to pick some fun color combinations to use with them while adding extra touches with ink. Bright Floral Hello Card I normally try to build my floral cards using colors you might actually find in real life, but the Fresh Picked Angel Trumpets Die Set is such a unique design that I decided to pick bold colors and really amp them up with…